Dinosaur Drawing – Create a Ferocious Dinosaur Sketch
This post may contain affiliate links. We may earn a small commission from purchases made through them, at no additional cost to you.
Dinosaurs, the magnificent and awe-inspiring creatures that once roamed the Earth, continue to capture our imagination and curiosity to this day. With their massive size, fearsome claws, and razor-sharp teeth, they dominated the planet for over 160 million years, until their sudden and mysterious extinction. From the towering T-Rex to the speedy Velociraptor, each species of dinosaur had its unique characteristics and adaptations that allowed them to thrive in their respective environments. Even though they are long gone, the study of dinosaurs has provided us with a fascinating glimpse into the distant past and continues to inspire discoveries and theories about these magnificent beasts.
Learn How to Draw a Dinosaur With an Easy Guide
Are you interested in learning how to draw a dinosaur? Well, you’re in luck! Our step-by-step drawing tutorial is here to guide you through the process of creating your very own masterpiece. Even if you have no prior drawing experience, our easy-to-follow instructions will boost your confidence and have you drawing like a pro in no time.
As you progress through each step, you’ll gain valuable skills and techniques that can be applied to other animals and objects as well. We hope you will have a blast while learning and honing your artistic abilities. So, grab your pencils, and let’s embark on this exciting journey together!
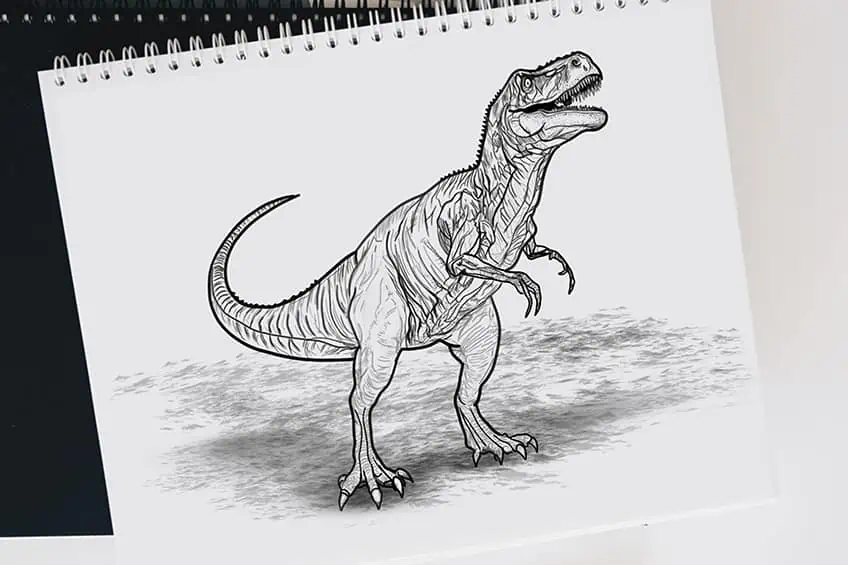
The below dinosaur sketch collage shows each step taken to achieve the final result!

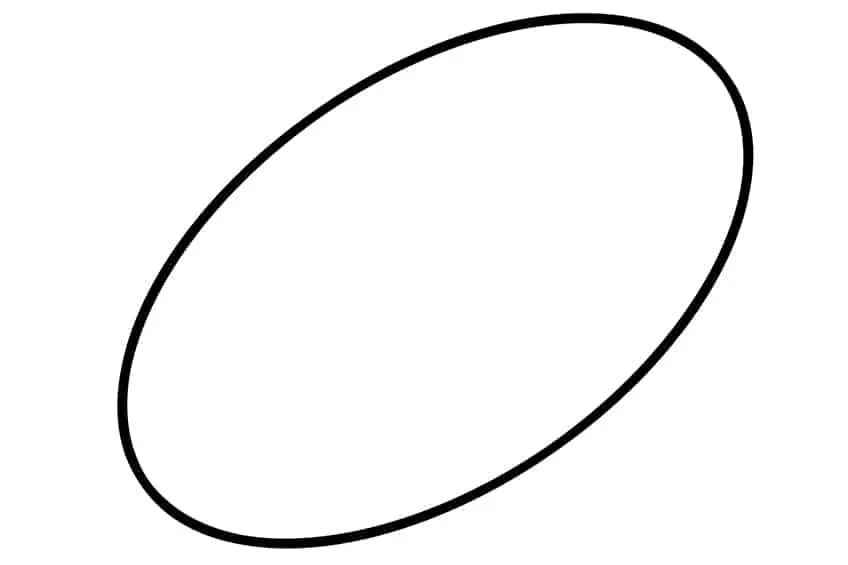
Step 1: Draw the Main Body
Begin your dinosaur sketch by drawing a title oval shape representing the main body of your dinosaur.
Step 2: Draw the Head on Your Dinosaur Drawing
Above the main body, draw a small horizontal laying oval shape to represent the head of the dinosaur.

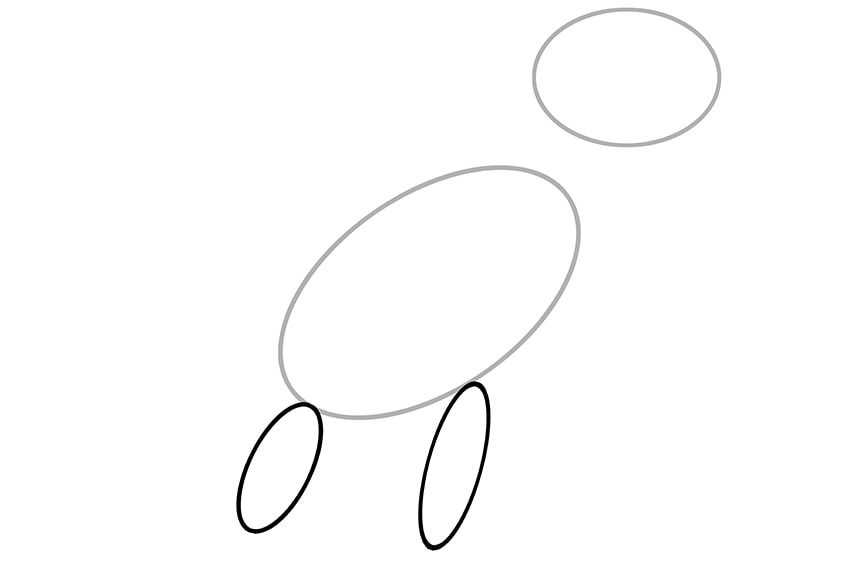
Step 3: Add the Legs
Attached to the bottom of the main body drawn, draw two small vertical laying oval shapes. Make sure there is space between these two ovals.
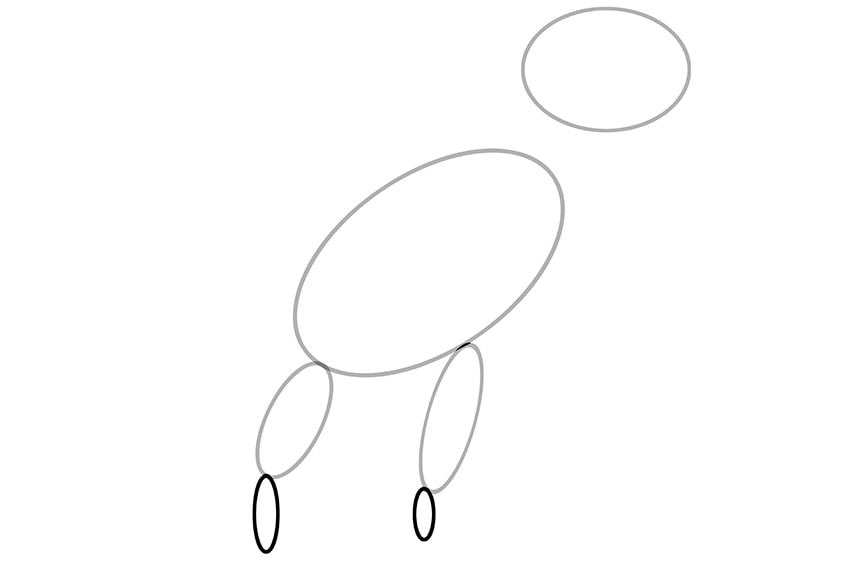
Step 4: Draw the Ankles to Your Dinosaur Drawing
Attached to the previously drawn oval shapes, draw two small narrow oval shapes.
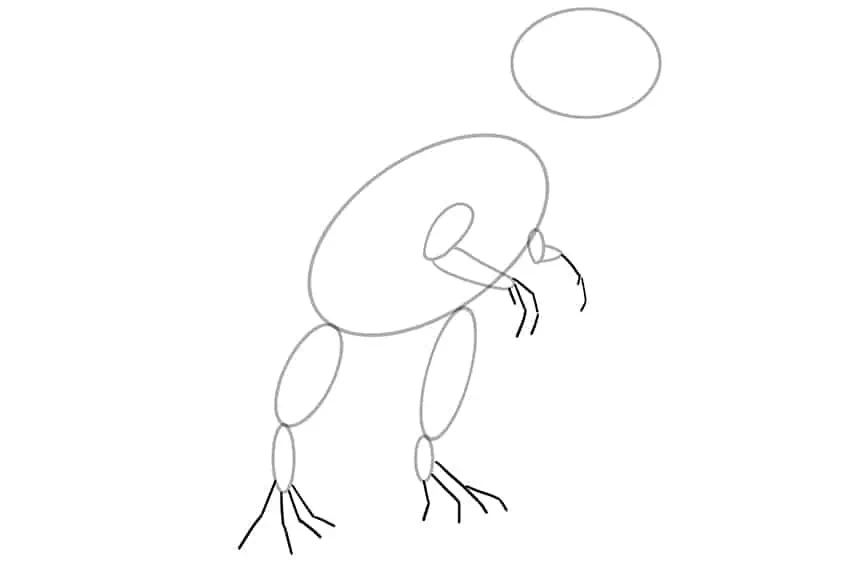
Step 5: Add the Arms
Within the main body, draw two oval shapes to represent the first arm. Repeat the step for the second partially visible arm.
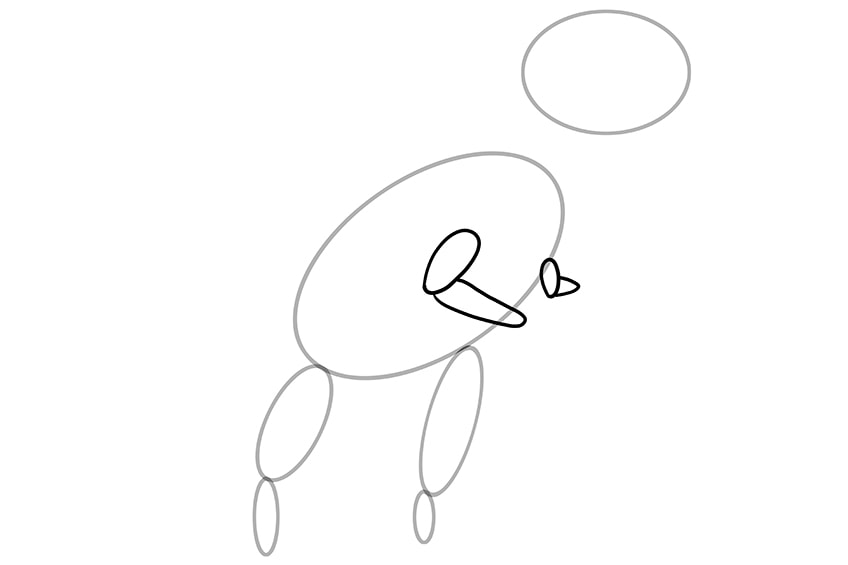
Step 6: Complete the Arms
Attached to the previously drawn arms, draw the rigged lines creating the hands and claws of your dinosaur sketch. Complete the step by drawing feet lines attached to the previously drawn legs.
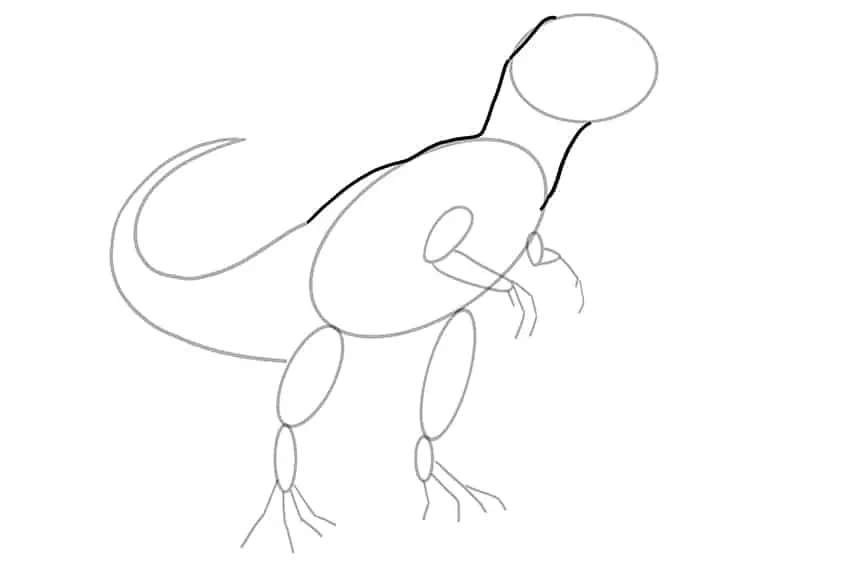
Step 7: Draw the Tail of Your Dinosaur Sketch
Draw a wide, curving tail from the lower rear end of the dinosaur. The tail should begin wide and end narrow and sharp.

Step 8: Outline the Neckline
Begin by outlining the bottom neckline, and attaching the body to the head. Continue by outlining the top of the head leading to the tail, use the body shape to aid you in outlining a more curved outline.
Step 9: Outline the Legs of Your Dinosaur Drawing
Use the previously drawn oval shapes in steps three and four to aid you in outlining a more realistic-looking set of legs. Complete the step by drawing the final chest outline attached to the body.

Step 10: Continue onto the Head
In this step, you will use the previously drawn oval shape from step two to aid you in outlining a more realistic dinosaur-looking head and mouth lines.
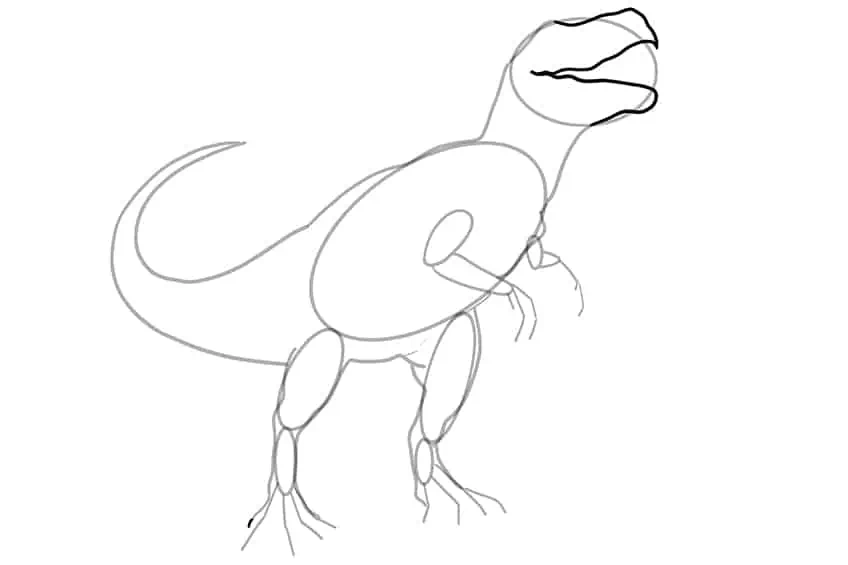
Step 11: Add an Outline to the Feet of Your Dinosaur Sketch
Begin to outline a realistic set of feet, by using the previously drawn feet guidelines. Draw the main shape of the feet then add each claw to each line drawn in step six.

Step 12: Outline the Arms and Legs
Use the previously drawn oval shapes as guidelines for outlining more realistic arms and claw-like hands.
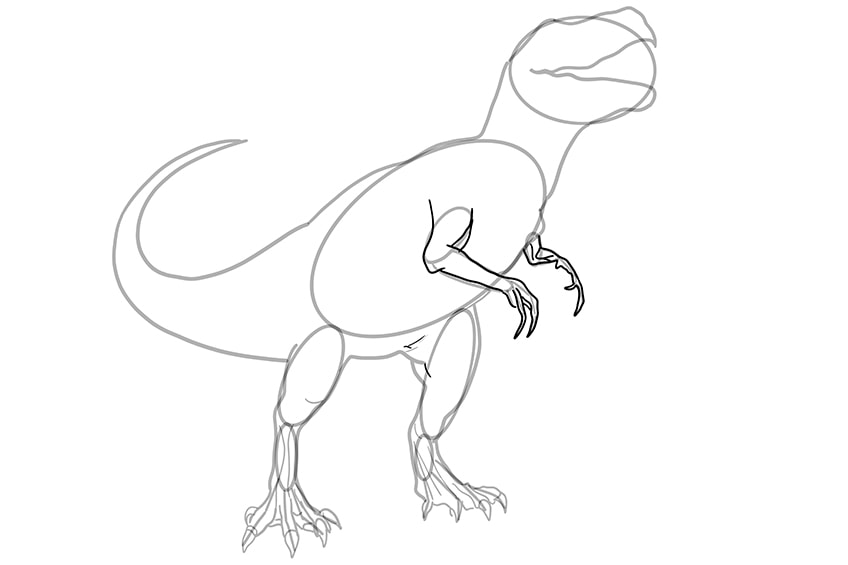
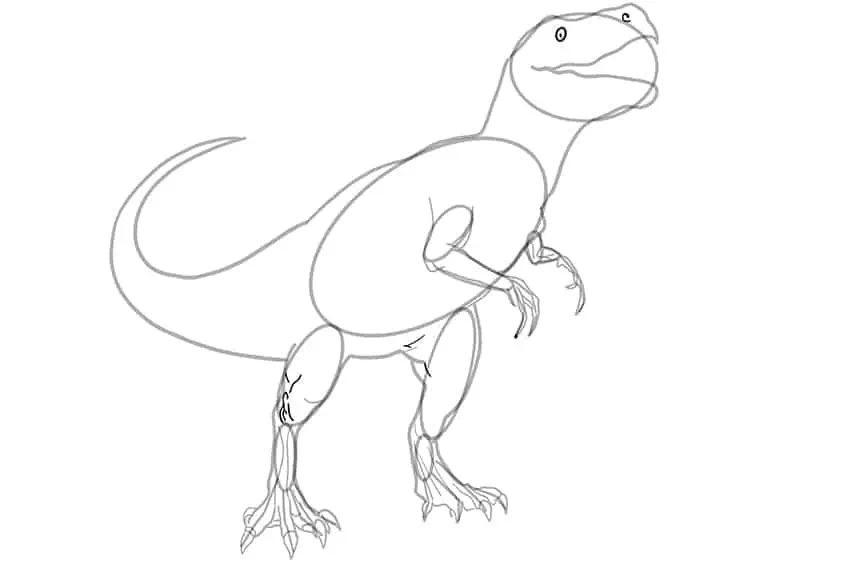
Step 13: Draw the Facial Features of Your Dinosaur Sketch
Within the head of your dinosaur drawing, draw an oval to represent the eye. Inside this oval draw a small circle. At the tip of the nose, draw small circles to represent the nostrils.
Complete the step by drawing the leg muscle lines.
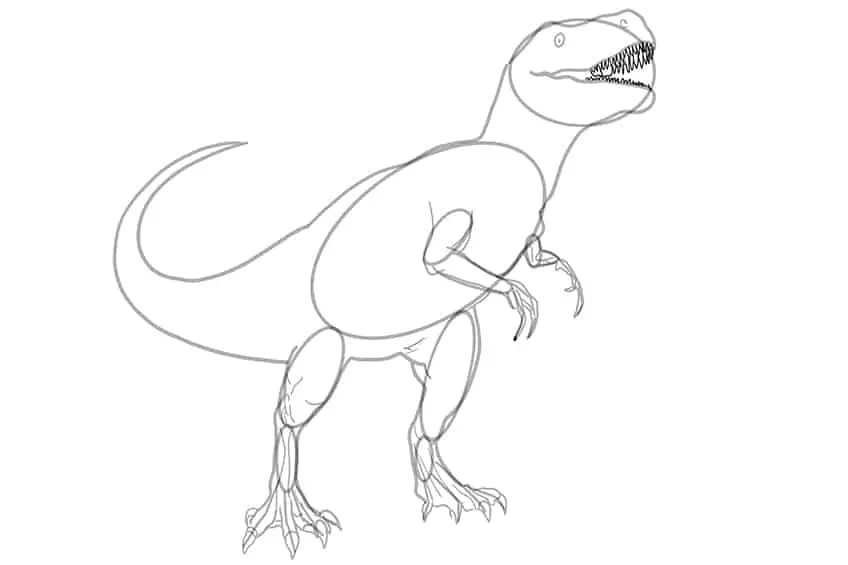
Step 14: Add the Teeth to Your Easy Dino Drawing
Draw fine, sharp teeth along the top and bottom areas of the mouth.
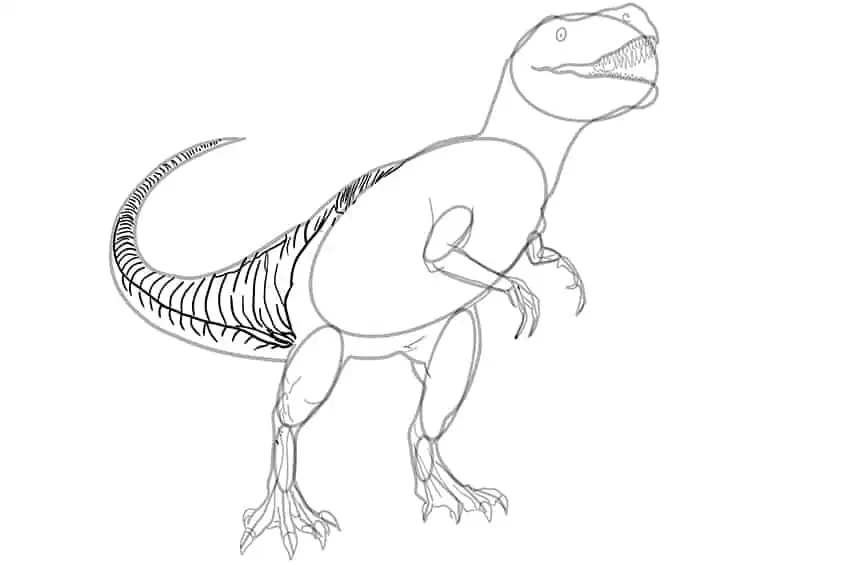
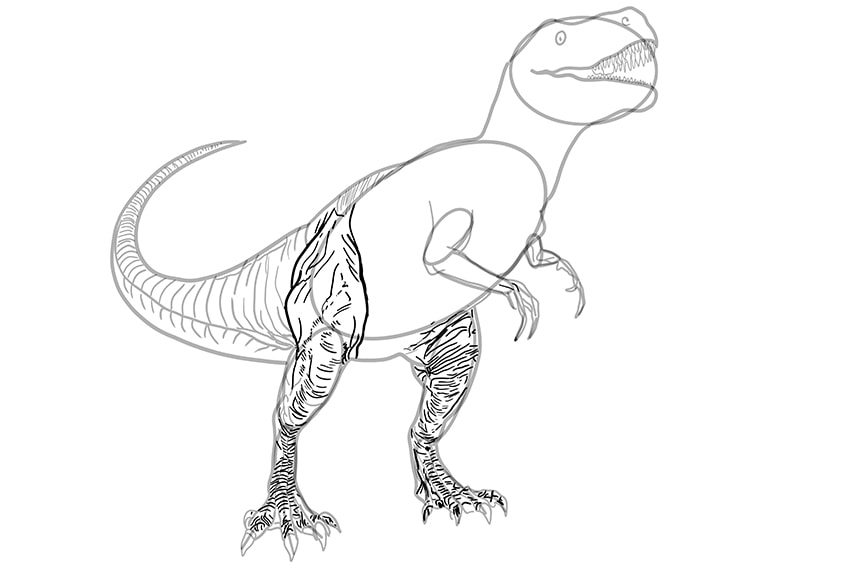
Step 15: Texture the Tail
Begin by drawing curving lines within the frame of the tail. Continue by drawing fine curving vertical lines all along the inner frame of the tail, beginning at the tip of the tail where the vertical lines will be the shortest, and leading to the wider area of the dinosaur’s tail where the vertical lines will be the longest.
Step 16: Add Texture to the Legs
Draw fine, sharp lines curving around the curvatures of the feet and legs, leading towards the upper thigh area. Continue to draw fine structure lines adding a more realistic and muscular-like shape to your easy dino drawing.
Step 17: Structure the Main Body
In this step, you will continue to draw fine, curving lines that wrap around the curvature of the body leading to the middle of the main body. These lines can be a combination of long and short curving lines.
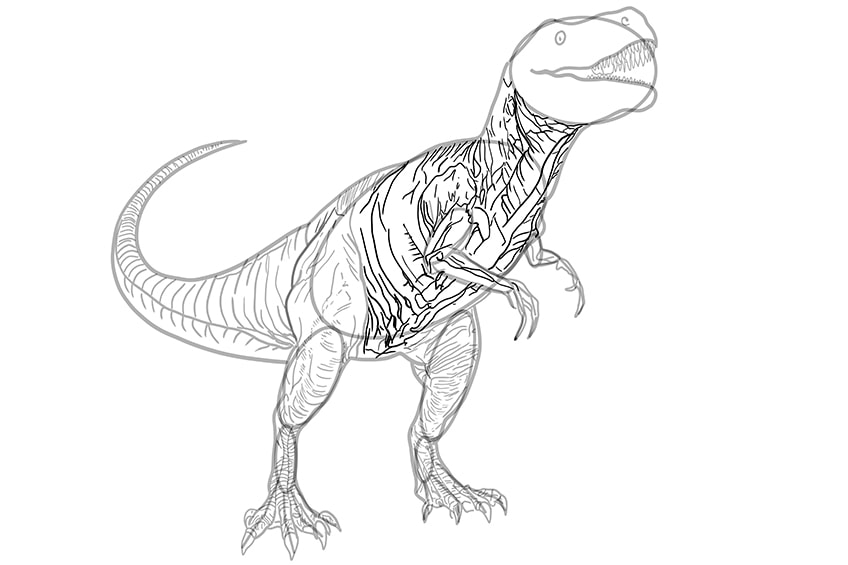
Step 18: Add Structure to the Face of Your Dinosaur Drawing
Surrounding the eyes and nostril area, draw fine structure lines. Continue by drawing long, thin lines to shape and structure the facial shape below the mouth and jaw lines.
Once completed you are now ready to erase any visible overlapping construction lines!
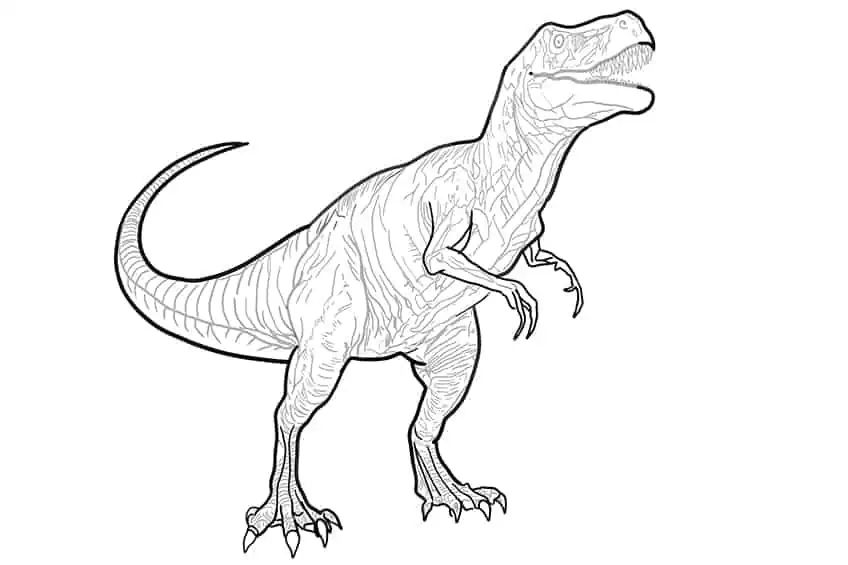
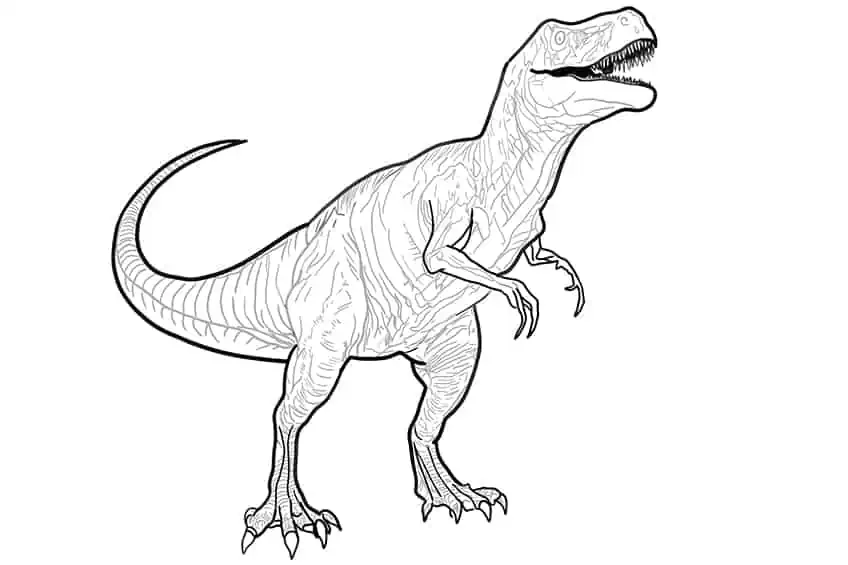
Step 19: Outline Your Entire Easy Dino Drawing
Outline your entire dinosaur drawing after erasing all of the visible construction lines.
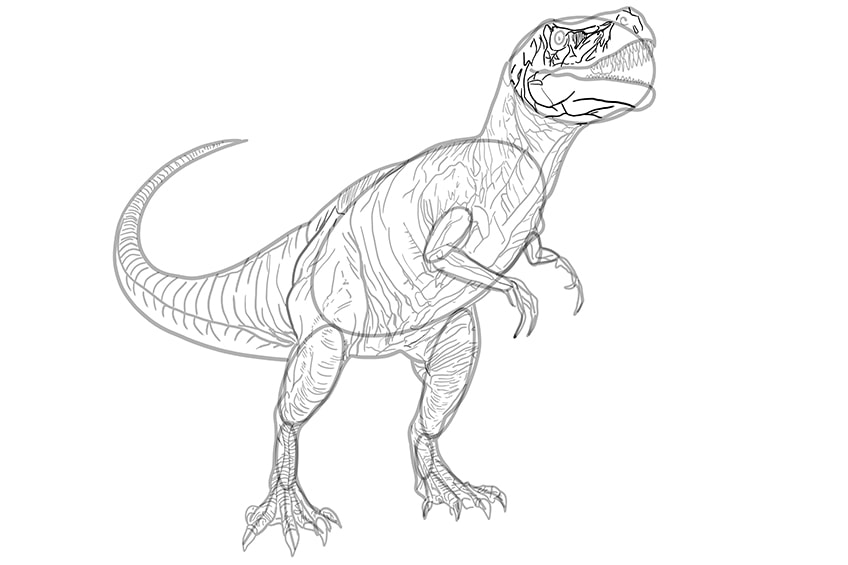
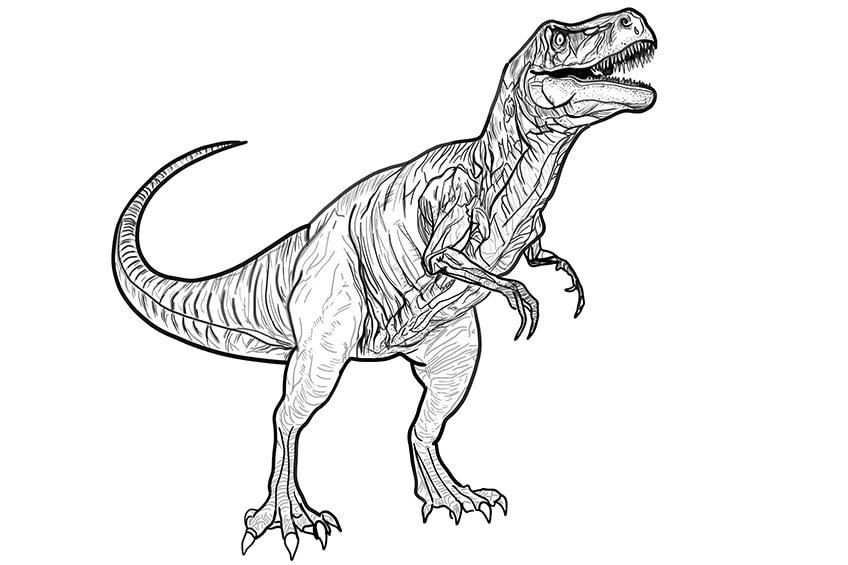
Step 20: Outline the Teeth
Begin by outlining the teeth and making sure the bottom edges are sharp. Fill the rest of the mouth with black paint, this includes the top and bottom gums.
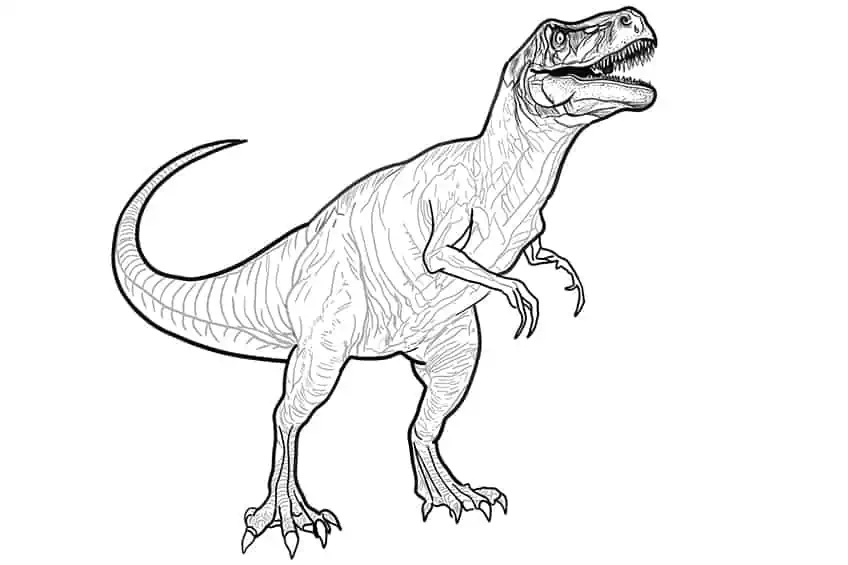
Step 21: Texture the Face
In this step, you will start by tracing the facial structure lines and enhancing them. Between these structure lines, draw fine shading and texture lines. Repeat using a fine, sharp brush to add fine dots and spots to enhance the texture of the mouth and face.
Step 22: Add Texture to the Top Half of the Body
Similar to the previous step, trace the previously drawn structure lines to enhance them while adding fine, sharp texture and shading lines along the edges.
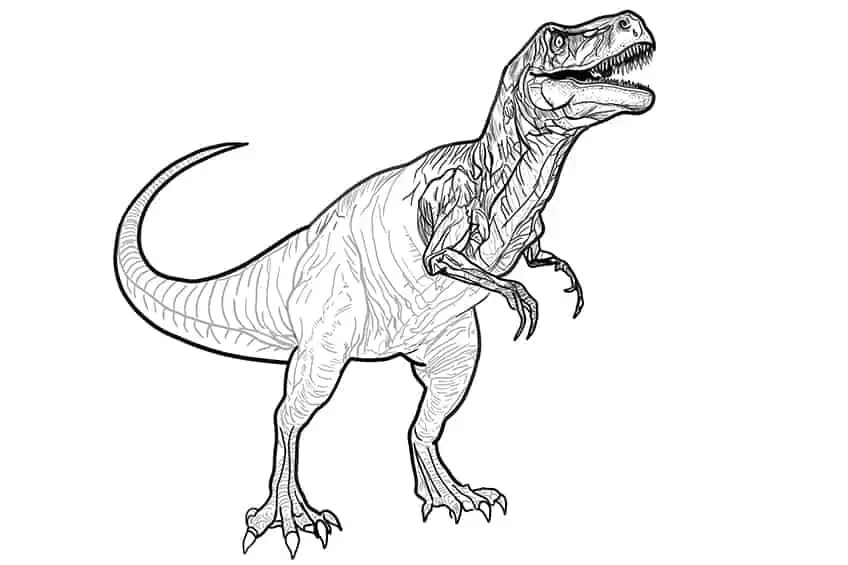
Step 23: Continue to Texture Your Dinosaur Drawing
Trace the structure lines and repeat the previous step of adding fine shading and texture lines between the edges.
Step 24: Add Texture to the Tail
In this step, you are going to add structure lines to your dinosaur tail and enhance the texture. Continue to draw fine texture lines on the dinosaur tail to add depth and dimension.
Step 25: Add Texture to the Legs on Your Dinosaur Sketch
Trace the previously drawn structure lines on the dinosaur’s legs to enhance the texture on them. Repeat using a fine, sharp brush or pen to add fine hairline texture lines and shading streaks between the previously drawn lines and edges.

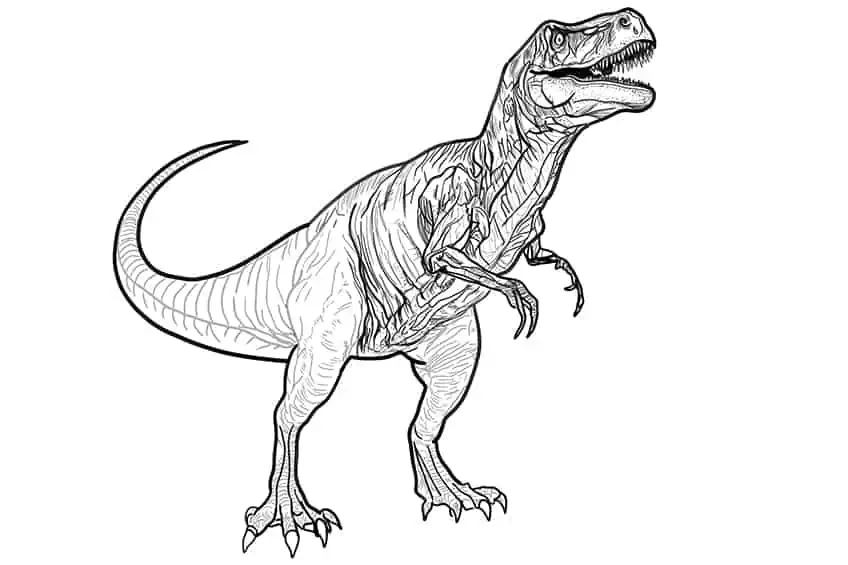
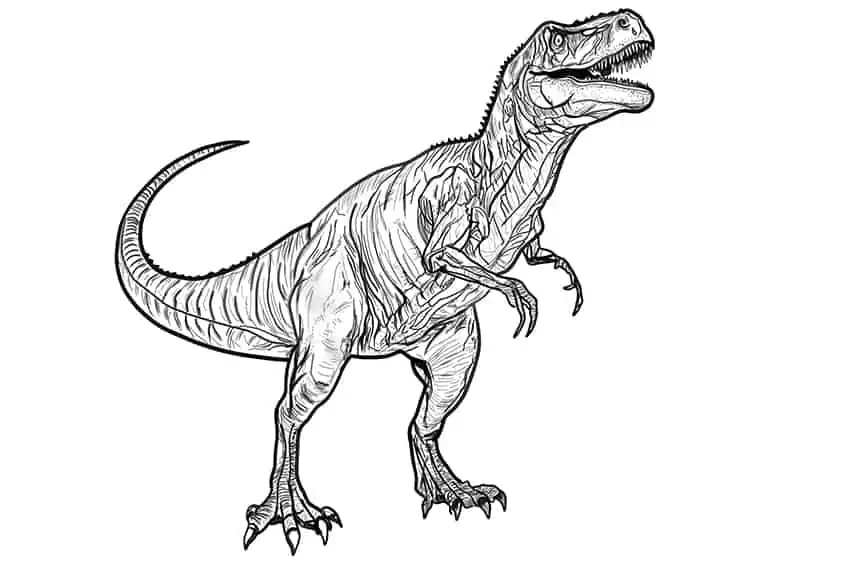
Step 26: Draw the Spikes
Draw fine, sharp spikes leading from the top of the face to the top neckline and top area of the tail.
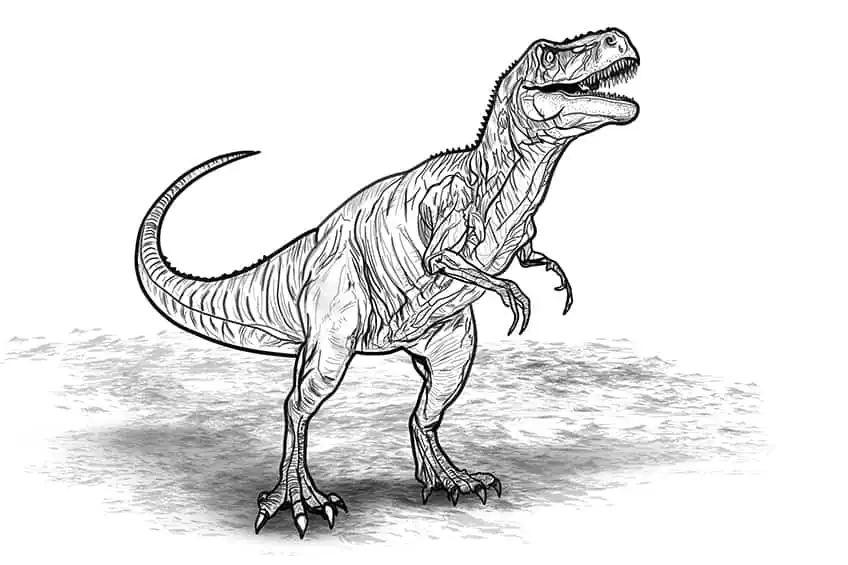
Step 27: Add a Ground Shadow
Select a thin, sharp brush and gray paint, and softly add the ground texture as fine heaps. Complete the step using a small, soft brush and black paint, and shade between the legs.
Continue with a blending brush and spread and soften the ground shadow on your dinosaur drawing.
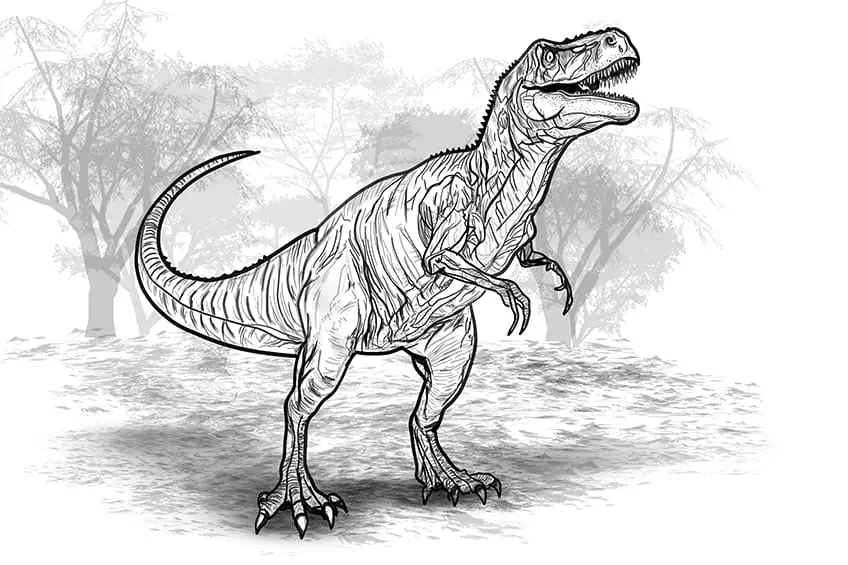
Step 28: Bonus Background
This is an optional step you may want to take to enhance your dinosaur sketch! Here we add a basic background by using a fine, sharp brush and gray paint, and add a soft background of bushes and trees.
Great job on completing your drawing of a dinosaur! Your perseverance and dedication has paid off, resulting in an impressive work of art. You’ve managed to capture the power and speed of this incredible creature, and your attention to detail is evident in every pencil stroke. The shading and texture techniques you used have created a realistic sense of depth and dimension, making the dinosaur appear as if it’s leaping right off the page! You should be proud of your achievement and the new skills you’ve developed along the way. Keep up the excellent work!
Frequently Asked Questions
How to Draw a Dinosaur Realistically?
To draw a dinosaur realistically, one must have a good understanding of its proportions, and textures. Start by researching the specific type of dinosaur you wish to draw, and examine various reference images to get a sense of its unique characteristics. Next, sketch out the basic shapes and proportions of the dinosaur, and then begin adding details such as muscle definition, skin textures, and scales. Utilizing shading and color techniques can also help add depth and realism to the drawing. Patience and practice are essential when it comes to drawing realistically, so don’t be discouraged if it takes several attempts to achieve the desired outcome!
Is It Easy to Draw a Dinosaur?
Drawing a dinosaur can be challenging, however, nothing is impossible! With practice, patience, and the right tools and techniques, anyone can learn to draw a dinosaur. Our drawing tutorial on how to draw a dinosaur will help beginners learn the basics of dinosaur drawing. Breaking down the drawing process into manageable steps and starting with simpler shapes and proportions can also make the process less daunting. Overall, drawing a dinosaur is achievable with time and dedication!

IzzyBll is a digital artist and content creator from Israel and currently residing in South Africa. Originally coming from videography, Izzy then turned to digital graphic art. He specialized in using digital drawing software such as Photoshop and Procreate. Drawing and photo editing has always been a sort of second nature for Izzy. In doing so, he can now look back on 5 years of experience in the industry, completing commissions for various well-known brands such as Audi.
Learn more about IzzyBll and about us.