House Drawing – Create a Beautiful and Modern House Drawing
This post may contain affiliate links. We may earn a small commission from purchases made through them, at no additional cost to you.
Houses are not merely structures of brick, mortar, and wood; they are the very foundations of our lives. They provide us with shelter from the elements, security from the outside world, and a place to call our own. They are where we create memories, build relationships, and make our dreams come true. From quaint cottages to towering mansions, houses come in all shapes and sizes, each with its unique charm and character. So whether you’re a first-time homebuyer or a seasoned property owner, one thing’s for sure: there’s no place like home.
Table of Contents
- 1 How to Draw a House With Easy-to-Follow Instructions
- 1.1 Step 1: Draw the First Wall of Your House Sketch
- 1.2 Step 2: Add the Second Wall
- 1.3 Step 3: Draw the Bottom Wall of Your House Drawing
- 1.4 Step 4: Add the Connecting Wall
- 1.5 Step 5: Draw the Second Block
- 1.6 Step 6: Add the Top Block to Your House Sketch
- 1.7 Step 7: Draw the Porch
- 1.8 Step 8: Detail the Top Block
- 1.9 Step 9: Add Details to the Large Top Block
- 1.10 Step 10: Continue to Add Detail to Your Drawing of a House
- 1.11 Step 11: Detail the Porch and Bottom Floor
- 1.12 Step 12: Add the First Color Coat
- 1.13 Step 13: Continue With a Second Coat of Color
- 1.14 Step 14: Shade Your Drawing of a House
- 1.15 Step 15: Blend and Highlight Your Drawing
- 1.16 Step 16: Paint the Yard
- 1.17 Step 17: Finalize Your Drawing of a House
- 2 Frequently Asked Questions
How to Draw a House With Easy-to-Follow Instructions
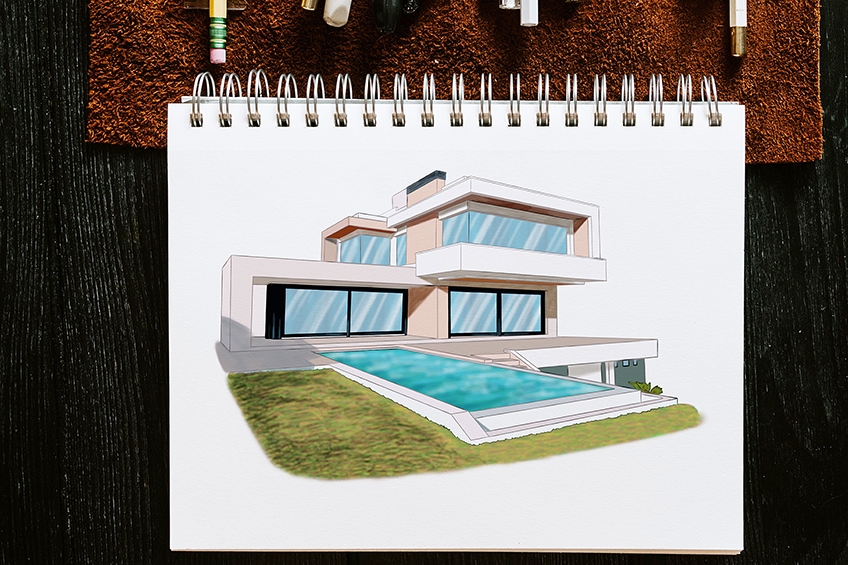
Join us today and learn how to draw a realistic house! Whether it’s a farmhouse or a more modern house, we will cover the basic elements of drawing a realistic villa. We also cover the full process of how to paint the house, adding depth and dimension. So join us today and learn how to draw a house in the easiest and best way possible!
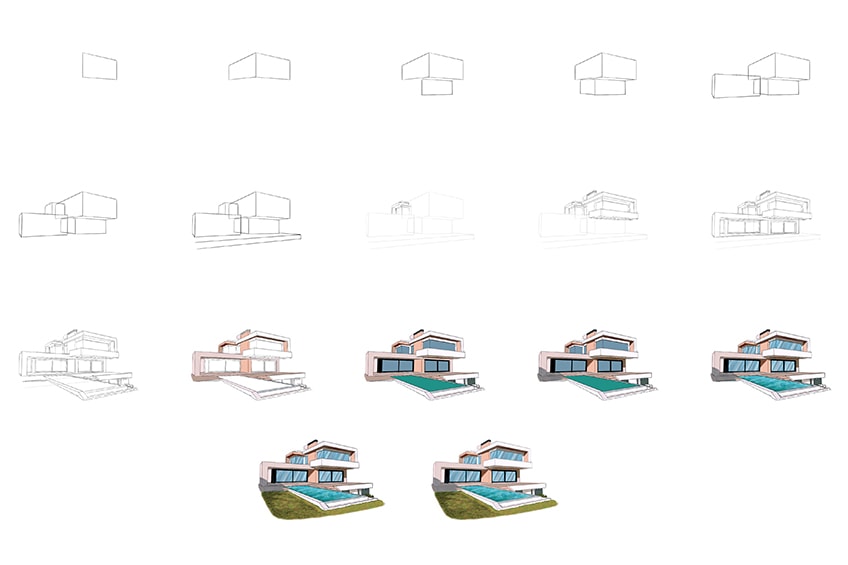
Displayed in the below collage are the sequential actions taken in order to accomplish the ultimate outcome of a lifelike house!
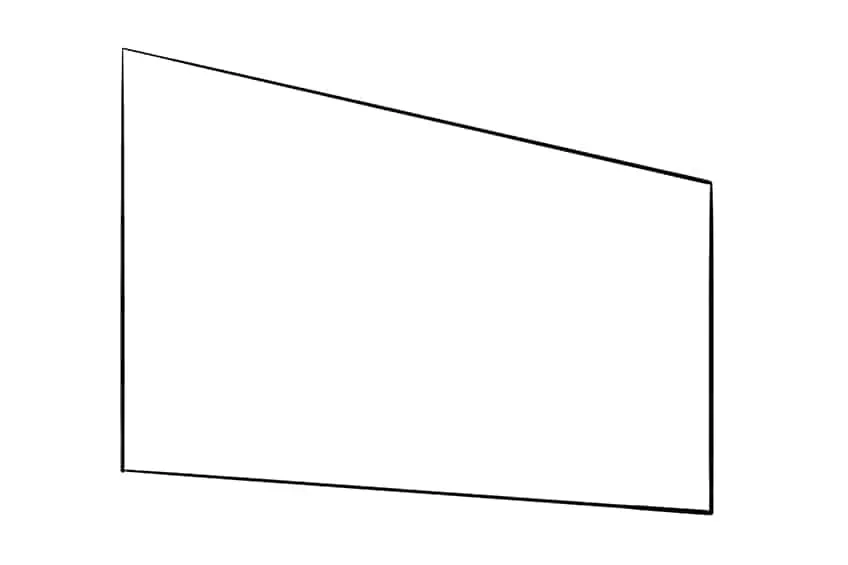
Step 1: Draw the First Wall of Your House Sketch
To begin your tutorial on how to draw a house, draw the first wall to the right of your drawing page.
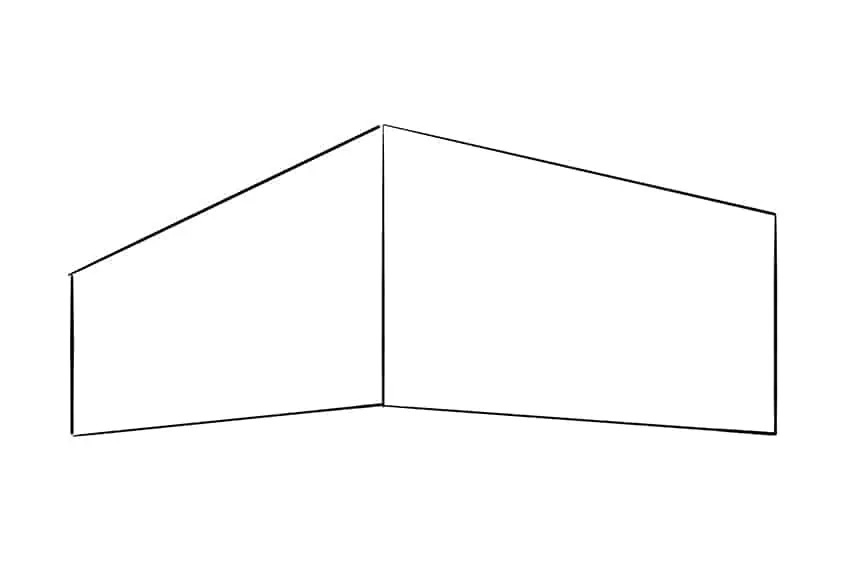
Step 2: Add the Second Wall
Attached to the first wall, draw the second connected wall.
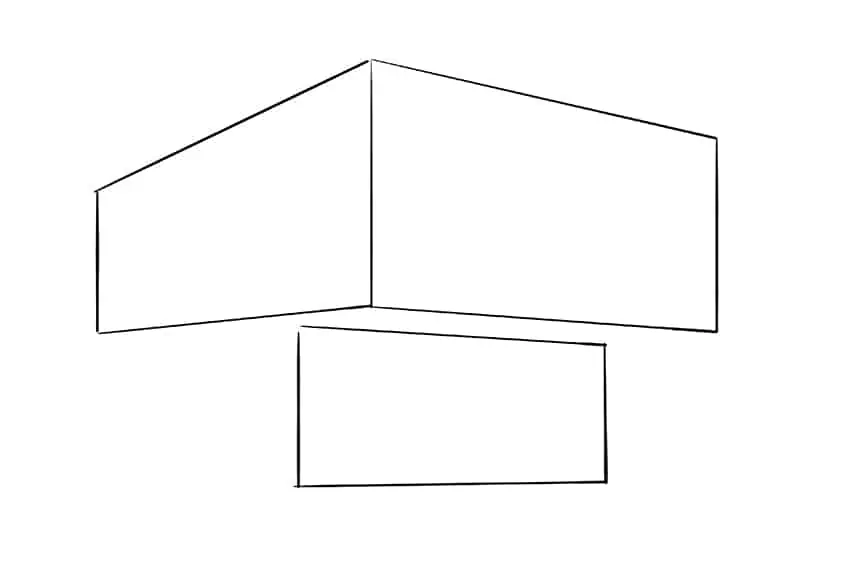
Step 3: Draw the Bottom Wall of Your House Drawing
Draw the bottom support wall below the two previously drawn walls.
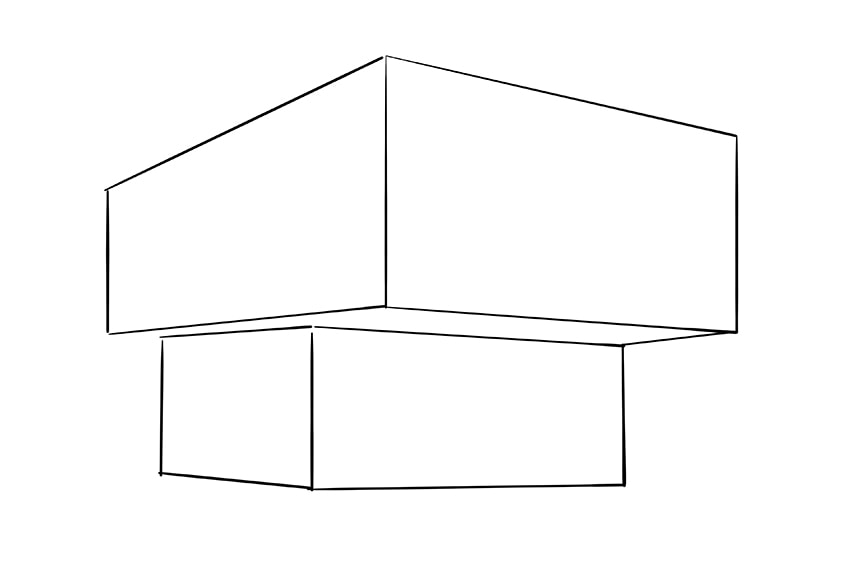
Step 4: Add the Connecting Wall
Attached to the bottom wall, draw a connecting wall. Continue this step, by drawing a joint line that connects the bottom wall to the top right wall.
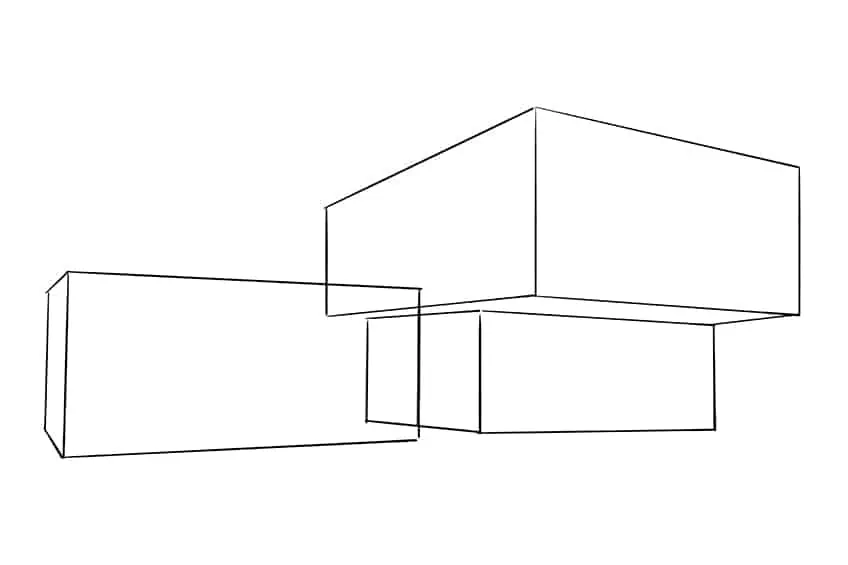
Step 5: Draw the Second Block
Attached to the bottom block draw an additional block on the left-hand side of your drawing of a house.
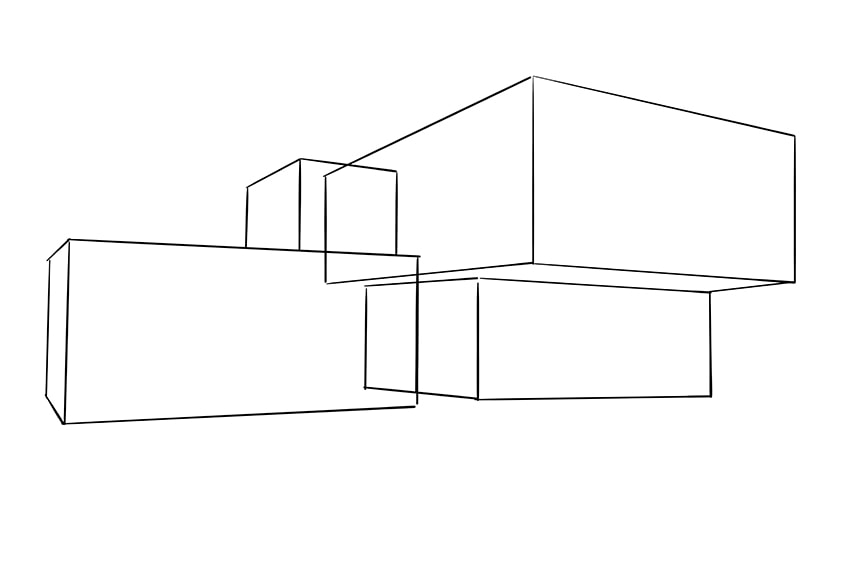
Step 6: Add the Top Block to Your House Sketch
Above the additional bottom block, draw a small top block which should be attached to the second top side wall.
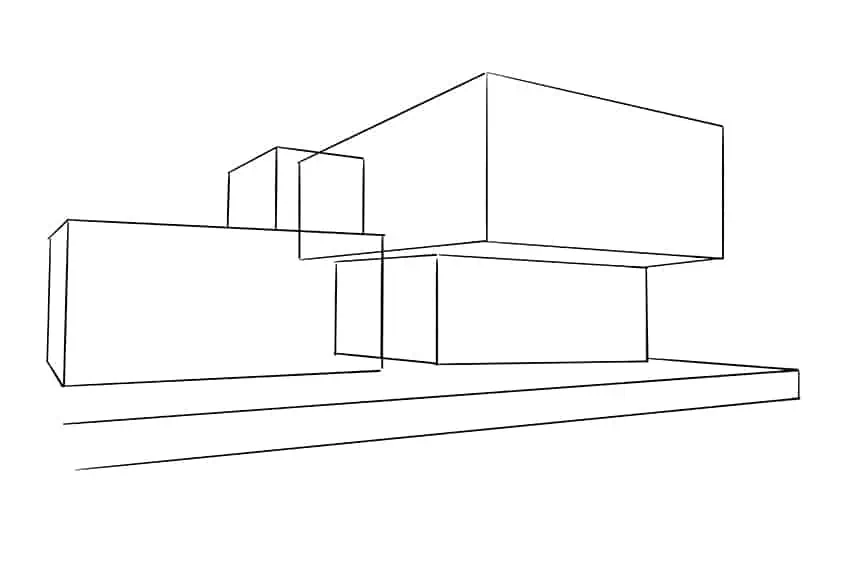
Step 7: Draw the Porch
Represented by two parallel lines with an attached corner line, draw the porch in front of your house drawing.
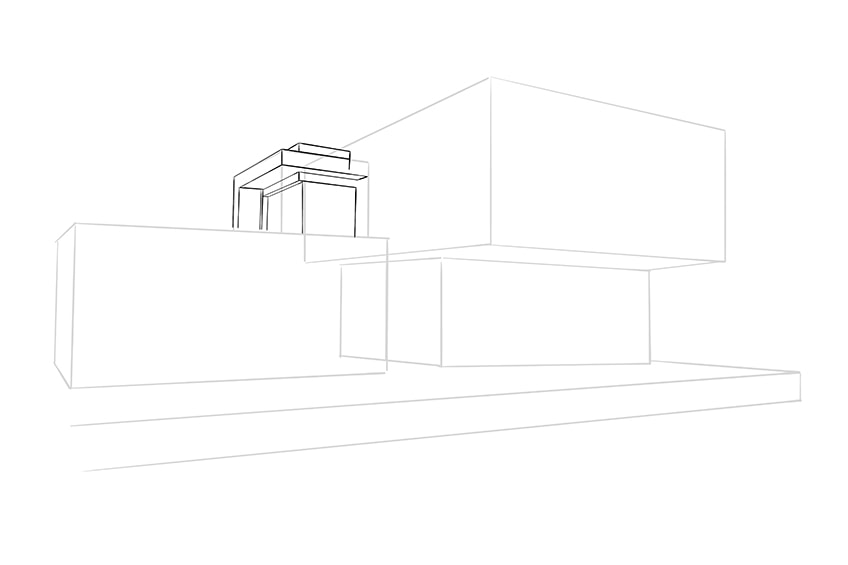
Step 8: Detail the Top Block
In this step, use the construction lines previously drawn to aid you in detailing the house structure. Detail the top block by drawing fine lines which include the roof beam, wall column, and the inner glass wall structure.
Step 9: Add Details to the Large Top Block
Similar to the previous step, since we are aiming to create a modern villa so the majority will be squared and straight lines. Detail the large top block by drawing the roof beams on each visible wall, including the supporting wall columns. Attached to the left wall draw the chimney with a higher elevation than the roof. Continue by drawing the supporting beams and glass wall edges.
To complete this step, draw the balcony walls with a final protruding step underneath the balcony floor.
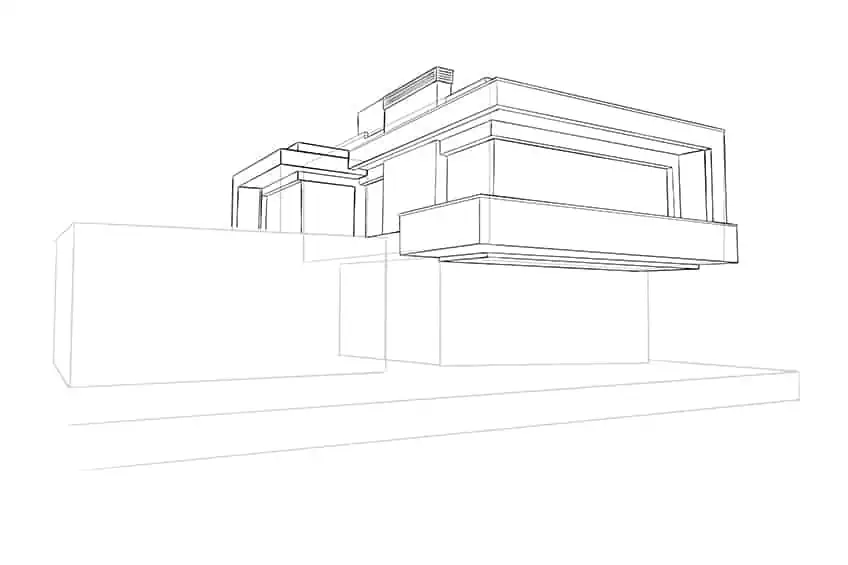
Step 10: Continue to Add Detail to Your Drawing of a House
Begin by outlining the bottom block by separating the inner wall panels and beams. Complete the step by drawing the glass wall structures.
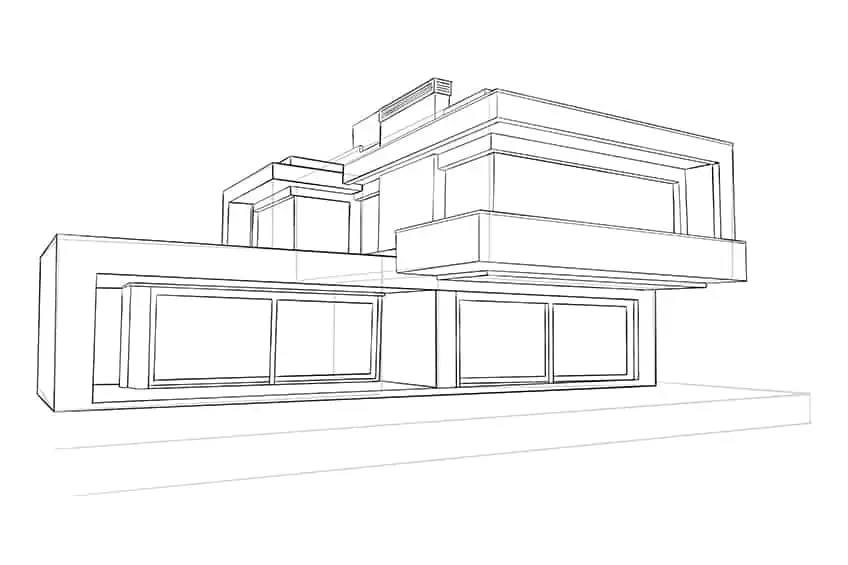
Step 11: Detail the Porch and Bottom Floor
Along the floor of the porch, draw the lengthy swimming pool with double steps and a sloping ending wall. Along the rim of the pool draw a grass pattern and a plant. On the right end of the pool, draw the visible steps, the visible beams, and the structure of the bottom floor. After completing this step, you may erase any still visible construction lines.
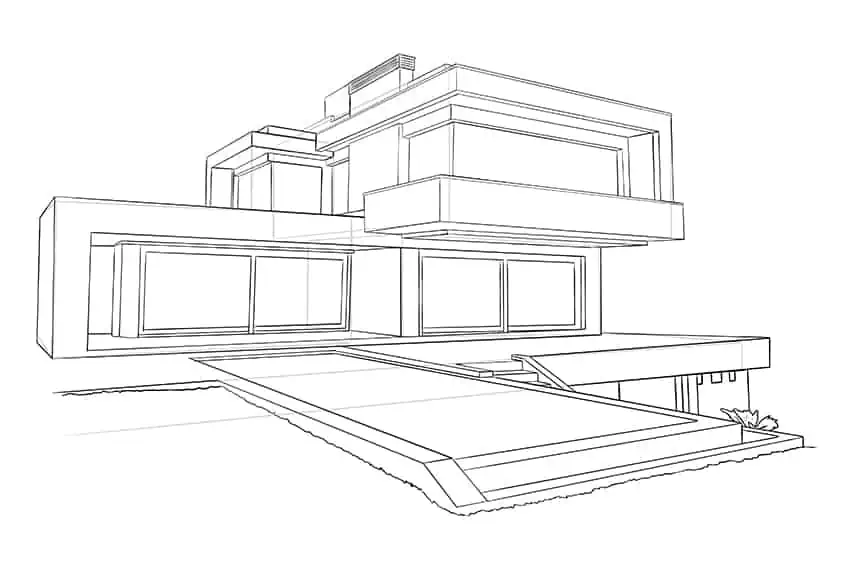
Step 12: Add the First Color Coat
Select a fine, sharp brush and brown paint, and color the porch, the inner floor of the bottom block including the ceiling lining, and the final back wall of the top small block. Switch to a darker shade of brown paint, and paint the top ceiling lining of the top large block and the top small block.
Continue with light peach paint, and color the walls of the bottom block, the step lines, the sloping wall of the pool, and the very top square near the chimney.
Switch to light orange paint, and paint the chimney, the inner side wall of the top block, the roof beams of the small top block, the first step of the pool, and the steps to the right side of the pool. Finish this step with gray paint, and color the second step of the pool and the top of the chimney.
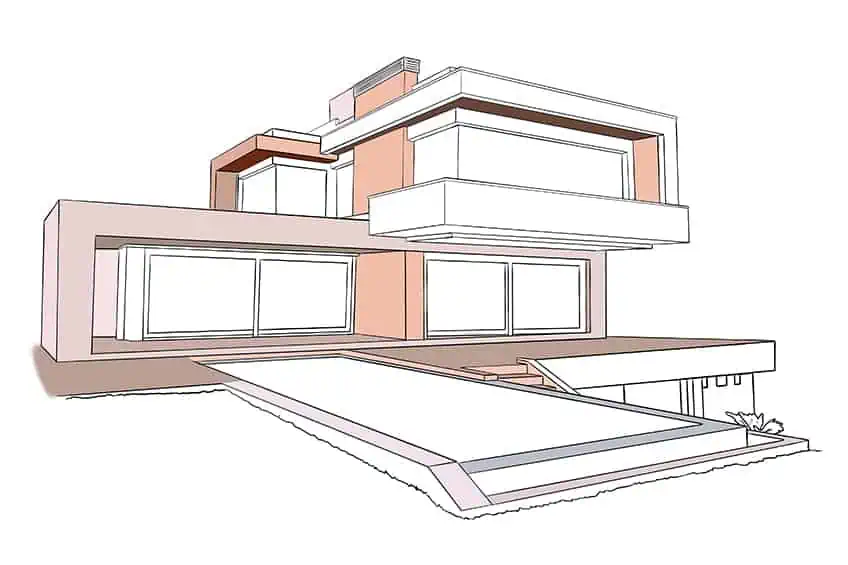
Step 13: Continue With a Second Coat of Color
With a regular brush and a shade of stone blue paint, color in all the glass walls and window panels of your house drawing. Switch to dark grey paint, and color in the bottom floor walls and the top of the chimney. Select a fine brush and black paint, and fill the glass wall and window panels on the bottom block.
To complete the step, use a regular brush and a shade of ocean-green blue, and color in the pool of your house sketch.
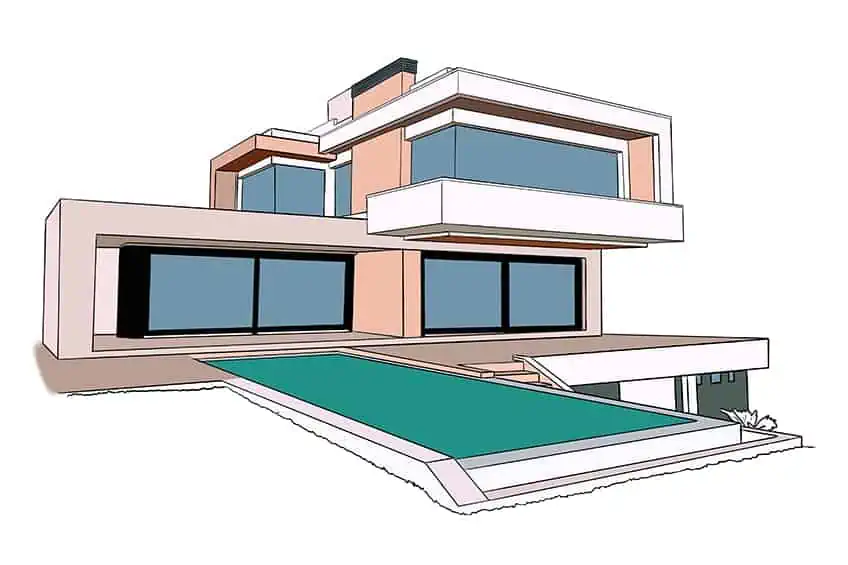
Step 14: Shade Your Drawing of a House
Use a soft brush and black paint, and add shading to the underlining ceiling panels and side walls where a shadow would naturally be cast. Do this lightly as the shadow does not necessarily need to be completely dark.
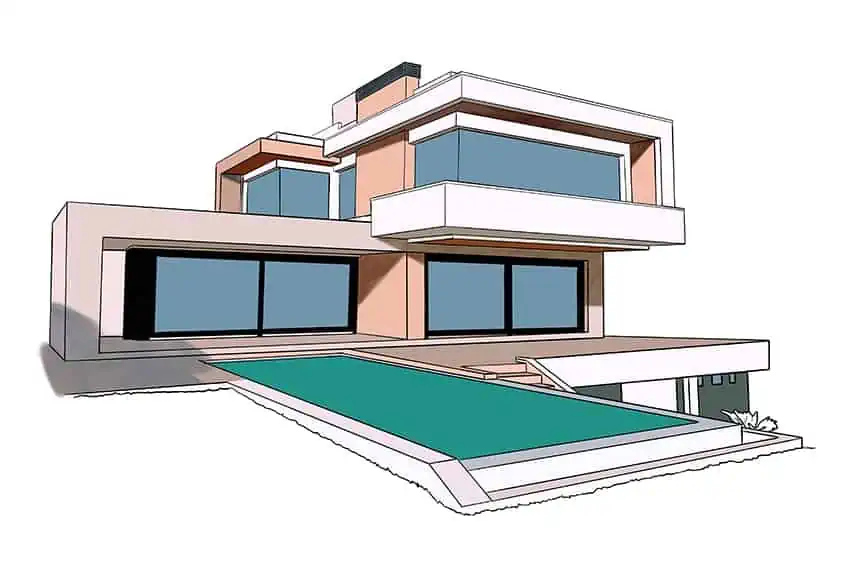
Step 15: Blend and Highlight Your Drawing
In this step, you will add several diagonal brushstrokes on all visible glass windows, using a soft brush and a light shade of blue paint. Repeat using white paint to create a reflection. To complete the step, use light blue paint, and lightly brush patches between the first color coat of the water. Continue using white paint to create small patches of highlights, and blend the color coats to create a realistic color fade and smear.
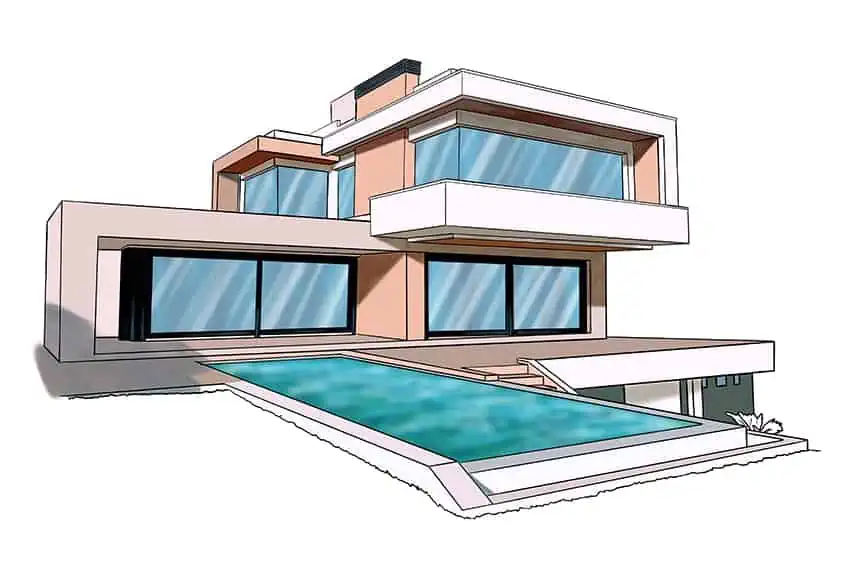
Step 16: Paint the Yard
Surrounding the pool, create a yard by simply painting in the blank area with a small, soft brush and green paint. Repeat this step several times to create a patchy grass area that will fill the entire yard area. Continue with a combination of green, dark green, brown, and tan paint to create a realistic grass area. Once completed, blend all these coats using a clean, soft brush.
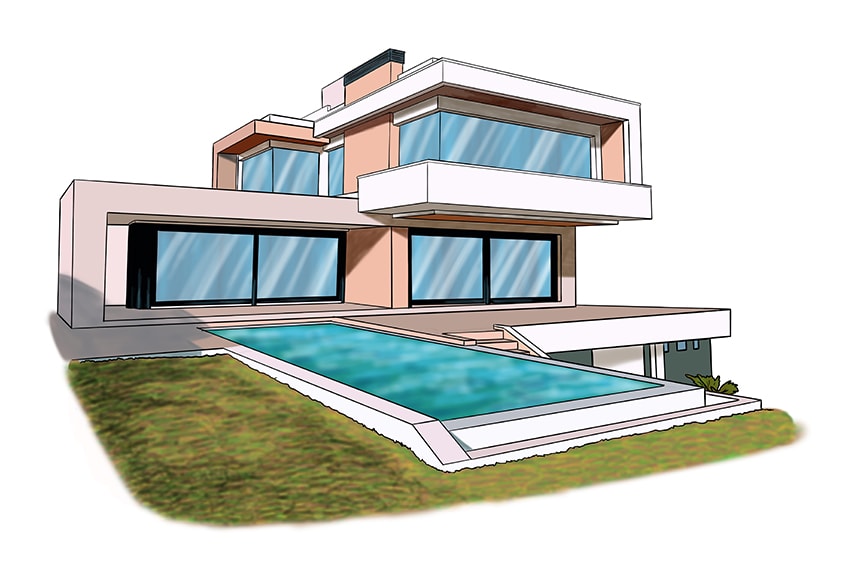
Step 17: Finalize Your Drawing of a House
This is an optional step for those wanting a final result without any visible dark outlines. Select a fine brush and the corresponding color and trace the entire outline of your house drawing.
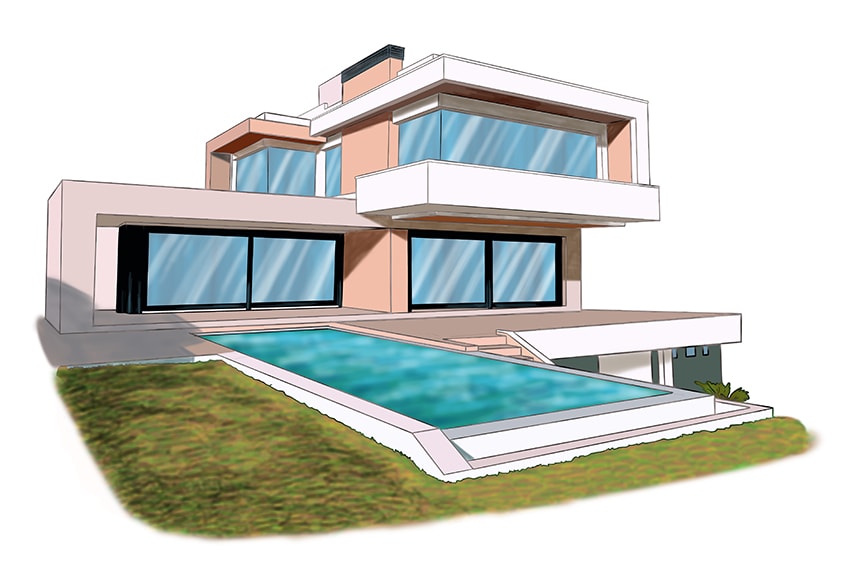
Well done on completing our tutorial on how to draw a house! It’s a significant accomplishment to bring an idea from your mind onto paper, and you should be proud of yourself. Your attention to detail and use of shading and texture have resulted in a beautiful and realistic representation of a house. Whether drawing a farmhouse or a modern-day look, you have made your drawing truly stand out! Keep up the excellent work, and continue to challenge yourself with new projects and techniques.
Frequently Asked Questions
What Are Some Techniques to Make My House Drawing Look More Realistic?
One way to make your house drawing look more realistic is by paying attention to details. Add depth and dimension by shading and highlighting areas where light would naturally fall, such as the sides of the house facing the sun. Use a variety of brushstrokes to create texture, such as crosshatching or stippling. You can also add details like windows, doors, and architectural elements to give your drawing a sense of scale and realism.
How Can I Improve My House Drawing Skills over Time?
Improving your house drawing skills takes time and practice. Start by studying the basics of perspective, proportion, and shading. Take time to observe real-life houses and buildings, paying attention to their shapes, details, and textures. Experiment with different techniques and mediums, such as charcoal, colored pencils, or watercolors, to find your unique style. Practice regularly, and don’t be afraid to make mistakes- each drawing is an opportunity to learn and improve!
IzzyBll is a digital artist and content creator from Israel and currently residing in South Africa. Originally coming from videography, Izzy then turned to digital graphic art. He specialized in using digital drawing software such as Photoshop and Procreate. Drawing and photo editing has always been a sort of second nature for Izzy. In doing so, he can now look back on 5 years of experience in the industry, completing commissions for various well-known brands such as Audi.
Learn more about IzzyBll and about us.
