Lion Drawing – Create a Majestic and Powerful Lion Sketch
This post may contain affiliate links. We may earn a small commission from purchases made through them, at no additional cost to you.
Lions are one of the most majestic creatures to roam the savannah. With their striking golden mane, powerful roar, and regal stature, they are truly the kings of the jungle. These magnificent big cats are known for their incredible strength and hunting prowess, as well as their social bonds and family dynamics. Despite their fearsome reputation, lions are also incredibly playful and affectionate with one another, making them a truly fascinating species to observe in the wild. Whether you’re a wildlife enthusiast or just someone who appreciates the beauty of nature, lions are sure to capture your attention and imagination. So grab your drawing kit and get started on our drawing tutorial on how to draw a lion! We will take you step-by-step to drawing a lion that looks majestic and powerful lion sketch.
Learn How to Draw a Lion Step-by-Step
Learning to draw a lion can seem like a daunting task, but with practice and patience, it can also be an incredibly rewarding experience. When you begin to draw a lion, start by observing the various shapes and lines that make up their unique features. Notice the angles and curves of their face, the texture and volume of their fur, and the muscular structure of their body. Use these observations as a foundation for your drawing, and don’t be afraid to experiment and make mistakes along the way. Remember to take your time, and keep practicing until you feel confident in your ability to capture the essence of this magnificent creature on paper. With dedication and perseverance, you’ll be amazed at the progress you can make and the beautiful artwork you can create.
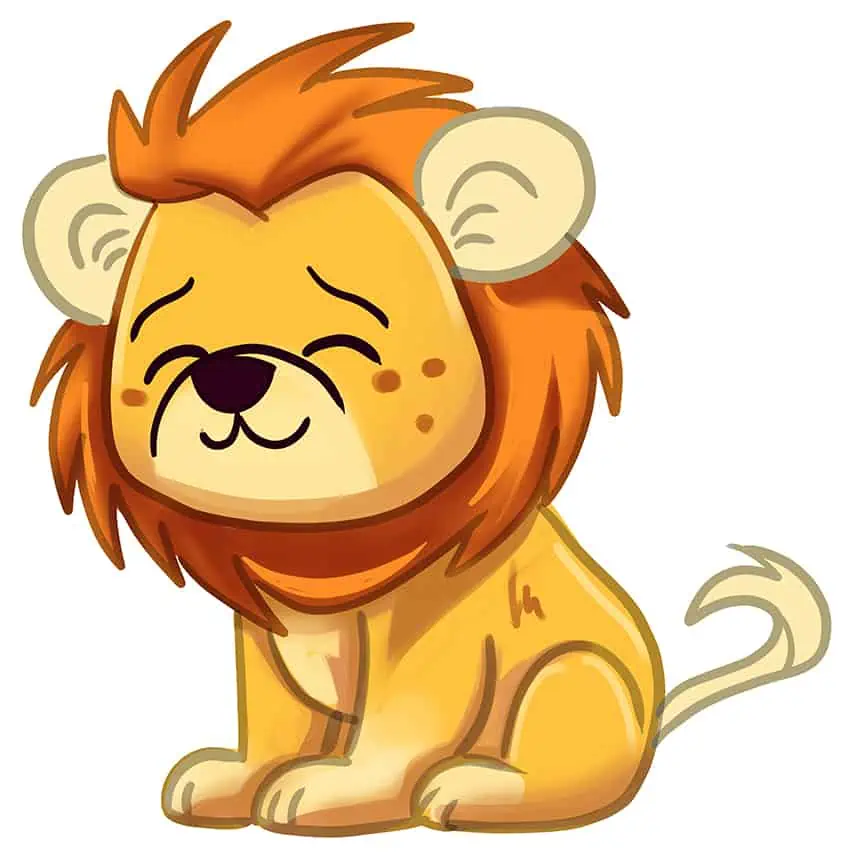
Follow the steps depicted in the below collage, and achieve a realistic and majestic lion drawing!

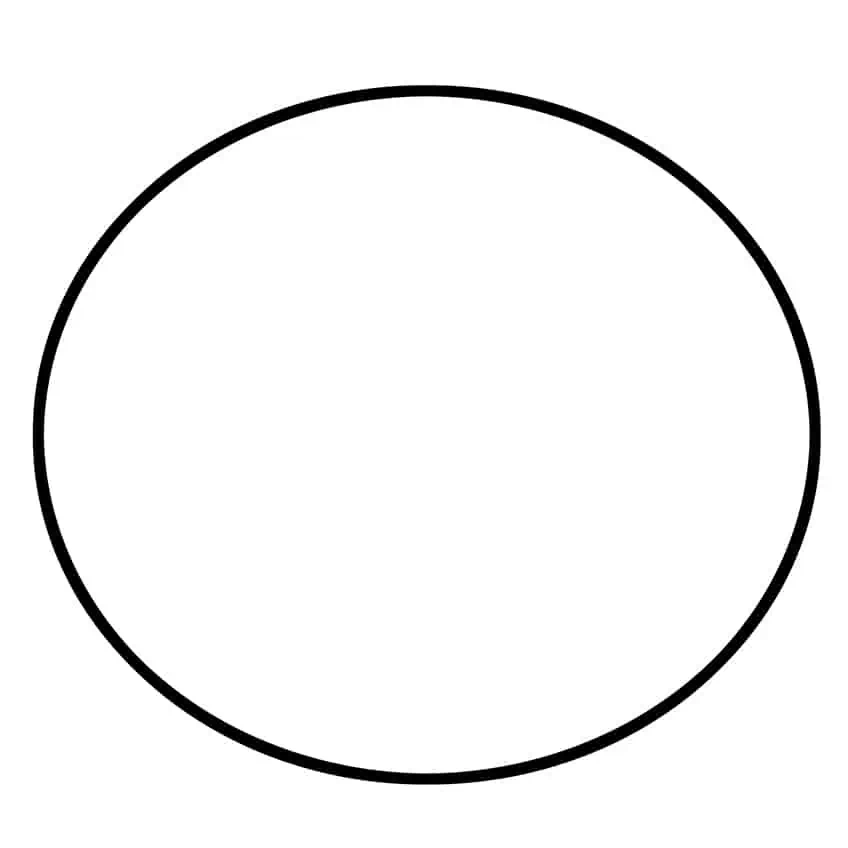
Step 1: Draw the Head
Begin your lion sketch, by drawing an oval shape to represent the head of the lion.
Step 2: Draw the Main Body
Attached to the bottom of the head, draw a second oval shape to represent the main body of the lion.

Step 3: Attach the Ears to Your Lion Drawing
In this step, attached to each side of the head, draw the ears represented by two small oval shapes.

Step 4: Draw the Legs
Draw the front legs represented by four vertical lines. This should lead toward two oval shapes representing the paws. Draw the additional visible rear paw and thigh, represented by oval shapes.

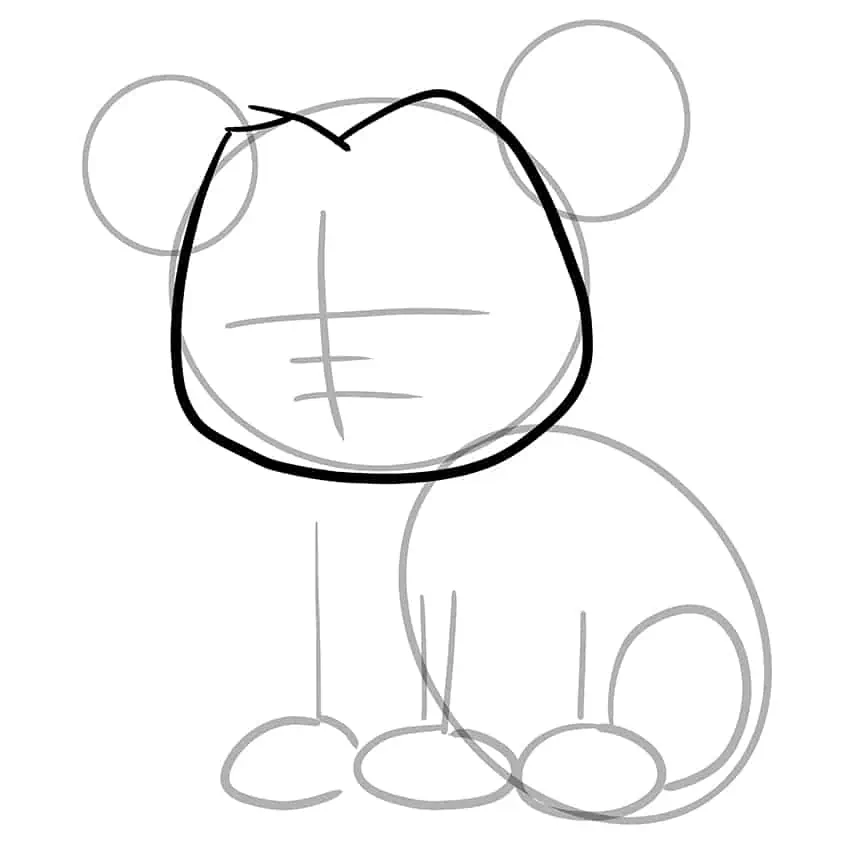
Step 5: Add the Facial Guidelines
Within the head, draw a center vertical line. Continue to draw a center horizontal line overlapping the vertical line. Draw an additional two horizontal lines beneath the center point.

Step 6: Outline the Head of Your Lion Drawing
Use the previously drawn construction lines to aid you in outlining a more realistic head for your lion sketch.
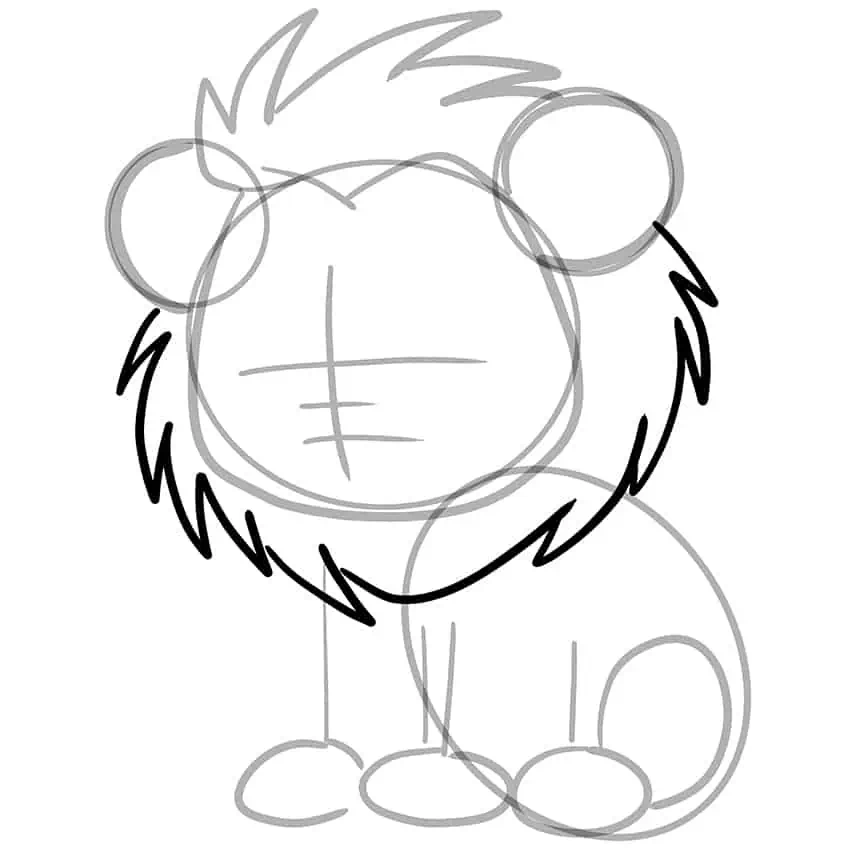
Step 7: Draw the Top Mane
Begin by drawing the sharp-ended mane hair at the top of your lion head drawing. Follow this by outlining each of the ears.

Step 8: Continue to Draw the Lower Mane
Complete the mane by drawing the sharp-ended edges surrounding your lion head drawing.
Step 9: Outline the Main Body
Use the previously drawn construction lines to aid you in outlining the main body of your lion drawing.

Step 10: Continue to Outline Your Lion Sketch
In this step, outline the legs and each of the paws using the previously constructed lines to aid you. Draw the visible separation lines within each paw.

Step 11: Draw the Tail
Attached to the rear of the lion, draw the curving tail with a sharp end. Complete the step by drawing the inner ear lobes within each ear.
Erase any still visible construction lines to finish off this step.

Step 12: Add the Facial Features
In this step, being to draw the eyes, eyebrows, curving muzzle, nostrils, and mouth lines to your lion sketch. Now erase any unnecessary guidelines before you start the coloring process.

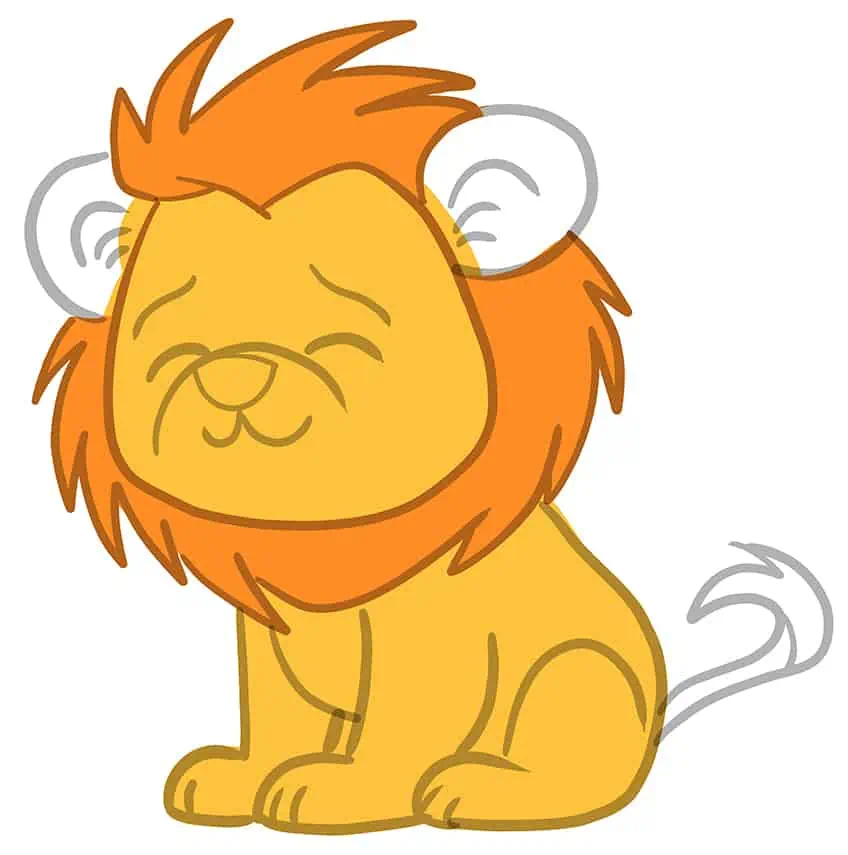
Step 13: Apply the First Color Coat
With a fine, sharp brush and yellow paint, evenly coat the lion.

Step 14: Color the Mane on Your Lion Sketch
Use the same brush as previously and switch to orange paint, and evenly coat the mane.
Step 15: Add Color to the Ears and Tail
Begin this step by evenly coating the ears and tail, using a thin brush and a light shade of yellow paint. Continue using black paint, and trace the facial features, switch to dark brown paint to color the nose area.
Step 16: Shade and Highlight the Face
Begin by using a fine, sharp brush and a light shade of yellow paint, and evenly paint the lower mouth area of the lion. Continue by using brown paint to add fine spots on each side of the face.
With a thin brush and a shade of peach paint, apply shading to the lower edge of the face, the top edges, and below the mane on your lion drawing. Repeat using a small, soft brush and white paint to add a fine highlight on each side of the face.

Step 17: Continue to Contour Your Lion Drawing
Begin by lightly shading between the edges of the legs and body, using a soft brush and peach paint. Repeat using brown paint. Continue using light yellow and white paint, and add soft highlights within each of the visible paws and chest area. Use a blending brush and softly spread the coats upwards. Complete the step using brown paint to add a soft streak within the main body.

Step 18: Shade the Mane
Continue to softly apply shading within the mane, using a soft brush and black paint. Repeat using orange paint. Switch to a blending brush to soften and spread the shading.
Step 19: Continue to Shade the Ears
With a small, soft brush and brown paint, apply soft shading within each ear. Use a blending brush to soften and spread the shading. Repeat this process with the tail, by coloring the tip with a combination of orange and brown paint.
Make sure that the first color coat is still visible.

Step 20: Apply a Ground Shadow
With a small, soft brush and dark purple paint, fill the gaps between the lion and the surface. Use a blending brush to spread and soften the ground shadow.

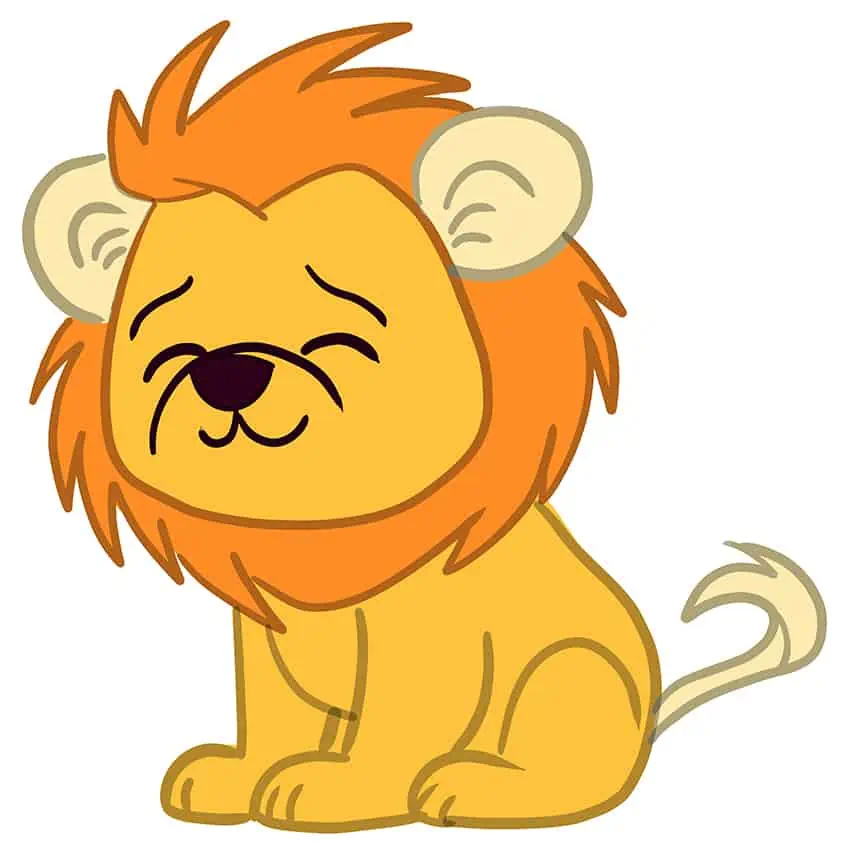
Step 21: Finalize Your Lion Drawing
In your final step on how to draw a lion, select a thin brush and black paint, and sharply trace the outlines of the lion.

Well done on learning how to draw a lion easily! Drawing is a skill that takes time and practice to develop, and you should be proud of the progress you’ve made. Now that you have learned the fundamentals of drawing a lion, you can experiment with different styles and techniques to make your artwork even more unique and captivating. Consider adding shading and texture to bring your lion to life, or try sketching them in different poses and settings to expand your creative repertoire. Remember that drawing is all about self-expression and having fun, so don’t be afraid to take risks and let your creativity soar. Keep honing your skills and pushing your artistic boundaries, and you’ll be amazed at how far you can go.
Frequently Asked Questions
How to Draw a Lion’s Mane Realistically?
To draw a lion’s mane realistically, start by sketching the basic shape of the head and neck. Then, use quick, short strokes to create the appearance of individual strands of hair. Start at the base of the mane and work your way outwards, gradually building up the volume and texture. Consider using a variety of line weights to create depth and dimensionality, and pay attention to the way the hair flows and falls around the lion’s face and shoulders.
How to Capture the Texture of a Lion’s Fur in a Drawing?
To capture the texture of a lion’s fur in a drawing, start by sketching out the basic shape and structure of the lion’s body. Then, use a combination of short, overlapping strokes to create the appearance of fur. Start at the base of the fur and work your way outwards, gradually building up the volume and texture. Pay attention to the way the fur flows and falls around the lion’s body, and use a variety of line weights to create depth and dimensionality. You may also want to consider using shading and highlighting techniques to add additional texture and dimensionality to your lion drawing.

IzzyBll is a digital artist and content creator from Israel and currently residing in South Africa. Originally coming from videography, Izzy then turned to digital graphic art. He specialized in using digital drawing software such as Photoshop and Procreate. Drawing and photo editing has always been a sort of second nature for Izzy. In doing so, he can now look back on 5 years of experience in the industry, completing commissions for various well-known brands such as Audi.
Learn more about IzzyBll and about us.