Sword Drawing – A Guide to Drawing Epic Blades
This post may contain affiliate links. We may earn a small commission from purchases made through them, at no additional cost to you.
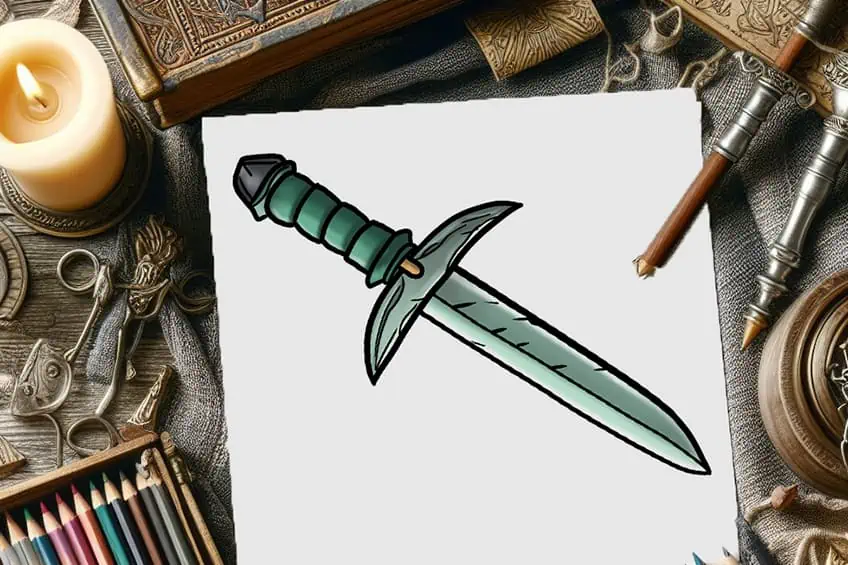
Drawing a sword can be an exciting and rewarding art project. Whether you’re interested in medieval weaponry, or fantasy art, or just want to learn a new drawing skill, this guide will take you through 13 essential steps to create a realistic or stylized sword. This guide suits artists of all levels, from beginners to more experienced illustrators looking to refine their skills.
Blade Basics: How to Draw a Sword Step-by-Step
This visual guide meticulously outlines each step towards crafting the final image of a sword. By adhering to this guide, you’ll gain mastery over the art of learning how to draw a sword!
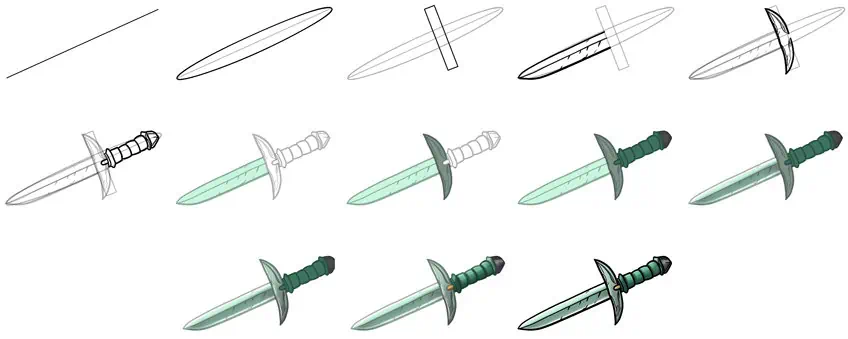
Step 1: Draw the Center Line On Your Sword Sketch
Begin by drawing a straight line in an angled position.
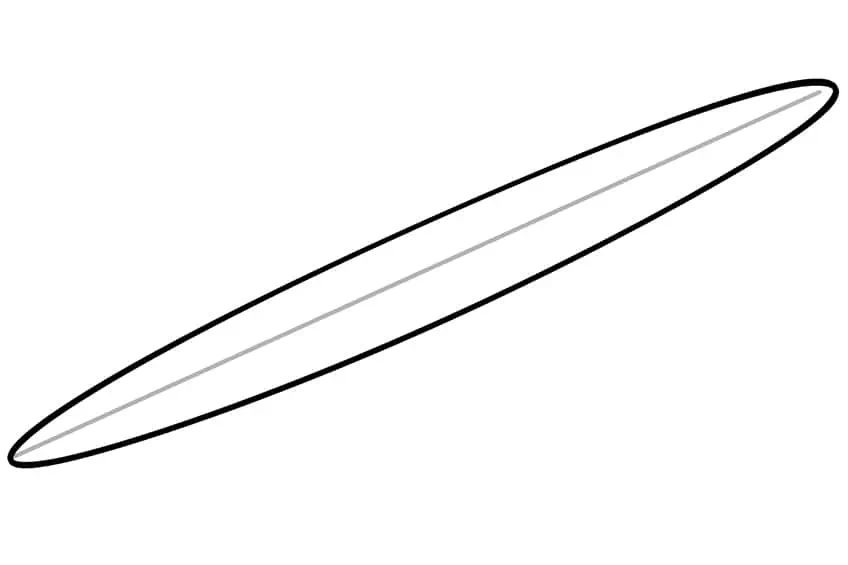
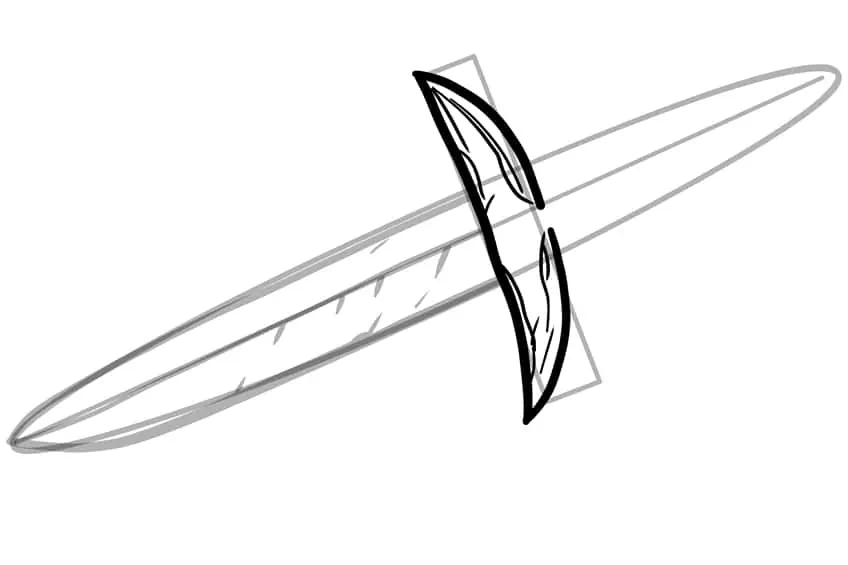
Step 2: Add the Guideline
Draw a narrow oval shape around the center line to serve as the main guideline for the sword’s shape. This will help outline the area where the sword will be drawn, providing a framework for its design.
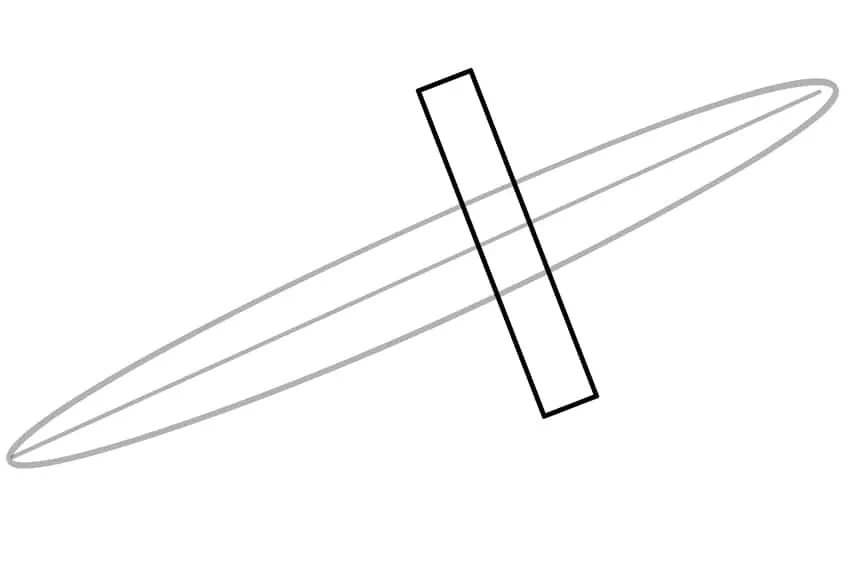
Step 3: Draw the Guard On Your Sword Sketch
Draw a rectangle overlapping the sword oval previously drawn. This will represent the guard of the sword.
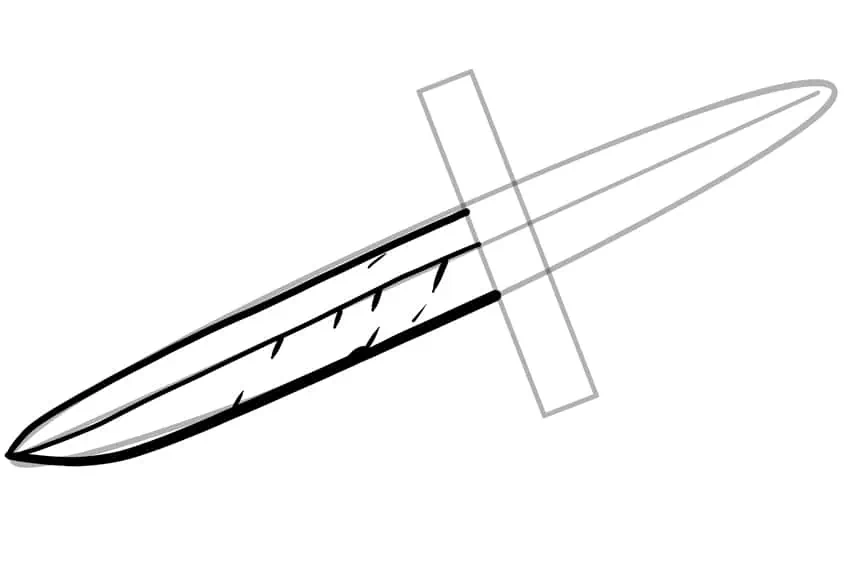
Step 4: Outline the Sword Blade
Using the previously drawn guidelines to aid you, outline the sword blade by drawing a center line and several sharp cut lines.
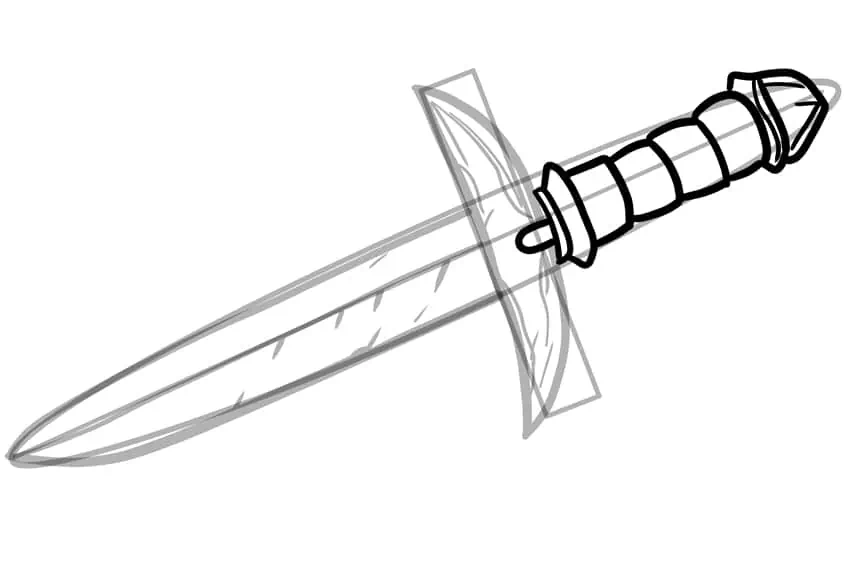
Step 5: Continue to Outline Your Drawing of a Sword
Continue to outline the curved sword guard on your easy sword drawing.
Step 6: Add an Outline to the Handle
Begin to sketch the handle and progress in a sequential manner. Start with the crown, followed by drawing the four straps, and conclude by sketching an arch around the guard to finish the handle.
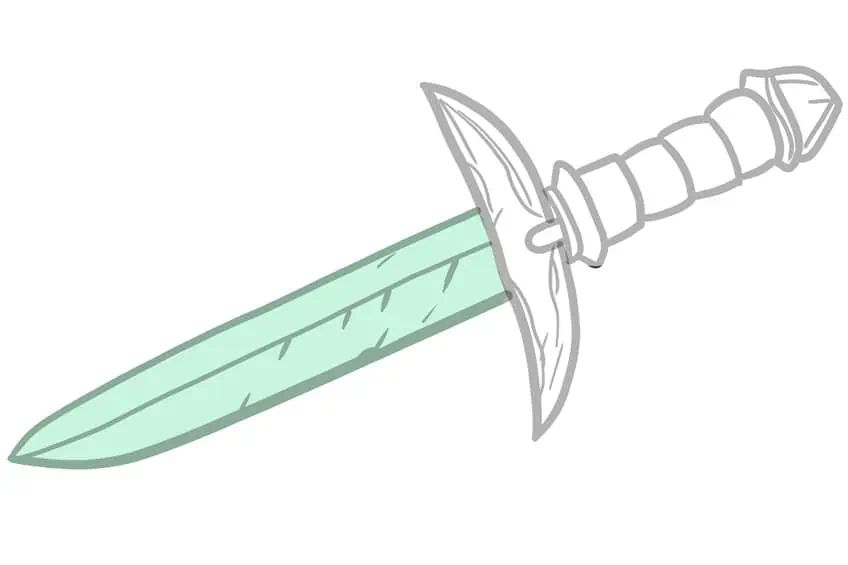
Step 7: Add the First Color Coat
Choose a fine, sharp brush and light lime green paint, then apply an even layer across the blade.
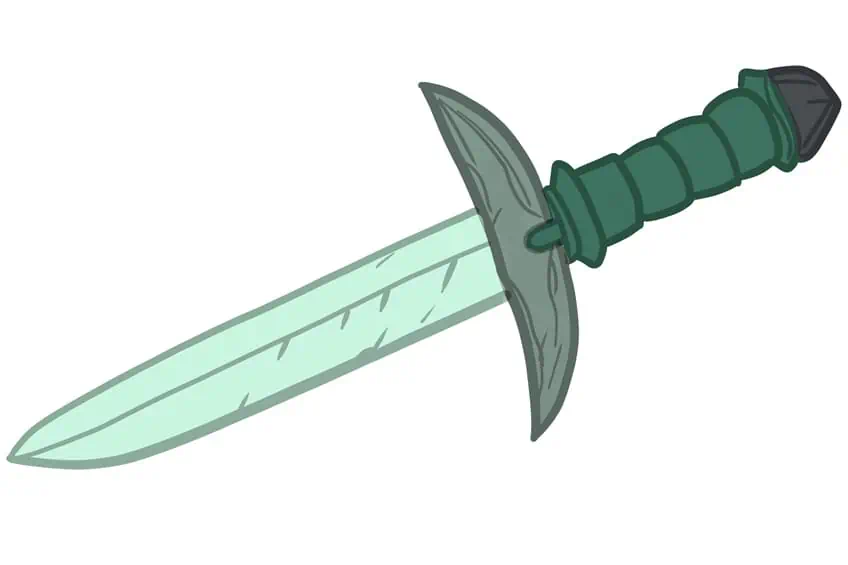
Step 8: Add the Secondary Color Coat
Using the same brush and a darker shade of green, continue to coat the guard on your drawing of a sword.

Step 9: Color the Handle on Your Sword Drawing
Begin to color the handle on your sword drawing using a fine, sharp brush and green paint. Switch to a dark gray paint to coat the crown.
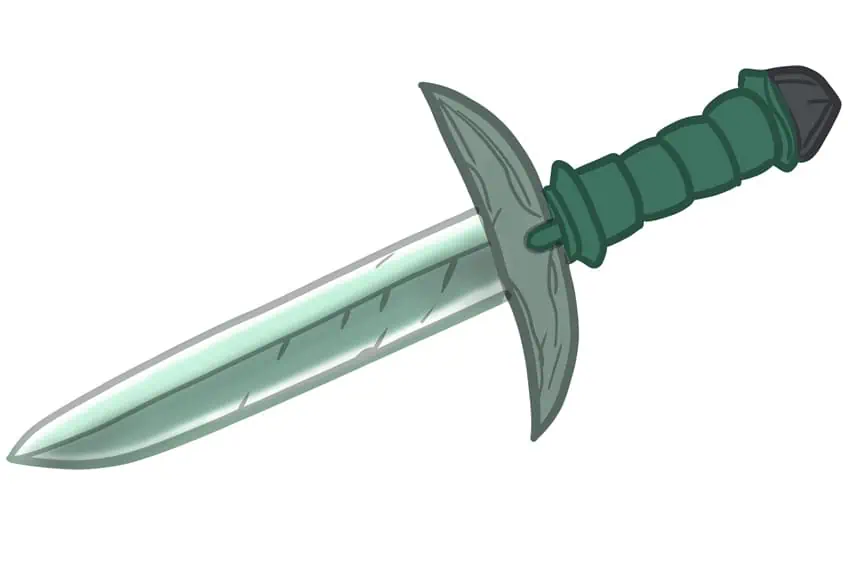
Step 10: Shade and Highlight the Blade
Begin by shading the center of the blade with black paint, using a small, soft brush for a subtle effect. Switch to a fine, sharp brush and white paint to apply highlights along the sides of the blade, creating a contrast and adding depth.
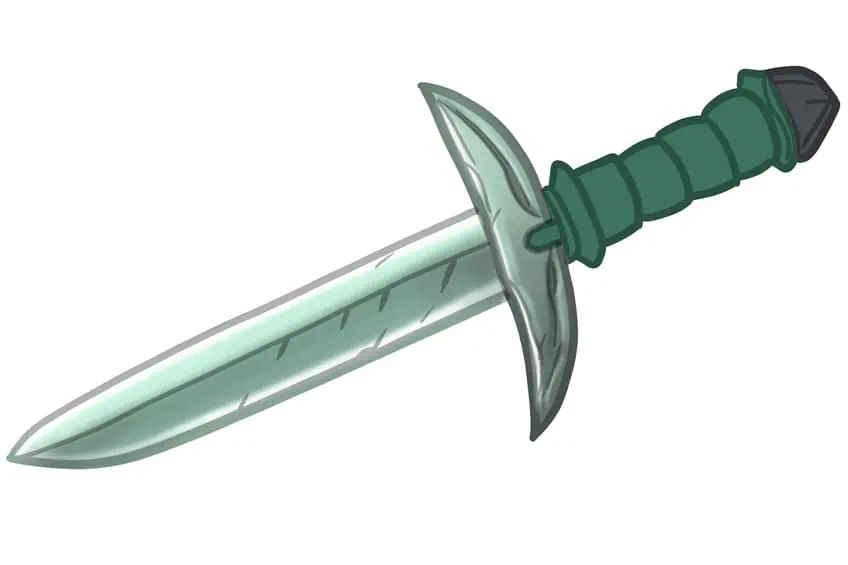
Step 11: Continue Onto the Guard
Start by using a small, soft brush and black paint to add shading to the edges of the guard, emphasizing its structure. Then, with the same type of brush, apply light lime paint to highlight the opposite half, enhancing its appearance. Finally, employ a fine, sharp brush and white paint to create precise highlight lines, adding detail and dimension.
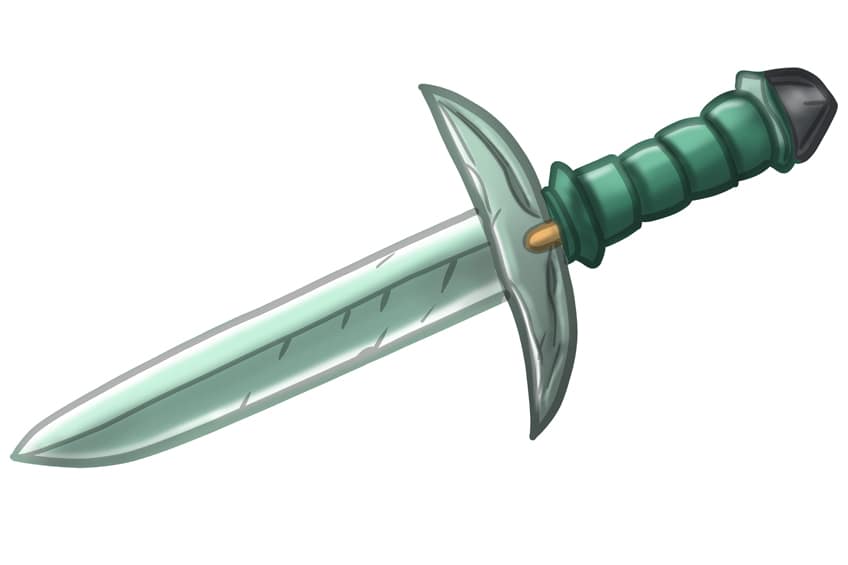
Step 12: Add Shading and Highlights to the Handle
Begin by shading the lower side of the handle components with black paint, using a small, soft brush for a gentle effect. Follow this by applying white paint with the same brush to add soft highlights to these areas. For the crown, utilize white paint to bring out its highlights.
Then, with a fine, sharp brush, apply golden yellow paint to the guard’s jewel, giving it a vibrant, detailed appearance.
Step 13: Finalize Your Sword Drawing
Finish off your sword drawing by selecting a fine, sharp brush and black paint, and go over your sword’s outline and inner texture lines.

Concluding our journey on how to draw a sword, it’s evident that the process, broken down into 13 detailed steps, can transform a daunting task into an achievable, enjoyable art project! Each step, from sketching the initial outline to refining the blade, guard, handle, and pommel, builds upon the previous, ensuring a comprehensive understanding and mastery of sword drawing. This guide not only equips you with the technical skills needed to create a visually compelling sword but also instills a sense of accomplishment and readiness to tackle more complex drawing challenges!
Frequently Asked Questions
How Do I Draw the Intricate Details of a Sword Hilt or Guard Realistically?
Drawing the intricate details of a sword hilt or guard realistically requires patience and attention to detail. Personally, I start by studying reference images of real swords or historical replicas to understand the specific design elements and decorative motifs. Then, I sketch out the basic shapes of the hilt and guard, paying close attention to proportions and symmetry. Using fine lines and careful shading, I gradually add the intricate details such as filigree, engravings, or gemstones, building up layers of texture and depth to create a realistic representation.
How Can I Use Shading and Highlighting to Add Depth and Dimension to My Sword Drawing?
Shading and highlighting are essential techniques for adding depth and dimension to a sword drawing. To create depth, I start by identifying the light source and determining where shadows fall on the sword’s surface. Using a variety of shading techniques such as hatching, cross-hatching, and blending, I carefully render the shadows to create volume and form. Then, I use highlights to accentuate areas where light hits the sword, such as the blade’s edge or reflective surfaces. By balancing light and shadow effectively, I can enhance the three-dimensional appearance of the sword, making it appear more lifelike and dynamic.

Matthew Matthysen is a multidisciplinary artist. He completed his fine art degree, majoring in History of Art and Contemporary Drawing Practice at the University of Witwatersrand, South Africa. Before joining acrylgiessen In 2020, Matthew worked part-time as an art teacher at Reddford Blue Hills High school. Matthew creates drawing and painting tutorials for acrylgiessen and captures them not only photographically and in written form. He also records the creation of his works in his own creative studio as in video format, from which later with a voiceover and a video editor also drawing tutorials for the Youtube channel of acrylgiessen are created.
Learn more about Matthew Matthysen and about acrylgiessen.