Unicorn Drawing – Drawing Fantastical Creatures
This post may contain affiliate links. We may earn a small commission from purchases made through them, at no additional cost to you.
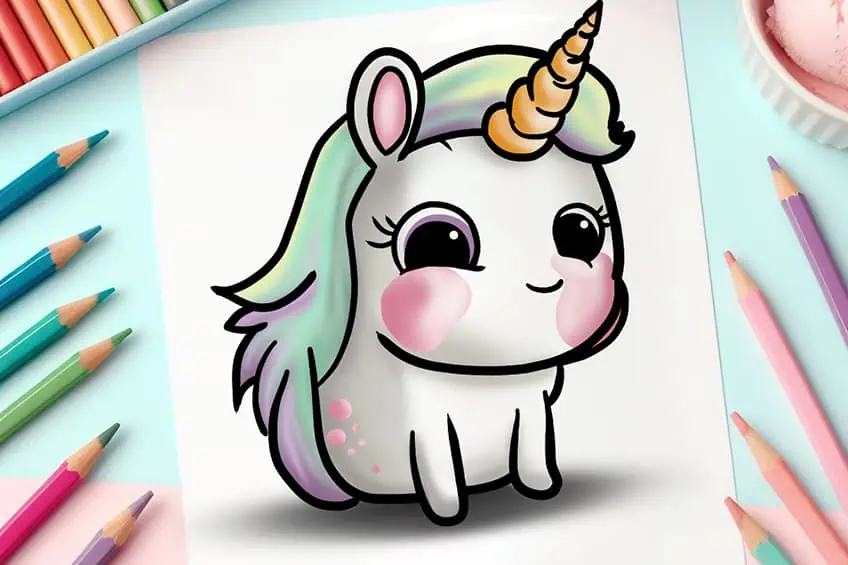
Embarking on the journey of drawing a unicorn is a magical experience, and with 13 carefully crafted steps, you’ll bring this mythical creature to life. The process invites you to infuse your own creativity into the flowing mane, the iconic spiraled horn, and the wispy tail, making your unicorn uniquely yours. This step-by-step approach not only guides you in creating a beautiful piece of art but also connects you to the enchanting world of fantasy with every stroke of your pencil.
Magical Maneuvers: How to Draw a Unicorn Step-by-Step
This step-by-step tutorial is your detailed blueprint for navigating through each stage of learning how to draw a unicorn. By adhering to its guidance, you’ll not only become adept at illustrating a unicorn but also enhance your overall drawing abilities along the way!

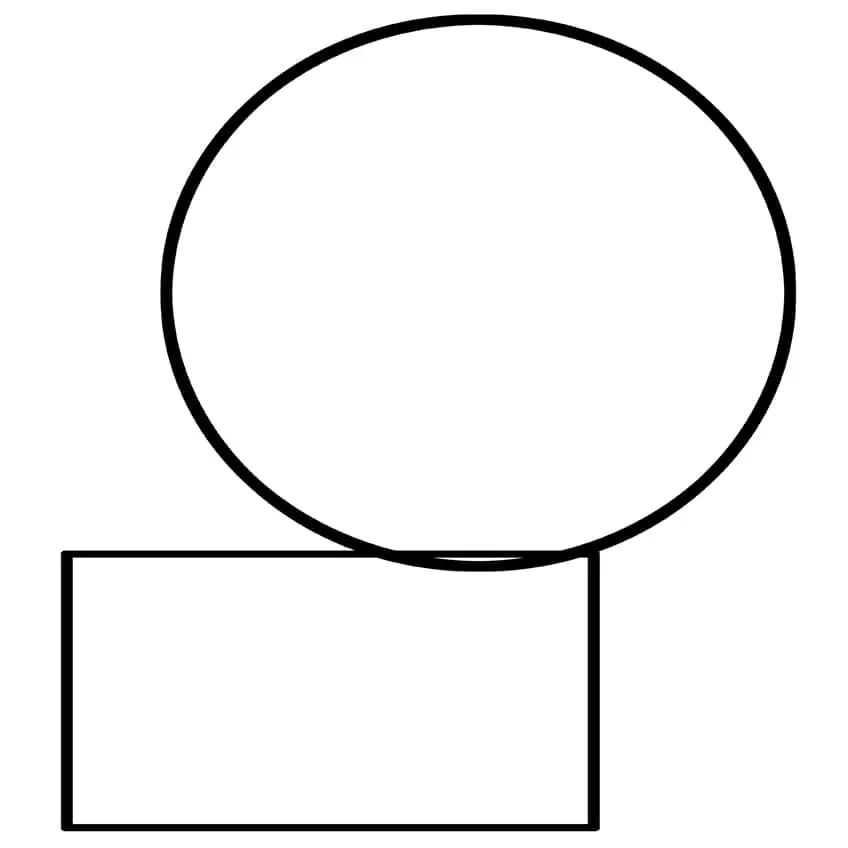
Step 1: Draw the Main Head on Your Unicorn Sketch
Start drawing your adorable unicorn by creating an oval shape for the head. Then, beneath that, sketch a rectangle to outline the main body of your unicorn.
Step 2: Add the Facial Guidelines
Draw a single center line and two horizontal guidelines within the face of your realistic unicorn drawing.

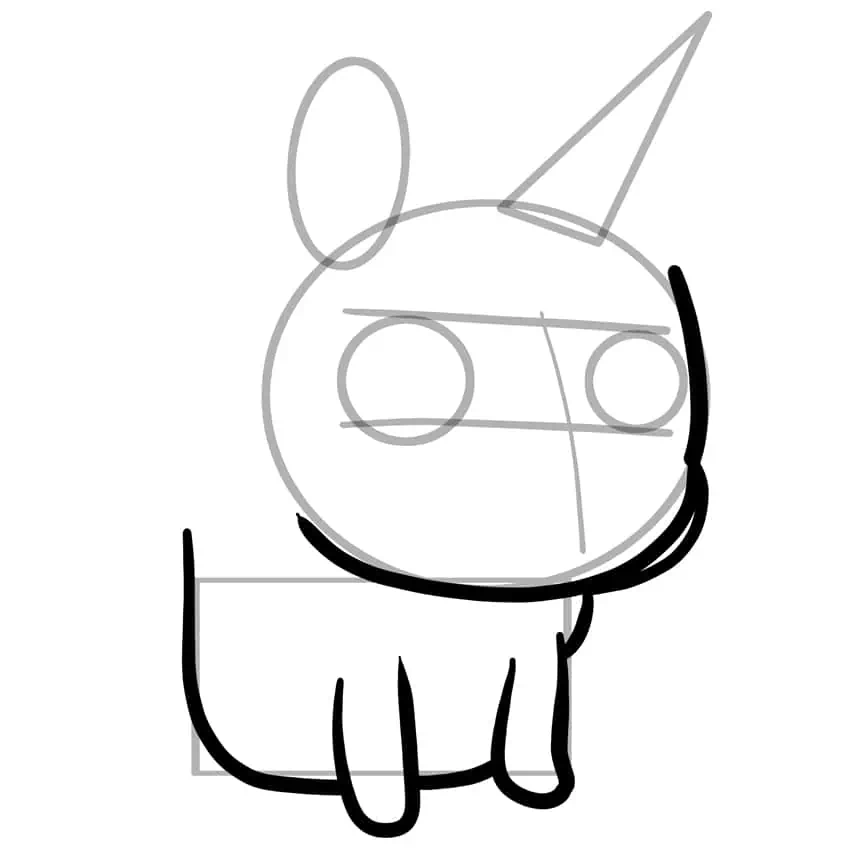
Step 3: Draw the Eyes on Your Unicorn Head Drawing
Within the guidelines, sketch two circular eyes, making the left eye larger due to its proximity to the perspective angle. Place the ear to the left above the head, and position the horn centrally atop the head. Your unicorn head drawing is starting to come to life!

Step 4: Outline Your Unicorn Artwork
Use the construction lines to aid you in outlining the main body and head areas of your unicorn head outline.
Step 5: Draw the Mane
Draw the long mane flowing from the top of the head towards the back of the unicorn. Ensure the horn and ear are illustrated in front of the mane for proper layering. Finish this step by removing any visible construction lines or guidelines that remain.

Step 6: Detail the Facial Features
Utilize the guidelines you’ve drawn earlier to refine the facial details, starting with the eyes. For each eye, draw a half-circle at the bottom, leaving the top half blank, and include a small, unfilled circle within each to represent the reflection. Add delicate eyebrows at the outer edges of each eye.
Then, proceed to sketch the line for the mouth and detail the inner part of the earlobe.

Step 7: Apply Color to Your Realistic Unicorn Drawing
Apply an even coat to the mane using a fine, sharp brush dipped in a shade of peppermint green.

Step 8: Continue to Add Color
With a fine, sharp brush, apply pink paint to color the earlobe and create blush on the cheeks, as well as several spots along the main body’s rear. Use the same type of brush with golden yellow paint to color the horn. For the eye, opt for purple paint to bring it to life.

Step 9: Shade the Main Body
Employ a small, soft brush with dark gray paint to gently add shading around the head and body edges. Then, use a blending brush to smooth out and extend the shading across the curves.

Step 10: Color Blend the Mane on Your Cute Unicorn Drawing
To truly capture the essence of a unicorn, we need to infuse the mane with vibrant colors. Start by using a small, soft brush dipped in purple paint to apply multiple strokes along the mane’s curvature. Continue this process with bright yellow and bright green paints. A blending brush can then be utilized to soften and merge the colors seamlessly.

Step 11: Add Highlights and a Secondary Color Coat
With a small, soft brush and dark gray paint, gently apply shading to enhance the blush on the cheeks, inside the ear, on the body’s side spots, and within the horn for depth. Next, take a small, soft brush dipped in white paint to gently add highlights along the edges, bringing dimension and illumination to your artwork.

Step 12: Apply a Shadow to Your Unicorn Artwork
Apply shading under the unicorn using a small, soft brush dipped in black paint, then employ a blending brush to gently diffuse and extend the shading sideways, creating a softened shadow effect.

Step 13: Finalize Your Cute Unicorn Drawing
Utilize a fine, sharp brush and black paint to carefully trace the outlines and inner details. Complete the eyes by filling them in, and your masterpiece is finished!

Congratulations on completing your unicorn drawing journey! Your dedication and creativity have truly paid off, transforming a blank canvas into a magical, mythical creature. This isn’t just a testament to your skill in drawing a unicorn but a reflection of your artistic growth and imagination. Embrace this achievement as a stepping stone to even more intricate and enchanting creations. Remember, every pencil stroke you’ve made has added to your unique story as an artist. Well done on unlocking this magical milestone!
Frequently Asked Questions
How Can I Make My Unicorn Drawing Unique and Imaginative?
Making my unicorn drawing unique and imaginative is all about tapping into my creativity and adding personal touches. Personally, I like to experiment with different poses, expressions, and magical elements to bring my unicorns to life. Whether it’s giving them a whimsical hairstyle, incorporating floral or celestial patterns into their mane and tail, or surrounding them with enchanting backgrounds like starry skies or lush forests, these creative choices help my unicorns stand out and capture the viewer’s imagination.
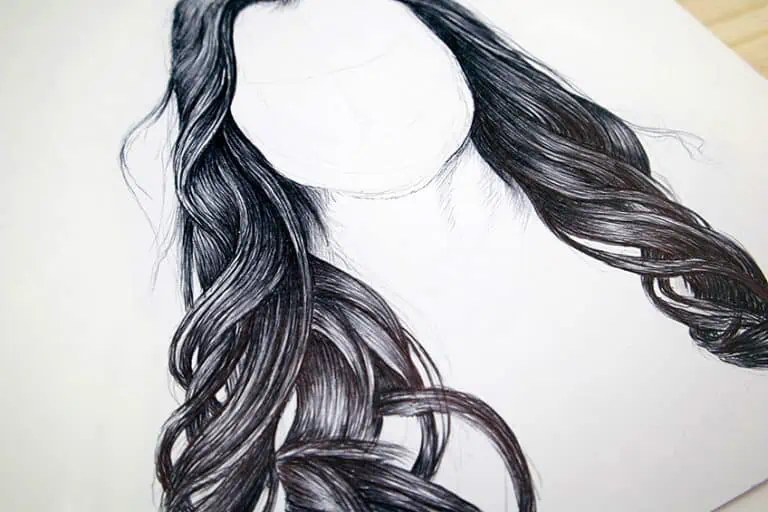
How Do I Draw the Flowing Mane and Tail of a Unicorn?
Drawing the flowing mane and tail of a unicorn requires attention to detail and a sense of movement. Personally, I start by sketching the basic shape and flow of the mane and tail using loose, curved lines to create a sense of fluidity and grace. Then, I add layers of detail, using longer strokes to depict the strands of hair and shorter strokes for texture and volume. By varying the length and direction of the strokes, I can achieve a natural-looking mane and tail that adds to the unicorn’s magical allure.

Matthew Matthysen is a multidisciplinary artist. He completed his fine art degree, majoring in History of Art and Contemporary Drawing Practice at the University of Witwatersrand, South Africa. Before joining acrylgiessen In 2020, Matthew worked part-time as an art teacher at Reddford Blue Hills High school. Matthew creates drawing and painting tutorials for acrylgiessen and captures them not only photographically and in written form. He also records the creation of his works in his own creative studio as in video format, from which later with a voiceover and a video editor also drawing tutorials for the Youtube channel of acrylgiessen are created.
Learn more about Matthew Matthysen and about acrylgiessen.