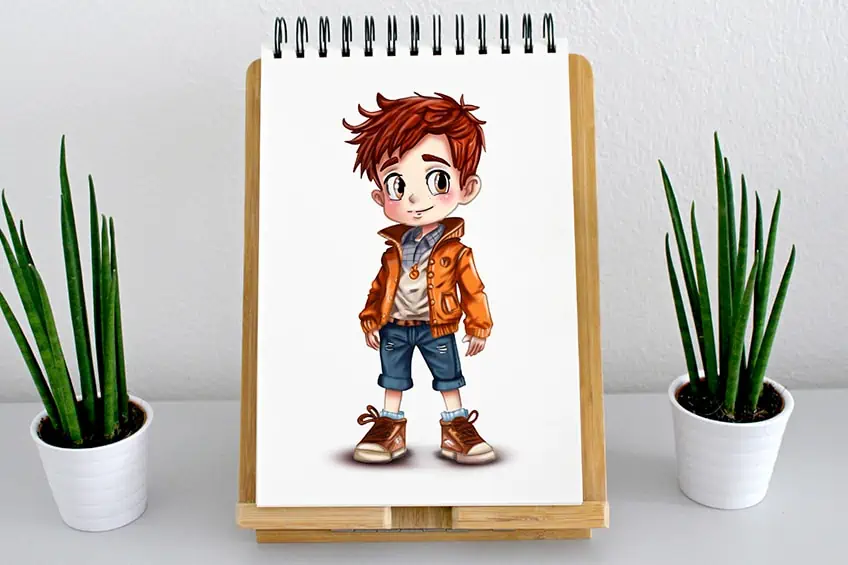
Boy Drawing – Create an Easy and Realistic Drawing of a Boy
This post may contain affiliate links. We may earn a small commission from purchases made through them, at no additional cost to you.
Drawing a boy can be a fun and rewarding experience that can help you develop new artistic skills. By paying close attention to the proportions and details of the face and body, you’ll learn how to create lifelike characters that jump off the page. As you practice drawing boys, you’ll also develop a better understanding of light, shadow, perspective, and composition, which can be applied to other areas of art and design. Whether you’re just starting out or looking to refine your skills, drawing a boy is a great way to gain new insights and push your creative boundaries. So, grab your sketchpad and pencils, and let’s get started on your next masterpiece where we teach you how to draw a boy step-by-step!
How to Draw a Boy in Today’s Easy Tutorial
Learning how to draw a boy can be a fun and rewarding experience, but it can also be intimidating if you’re not sure where to start. To get started, begin with a simple outline of the head and body, paying close attention to the proportions of the face and limbs.
Next, add in the details that give your boy character, such as clothing, hairstyle, and facial expressions. Don’t be afraid to experiment and try different styles until you find one that suits your vision. With a little practice and patience, you’ll be drawing boys that leap off the page in no time!
Follow the below collage which demonstrates each step you will take to achieve the final result of a realistic boy drawing!

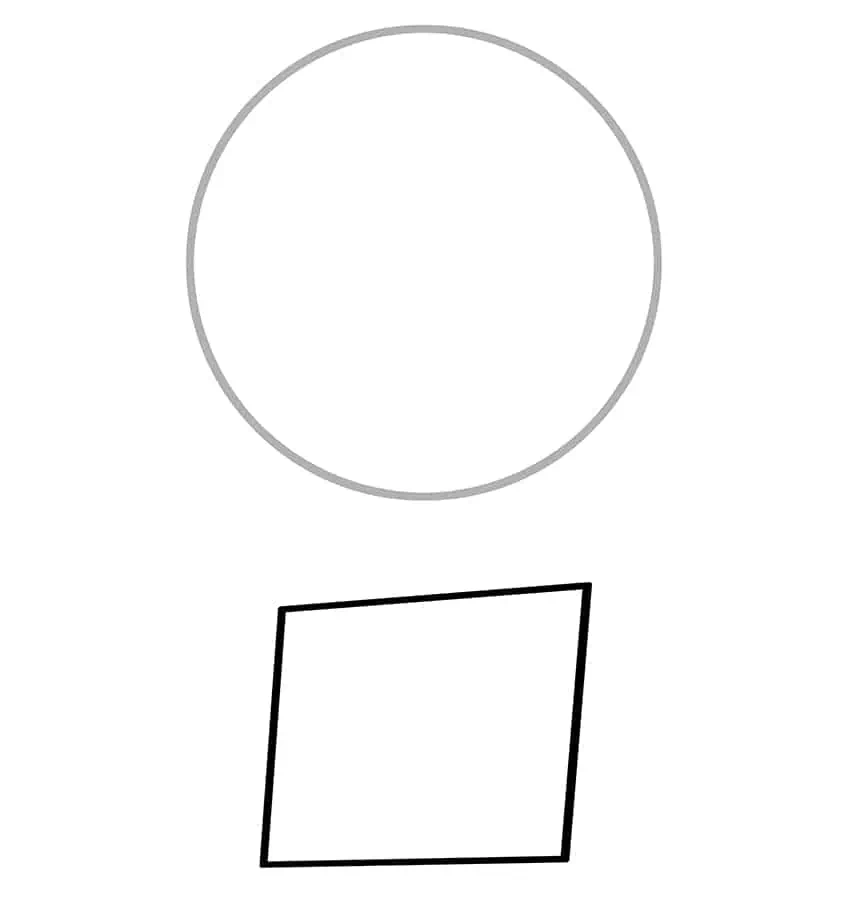
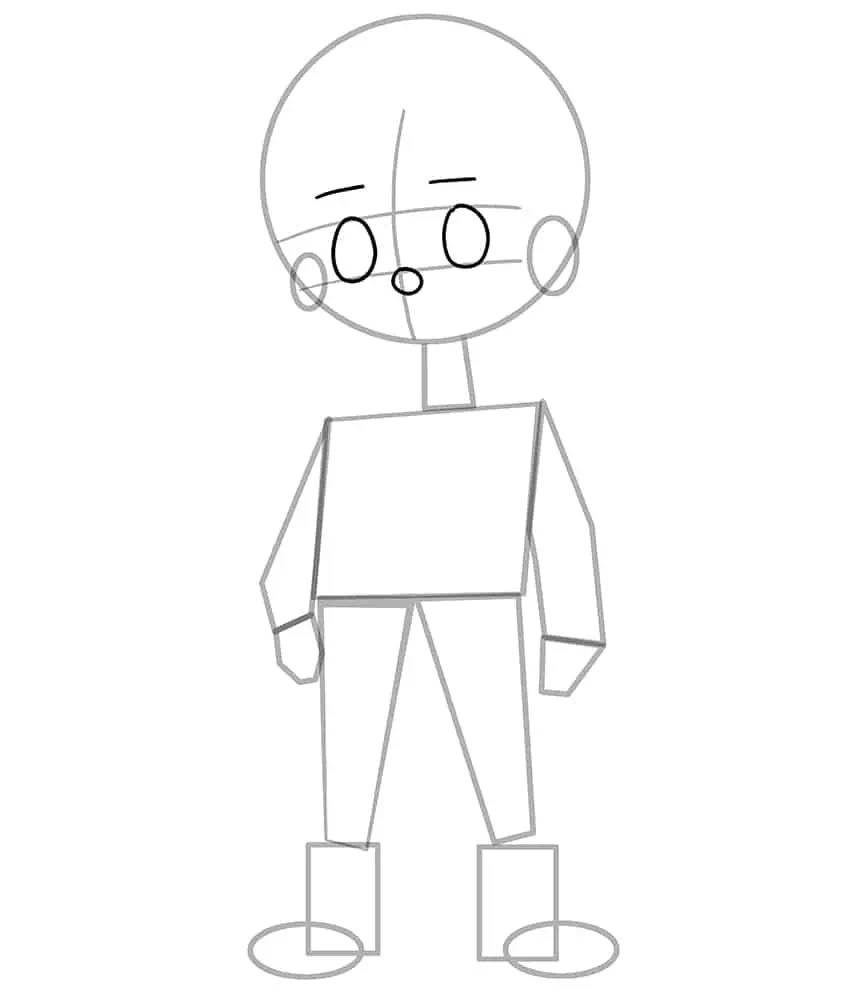
Step 1: Draw the Head
Begin your easy boy drawing, by drawing a circle to represent the head of the boy.

Step 2: Draw the Main Body
Below the circle, draw the main body represented by a parallelogram.
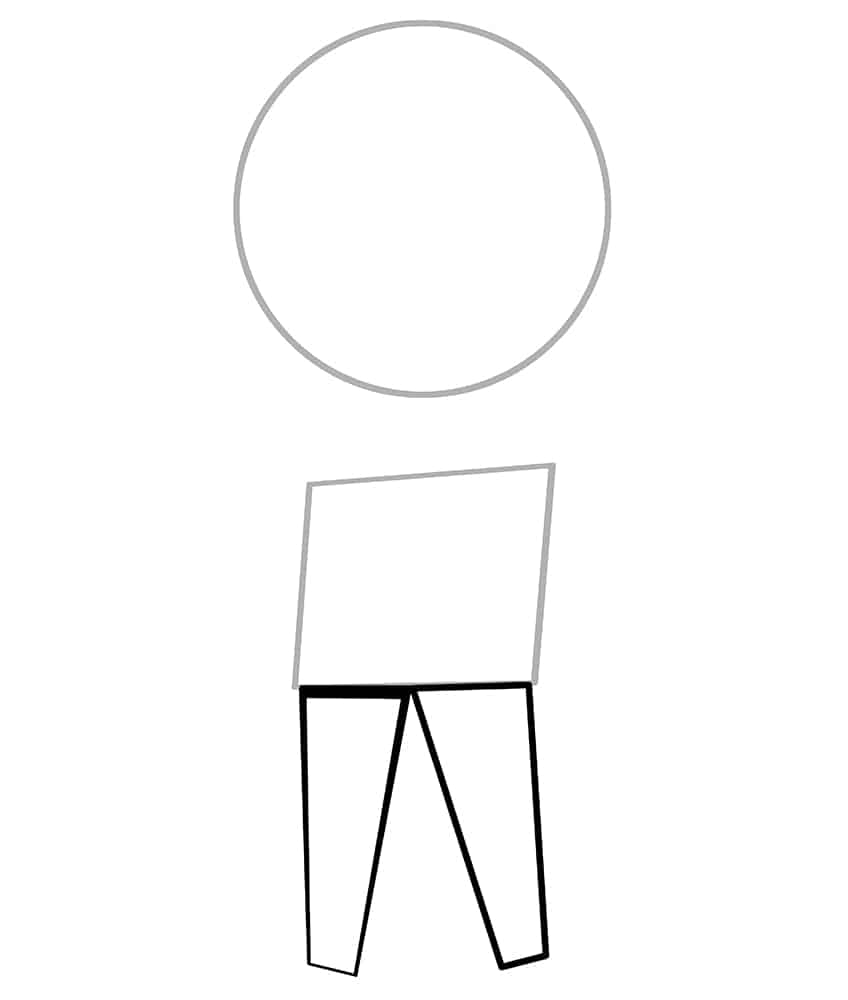
Step 3: Add the Legs on Your Boy Drawing
Attached to the main body previously drawn, draw two angled rectangles to represent the legs on your boy drawing.
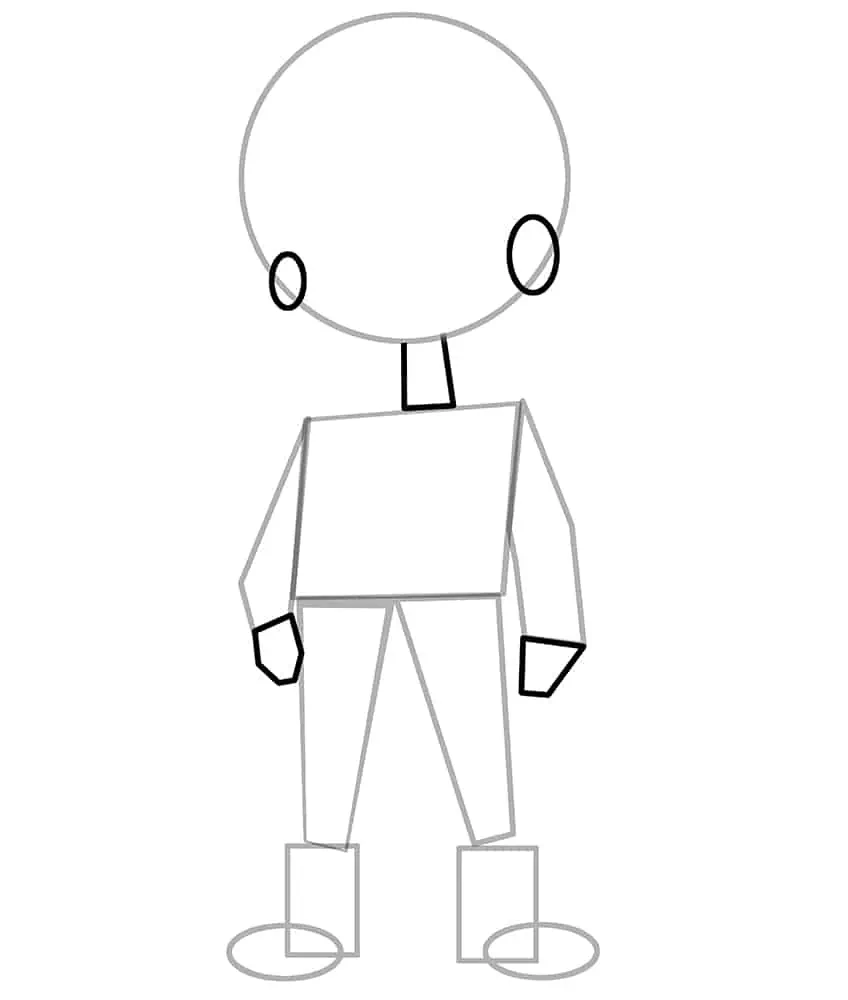
Step 4: Draw the Arms
On each side of the main body, draw the construction lines of the arms.

Step 5: Draw the Feet on Your Boy Sketch
Draw two narrow oval shapes at the bottom of each leg to represent the feet. Overlapping each of the ovals, draw a rectangle shape to represent the rest of the boy’s leg.

Step 6: Add the Hands, Neck, and Ears
Attached to the end of each arm, draw the construction lines for each hand. Continue by connecting the head to the main body by drawing the two necklines. Finish this step by drawing two small oval shapes on each end of the head to represent the ears.
Step 7: Draw the Facial Guidelines
Within the face, draw a vertical curving line and two horizontal crossing lines.

Step 8: Continue to Add the Facial Guidelines
Use the previously drawn guidelines to aid you in drawing two symmetrical eyes. Continue to include the eyebrows and the nose represented by a small oval.
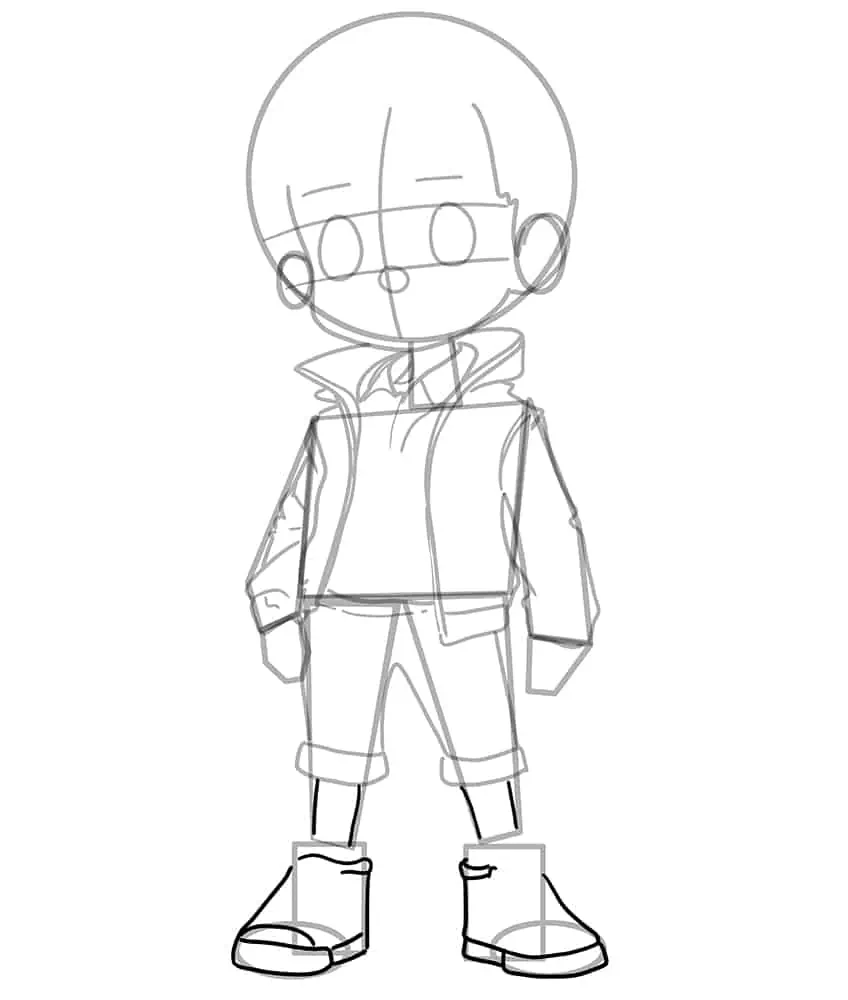
Step 9: Outline the Face on Your Boy Sketch
In this step, begin to outline a more realistic face for your boy drawing.

Step 10: Outline a Realistic Jacket
Outline the shirt and jacket wrapped around the body of your boy drawing, using the previously drawn construction lines to aid you.
Make sure that the collar should wrap around the neck construction lines drawn in step six.

Step 11: Draw the Outline of the Arms
Make use of the previously drawn construction lines to aid you in outlining the arms and sleeves of the jacket.

Step 12: Outline the Shorts
Begin to outline the shorts on your boy drawing. Make sure these shorts look wrapped around the leg construction lines drawn in step three.

Step 13: Draw the Shoes on Your Boy Sketch
Outline the shoes around each of the feet, using the construction lines previously drawn.
Step 14: Add Texture to the Shirt and Jacket
On the shirt area, draw fine, curved lines to represent the creases and stretches of the shirt. Within the jacket, draw small circles to represent the buttons and a small pocket to the right. Continue to draw fine, horizontal lines to represent the seam line along the cuffs and bottom lining of the jacket.
Finish off by drawing fine details to the shorts such as the zipper and small cuts.

Step 15: Detail the Shoes
Draw the horizontal lines within each shoe to represent the shoelaces. At the top of the shoe, simply draw a curving bow for the knot. On the side of each shoe draw the fine markings. Complete the step by drawing the slightly visible sock on each foot.

Step 16: Outline and Texture the Hair
Use the head shape to aid you in outlining and wrapping the hair around the head. The hair should be drawn with some spikes and sharpened edges. To do this, draw fine lines within the hair to represent the hairline texture.

Step 17: Outline Realistic Eyes to Your Easy Boy Drawing
In this step, outline a more realistic set of eyes for your drawing of a boy.
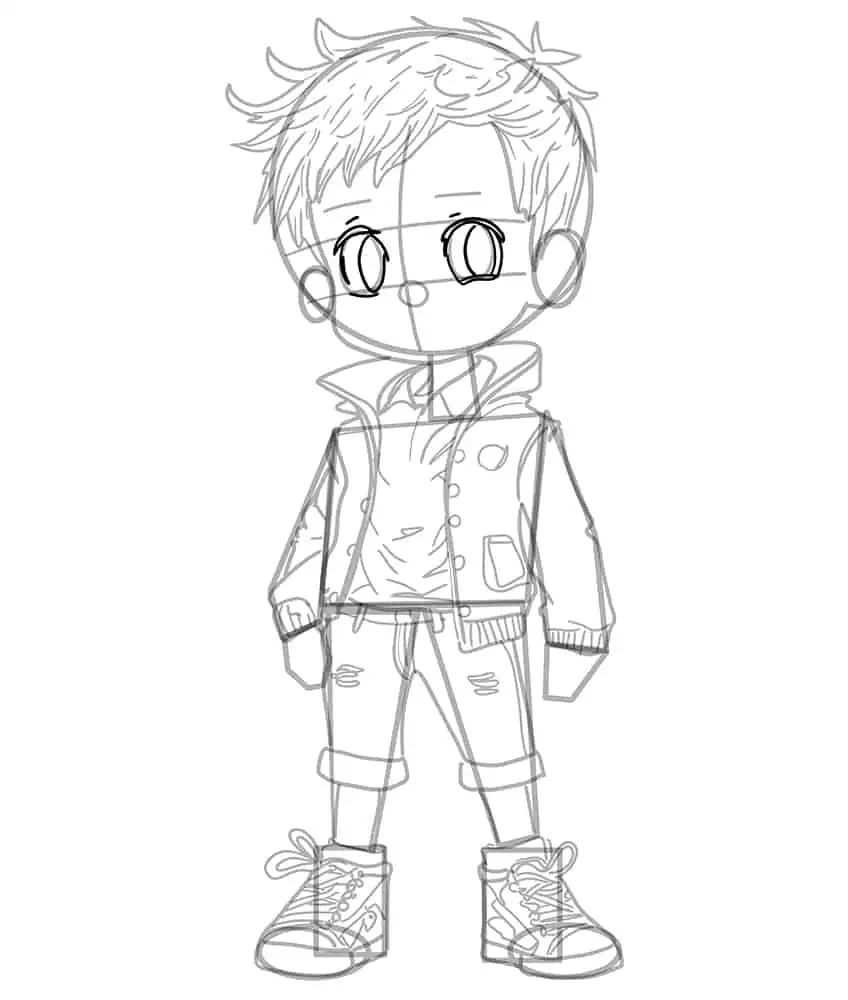
Step 18: Continue to Outline Your Drawing of a Boy
Use the hand construction lines to aid you in outlining more realistic hands. Continue to draw fine, inner lines to show each of the fingers. Draw the inner ear lobe within each ear, and draw the sharp-ended eyebrows above each eye. Complete the step by drawing the peace hand sign on the shirt.
Once you have completed this step, erase any construction lines that are still visible.

Step 19: Detail the Facial Features
Draw a fine, curving line within the face to represent the mouth and chin. Continue to draw the sharp-edged nose above the mouth. Finish off by drawing an iris within each eye.

Step 20: Apply the First Color Coat
Select a fine, sharp brush and light cream paint, and evenly coat the face, neck, hands, and legs on your drawing of a boy.

Step 21: Color the Hair on Your Easy Boy Drawing
Use the same brush as previously and switch to a bright shade of brown paint, and evenly color the hair.

Step 22: Add Color to the Jacket
In this step, evenly coat the jacket with a thin brush and orange paint.

Step 23: Color the Shorts on Your Boy Sketch
With a fine, sharp brush and nary paint, evenly coat the shorts by carefully painting around the rips in the shorts.

Step 24: Add Color to the Shirt
Use the same brush as previously and light khaki paint, and evenly coat the shirt on your boy drawing.

Step 25: Color the Shoes
In this step, evenly color each shoe and the belt on your boy drawing, using a fine, sharp brush and brown paint.

Step 26: Continue to Color You Drawing of a Boy
Evenly paint each eyebrow with a thin brush and brown paint. Continue using bright orange paint, and color the peace sign on the shirt. Complete the step using cream paint and continue to color the shoes.
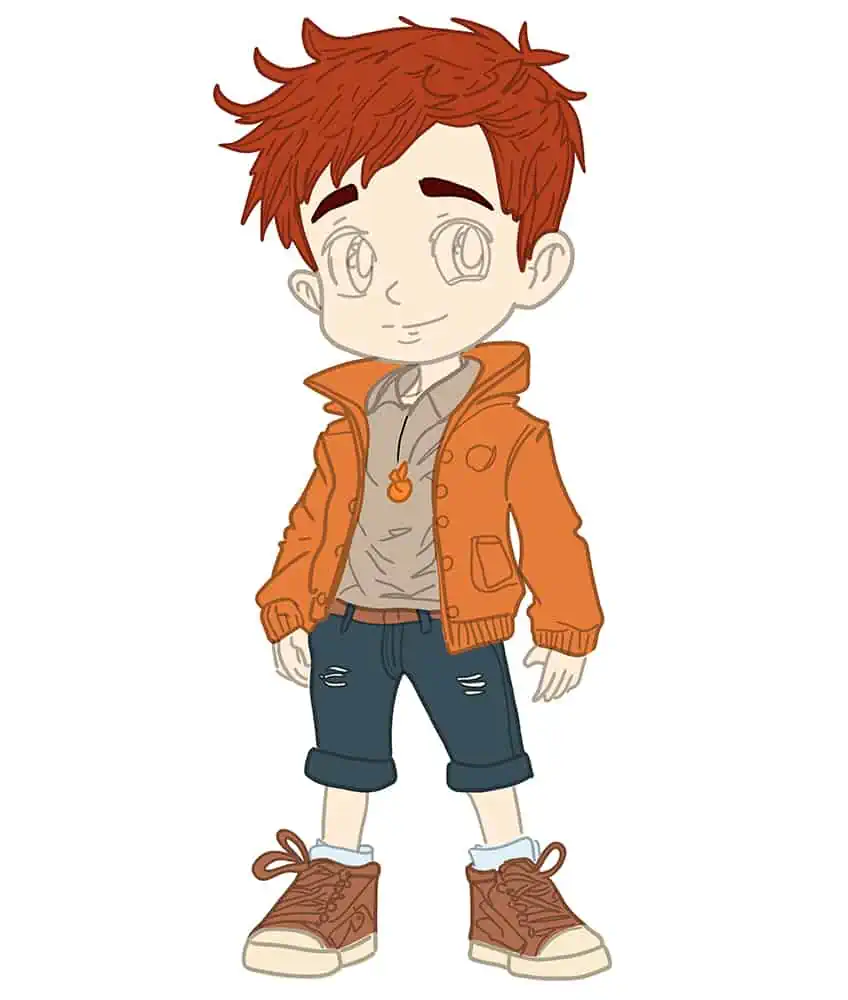
Step 27: Color the Eyes
With a fine, sharp brush and black paint, trace the outline of the eyes including the pupil. Switch to light brown paint and color the iris. Continue using white paint to color the shimmer within each eye including the sclera.

Step 28: Shade the Skin
In this step, add fine dots and sports along the center area of the face, with a thin brush and brown paint. This will represent the freckles on the boy’s face. Continue using a small, soft brush and pink paint, and add soft blush on each cheek. Repeat using white paint for highlights.
Complete the step using a soft brush and brown paint, and add light contouring to adjust the shading between the hair and face, the hands and jacket, and the legs and shorts.

Step 29: Shade the Hair on Your Boy Drawing
Select a small, soft brush and black paint, and trace the texture lines and edges within the hair. Complete the step by using a blending brush to soften and spread the shading in the direction of the hair’s texture.

Step 30: Highlight the Hair
Add highlights along the edges of the textured and shaded lines within the hair, using a fine, sharp brush and white paint.

Step 31: Shade and Highlight the Jacket
Use a small, soft brush and black paint, and add shading to the edges and creases of the jacket to enhance the structure. Repeat this step with a thin brush for finer areas. Finish this step using white paint to apply highlights along the edges of the jacket.

Step 32: Continue to Shade and Highlight Your Boy Drawing
In this step, use the same brush as previously and switch to black paint, and add shading and structure to the shorts. Continue to paint crease lines leading from the center area of the shorts outwards. Repeat using a small, soft brush and white paint to lightly add highlights to the edges.
Step 33: Shade and Highlight the Shirt
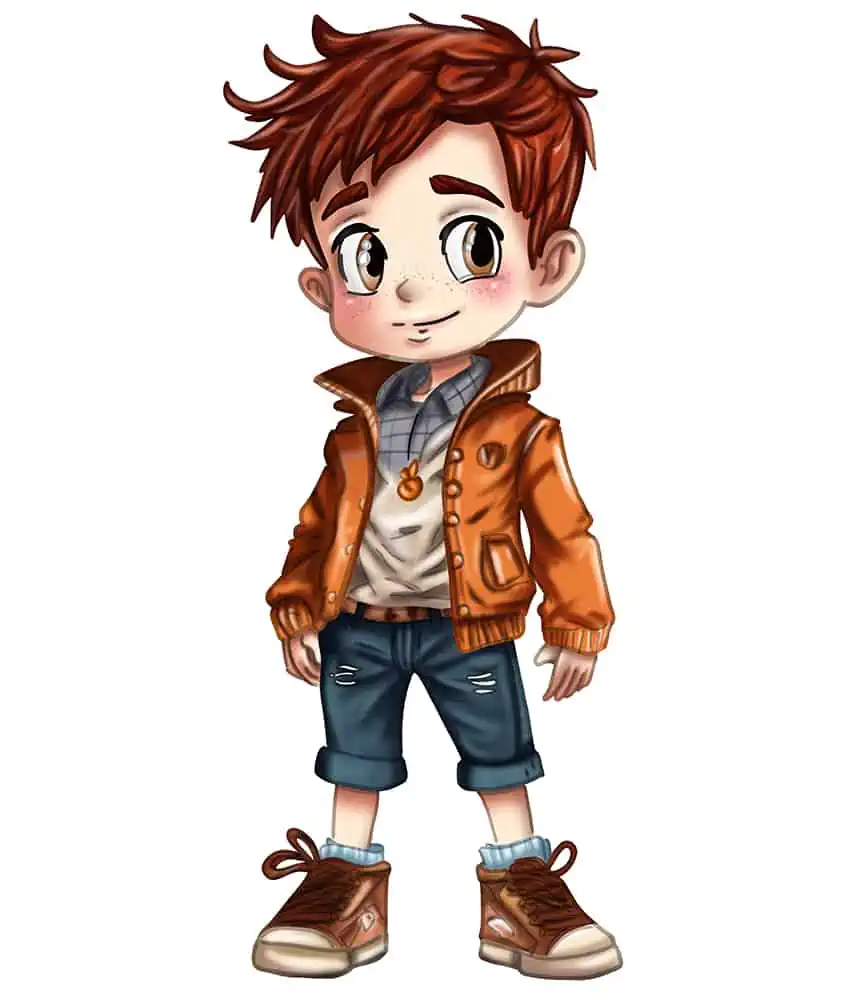
Add a fine square pattern to the top half of the shirt, using a thin brush and black paint. Continue by using a soft brush and gray paint to color the top half of the boy’s shirt. Finish off by adding shading to the rest of the creases and stretched edges of the shirt with dark gray paint. Repeat using white paint for the highlights.

Step 34: Add Shading to the Shoes
In this step, begin to add soft shading to the front area of each shoe, using a soft brush and black paint. Continue to add light highlights to each shoe using white paint. Complete the step, using black paint to shade parts of the belt.

Step 35: Continue to Detail the Socks
Begin to enhance the shading on each of the socks, using a small, soft brush and dark blue paint. Switch to white paint and add highlights to soften the color coat of each sock. Repeat using a fine, sharp brush and gray paint to add fine horizontal lines. Finalize the shading of the shoes using black paint.
Complete the step by shading the peace sign on the shirt using a small, soft brush and black paint. Repeat using white paint to add a soft highlight.

Step 36: Highlight the Eyes of Your Boy Drawing
With a small, soft brush and white paint, add soft highlights along the edges of each eye. Use a blending brush to soften and spread the highlight within each eye.
Step 37: Apply a Ground Shadow
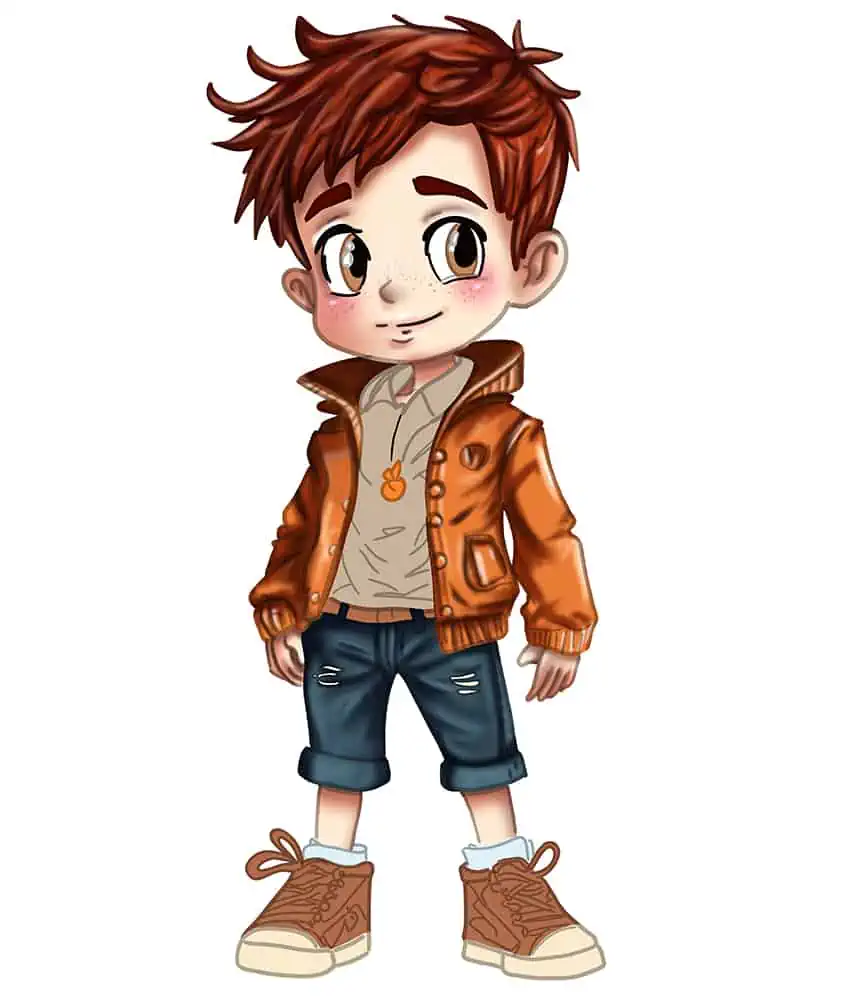
You have reached the last step of your boy drawing. To finalize your drawing, select a fine, sharp brush and black paint, and shade the bottom of each shoe. Continue using a blending brush to spread and soften the shading to create a realistic ground shadow effect.

Congratulations on finishing your journey of learning how to draw a boy! By mastering the proportions, facial features, and body structure of a boy, you have developed a valuable skill that can be used to create realistic and expressive characters. You have also gained insights into the fundamentals of drawing, such as composition, perspective, and shading. Now that you have a solid foundation in drawing a boy, it’s time to take your skills to the next level by experimenting with different styles, mediums, and techniques. Keep practicing and exploring, and you will continue to grow as an artist. Remember, the key to success is to never stop learning and pushing yourself creatively!
Frequently Asked Questions
How to Draw a Boy Face That Looks Realistic?
It is essential to pay attention to the proportions of the different features when learning how to draw a boy’s face. Start by sketching a rough outline of the face and dividing it into equal sections to map out the placement of the eyes, nose, and mouth. Then, carefully draw the eyes, making sure they’re the same size and at the same level. Next, add the nose and mouth, paying attention to their position and size. Finally, draw the eyebrows, ears, and hair, and add shading and highlights to create depth and dimension. With practice and patience, you’ll be able to draw a boy’s face that looks like it could come to life off the page!
How to Add Texture and Shading to My Boy Drawing?
To add texture and shading to your boy drawing, start by identifying the areas of the drawing that should appear darker or lighter than others. Then, using a range of brushes, you can create different textures and shading effects to add depth and dimension to the drawing. Cross-hatching, stippling, and blending are popular techniques to create different textures, depending on the effect you’re looking to achieve. You can also experiment with different shading styles, such as using a lighter touch for lighter areas and building up layers of graphite for darker areas. These helpful tips will guide you to bring your drawing of a boy to life!

IzzyBll is a digital artist and content creator from Israel and currently residing in South Africa. Originally coming from videography, Izzy then turned to digital graphic art. He specialized in using digital drawing software such as Photoshop and Procreate. Drawing and photo editing has always been a sort of second nature for Izzy. In doing so, he can now look back on 5 years of experience in the industry, completing commissions for various well-known brands such as Audi.
Learn more about IzzyBll and about us.