How to Draw Arms – Anatomy of the Male Arm Made Easy
This post may contain affiliate links. We may earn a small commission from purchases made through them, at no additional cost to you.
Do you want to learn how to draw arms? How about drawing a human body? Developing an understanding of the anatomy and proportions of the human form is a requirement for successful figure drawing. To draw arms correctly can be a complex task. Achieving the correct proportions and structure requires a combination of knowledge of how the human body is constructed, careful observation of the model, and a little planning. In today’s how to draw arms tutorial, we will reveal the stages of constructing a flexing arm, drawing the unique features, and focusing on drawing a male arm. You will leave this exercise with a good understanding of the method used for drawing elbows and arms, including the inner and the outer arm. Grab your pencils, ruler, and notepad, and let’s get started!
How to Draw Arms
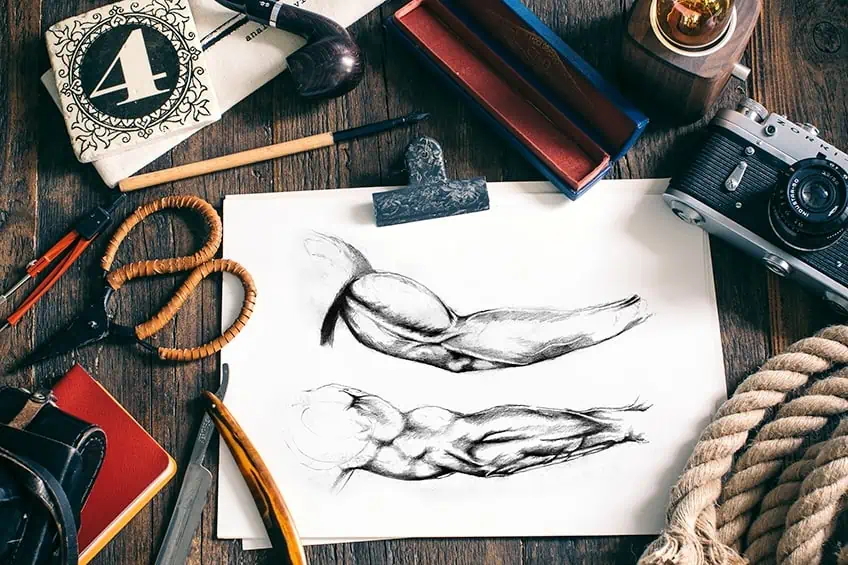
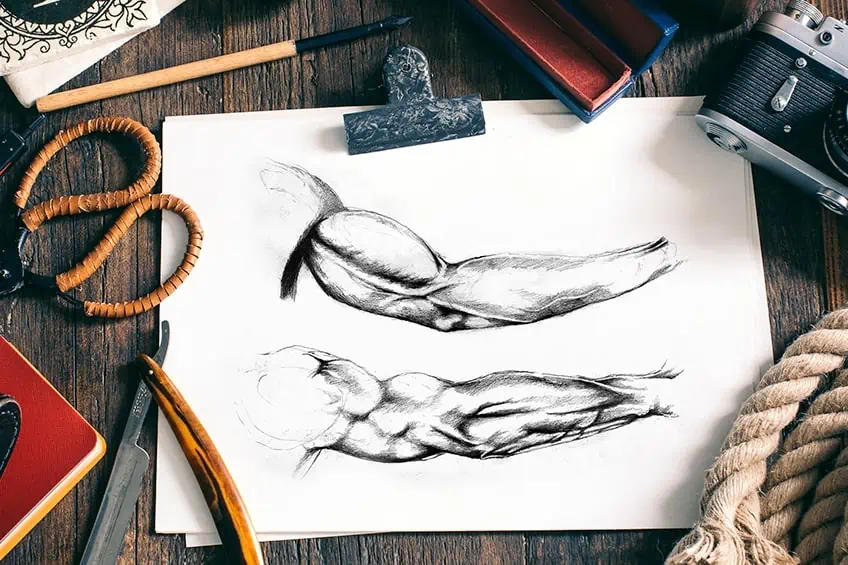
In today’s how-to-draw arms tutorial, we will draw the subject matter using the reference image for guidance on anatomy placement. You have the choice of printing the image, or you can use your iPad or smartphone. It’s easier to use a digital format to study from because you can use the zoom feature, and this will assist you in scaling the proportions and looking deeper at the image and shading.
An advantage to learning how to draw arms using your source image as a reference is to teach yourself how to sketch an image even when the size of the subject is smaller than your drawing page. Having the skill to draw to the correct size is a great talent and takes practice, patience, and more practice!
It’s time to get started! Make sure you have your art tools ready and available. Remember, it is very important to study the original reference image so that you can fully grasp the proportions of the arm anatomy drawing. Now, let’s take a look at the entire male arm structure from the outside in. As you can see, each step will bring you a bit closer to completing your sketch of the male arm.
Creating the Inner Arm of Your Male Arm Drawing
Let’s start with the inner part of the arm. Remember to keep your reference image at hand so that you can refer to it when needed.
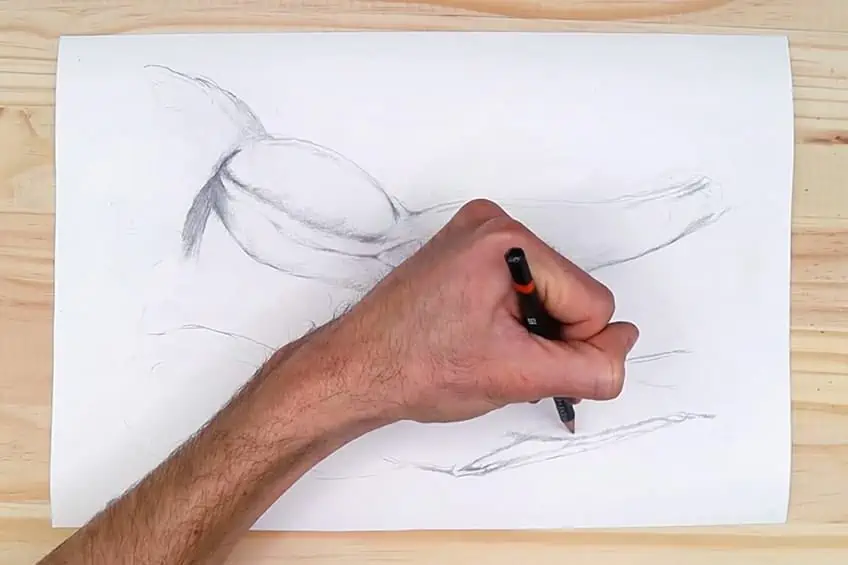
Step 1: Shape and Structure of the Inner Arm
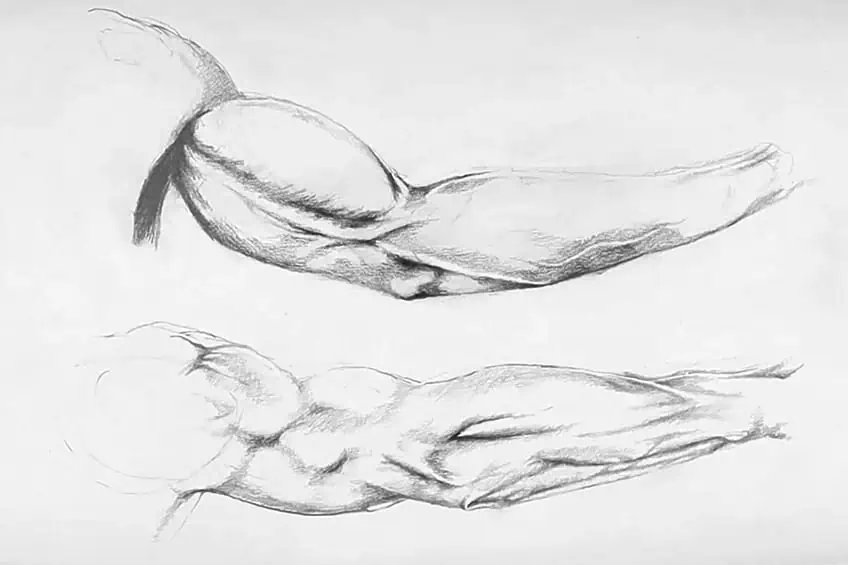
Take your pencil and begin sketching the rough extended arm shape. Because the anatomy of the arm is an accumulation of circular shapes, these will be foundation shapes to build from. Your male arm drawing will look like two ovals placed together.
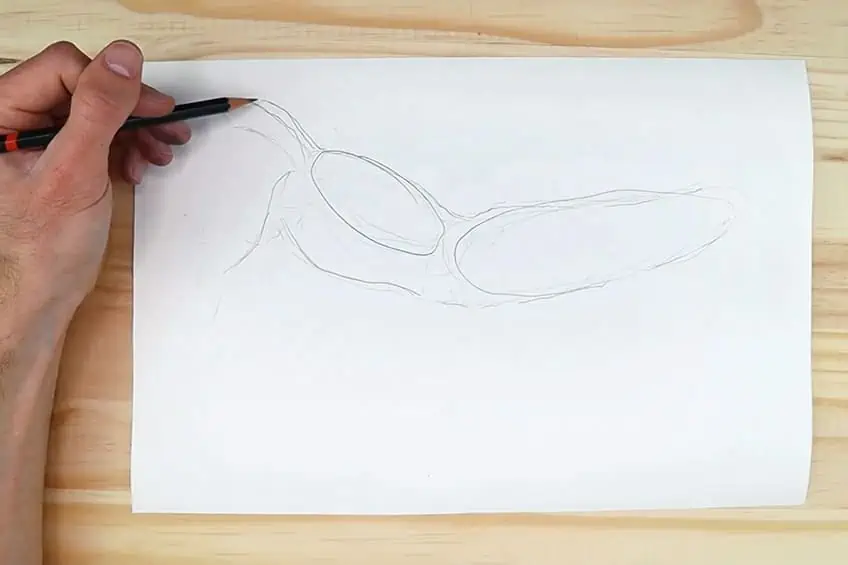
To convey the arm anatomy drawing in correct proportion, note how the shape of the forearm appears longer than the upper arm area. Draw a long oval shape for the inner arm muscle. Higher up on the arm, you can draw an oval circle to represent the bicep muscle. Draw a curved shape lover down from that muscle circle and then attach it to the body area.
Continue using your HB pencil to gently build your arm structure using light pencil lines. Feel free to have your eraser handy because it is only natural to make mistakes while learning how-to-draw arms! Follow the guidance of your reference image to sketch the male arms drawing in the correct perspective. Once you feel secure with your arm outline, we can move forward to phase two.
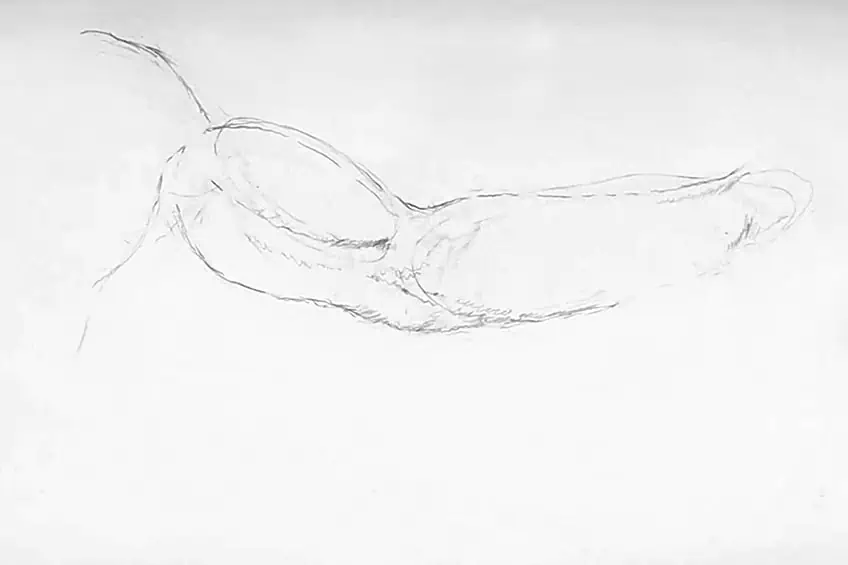
Step 2: Detail
You have successfully sketched the construction shapes of your flexing arm drawing. So, the next step will be to outline the shapes you created in step one. Use those short lines to redefine the muscular arm shape. Make sure that when you are drawing the elbows, you set the proportions in the correct place.
It’s important to work slowly and carefully to illustrate a realistic arm drawing. To do this, you will need to focus on the collective lines used to connect shapes that build the formation of the arm and concentrate on the shadow areas of the arm too. Using the source image as guidance, follow the placement of where the lines and shadows meet the outline scaled with the construction shapes.
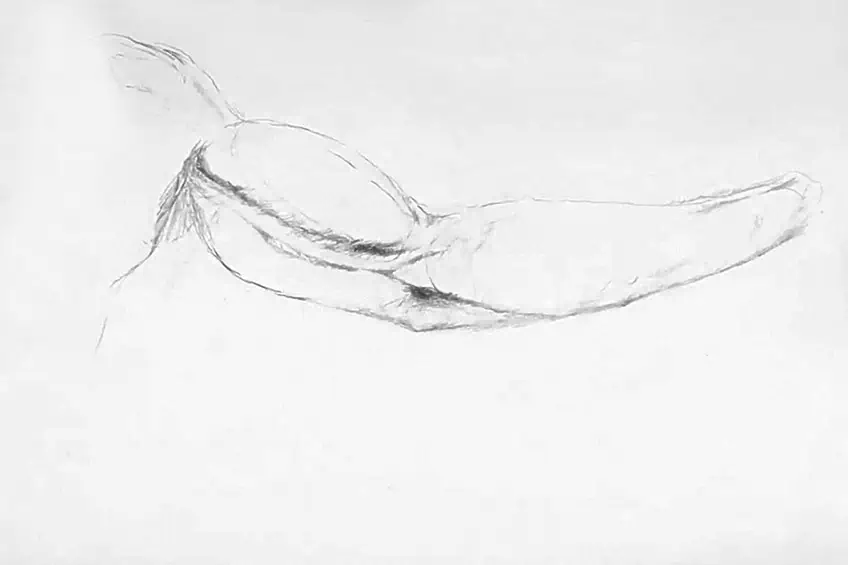
Step 3: Shading
Many artists will tell you that learning the shading technique is half the battle when it comes to drawing most things. Have another look at the reference picture and see where the shadows fall on the arm structure. Shading requires you to use both soft and dark short lines as a collective to add definition to the arm’s details. Imagine this phase as linework with gentle shading.
Take note, this step is purely to add the foundation lines of the muscular arm and at a later stage, you can redefine those lines using shadows and shading. These foundation lines will show you where you must fill in the darker shadows to create the realistic male arm drawing. Using dark and light pencil shading will determine the realistic features of your male arms drawing.
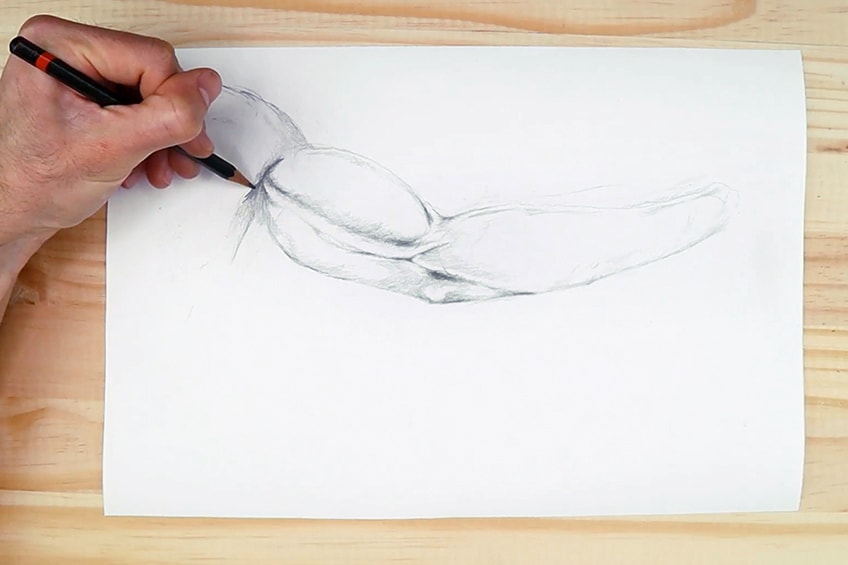
Step 4: Light Shading
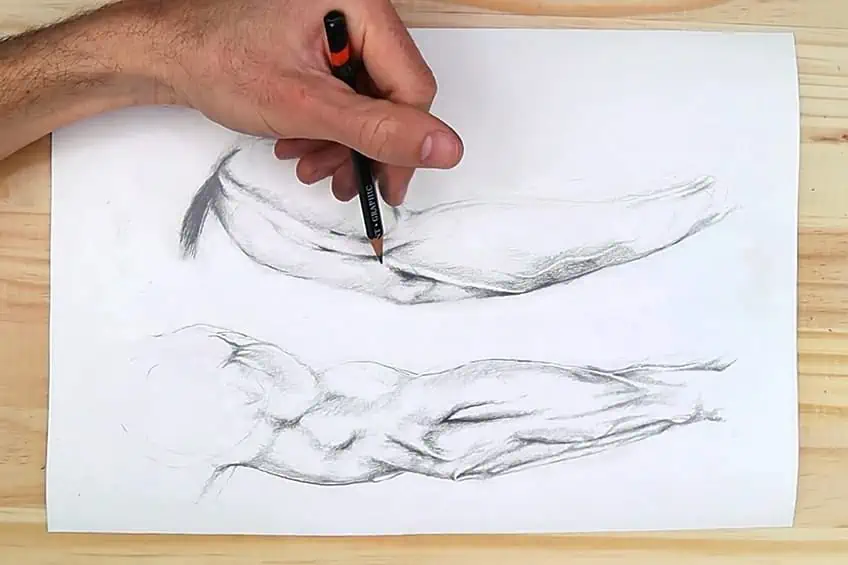
Now is the time when you will start the light shading process. Using the reference picture again, you should be able to see where the shadows need to fall on the arm anatomy drawing. The foundation lines from step three are where you must add your shading. The sketch should look like a realistic arm drawing, and the shadows of the arm indentations will give it life.
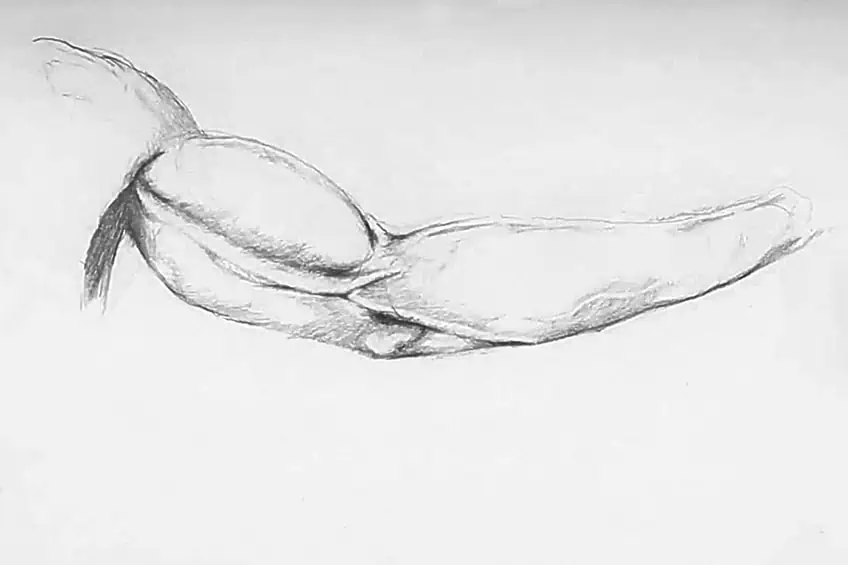
This stage will need a large amount of patience! Remember, slow and steady wins the race! Using the foundation lines to guide your shading process and where the muscle curves and veins protrude, carefully focus on the shadow areas and extend outwards. Keep using your reference picture for inspiration and guidance. Zoom in on the finer-detailed areas to help yourself grasp the complexities of drawing male arms.
Take your time with the shading phase. Take notice of how the pressure you put on your pencil lines determines the tone of your shading. Draw lighter to darker to control the depth, and use your eraser to make the light areas lighter. Gently shake your wrist as you move along, using light pencil lines to accurately generate your flexing arm drawing. Go over the foundation lines with this shading technique. Make sure that when you are drawing elbows and forearms to get the dimensions right as you are shading.
Creating the Outer Arm of Your Male Arm Drawing
The next part of this tutorial will focus on the outer arm of your male arm drawing. Remember to go slowly and take your time while drawing. Your reference image will again be very useful!
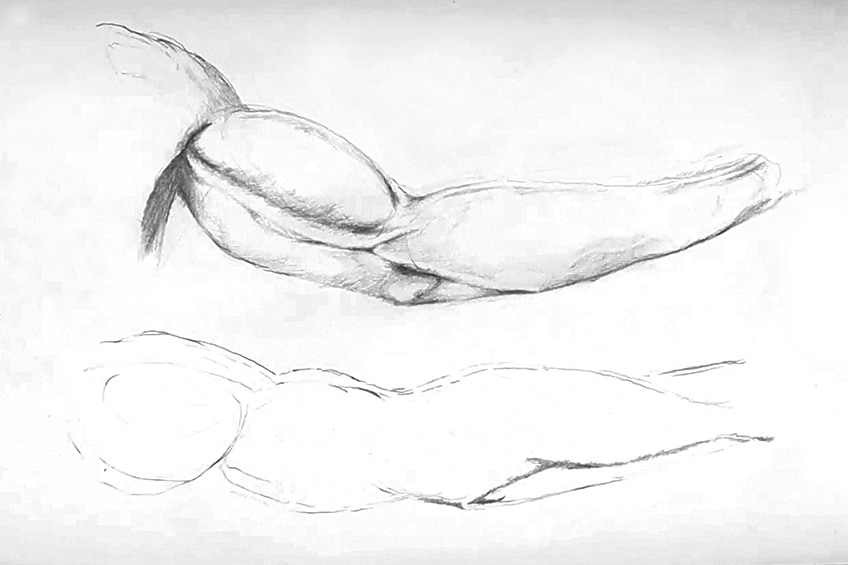
Step 5: The Outer Structure
The next step in how-to-draw muscular arms is to create the outer arm on the picture. You will be doing this because you want to compare the size of both arms in your study of arm anatomy drawing. You will sketch the foundation shape of the outer arm using simple shapes to guide you. The arm is made up of two long oval shapes that are connected. Take your H pencil, and begin to gently draw two of these long oval shapes.
Do not forget to use your original image to guide your pencil placement.

To depict the correct structure of a male arm drawing, sketch the forearm longer than the upper arm. The upper part of the arm would be where you will place the bicep as it moves into the shoulder area. Take into consideration what the outer arm would look like from that angle and draw in the curvature of the upper arm and back of the bicep.
Take note that the procedure for shading the structure of the arm anatomy drawing will be timely, and it is good to make use of your eraser if you make a mistake. Learning how to scale an image from a small reference picture into your drawing will take a little practice to get right, so do not feel discouraged if it seems to be taking a long time.
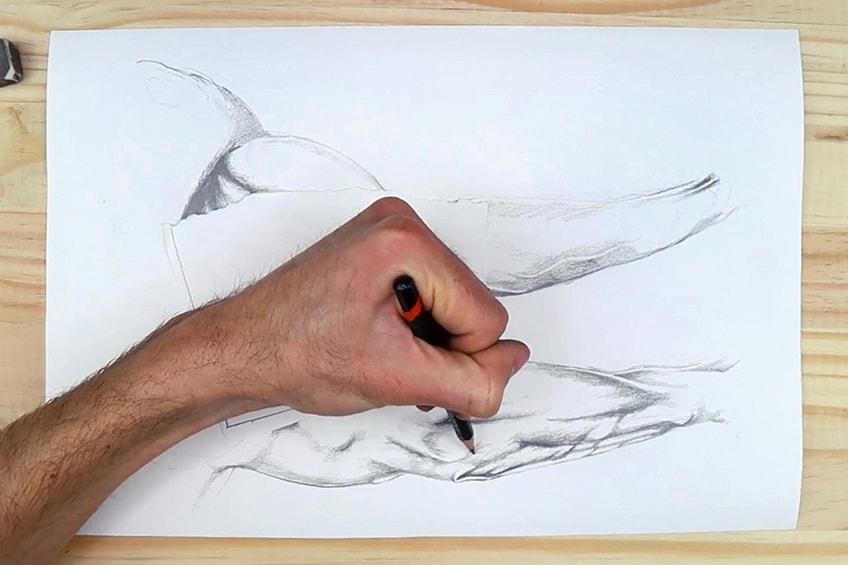
Step 6: Detail
When you are happy with your construction shapes, you may begin connecting them. While your arm drawing is coming to life, remember to begin defining the outlines. After drawing the outlines of your structure, you can morph the shapes into a more recognizable arm shape. Keep referring back to your source image to help determine where to add all of the details.

Using line work you can gradually build the arm shapes, connecting the lines to collectively resemble an arm. Remember that the arm’s outline must be in scale with the foundation shapes. Use your source image for correct placement, and feel free to zoom in on the finer details if needed.
Step 7: Shading
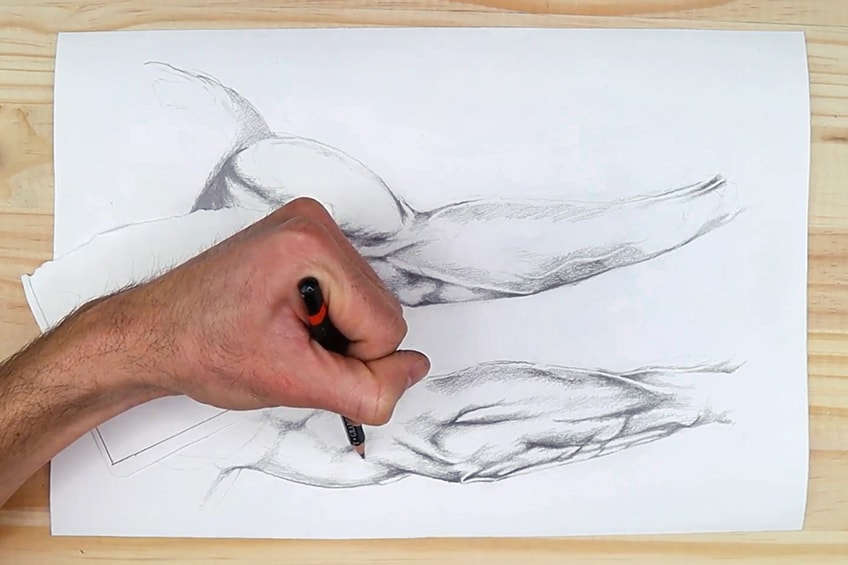
Using the shading technique is a method to apply detailing to the arm drawing. Focusing on the shadows and shading to draw muscular arm details, you can gently use darker lines to create definition. Use your H pencil as you apply light lines and gentle markings that show the shadows of the arm.

Imagine this stage is specifically for light shading and linework. You are applying the foundation lines and then adding shading and shadows in the next step. These foundation lines will determine where the shadows go.
Take the time to study the reference picture as you continue drawing shadows. Remember to use your eraser if needed, and keep checking the similarities between the source image and your male arms drawing. Use short line work with gentle pressure for the light shading areas and heavier pressure for the dark spots. You can also use various pencils for the desired effect. Drawing male arms has more detail because of the curves and muscles when compared to a female arm drawing.
In this stage of your flexing arm drawing, you must focus on creating the foundation details that you will use to guide your shadow placement in the later steps. A good tip is to use the eraser to lighten the center areas of your male arms drawing. Sometimes the smudges can overlap, so it helps to erase light patches of your sketch.
Step 8: Light Shading
Now, you will begin the shading process. Looking at the reference picture, you will see where the shadow details will indicate the placement of your shading. The foundation lines are there as guidance. This technique will make your arm drawing look realistic.
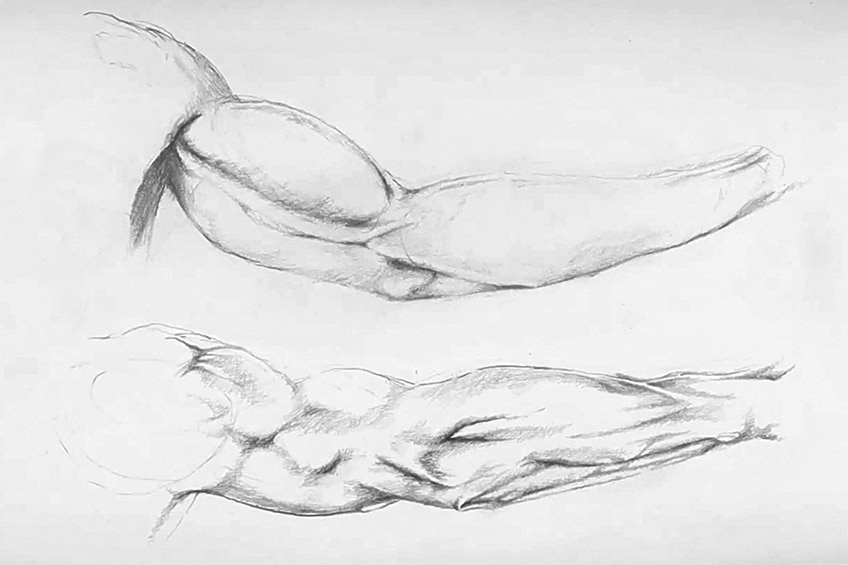
Patience is key here; you are using the foundation lines from the last step as guidance for the shadows on the outer arm. See how the shadows fall on the vein area and the curves of the muscular arms of your sketch. Use your source image for reference for placement.
Only apply gentle pressure on your notepad and keep your hand light as you build onto your sketch using the light-to-dark technique. Take your time!
A trick to shading is to focus on where the light hits the subject. So, the darker areas are the shadows. You can see how shadows play a role in developing an image. Short-line work is needed here, and in darkened areas, you can keep your lines close together. For the lighter areas, you can construct your line work wider and apply gentle pressure to your notepad.
Make sure you follow the shadows using your reference image as guidance, zoom in and study how the shadows fall on the skin, remember to have the eraser on hand, and use it to create light patches. Pay extra attention to the details of the arms indentations and veins, this will contribute to making our drawing come to life.
Finishing Off Your Flexing Arm Drawing
We have reached the final stages of your flexing arms drawing; this will be the final step. For this part of our how-to-draw-arms tutorial, you can begin applying darker shading. Once more, your reference image will serve as a guide.
Step 9: Dark Shading
Take a darker pencil shade such as a 2B and 4B and continue tracing over the light shading linework in the darkest corners. This technique will allow you to trace over the light shading so you can build layers and not smudge anything.
Remember to use your original light shading of the inner arm area as guidance for your darkened shading process. Be aware of smudging while you are drawing, especially if you are left-handed. Some people use a tissue under their hand for added protection. As we stated, slow and steady wins the race, and the same will apply to your realistic arm drawing, you don’t want to over-shade. Take note of the muscular indentations and arm veins.
The reference picture should be helping you to understand the areas that are the darkest to develop the shading technique of the arm’s muscular curves. See how there is a contrast between the darker areas of the armpit compared to the forearm. This is due to the way the light falls on the arm’s muscular features.
Focus on your linework where the light has difficulty reaching. Looking at your reference picture, you will notice the way the light falls on the arms as you sketch. You are in no hurry, so pay attention to the details. Slow is good, so keep that in mind as you continue drawing male arms!
A great way to think about it is that shadows are created because of the absence of light on the subject matter. When light is absent, there is a shadow. This shadow will act as a boundary for your pencil shading. Constantly view your reference picture to guide your linework, and if you are worried about smudge marks on your hands, use paper or tissue for added protection.
When you have reached the end of your shading of the inner arm, you can move to the outer arm. It is important to cement the concept of shadow shading in your head because it is the technique artists use to develop realistic subject matter. Use your eraser to enhance the light spots on the arm.
As you are sketching a realistic arm drawing, you may notice that there are a variety of shading tones. For example, the shading areas that are exposed to more light will have gentle and light line-work, whereas the darker areas of the veins and muscle curves have a collection of heavier lines. Take your time with shading the bulge of the arm vein and focus on how the shadows fall on the inner and outer arm. Every little detail counts, and these tiny details will make the image seem a lot more realistic.

You have reached the finish line of this drawing male arms lesson! All that is left to do is tidy up any lines that are in the wrong place. Use an eraser on the light areas that may be smudged. Use this time to clean up your arm drawing and continue until you are happy with the likeness between the reference picture and your realistic arm anatomy drawing.
Tips to Remember
- Take your time with each step. Creating a realistic sketch involves attention to detail and time.
- When drawing a realistic arm drawing, be sure to take note of the way the light falls on the skin.
- By applying light and heavy pressure, you will be able to vary the shading on your arm drawing.
- Don’t be scared to use the eraser! Drawing male arms can be tricky, so have the eraser on hand to correct any mistakes you make while drawing.
Learning how to draw arms is not an easy task. Therefore, drawing arms can seem challenging. You will see that shading plays a very important role in how to draw muscular arms, and what your drawing’s final result looks like will depend on how you shade the veins and curves of the arm. Starting from scratch will mean that your drawing male arms project will require you to formulate shapes and connect an outline and detailed linework. Following this sketching technique, you should manage to draw male arms with ease, even drawing elbows without too much hassle! Once you master this arm drawing exercise you will be ready to tackle drawing a human body’s other parts!
Frequently Asked Questions
Is It Difficult to Learn How to Draw Arms?
Yes, the human arm can be a tricky thing to learn to draw! However, with a good drawing tutorial and some guidance, it is a lot easier. Our step-by-step instructions can assist you in learning how to draw arms correctly.
Are Male and Female Arms Drawn in the Same Way?
No, male and female anatomy is different, so drawing the arms of a male will differ from that of a female. Male arms have more definition and muscle tone and will require more work.

Matthew Matthysen is a multidisciplinary artist. He completed his fine art degree, majoring in History of Art and Contemporary Drawing Practice at the University of Witwatersrand, South Africa. Before joining acrylgiessen In 2020, Matthew worked part-time as an art teacher at Reddford Blue Hills High school. Matthew creates drawing and painting tutorials for acrylgiessen and captures them not only photographically and in written form. He also records the creation of his works in his own creative studio as in video format, from which later with a voiceover and a video editor also drawing tutorials for the Youtube channel of acrylgiessen are created.
Learn more about Matthew Matthysen and about acrylgiessen.