Tree Drawing – An Easy Tutorial for Beginner Artists
This post may contain affiliate links. We may earn a small commission from purchases made through them, at no additional cost to you.
Trees are perhaps one of the most important and useful contextualizing features one should know how to draw. There are many different species of trees, and understanding how to draw them can be used in so many different ways. Trees also provide us with the very interesting challenge of defining light, texture, and shadow within a unique structure. There are also so many different species of trees to use as a reference, all of which have a unique set of features. There is a lot to gain from understanding how to draw a tree, as it can enhance not only your skills but also many artworks as they make for a beautiful addition.
Step-by-Step Guide on How to Draw a Tree
There are many species of trees to draw inspiration from, and in this particular tutorial, we are going to learn how to draw something interesting, such as the oak tree. Oak trees provide us with a great opportunity to explore texture, shading, and color within a drawing. We will start with a simple tree sketch, where we form the tree in its most basic shape, we will then refine that sketch with some base colors. We will then start to work on some finer detailing, line work, and shading which will then further enhance the tree drawing. Now that we know what to expect, let us get started with this tutorial on how to draw a tree.

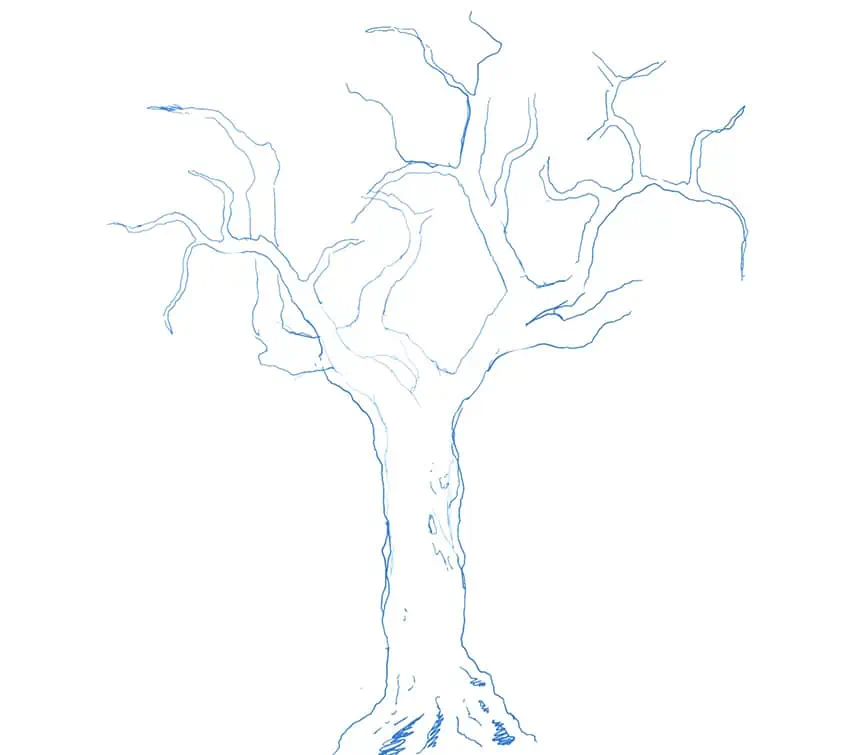
Step 1: Shaping the Tree
We start by drawing the general outline of the oak tree. The shape of the oak tree can be described as a jagged structure that has a large trunk with smaller branches that move in various directions in a zigzag motion.
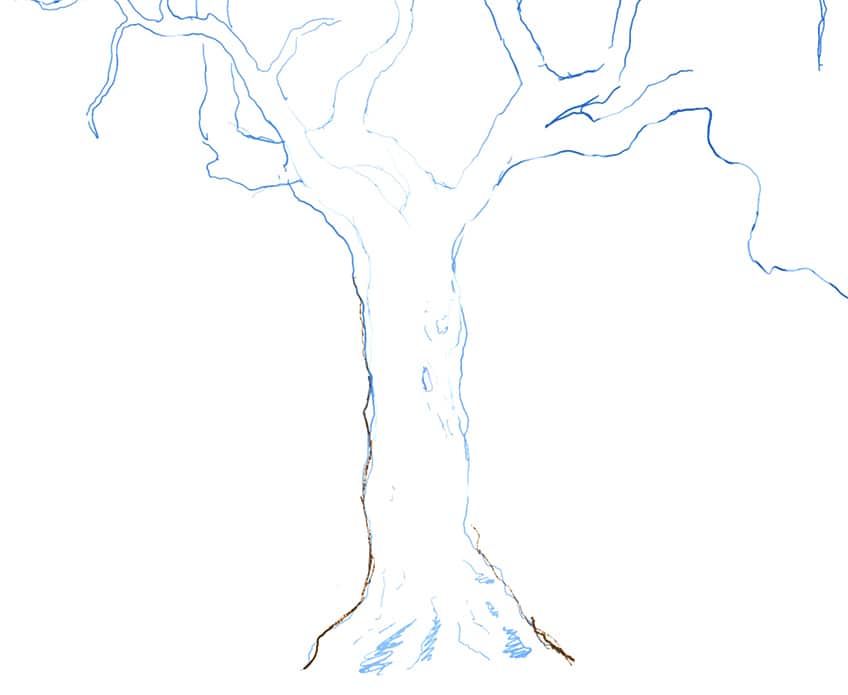
What is great about oak trees is that they are quite abstract, allowing us a lot of freedom when shaping them. There is no specific shape to any oak tree, each having a different shape, so allow yourself to play around. You do, however, want to make sure that the tree has some larger segmented branches, that then move into smaller segmented branches.
As the tree moves into the upper section, the branches get smaller and thinner.
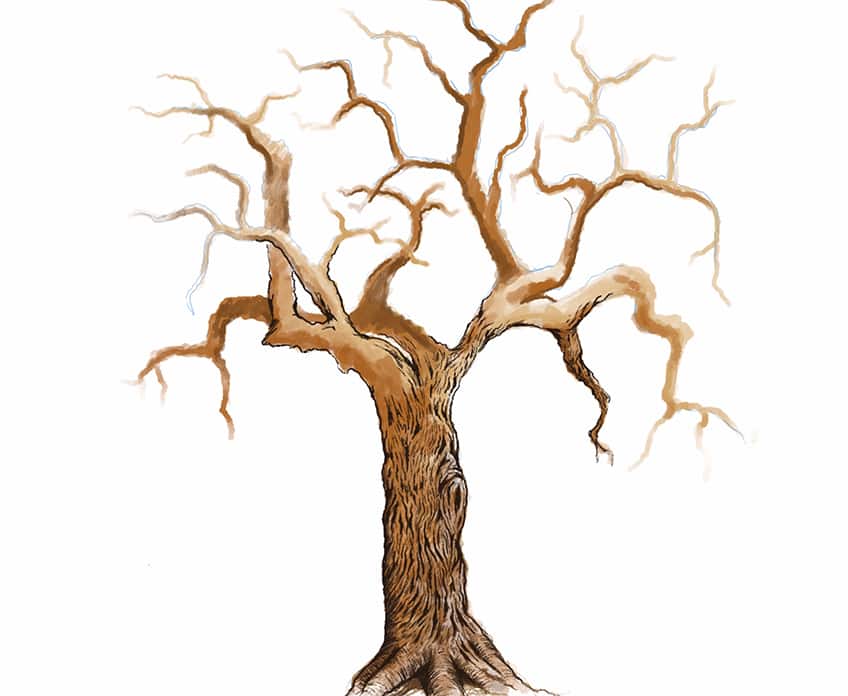
Step 2: Adding Base Layer of Color to the Tree
Once we have the general shape of the tree established, we can now start working in color to establish the base layer of color in the tree. This is where we start to work from lighter colors of brown to darker colors of brown. We want to work with various colors of brown, and slowly build up layers of brown within the various features of the tree. The idea is to establish a light color of brown throughout the tree which we will then darken with a darker brown.

As we work our way through the trunk and various branches of the tree, we want to make sure that we keep some branches light and some branches dark. The idea is to create three-dimensionality within these features with different tonal values. Allow yourself to be loose with how you integrate color into the branches. What is meant by this is that we can make scattered marks of darker browns to create a quality texture.

Step 3: Adding Texture to the Tree
We now want to start making more refined marks within the tree trunk, slowly moving our way up and through the entire tree. This is where we start to integrate line work to represent the quality of bark-like texture throughout the tree.

We want to work with these very loose lines that oscillate from side to side as they move in a vertical direction. The idea is to be very scattered with your line work, which will represent the quality of the bark within the tree.

we can start to use a darker hue of brown at this point, or even a black medium, for these lined details. you want to make sure that there is variation within these details, as this will represent various grooves within the bark.

As you make your way toward the top branches of the tree, you want to make sure that you start to outline the branches as well. try to make the outlines of the branches jagged and sharp. You can also start to make the linework slightly smaller as you move into the thinner, more narrow branches. As you do this, you will maintain the quality of branch-like texture but it will be more to scale in the smaller branches.
Again, be playful with this p[art of the tree, making sure you play around with variation in your marks and line sizes. The idea is to have varied moments of lined details and texture within your tree drawing.

You will find that the sketch starts to become more of a realistic tree drawing as you continue with this process of detailing.

Be sure to take your time with this process, and take a break as it can be quite time-consuming. However, you want to make sure you give your attention to the entire tree drawing for a good result.

You should start to see how your tree becomes more realistic with the addition of base layers of color and some darker detailing on top.

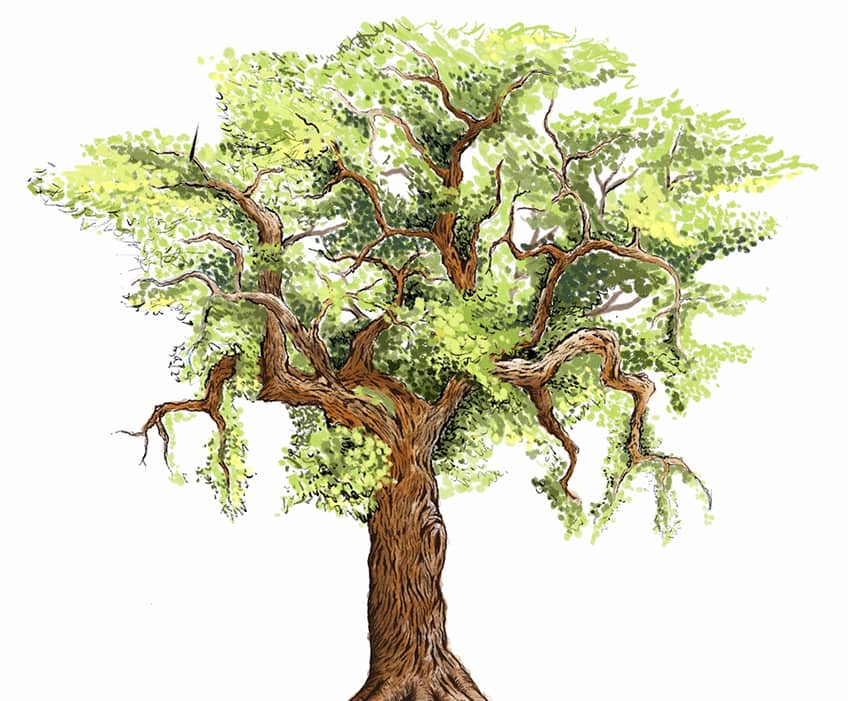
Step 4: Adding Lighter Tones of Leaves to the Tree
Again, because trees are quite abstract, we don’t need to worry about drawing perfect leaves. Rather, we can be quite loose with our marks by making loose blotches of light green that represent leaves around the branches. We want to make sure we add a lot of foliage around and in between the branches to create density within the tree.
We also want to make sure we are working along the branches to create a realistic quality of proximity between the leaves and branches.

Step 5: Adding Mid-Tone Leaves to the Tree
As we continue with this process of adding colored marks through the top section of our tree drawing, we can continue by layering a darker green over the lighter green marks.

As we slowly increase the number of green color values through the top section of the tree, we are creating a quality of shadows and highlights within the leaves. As we continue with this process we will start to see how the layered tonal values in green leaves start to represent a more three-dimensional quality on the leaves.

You want to make sure you keep the mid-color greens somewhat grouped near the bottom section of the groups of leaves. This will create a sense of shadowing in the dense group of leaves. Continue with this process, making sure you extend your leaves quite wide throughout the tree, even beyond some of the branches in your tree drawing.

Step 6: Adding Darker-Toned Leaves to the Tree
As we proceed we can start using a very dark green within the foliage of the tree to emphasize the shadows. again, you can be quite sporadic with their placement, however, make sure they remain under the mid-tones.
Try to think of how the tree will have some moments of foliage that will cover some branches and therefore seem to be in the foreground of the tree drawing.

As we continue, we can start to be quite loose with the darker marks, making some scribble-like marks around the tree to emphasize the form of the leaves in the tree drawing.

Step 7: Adding Contextualizing Features to the Tree Drawing
As we continue we can add layers of base color to the ground, which we can follow by adding some line work for texture in the grass. We can follow the same process that we did for the other features of the tree drawing.

We can also add some darker marks close to the tree to emphasize the shadowing that is cast by the tree onto the surrounding grass.
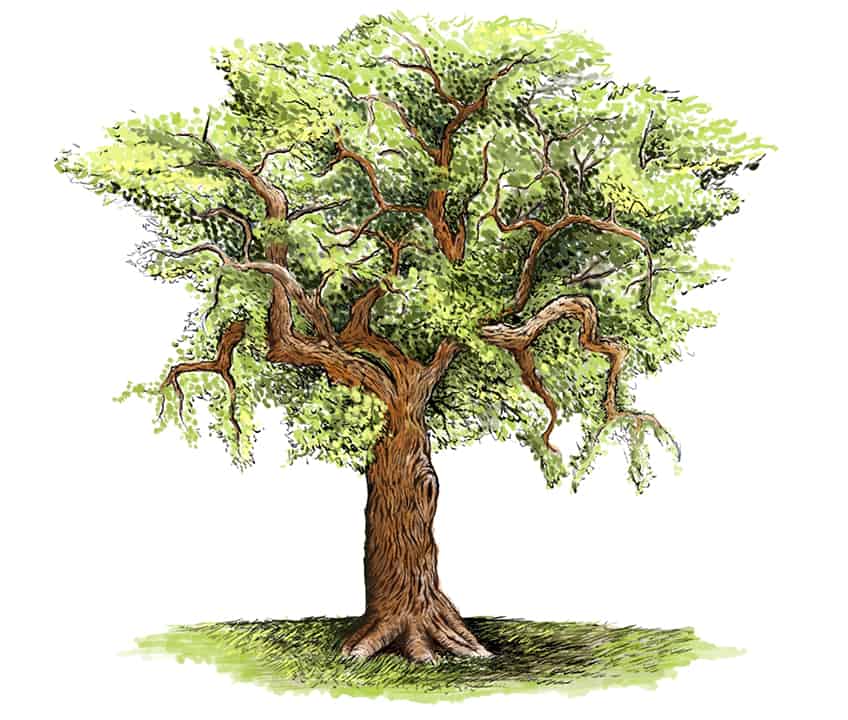
You can continue with this process until you have surrounded the entire tree structure, contextualizing it within a space.
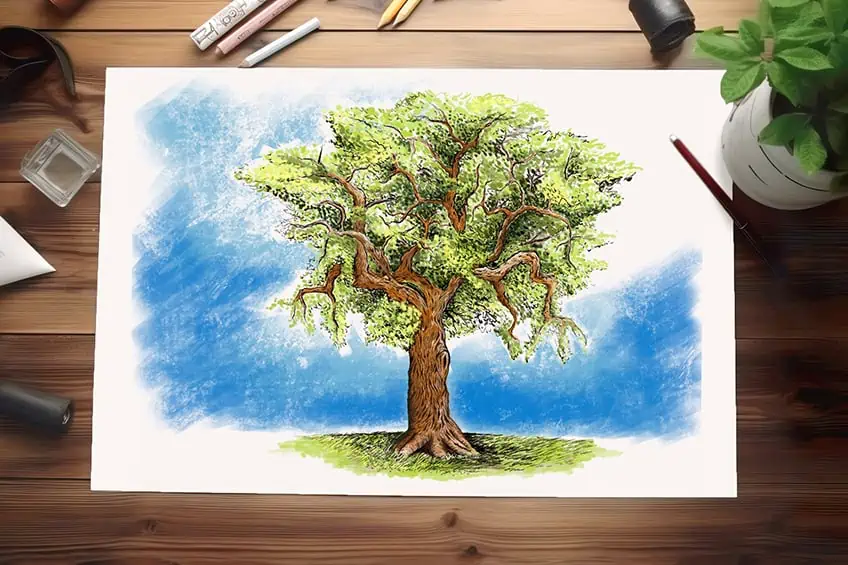
There you have it! How to draw a tree in a few easy steps, slowly refining it from a simple tree sketch into a realistic representation of a tree.
Tips and Tricks to Remember
- Establish the outline of the tree. Once you know the general structure of the tree, you can then start to refine it with details.
- Establish base layers of color. Work from lighter to darker tones of color for more control over your coloring process.
- Take your time with the details. The details will change the tree from a simple tree sketch to a more realistic tree drawing, so take your time with them.
- Be loose with your leaves. Don’t worry about making perfect leaves: be expressive with these aspects, and only consider the size of your marks.
Learning how to draw a tree is easier than it seems because of how visually abstract trees are. Trees come in various shapes and forms, however, once you understand some simple tricks to create details within the tree, they become quite easy to draw. When working details into a tree, just remember that they can be quite abstract. This is because once they are completed within a single drawing, together they will appear as a realistic representation of a tree.
Frequently Asked Questions
How to Draw Texture on a Tree Trunk?
There are many ways to draw a tree trunk depending on the type of tree that you are drawing. However, all tree trunks have little grooves and texture, which can be achieved through the use of some finer line work. That being said, you first want to start by establishing the base colors within your tree sketch, which will help to establish the tonal values within the various colors. From there, you can move on to enhancing the tree with some fine line work to emphasize the smaller detailing in the trunk. This is where we start to work on some fine drawings to define the unique textural qualities of the bark and how that forms down the tree trunk. Making sure we keep these marks moving along a vertical plane will also keep the textural quality more realistic in form.
How to Draw Leaves on a Tree?
There are many ways to draw leaves on a tree, but it is important to understand that a light source will be coming from a particular direction. The idea is to work with layering lighter and darker tonal values, working with various shades of green. By working in both lighter and darker marks of green, you are slowly establishing the variation in the tonal range of the leaves. This will give your tree a more realistic quality. You can also allow your marks to be quite short, as we also want to make sure we add them in along the various branches that extend from the main trunk to create density within the leaves.

Matthew Matthysen is a multidisciplinary artist. He completed his fine art degree, majoring in History of Art and Contemporary Drawing Practice at the University of Witwatersrand, South Africa. Before joining acrylgiessen In 2020, Matthew worked part-time as an art teacher at Reddford Blue Hills High school. Matthew creates drawing and painting tutorials for acrylgiessen and captures them not only photographically and in written form. He also records the creation of his works in his own creative studio as in video format, from which later with a voiceover and a video editor also drawing tutorials for the Youtube channel of acrylgiessen are created.
Learn more about Matthew Matthysen and about acrylgiessen.