What Is Mod Podge? – Legendary Craft Adhesive Sealant
This post may contain affiliate links. We may earn a small commission from purchases made through them, at no additional cost to you.
Hearing the words Mod Podge certainly does not give clues as to what you can expect when getting the answer. If you love doing arts and crafts as a hobby or mix freely with other like-minded friends and artists, you may hear these two words often. So, what is Mod Podge and what is Mod Podge used for? You have come to the right place! We hope to answer some of your questions about this awesome art product. Mod Podge is a sealant that you can use once you finish painting on canvas to lock in the color and protect the painting from becoming brittle over time. There are different uses for Mod Podge, but it is mostly used by those that work with decoupage. So, can Mod Podge be used as glue? As we navigate this article, we will address these questions as well as which Mod Podge to use when doing specific art and craft projects.
What Is Mod Podge?
Mod Podge is a polymer that contains polyvinyl acetate, defined as “synthetic resin made when polymerizing vinyl acetate; this product is used mainly in paints and adhesives.” Mod Podge is sold in bottles and is a white creamy liquid substance. Some formulas are thicker than others but easy to apply and dry very quickly.
Now that we have the scientific stuff covered, let’s break it down further. What is Modge Podge used for? Mod Podge is a three-in-one product; you can use it as a glue to stick items to porous surfaces, you can use it as a sealer to paint over a picture to seal work, or you can use it as a finish to add that final touch to a craft project or artwork.
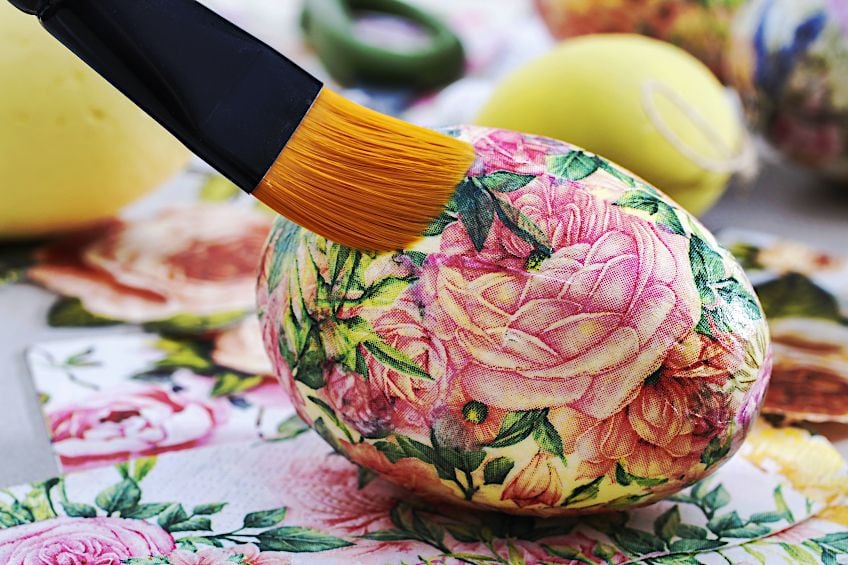
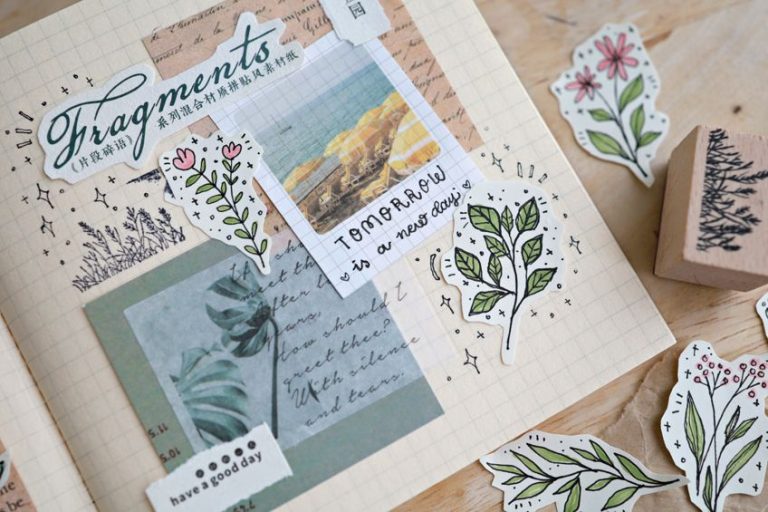
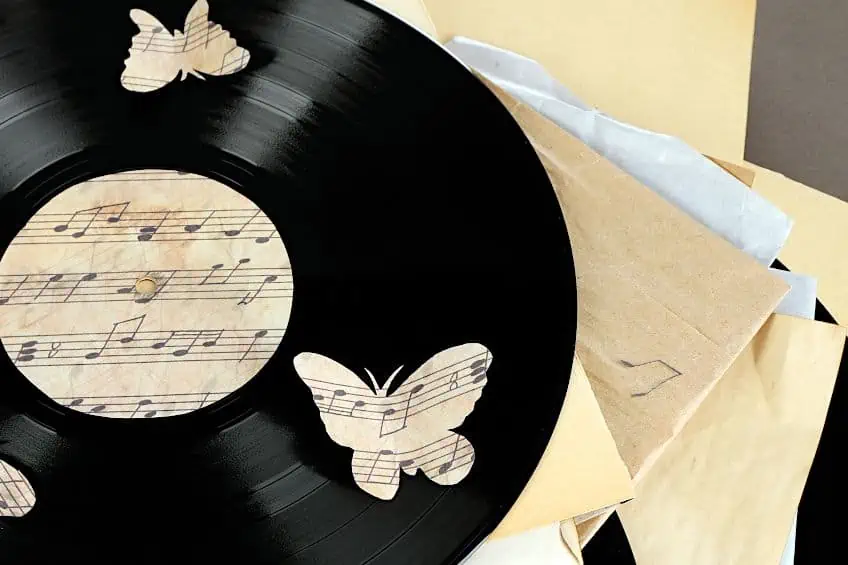
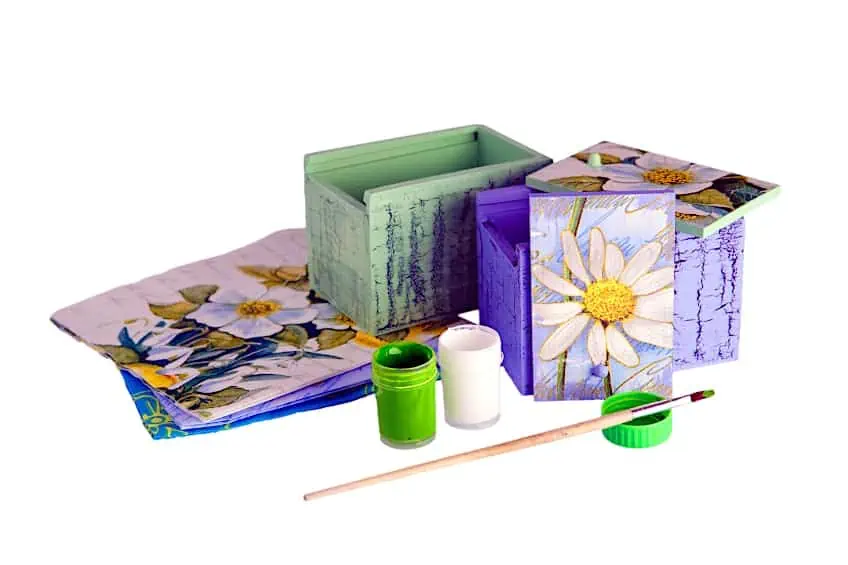
Decoupage is a craft that has become popular over the last few years, and just like other crafts such as knitting, scrapbooking, and stamping that come with their unique brands of products, Mod Podge is a product used in decoupage to give you the perfect finish. The word “decoupage” means “to cut out,” which is what decoupage is; it is the art of cutting out shapes from items such as paper or fabric and then re-attaching them to another surface. Mod Podge is the preferred sealant or glue that adheres these materials to another surface. Once the Mod Podge has dried, you will need to apply a few more layers to ensure that your art piece is adequately covered and protected.
The Different Types of Mod Podge
The Mod Podge manufacturers have given us the choice of several different types of Mod Podge in the market today. With the last count, there were up to 17 varieties! The project you want to start working with will determine the kind of Mod Podge you purchase. Let’s look at the more readily available types that you will find on the shelves at arts and crafts stores.
Matt Mod Podge
The most popular kind of Mod Podge today is the Mod Podge Matte. The uses for Matt Mod Podge are numerous. It is fast drying and leaves a clear and smooth matt finish when painted over a picture or painting. It acts as a glue, a sealer, and a finish. When asking the question of which Mod Podge to use, we highly recommend the Matte Mod Podge. It is so versatile that you can even use it on candles, and a great idea is to use decoupage on candles when you are thinking about a dinner party because these can be used instead of seating cards around the table.
Gloss Mod Podge
The difference between matt Mod Podge and gloss Mod Podge is that the matte variant gives off an eggshell finish, meaning there is no reflection and this gives your artwork a clean texture. The Gloss Mod Podge is just the opposite of the matte; it has a glare effect and gives off a bright surface.
Hard Coat Mod Podge
The Hard Coat Mod Podge is the strongest of the range. It has a satin finish which is almost between a matte and gloss finish. It does not show the scratches that a matte or gloss Mod Podge may show, and this Hard Coat Mod Podge would work best with furniture such as tables and dressers. It is the ultimate durable Mod Podge. When applying the Hard Coat Mod Podge to furniture, it is recommended that you set aside at least 72 hours for drying time before putting the furniture back into place. The Hard Coat Mod Podge will work just as effectively with outdoor furniture. The best news is that Outdoor Mod Podge is also available for furnishings that get harsh sunlight or much rain.
Fabric Mod Podge
This craft ingredient comprises other components, including vinyl acetate. The combination of all the ingredients produces a product that is somewhat waterproof. You will not be able to submerge the fabric in water after applying the Mod Podge. Still, if you spill some water onto the material, you can wipe it off without water penetrating or ruining the fabric. An excellent tip for fabric decoupage is that you can paint your Fabric Mod Podge directly onto the material before you cut it. Doing this, you should have far fewer bits of material that fray, saving you time because you won’t have to try and pull off or neaten the edges after sticking them down.
Furniture Mod Podge
Furniture Mod Podge is available in three different finishes, namely matt, gloss, or satin, and is sold in much larger bottles as you will probably use more to cover large surfaces. Furniture Mod Podge is not waterproof, but it is water resistant. This means that you won’t be able to soak your furniture in water as the Mod Podge may be damaged, but if you spill liquids onto the Mod Podge surface, it will not seep into the wood. Your table can be wiped clean with a damp cloth without fear of harming the surface.
Dishwasher-Safe Mod Podge
The manufacturers of Mod Podge have invented a dishwasher-safe product that is non-toxic. The finish will be hard if you paint a surface with this product. You can wash the items with other dishes in your house. To clean brushes or sponges after applying the Dishwasher Safe Mod Podge, soak them in warm soapy water before rinsing them off and packing them away for your next project.
Glitter Mod Podge
To use the Glitter Mod Podge effectively, you should ensure that you have the gloss formal. Paint a thin coat of the Glitter Mod Podge over the entire surface and then take your little glitter bottle and shake it over the painted surface until it is covered. Let it stand and dry for about 15 to 20 minutes. Once dry, lift the object and remove the glitter that has not stuck down simply by tapping it on a table. You can now surprise your child with a beautiful shiny gift they can place in their bedroom.

Another great idea for using Glitter Mod Podge is to make a name plate for your child’s bedroom door, and because young children love glitter, you may even look at taking an old pair of sneakers and bringing new life to them with Glitter Mod Podge!
Puzzle Save Mod Podge
If you are a regular puzzle builder and want to keep these fantastic pictures intact, the Puzzle Saver Mod Podge will work for you. Once you have finished building your puzzle, you will lay it on a flat surface and then, with a paintbrush, paint the Mod Podge over the picture. Doing this will ensure that the puzzle will stay intact for years and won’t need to worry about losing a piece.
The Various Uses for Mod Podge
Mod Podge can be used as a substitute for craft glue to stick one object onto another. It may sound like it is an ordinary glue, but it is not; what makes Mod Podge different from other glues is that it also creates a sealant coat on top of a surface. The layer of Mod Podge over a surface protects the object from the environment, such as heat, rain, or scuff marks. You can use Mod Podge on plastic, ceramic, terracotta, glass, metal, wood, and fabric. Let’s take a look at some ways you can use Mod Podge.
Art and Craft Projects Using Mod Podge
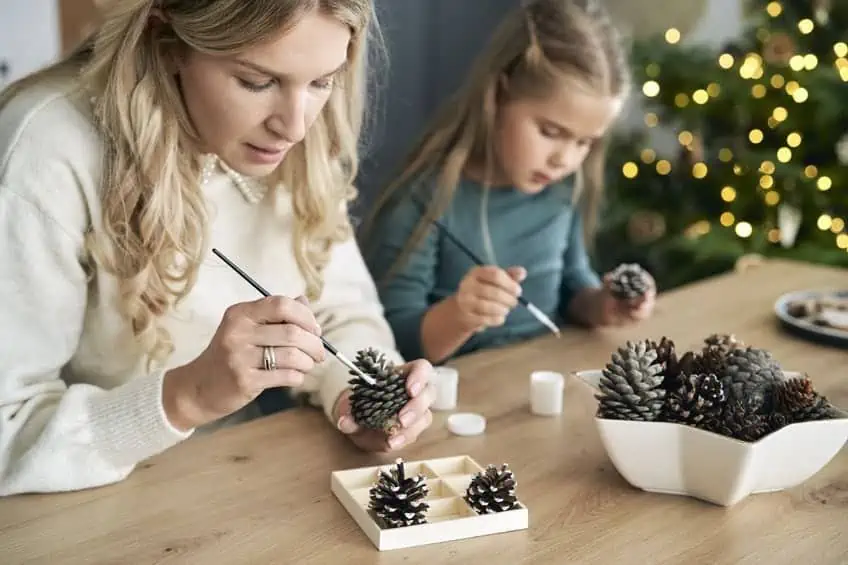
You can use most varieties of Mod Podge for art and craft projects. Below, we list a few ideas that you could try using Mod Podge with!
- Make a collage for your children’s bedrooms.
- Create unit faux stained glass.
- You can give your mailbox a beautiful DIY makeover.
- You can do photo transfer to fabric to decorate a pillow.
- You can transform your old printed canvas pictures into 3D art pieces by adding scraps of fabric or other objects to make your personalized art for the dining room.
Furniture Projects Using Mod Podge and Decoupage
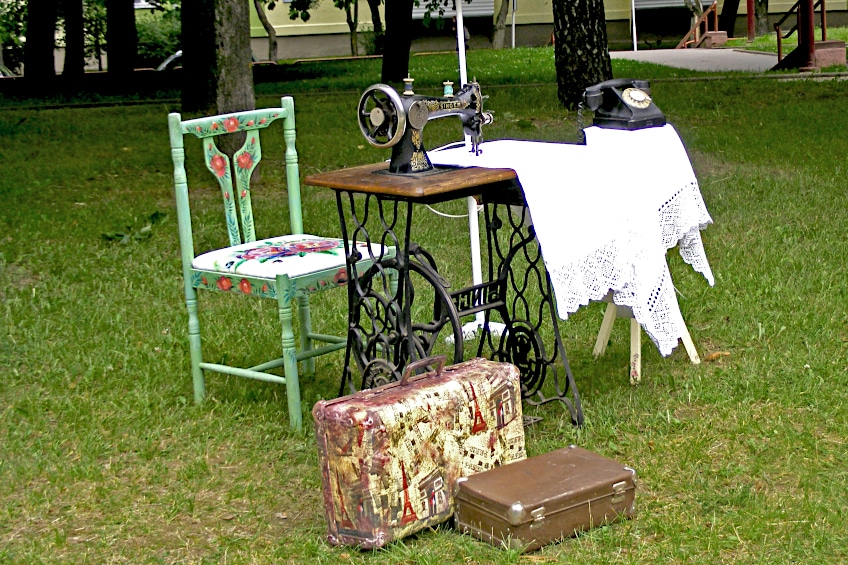
If you would like to spruce up some old furniture, why not try decoupaging them using Mod Podge? To ensure your furniture items last, we recommend using Hard Coat Mod Podge. This will ensure many years of use without damaging the design.
- Cover the wooden legs of an old garden bench using bright wrapping paper.
- An old sun-bleached table can be covered with bright wrapping paper.
- Instead of using paint, Mod Podge can also do wonders to liven up a bookshelf.
- A child’s dressing table can be redecorated with their artwork.
- Old wooden kitchen chairs can be revived by covering them in bright napkins.
- You can decoupage fabric onto old worn shelves in your cupboards.
How to Use Mod Podge: A Guide
Now that we know what Mod Podge is, let’s look at some exciting projects that can be tackled so that you can see what the different uses for Mod Podge are, which Mod Podge to use, and how to use them correctly for your desired project. Mod Podge works well on various surfaces, such as paper, wood, glass, fabric, ceramic, and tin.
Mod Podge on Wood
In the decoupage art world, you will first apply a coat of Mod Podge when you want to attach paper or fabric to the wood. You may find a few wooden objects lying around in your house that need a new lease on life, and applying decoupage to an old wooden tray is the best way to add a great pop of color to your kitchen. It will also mean that it won’t land on the junk heap because it is old and tired looking. Let’s look at the process of reviving your old wooden tray.
- Prepare the wood surface by cleaning it with warm soapy water or a damp cloth to ensure all residue is off the tray. You may want to paint the tray handles with acrylic paint, which is also a great idea as soon as it is dry after cleaning it. Paint the tray with the acrylic color of choice straight onto the wood.
- Cut out the pictures or fabrics you want to put onto the tray’s surface and have them ready in the pattern you want. Remember, Mod Podge is quick-drying, so you must be quite quick when placing your pictures or fabric down.
- With a paintbrush, paint the Mod Podge onto the wooden surface. If you want, you can even paint the back of the fabric before placing it smoothly down on the tray. Once your material has been placed down, set the tray aside for about 15 to 20 minutes to let it dry.
- Once the tray is dry, you can paint your second coat of Mod Podge over the entire surface and let it dry again. Two or three coats should do nicely. If you have opted to paint the tray’s handles with acrylic paint, you can also paint Mod Podge over the color; it will seal in the paint simultaneously with the picture or fabric, much like a varnish.
- Let the tray dry completely; you may want it to dry overnight before using it. Remember that the Mod Podge is water resistant but not waterproof, so if you have spillages on the tray when serving tea, you can easily wipe the liquid off. Still, it would help if you did not put the tray into the dishwasher as it may not withstand the amount of water.
Mod Podge on Glass
You may have an old vase that perhaps has gone out of style, and you just had to throw it away. With decoupage and Mod Podge, you can bring an old vase back to life where it can once again stand center stage. Decoupage on glass is an enjoyable project, and just as you decoupage wood, you would follow the same steps with glass. However, there are a few additional steps you will need to follow for the glass project.
- Prepare the glass by cleaning it with warm soapy water and let it dry. Once you have all the cutout pieces of fabric or paper for the decoupage project, you will apply the Mod Podge directly onto the back of the material and stick it down on the glass. You will notice seepage when sticking the fabric or paper down; wipe it off with the corner of a small cloth or your finger. Smooth down the material or paper, and once all corners are flat, you can let it dry for 15 to 20 minutes.
- If you have only used a small section of the glass rather than the entire surface, you will apply a top coat over the item. The trick is to ensure you stay within the edging of the photograph because once it is dried, you will see the mod podge stick out on the glass. If you get Mod Podge on the glass in unwanted areas, you can remove it using a knife or razor blade.
- If you have used the entire surface, you will paint it with the Mod Podge formula without worrying about the glue showing through once it has dried. Repeat this process once or twice and allow drying time between each coat.
- Be vigilant when placing your fabric or paper onto the glass. Because it is glue, if you move it once the surface has dried, you may see the glue on an unintended area of the glass. When applying Mod Podge onto glass, the trick is to work carefully to save time afterward trying to fix silly mistakes.
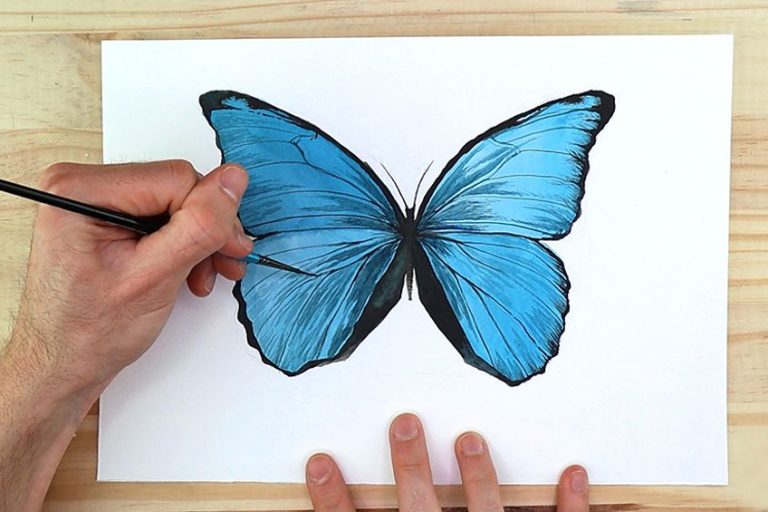
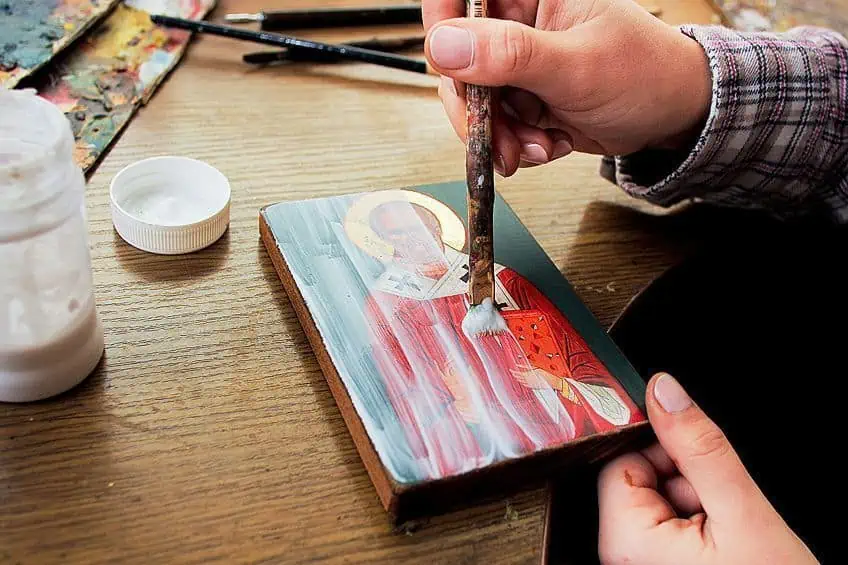
Mod Podge on Canvas
Canvas is a favored surface for many artists. When working on canvas, no additional preparation needs to be done as most arts and crafts shops sell canvases treated in the factories before selling to the public.
- First, you will want to prime your canvas using acrylic paint. Acrylic and watercolors dry relatively fast, so make sure the painting is dry before starting with the Mod Podge.
- If you are going to decoupage the canvas, you can start sticking down your fabric or other cut items straight away. An excellent idea for canvas art is making a collage of your children’s baby pictures that you finally want to take out of the album and now make into wall art.
- Make sure that you have all the items you want to stick to the canvas ready and at hand. You can begin painting the canvas with Mod Podge using liberal amounts to both the canvas and the items you wish to place onto it. You can easily wipe away any excess that may seep from the objects as you place them down.
- Leave the canvas to dry for about 15 to 20 minutes and apply at least another three coats of Mod Podge, making sure you have sufficient drying time between coats.
- A great tip when using decoupage on canvas is to use a bit more Mod Podge on the surface so that items stick correctly; any excess can be wiped off with the corner of a small cloth or even your finger.
- Once you have set aside your canvas to dry completely, you can hang it or place it in a place of pride in your home.
Mod Podge on Fabric
Using Mod Podge on fabric is the same process you will use when following the directions for using it on glass. You should be aware that once you have applied Mod Podge onto the fabric, it is there to stay and is unlikely to come out without using some cleaning product, so be careful of what material you want to use in the decoupage project.
Playing with fabric scraps before attempting a project is always a good idea. Ideally, material items finished with Mod Podge should not be washed as it could have an adverse effect. The fabric projects you make are best used as decorative items.
What Are the Mod Podge Ingredients?
Mod Podge is a formula consisting primarily of water and polyvinyl acetate, which is one of the more common Mod Podge ingredients that you will also find in most white art glues. It is a water-resistant product, and these properties of polyvinyl acetate make Mod Podge the ideal top coat or varnish when wanting to protect newly painted surfaces. It is also used as an effective multipurpose glue.
How to Make Your Own Mod Podge
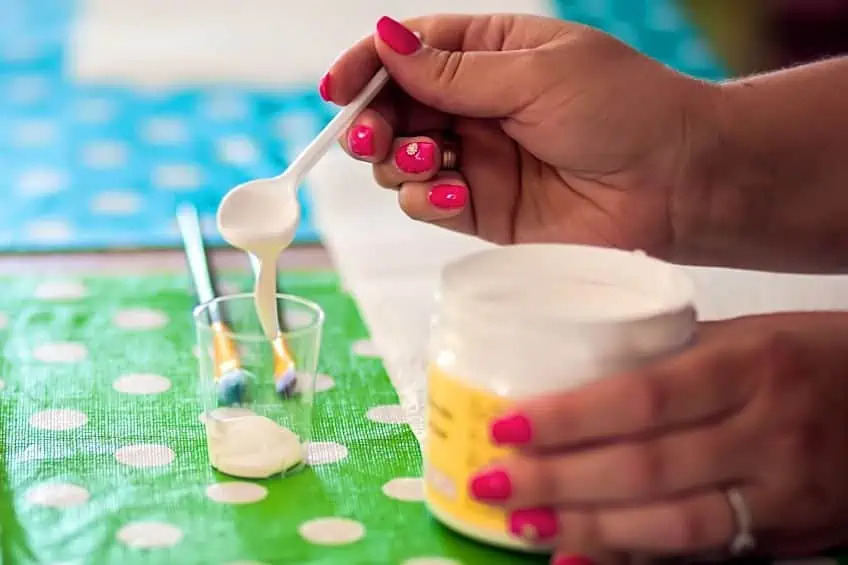
Did you know that you can make your own Mod Podge? Because Mod Podge is so affordable, it is not recommended that you try making it at your own at home, but if you are desperate, you can try using these basic Mod Podge ingredients. If you do not have time to get to your art supply store, you can easily make your own using simple ingredients that you likely already have at home! We have listed two ways to make your home-made Mod Podge.
Glue-Based Mod Podge Ingredients
- To make a glue-based Mod Podge, you will start the process by pouring white craft glue into a clean jar.
- Once that is done, add one fluid ounce of water to the container for every two fluid ounces of glue you want. Decide on what you want to create with your Mod Podge, as you can add glitter to the solution, making things a little more sparkly.
Flour-Based Mod Podge Ingredients
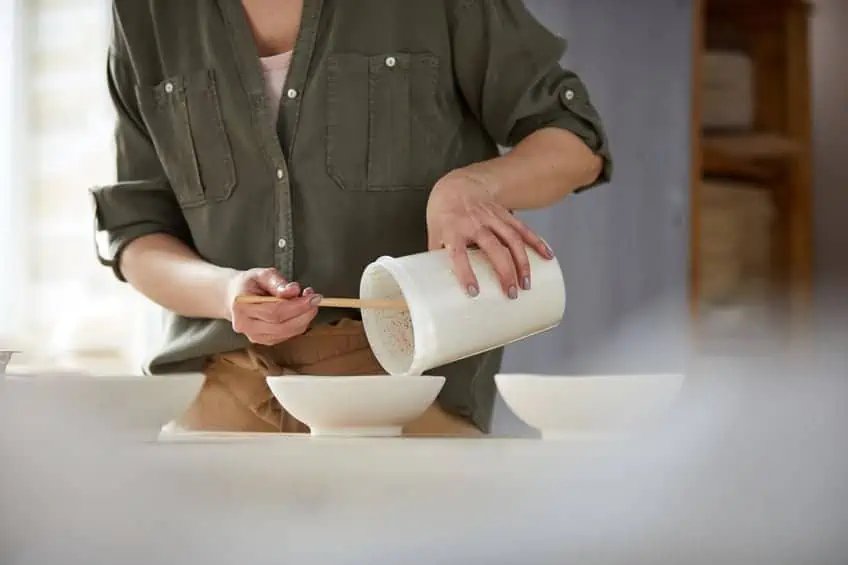
- Measure out one and a half cups of flour and place in a bowl. Add a quarter cup of sugar and one cup of water to the flour.
- Stir this mixture and then add a quarter teaspoon of oil. Stir until you get the consistency you want. Add more oil if you want the Mod Podge to have more shine.
Tips and Tricks When Using Mod Podge
Before embarking on an exciting Mod Podge project, you may want to learn about the tips and tricks to help you along the way. While Mod Podge is a simple and easy-to-use product for all ages, it will still be beneficial to learn a few handy hints!
- When using Mod Podge on glass, you may experience seepage as you stick fabric or paper down the slippery surface; wipe the seepage away with the corner of a small cloth, or use your finger.
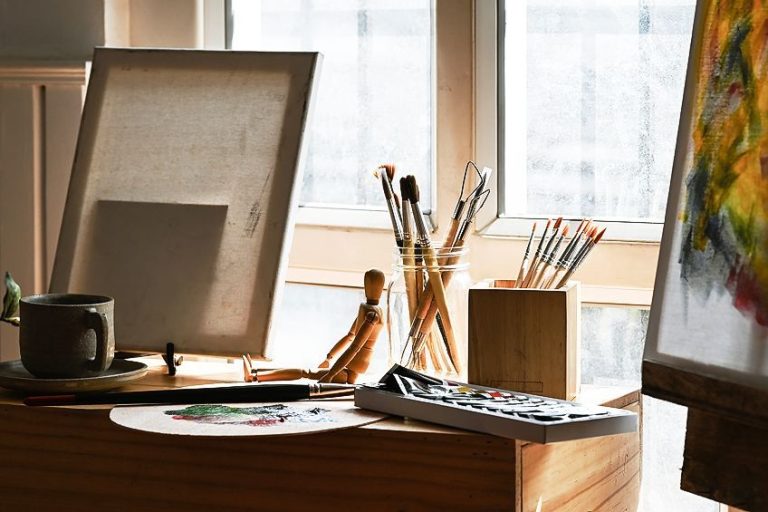
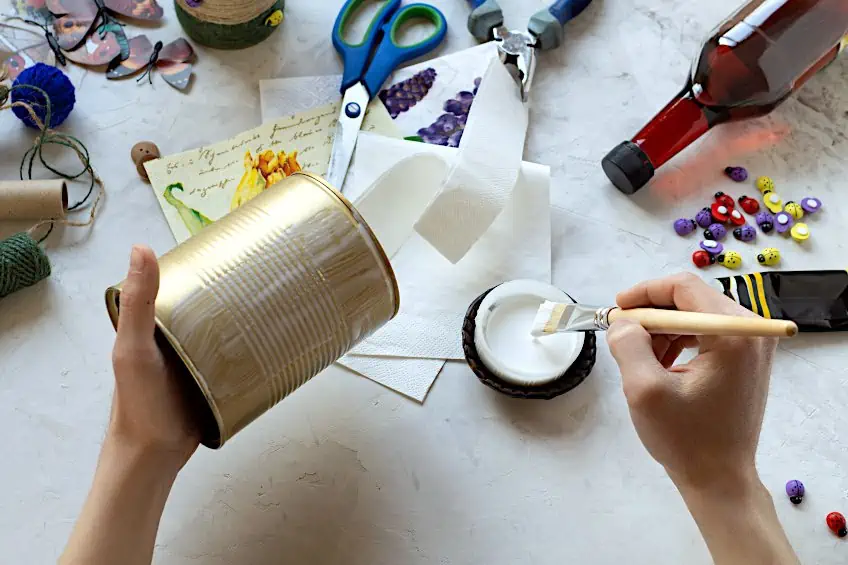
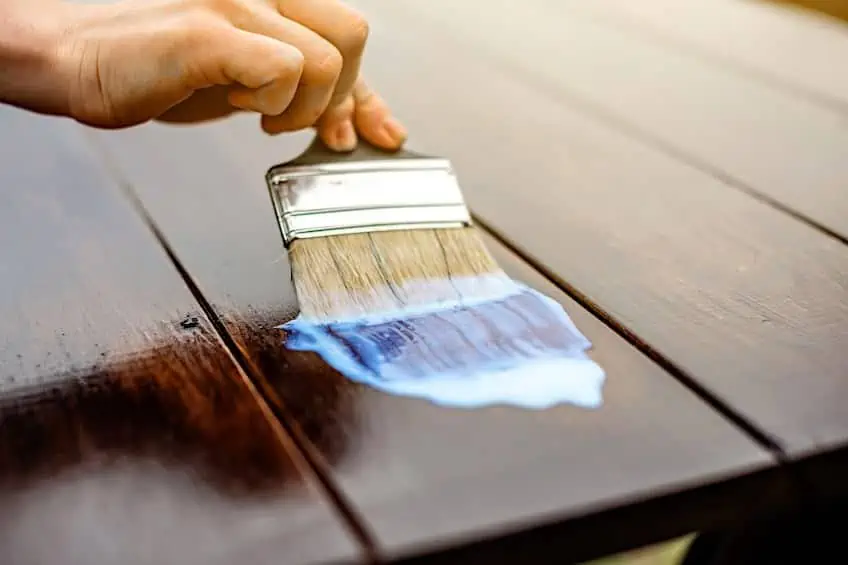
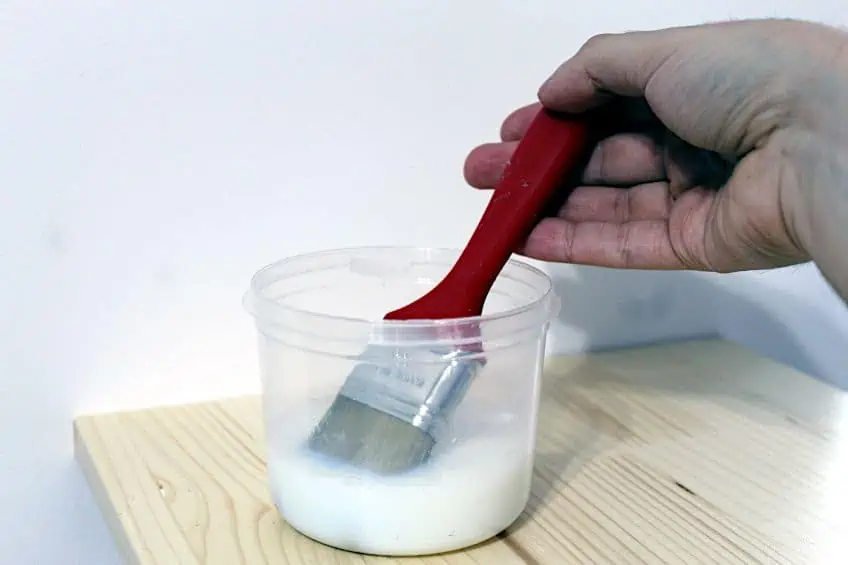
- When applying Mod Podge to large surfaces, the best tool would be a foam brush, but a paintbrush with smooth, firm bristles works just as well. If you use paint brushes that are hard or old, they may leave brush strokes on the finished project when it dries.
- Because Mod Podge is a thick substance, you should purchase a firm and smooth paintbrush but not too soft.
- For any project you want to undertake using Mod Podge, it is always best to work in sections instead of an entire surface. After applying the fabric to an object, you can smooth out any edges using the tips of your fingers.
- If you finish a project that has dried completely and notice brush strokes, these can be removed using fine sandpaper and a light rub over the surface. Once you are happy that no more brush strokes are visible, wipe the object with a damp cloth to remove any residue.
- Mod Podge dries clear and forms a hard coat over the artwork when it dries. If you are working with glass and have not cleaned any seepage properly, this may show up once dried. Therefore, it is always a good idea to work very carefully with applying Mod Podge to glass surfaces.
- No matter what surface you use the Mod Podge on, always let it dry for at least 15 to 20 minutes between coats.
- After using the Mod Podge, wash your paintbrush straight afterward. Because it is a sealer, it dries very quickly, and if you do not clean the brush immediately after use, it will harden the bristles and make it difficult to use again when you want to paint with it.
- Should you be applying Mod Podge straight onto paper, the liquid type of Mod Podge may buckle the form. So, to avoid this, you can use several coats of sealer on the paper before applying Mod Podge. A Paper Mod Podge on the market is specifically made when applying it on paper.
- If you look at your finished project and it seems to be a bit murky, don’t fret! If an object is still fuzzy-looking, it simply means it has yet to dry completely. If you leave it overnight to dry, you should get the desired result.
Learning about the strange language artists use in their everyday lives should bring you one step closer to realizing your dream of picking up that paintbrush and creating a masterpiece. In the past, you may have heard the question, what is Mod Podge, or can Mod Podge be used as glue? Isn’t it just wonderful that you now have the answers at your fingertips? It is only through reading and experimenting that helps us master our art. We hope this article has gone a long way in answering your questions so you can realize your dreams.
Frequently Asked Questions
What Is Mod Podge?
When working with decoupage, you will hear the words Mod Podge used frequently, But, what is Mod Podge, and is Mod Podge glue? Yes, it is a glue and a sealer that you use to finish your art projects so that they are protected from sun or water damage. It has a formula with several ingredients that makes it a sealant as opposed to a watered-down glue.
What Is Mod Podge Used For?
For those just beginning in the art world, the best way to describe Mod Podge is as a product that acts as a sealer and a glue. It is used in art and craft to adhere and seal various materials. You can make an array of items using Mod Podge products, such as jewelry, home décor, fashion items, and gifts.
Is Mod Podge Glue?
Mod Podge was explicitly made as a sealing agent. Over time, the product’s versatility has grown. Technically, yes, Mod Podge can be considered a glue. It can be used as a glue because it is very conducive to paper, fabric, and many other surfaces, such as glass. It is an all-in-one product that has become an essential item in the artist’s and crafter’s toolkit.
Which Mod Podge to Use?
There are over 17 different types of Mod Podge available today. Matt Mod Podge is the more popular one to work with for those small art projects inside the home. Still, suppose you are refurnishing old patio furniture using decoupage. In that case, look at the Hard Coat Mod Podge or the Outdoor Mod Podge, which has been made specifically to withstand the natural elements. The Hard Coat Mod Podge is also the best to use for any oversized furniture in the home, such as dressers or cupboard shelves.

In 2005, Charlene completed her wellness degrees in therapeutic aromatherapy and reflexology at the International School of Reflexology and Meridian Therapy. She worked for a company offering corporate wellness programs for several years before opening her own therapy practice. In 2015, she was asked by a digital marketer friend to join her company as a content creator, and it was here that she discovered her enthusiasm for writing. Since entering the world of content creation, she has gained a lot of experience over the years writing about various topics such as beauty, health, wellness, travel, crafting, and much more. Due to various circumstances, she had to give up her therapy practice and now works as a freelance writer. Since she is a very creative person and as a balance to writing likes to be active in various areas of art and crafts, the activity at acrylgiessen.com is perfect for her to contribute their knowledge and experience in various creative topics.
Learn more about Charlene Lewis and about us.