Airbrush Shirts – Tutorial how to create your own Airbrush T-Shirts
This post may contain affiliate links. We may earn a small commission from purchases made through them, at no additional cost to you.
Airbrushing T-Shirts has become a popular craft today. However, doing the job might be a lot more difficult than it first appears. The most difficult job being able to control the airbrush. This means you will need to learn how to produce consistent and even strokes with your paint. Once you have mastered this technique, you should have no problem using your airbrush. Once you have mastered your technique, you should then be able to paint using different stencils. You should also be able to create your own freehand designs.
What you need for creating Airbrush Shirts?
Airbrush
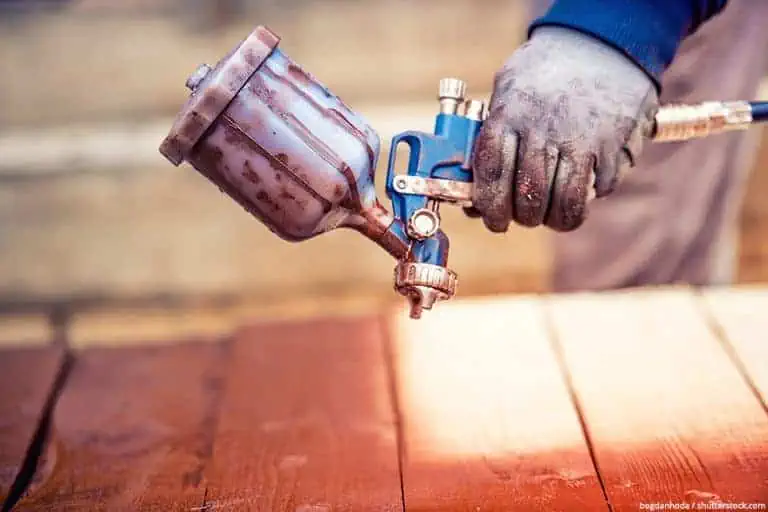
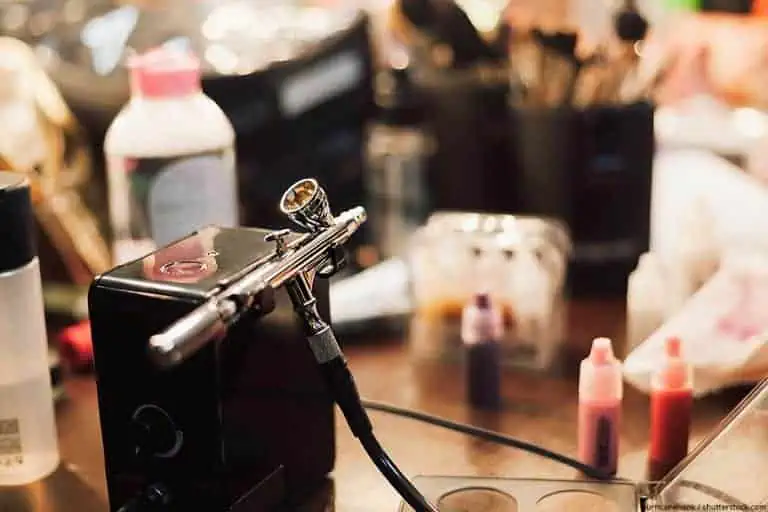
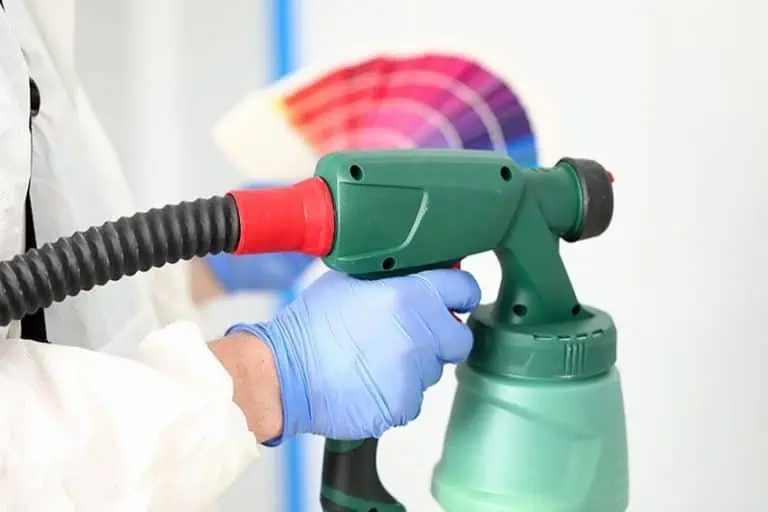
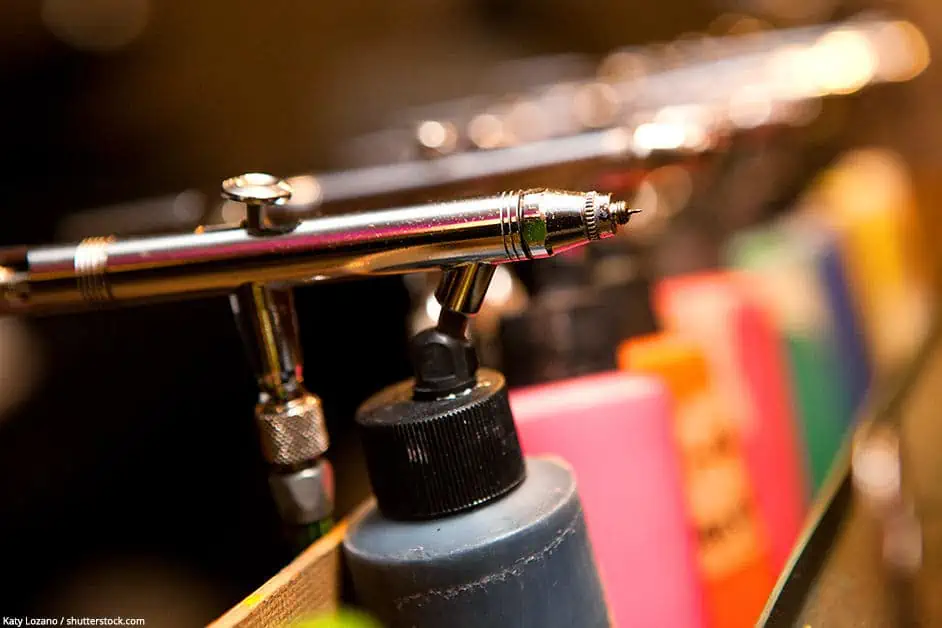
The airbrush kit most frequently used when airbrushing T-shirts, is the airbrush with a siphon-feed. This airbrush can handle all the textile paints with a higher viscosity extremely well. You need to make sure you purchase the correct hose, which is made for the type of airbrush you buy. Why using a siphon feed is important? This type of airbrush helps you to change colors quickly.
Holder for your Airbrush
This tool provides a stable place for you to put your airbrush down when you are not using it.
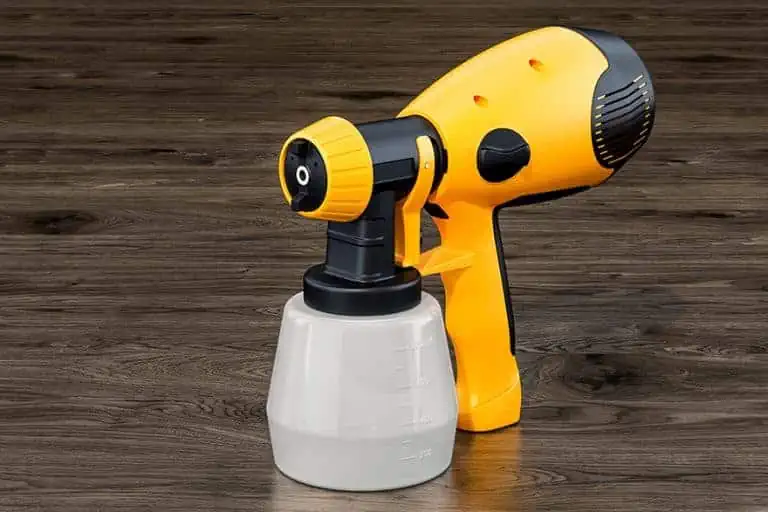
Airbrush Compressor
The compressor you need must be able to produce 40 to 60 PSI working pressure. This means that when you are airbrushing, the compressor must be able to deliver 40 to 60 PSI. This will give you a steady flow of paint all the time. However, if you are only going to be airbrushing from time to time, the standard marketed compressor used for airbrushing should be fine. Otherwise, if you are going to be doing a great deal of airbrushing, you will be well advised to purchase a commercial compressor.
Textile Paint for Airbrushing
To make sure your painted design will not wash out of your T-shirt, you will have to use paint that is specially designed for airbrushing T-shirts. Most of these paints will need to be heat set after you have placed it onto the T-shirt.
One example of this type of paint is Golden GAC 900, which you can use for a clear coat over the design you have just finished painting. Remember, you need to heat set it as well. Also, before you start with airbrushing your design onto your T-shirt, you can use the GAC 900 paint. This will help to reduce the fluff of the T-shirt that tends to catch the overspray when you spray the paint. To do this, you need to take the GAC spray paint and apply one or two coats. Then follow the instructions to heat set the paint. This will give you a smooth surface to work on.
Maybe you only want to do a one name design and this procedure sounds a bit much. In this case, you can maybe get away with not following this step, but for more complex designs this process will be well worth the effort.
T-Shirts
You will need a T-shirt so you can airbrush any design you want onto it. As to the composition of the T-shirt, it depends entirely on you. Both the 100% cotton and a 50/50 blend will work well. An advantage of the 50/50 blend T-shirts is that your airbrush design will fade a lot less over time than your 100% cotton. Also, your 50/50 blend T-shirts will shrink less than 100% cotton. Remember, it is not necessary to wash your T-shirt before you airbrush your designs onto it.
How to create your very own Airbrush T-Shirt
First, prepare your Airbrush Stencil
There is one major advantage when it comes to using a stencil for airbrushing a design onto your T-shirt. You don’t need to be concerned about any excess paint coming onto your T-shirt. If you want to make a stencil for airbrushing that you can use over and over again, then the best material for you to use is Pennant Felt. This material is reasonably cheap and is ideal for stencil material as you will be able to use it repeatedly without having to clean it.
Choose your Design
You can choose to draw your design, otherwise, create a design by making use of some digital software. You can also make use of a pre-made design.
- Digital design: print the design you want using a heavy gram paper to give you the best result.
- Freehand Design: you will need to draw your design onto heavy gram paper first, and not straight onto the stencil.
- Ready-made stencils: This is the easiest way, but doing it this way will limit your design options.

Transfer your Design onto the Pennant Felt Material
Place your desired design onto the Pennant Felt material and trace around the outside edge of your design using a B type pencil. This will give you a darker outline, and you have now transferred your design onto the felt.
Why choose Pennant Felt?
- Pennant Felt is the best type of material to use, as it is capable of soaking up any excess paint and it is durable.
- If you choose to make use of ready-made stencils, all you need to do is trace your design directly onto your T-shirt omitting any other steps.
- Do you prefer a free-hand design? You will need to first cut the image around the edges and make a temporary stencil. You can take this temporary stencil and trace it onto your felt.
Cut the Stencil Out
Make sure to use a cutting mat or some other plastic or soft rubber material underneath the felt. Very carefully cut on the traced lines. Now, remove any excess material and you have your finished stencil.
Note: When cutting out your design, you can use a hobby knife or an ordinary utility knife. However, if you have a more detailed and intricate design, it would be advisable to use a stencil burner instead.
Applying a thin Coat of temporary Adhesive
Turn your stencil over onto its backside and apply a thin coat of repositionable spray adhesive.
Benefits of applying the adhesive:
- The thin adhesive layer will assist in keeping your stencil in place on your T-shirt. Ensure that you make use of repositionable temporary adhesive and not the ordinary permanent adhesive.
- Allow the adhesive to dry slightly for a few minutes before you continue. This will prevent any residue adhering to your T-shirt after you have removed the stencil.
Position the Stencil onto your T-Shirt
Position your stencil onto your T-shirt in the perfect place. Make sure to place the adhesive side down first. Then press the stencil down firmly allowing the adhesive to stick to your T-shirt.
Follow these steps:
- Allow for a few minutes before you proceed, this ensures your stencil is firmly in place.
- You can tape the sides of the stencil down using painters tape. This will ensure your stencil stays in place and will also prevent any added spray from getting onto other sections of your T-shirt.
The Process for Spraying
Set your T-Shirt up
Insert a T-shirt board inside your T-shirt and then place your T-shirt onto an easel.
- The board inside the T-shirt will straighten the material preventing an uneven surface, which could ruin your design. The board also stops any paint from leaking through to the other side.
- Many of the T-shirt boards are made from foam, Masonite, or heavy cardboard. You can also use an ordinary piece of cardboard cut to the right size that will cover your design.
- Your easel should be set to keep your T-shirt about 32 inches (or 81cm) above the level of the ground. The T-shirt needs to be in such a position that it allows you to move your hand naturally from side to side as you paint.
Position your airbrush directly over the T-shirt
Start on the right of your design and not in the center, holding the airbrush directly over the stencil attached to your T-shirt. You will soon notice that how far you hold your airbrush from the T-shirt, produces varying effects. For example, if you desire a soft appearance then you need to hold the airbrush around 6 inches (or 15 cm) away from your T-shirt. Otherwise, if you desire a harder appearance, you need to be about 4 inches (or 10 cm) away from your T-shirt.

Use evenly overlapping strokes as you spray on the surface
Gradually ease the trigger back and this will release a jet of paint. Now, with a steady hand move the airbrush over the whole surface of your stencil as you spray paint onto your material where your design appears.
- If you hold the airbrush close to the surface of your material, you need to ease up with the trigger allowing less paint to flow out.
- Your hand should be steady when painting across the whole surface. An unsteady hand will leave you with blobs of paint at the end and also the beginning of each stroke.
- Try to overlap as you end each stroke, which will stop any gaps or blank spaces and leave you with a more even finish.
If you need to you can switch Colors
To change colors, you merely need to release the trigger and the paint will stop spraying. Next, screw off the old jar and replace with a new jar.
Note: There are artists who use a different airbrush for every new color they want to change. This is not necessary for paint that is fed from the bottom, and you can make use of the same airbrush for all the colors you want to use.
Taking off the Stencil
After you are done painting and using the stencil, very carefully remove it from your T-shirt.
- Be careful to first remove any tape used to hold down the stencil before you lift it from your T-shirt.
- If you have difficulty in removing the stencil, it would be advisable to first allow the paint to dry and then peel your stencil off. By doing this you minimize any risk of damaging the paint and ruining your design.
Adding any Free-Hand Designs of your own
You may want to add some of your free-hand designs at this point. Make sure you know exactly where you want your design to be as you will not be able to rectify any mistakes you make.
What types of free-hand designs are most common?
Numbers and letters are quite common. Try to practice the different types of font you want to airbrush onto your T-shirt beforehand.
Finishing the Paint Surface
Let the Paint dry
Allow the paint enough time to dry properly before you attempt heat pressing it.
Note: Each paint manufacturer appears to have different drying times for their paint. On average, you can allow at least 30 minutes for the paint to dry properly. When you touch your design with your finger, there should not be any paint coming off, and it should not have a tacky feeling.
Use Parchment Paper to protect your T-Shirt
Lay your T-shirt out on a flat, hard surface and use parchment paper or ordinary brown craft paper to cover your design.
- You must never apply your heat source directly onto your T-shirt design, as it will result in the paint melting, peeling off, or sticking to the iron.
- If you find yourself without this type of paper, just turn your T-shirt inside out and iron it on the other side.
- Ensure that before you go onto the next step your material is smooth and flat.
Use the Iron to pass over your Design
Take an ordinary standard iron and set it to preheat on cotton. Next, use the hot iron to carefully press your whole design for about 2 minutes.
- By applying heat to design, you allow the paint to set properly. This stops it from coming out in the wash or peeling off.
- Be sure that your heated iron reaches a temperature of around 300° F (or 150° C).
More options available to heat-set your design:
- Use a professional conveyor that is set at 120° F (or 50° C) for about 20 minutes.
- Make use of a heat press that is set at 375° F (or 190° C) for around 30 seconds.
- You can use a heat gun over the entire surface for about 30 seconds.
After waiting for the material to cool, you will be able to use a cold wash and a mild washing powder or liquid. Then allow the T-shirt to dry outside in the sun or tumble dry on a low heat setting.
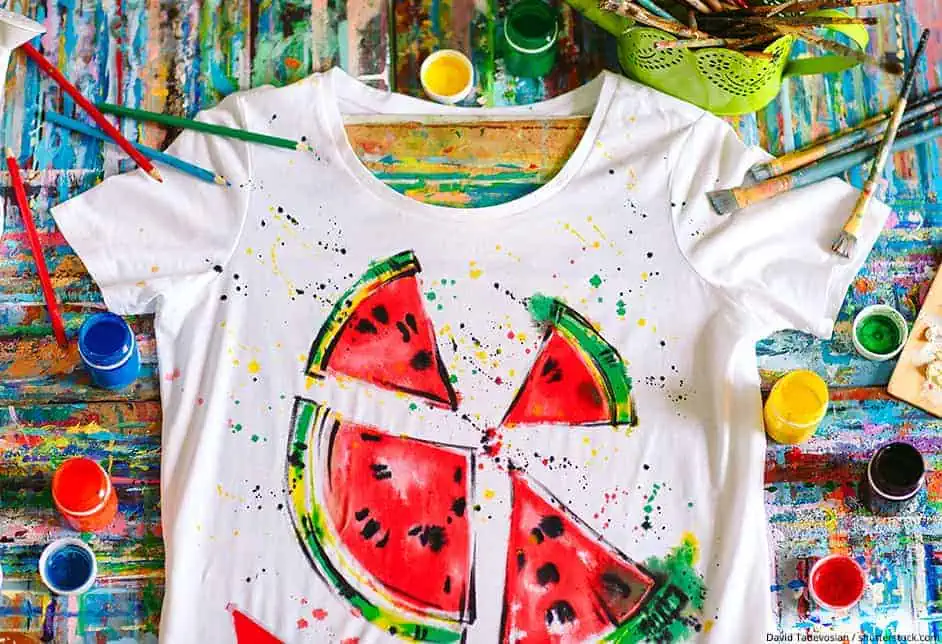
When the whole process is complete, you can wear and show off your new designer T-shirt.

In 2005, Charlene completed her wellness degrees in therapeutic aromatherapy and reflexology at the International School of Reflexology and Meridian Therapy. She worked for a company offering corporate wellness programs for several years before opening her own therapy practice. In 2015, she was asked by a digital marketer friend to join her company as a content creator, and it was here that she discovered her enthusiasm for writing. Since entering the world of content creation, she has gained a lot of experience over the years writing about various topics such as beauty, health, wellness, travel, crafting, and much more. Due to various circumstances, she had to give up her therapy practice and now works as a freelance writer. Since she is a very creative person and as a balance to writing likes to be active in various areas of art and crafts, the activity at acrylgiessen.com is perfect for her to contribute their knowledge and experience in various creative topics.
Learn more about Charlene Lewis and about us.