Airbrush Stencils – How to Use Stencils and Make your Own
This post may contain affiliate links. We may earn a small commission from purchases made through them, at no additional cost to you.
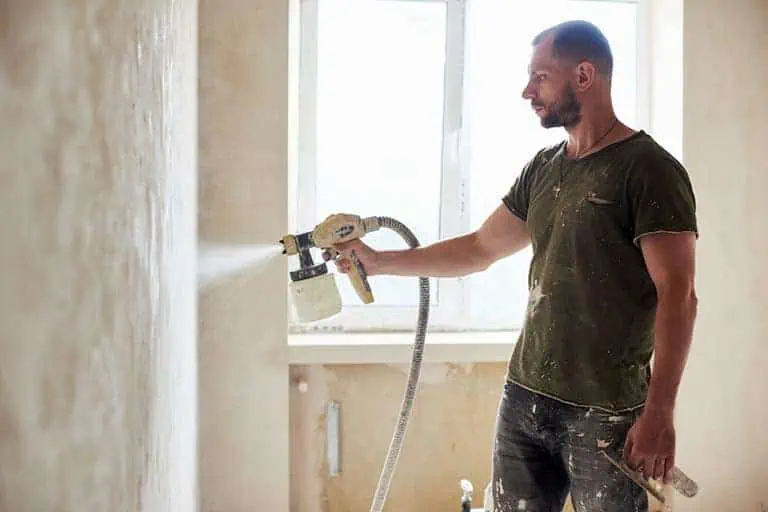
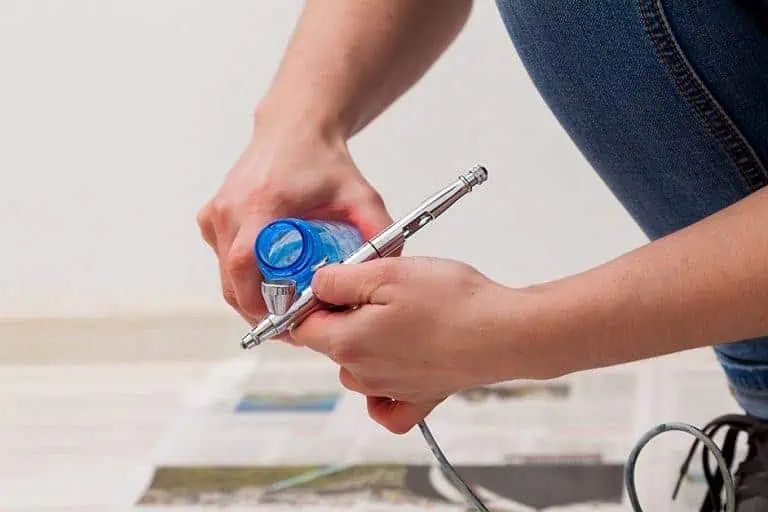
The airbrush technique makes it possible to conjure up lifelike works of art on the most diverse surfaces. In particular, subtle color gradients and shadows can be applied effortlessly with an airbrush gun. However, clear lines and contours are rather difficult to place. Often the airbrush artist still uses a conventional brush for this purpose. But you don’t have to! The solution to this problem is: airbrush stencils. They allow painting of straight lines and sharp edges with an airbrush gun.
What are airbrush stencils?
A professional airbrush stencil is made of high-quality transparent foil. When placing the stencils on the surface, the background should remain visible, as this is the only reasonable way you can work with stencils. Good airbrush stencils can be thoroughly cleaned with cleaner and are reusable. There are two types of airbrush templates:
Single design stencils / stencil sets
By means of a design stencil, also available in stencil set, a complete design can easily be applied to any surface.
Stencil sets are often supplied with easy-to-understand, step-by-step instructions. This describes in detail in which order the stencil parts are placed. In addition, it often gives advice on the color design of the work of art.
Working with a design stencil is therefore quite simple and is divided into the following steps:
- Paint your background, if needed
- Place the first stencil part according to the instructions
- Spray cut-out spaces with recommended paint
- Remove stencil
- Positioning of the next template – spray on – remove template etc.
This sequence is carried out until all stencil parts have been put on and the artwork is finished.
The only difficulty when using design stencils is to position it correctly. To make this challenge easier, stencils are made of transparent material so that the already existing painting is always visible and the right place for the stencil can be found easily.
One point should be taken to heart: between the application of the individual stencils the already sprayed paint must dry. Otherwise the next stencil would smear the still wet paint.
Pattern, Effect or Contour Stencils
Pattern and contour templates contain only individual shapes, lines or patterns. These stencils can be used on the object as desired. Thus they leave the artist a much greater scope for use.
The use of these auxiliary templates is very simple. They are positioned at a portion of the artwork freely selected by the artist. The free remaining areas can now be sprayed with the airbrush gun and any color of your choice.
Depending on whether you want to create a color gradient or spray a more solid, opaque design, either a light spray is sufficient or a more intensive treatment of the cut-out section has to be carried out.
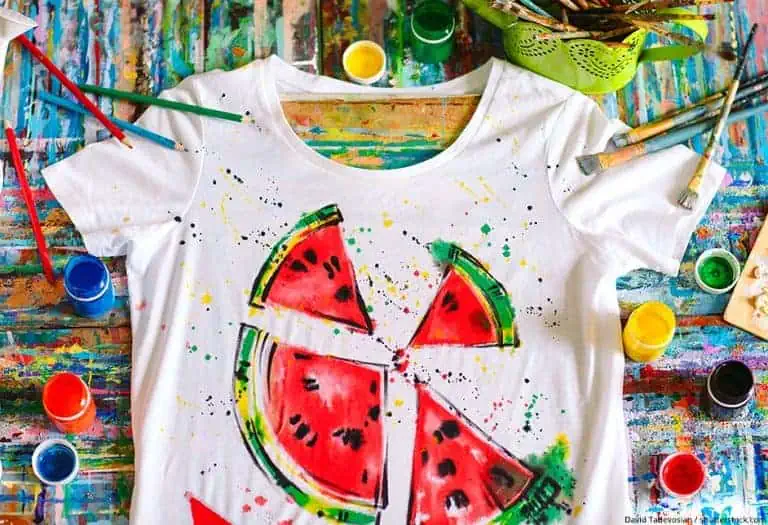
What can airbrush stencils be used for?
Airbrush stencils are used for the most diverse applications.
Design stencils are often used in:
- Nail design
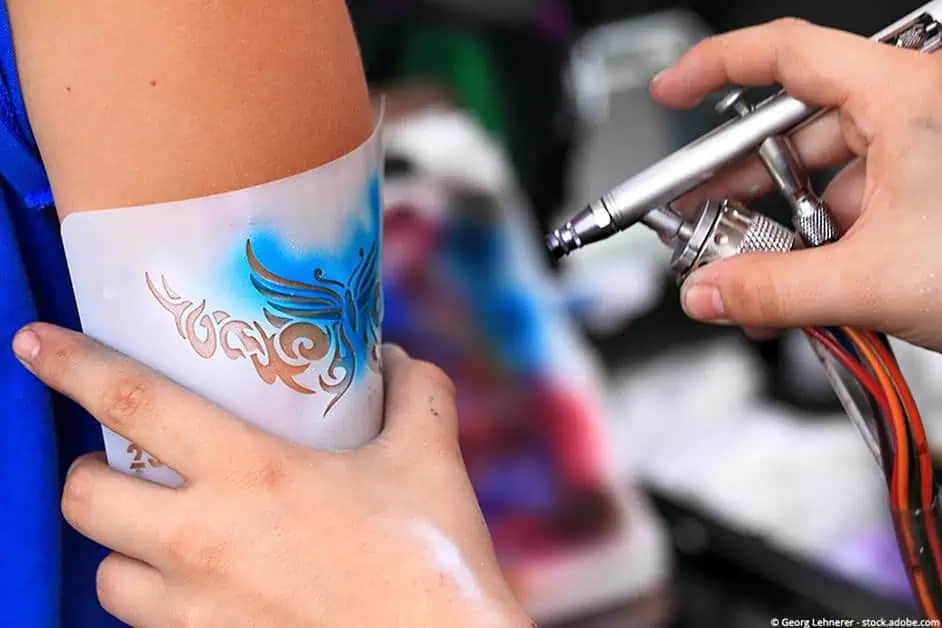
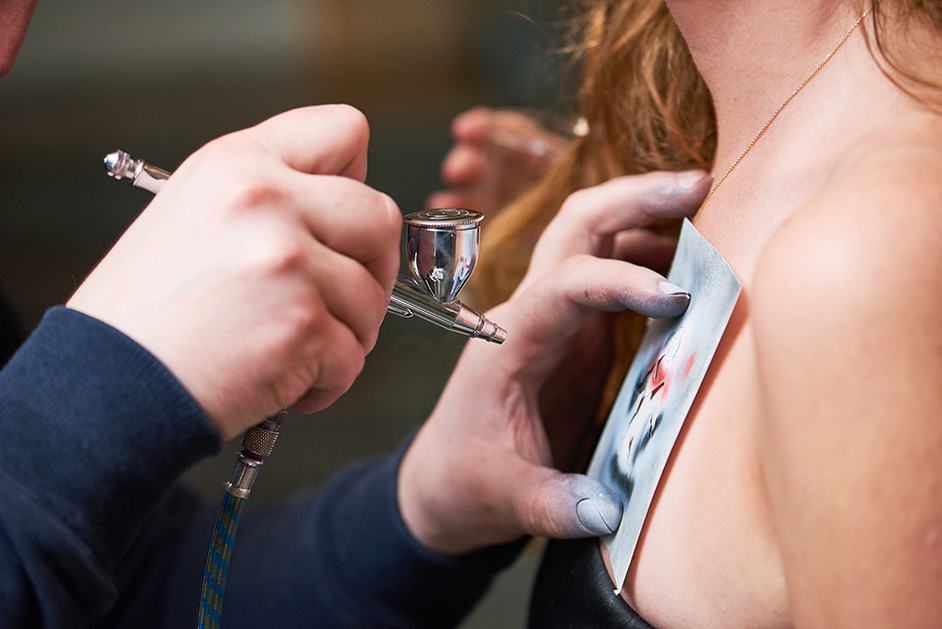
- Body painting
- Face painting
- Airbrush Tattoos
- Makeup
- Theater and film masks
- Wall design
- Custom painting
Auxiliary stencils such as contour and pattern stencils are used in all areas where the airbrush technique is applied. For example in the areas of:
- Model making
- Illustrations
- Custom painting
- Textile design
- Cosmetics
Advantages and disadvantages of stencils
Pros
- Stencils prevent paint from running along the contours and also prevent ink splashes. Thus, through the use of templates, the airbrush user can create clearly defined lines and edges.
- Special effects and patterns, which are difficult to achieve with the airbrush gun alone, can also be easily created with a stencil.
- In addition, design stencils make it relatively easy to produce elaborate artworks. Freehand drawn, these projects would require great artistic talent.
Cons
- Stencils should be well attached to the substrate, otherwise they will not fulfill their purpose. Paint can run under loose stencils, which leads to blurred lines and edges.
- Old paint residues on the stencil can be dissolved when spraying again and ruin the current project. Therefore stencils should always be kept clean
- If stencils are placed on paint that is still wet, the stencil will smudge the design that has been painted so far and make it unusable. Before stencils are applied, the paint underneath should be dry.
At first glance, design stencils or stencil sets especially appear to be quite limited in their use. So can seem a bit boring to create several identical projects. But you can get creative with a stencil set by either changing the color combinations completely, combining the individual stencil parts into new designs, or combining several stencil sets with each other.
This should be considered when buying airbrush stencils
High-quality stencils, which you will enjoy for a long time and which fully serve their purpose, are thin and flexible. This is the only way they can lie firmly on a variety of substrates and prevent an unwanted color gradient.
To prevent the old paint from smearing a new project, the stencils should be easy to clean. Depending on the paints used, it may even be necessary for them to withstand solvents.

Tricks and tips for use
- Before working with stencils, the background must first be designed accordingly. Only then are the corresponding templates applied. They can either be used one after the other until they result in the complete image, or they are used to set single highlights, accents or patterns
- Loose stencils should always be well attached to the substrate. Otherwise, the air pressure coming out of the airbrush gun can cause the stencil to start fluttering and spray mist to get under the stencil.
- On metals you can work with magnets for this purpose. The neodymium magnets in particular are recommended. They have a high attractive force with minimal size.
- On other surfaces the stencils are best fixed with masking tape.
- Since the focus of effect stencils is not necessarily on clear edges, but on the effect itself, it is a good idea to simply hold the stencils on the surface with your hand. This is of course also how the spray mist gets on your hand. Therefore you should wear gloves when hand-holding stencils.
Cleaning stencils
Airbrush stencils will become covered by the paint mist during use. After the work is done, they should be cleaned as thoroughly as the airbrush gun itself. Old paint residues could otherwise ruin the new project during the next spraying process.
To clean the airbrush gun, use water, airbrush cleaner or window cleaner. For stubborn soiling or after the application of paints it may be necessary to use solvents. Make sure that your stencils are suitable for such a treatment.
Making airbrush stencils yourself
Simple stencils
Airbrush stencils are available in specialist shops in all imaginable patterns, shapes and designs. If you want to be creative yourself, you can also cut your own stencils.
For simple shapes and contours, paper, cardboard, pond liner, or transparent film are perfectly adequate as stencil materials. The design is drawn on the material and then cut out.
However, particularly fine and detailed patterns cannot be created with a self-made airbrush stencil made of these materials. The reason is simply that it is not possible to cut precisely enough with scissors. In addition, cardboard, for example, does not lie well on the surface and therefore a slight mist of paint is visible at the edges, instead of a sharp contour.
Stencils from stencil film
You would then rather be better off making your stencils out of stencil film. This special stencil film is available in specialist shops in sheets of different sizes. You will also need a cutting mat and a cutter or scalpel to make it.
Print out your design idea or draw it on paper. You attach this to the cutter mat. A sufficiently large sheet of stencil film is then placed over it. Remember to fix these too. The design can now be cut out of the foil with a scalpel or cutter. In this way you can also create you own, very fine, patterns and designs.
Since stencil film is made of the same material as the commercially available ready-to-use stencils, it is also easy to clean, reusable and lies well on the surface during use, so that clear edges are created.
Templates for printing and cutting out
Those who work with stencils a lot often shy away from the costs of the stencils. Although most are available for under 10€, buying many different designs and patterns can add up to be quite expensive.
Many airbrushers therefore use free templates for airbrush stencils, which can be found on the Internet. On relevant websites you can find not only airbrush templates for beginners, but also complicated designs and special-effect templates, as free downloads. These stencil templates also help those who would like to design a special stencil, but cannot sketch the design themselves. The printed templates are then transferred to stencil film and cut out accordingly.
Templates for unusual effects
With a little vision, even everyday objects can create the most beautiful airbrush patterns. Try a vegetable net, metal mesh or lace fabric to create unusual patterns.

In 2005, Charlene completed her wellness degrees in therapeutic aromatherapy and reflexology at the International School of Reflexology and Meridian Therapy. She worked for a company offering corporate wellness programs for several years before opening her own therapy practice. In 2015, she was asked by a digital marketer friend to join her company as a content creator, and it was here that she discovered her enthusiasm for writing. Since entering the world of content creation, she has gained a lot of experience over the years writing about various topics such as beauty, health, wellness, travel, crafting, and much more. Due to various circumstances, she had to give up her therapy practice and now works as a freelance writer. Since she is a very creative person and as a balance to writing likes to be active in various areas of art and crafts, the activity at acrylgiessen.com is perfect for her to contribute their knowledge and experience in various creative topics.
Learn more about Charlene Lewis and about us.