How to Spray Paint Kitchen Cabinets – Guide for the Best Results
This post may contain affiliate links. We may earn a small commission from purchases made through them, at no additional cost to you.
It can be a daunting task to take on painting a kitchencabinet, with the detailed specifications required and the various steps to follow. Working with a spray gun allows for a quicker and easier application process and provides a smooth, attractive finish. If you are looking for the most effective way to paint your cabinet, this comprehensive guide that follows will show you how to spray paint cabinets and also help you find the best paint sprayer for cabinets.
Table of Contents
- 1 Considerations for the Best Cabinet Spray Painters
- 2 Painting Cabinets with HVLP Spraying Systems
- 3 Airless Paint Sprayers
- 4 Considerations When Buying an Airless Cabinet Paint Sprayer
- 5 Rollers vs. Paint Sprayers
- 6 Paint Sprayers vs. Paint Brushes
- 7 HVLP Spray Guns vs. Airless Paint Sprayers
- 8 Achieving the Smoothest Finish When Painting Cabinets
- 9 How to Paint Over Painted Cabinets
- 10 How to Sand Cabinets Before Painting
- 11 How to Prime Your Cabinets
- 12 Masking Cabinets Before Spray Painting
- 13 Tips and Tricks for Cabinet Spray Painting
- 14 Frequently Asked Questions
Considerations for the Best Cabinet Spray Painters
If you are new to spray painting and would like to find out which are the best tools for the job, we’ve saved you some trouble and provided a look into some of the options available. So before you decide to spend your money on a paint sprayer, it is important to understand which product will best suit your purpose. There may be a number of factors to consider when you go about selecting the best paint sprayer for cabinets.
Turbine Power
In order to function, a paint sprayer makes use of a turbine. This creates a pressure level that propels the paint into the spray gun. The variant of paint suitable will depend on the sprayer’s motor system. A constant pressure level requires a decent quality sprayer unit, so ensure you choose wisely. Industrial paint sprayers do create ample power and force, but in the process, they use a great deal of energy so are not necessarily the most affordable. For home use, you need to select a product with a good between power and energy consumption.
Tips and Nozzles
Paint sprayers, especially the better quality units available offer the functionality of varying the spray pattern. Using a machine of this nature provides additional flexibility, as you can determine how heavy the level of spray is as you work. The outlet pattern can be circular, horizontal, or vertical. So, we recommend using a sprayer that either has this functionality built-in or includes extra tips and nozzles. Switching the spray outlet pattern in different areas allows more effective coverage and a smoother finish as a result.
Paint Container
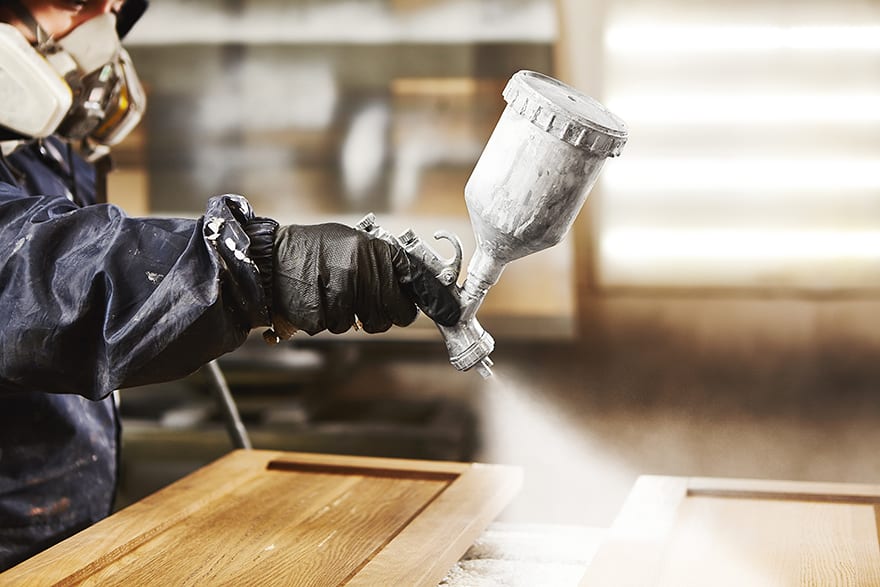
With a good size canister, your sprayer won’t need to be refilled as regularly. Using a small container will be more time-consuming, as you will be constantly refilling as you work. Depending on the area to be covered and the type of project, choosing the best paint sprayer for cabinets will suit your particular needs. Most sprayers come with a 35-40 fl oz(1-1.2l) capacity container, which should be sufficient for the average project. If you wish to take on more extensive projects, you may require a larger container. Gravity feed canisters usually provide greater volume.
Weight
When choosing the best handheld paint sprayer for cabinets, keep in mind it must offer good mobility and straightforward operation. A more lightweight unit is easier to handle, giving you more control of the paint application and therefore a better result. By ensuring you choose the best handheld paint sprayer for cabinets, your work process will be hassle-free and less time-consuming. Those hard-to-reach corners of any area are also easier to access with a lighter spray unit.
Cleaning
It is essential to clean and maintain your paint sprayer to ensure optimal performance and results. Even the best paint sprayer for cabinets will require regular cleaning. Without thorough cleaning of your spray unit, you will encounter clogging, preventing any flow from the outlet nozzle. Some designs allow easier maintenance than others, so keep this in mind when purchasing your paint sprayer. The unit should allow for easy disassembly, so you can then clean it with soap or detergent and water.
Maintaining and cleaning your sprayer carefully and regularly extends the unit’s lifespan, which saves you money in the long term. With each completed project, make sure you have a cleaning routine that involves checking the functionality of each part of your spray unit.
Painting Cabinets with HVLP Spraying Systems
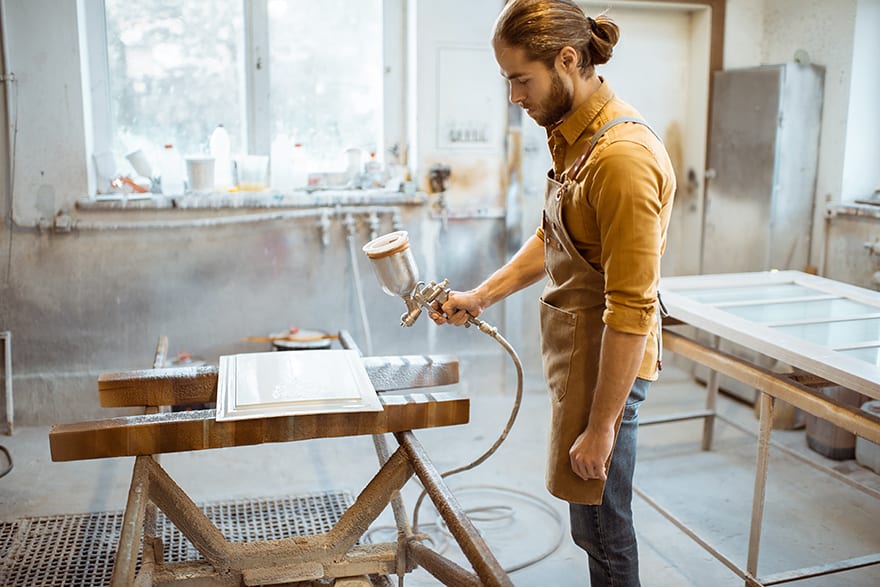
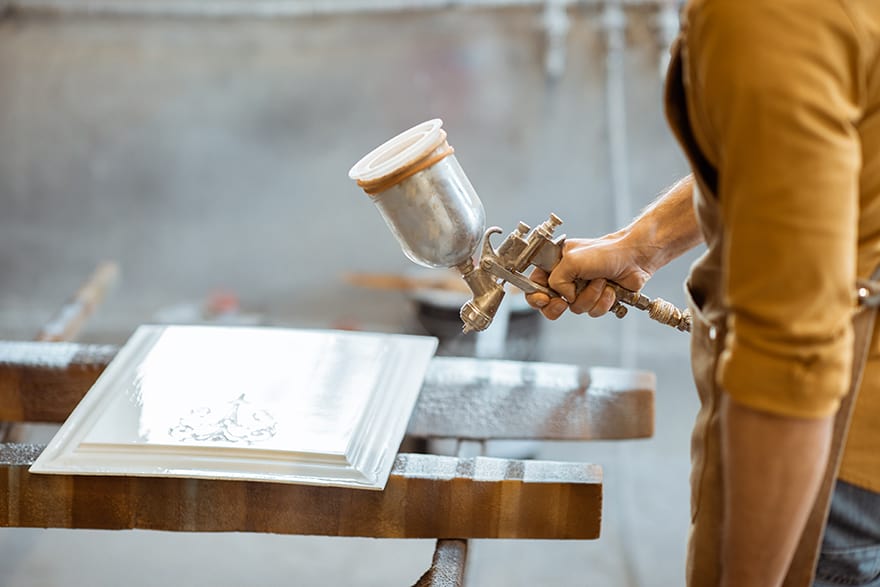
Whether you are a professional painter or simply a DIY enthusiast a paint sprayer can be an essential tool. When you are looking for a versatile solution that allows a good level of detail HVLP spray guns are a great option and often the best paint sprayer for cabinets. These highly effective paint sprayers are well suited for a wide variety of projects and you can save time using them. The mechanism atomizes the paint at high volumes using a low-pressure system. By choosing the best HVLP sprayer for kitchen cabinets, you can consistently achieve premium quality results.
The force of gravity pushes the paint from the canister into the spray gun’s barrel, which is then met by an airstream from the air compressor. This pressurized airstream atomizes the paint, producing a fine mist that can give you a smooth impressive finish. HVLP paint guns provide greater control for more delicate work like cabinet and furniture painting. These spray units are impractical for coating larger regions like the walls of a house though.
As you learn how to spray paint cabinets, you will need to completely familiarize yourself with the functionality and operation of your HVLP spray gun. We also recommend the use of an industrial-level air compressor with these sprayer units. Pay attention to the specifications of the HVLP spray gun and its optimal psi settings. Paint generally uses a rating of at least 70 psi.
Airless Paint Sprayers
This type of spraying unit works effectively once it has pumped at least 3000 psi of paint. This process uses a hose, as the paint then passes through a diffusion tip that creates droplets. These paint sprayers function by means of an electric motor, which makes them the most powerful type available. The application produced is thicker, which reduces the amount of coatings necessary. They include a number of spray tips and will speed up your workflow considerably on some projects. If you require a heavy-duty spray unit, an airless sprayer may be the best option. They are well suited for use on larger projects, but with the correct configuration and a fine spray tip, you can happily use them for smaller jobs such as cabinets too.
Working with smaller objects will require a 311 size spray tip. Using this tip size avoids coating too thickly, as it creates a buffer between the surface and the spray unit as you work. This type of spray gun is a multipurpose tool, ideal for various different projects.

Considerations When Buying an Airless Cabinet Paint Sprayer
Before deciding on which airless spray unit to purchase, there are a number of variables worth considering. To ensure you select the best airless paint sprayer for cabinets, it will be beneficial to look at the following aspects so it is optimal for your needs.
Size of the Project
The sprayable area size of the job you are looking to take on will be the main factor affecting the choice of spray gun you purchase. Be careful not to select a spray unit that is too heavy duty for your project, or it could result in a disaster of over-spraying the area. Over-spraying can result in a costly waste of paint, besides the mess and potential damage to your materials and workspace. The uncontrolled release of paint particles into the air is also extremely hazardous to the surrounding environment. So ensure you select a spray unit that allows a good degree of customization and control.
Size of the Tip
The spray outlet tip will be configured for the volume of paint the unit will output and it also changes the spray pattern you require for a particular purpose. The optimal spray tip size is determined by a simple equation. The various sizes are categorized with a three-digit number. By multiplying the first number in the sequence by 2, it equals the size of the tip. This will also specify the spray arc, at 12 inches from the tip.
The size of tip you select must be considered with care to ensure the success of your projects. It is also crucial to familiarize yourself with the spray operation of the tip and which spraying units it is compatible with. For applying lacquers and stains, you will select a spray tip that ranges from inches to .013 inches (±0.22-0.33mm). Primers require a larger spray tip, ranging from .025 to .035 inch (±0.66-0.88mm) in size. Oil-based paint requires a wide spray tip, and take care, as selecting an undersized tip for your purpose may clog in the process, while a tip too wide may result in over-spraying.
Airless Technology
The Magnum X5 spraying unit from GRACO offers amazing results with its high-performance patented True Airless system. This is arguably the best airless paint sprayer for cabinets and will be ideal for your needs. Usually, airless spraying units are well suited for more extensive projects, so it is highly recommended for DIY enthusiasts. The versatility allows you to take on a range of different projects with relative ease, as the functionality allows for easy reconfiguration. You could even learn how to paint kitchen cabinets with spray gun and still achieve an excellent finish.
Pressure Variables
A high-pressure piston comes into play when using the suction hose to spray directly from the 5-gallon(18.9l) paint container. This saves you time and reduces the steps in the procedure, as there is no need to decant the paint into additional containers and prevents the paint from thinning.
Well-Built and Sturdy Components
This top-rate spraying unit is manufactured with the highest quality materials. It includes a 25ft. (7.62m) DuraFlex hose that offers high flexibility and durability. When using this spray unity, you can easily apply up to 50 gallons (189.27l) of paint annually. It also comes with the 563 stainless spray gun that offers outstanding durability and easy maintenance.

Compartments for Storage
This spray system is as effective in exterior situations as interior ones and includes storage compartments, allowing you to place additional tools there for quick access. This makes carrying the unit hassle-free, as you will have all your necessary tools together.
Rollers vs. Paint Sprayers
Using spraying units allows you to easily apply paint in thin, controlled layers which avoids the paint running or being applied too thickly. Achieving these smooth results, however, will require using certain effective methods. Without these, your application will result in thick spots or paint runs on the surface of your cabinets. Poor painting techniques can also damage your equipment. The spray tips will deteriorate without careful maintenance and operation of the spraying unit. As a result, this can lead to paint waste and over-spraying of up to 50%. Spraying units consume approximately 20-40% more paint than rollers. This is, however, affected by the type of spray unit you are using.
Rollers apply the paint over the cabinet in thicker layers, which then requires smoothing out as you work. This can result in constant paint runs and drips which doesn’t produce a consistent finish at all. Without careful rolling technique, your cabinets will be left with roller marks. So, for the most consistent results, a sprayer unit is far superior to a paint roller for this purpose.
Paint Sprayers vs. Paint Brushes
Using a spraying unit can effectively deliver excellent results in one simple application. These sprayers project paint droplets onto the surface of the cabinets with the process of atomization. This application method is far more time-efficient than using a brush. One sweep of sprayed paint is equivalent to at least three or four with a brush.
A spray unit will easily allow you to complete the painting of your cabinets in an afternoon. Not only providing great area coverage but reducing both the application and the drying times considerably. Avoiding inconsistent paint coating is easily done, even on the nooks and corners of your cabinets. A sprayer also deals with edges smoothly, whereas a brush does not.
If you use a brush, you will need additional time to smooth over any inconsistent areas of your cabinet’s surface. The entire procedure will generally take longer. So rather make use of the best paint sprayer for cabinets to ensure consistent and impressive results with ease.
HVLP Spray Guns vs. Airless Paint Sprayers
Using an HVLP spraying system is a good choice for beginners, as it requires no previous experience to work with it effectively. Simply familiarize yourself with the product guide and you will be able to proceed. With its low-pressure mechanism, an HVLP sprayer also avoids mess and paint wastage. Apart from the smooth finishes it produces, an HVLP sprayer can also apply stains and varnishes with great efficiency. It is perfect for use on smaller projects and allows the use of water-based products. This type of spray unit gives you more control and precision when taking on more intricate areas.
An airless spraying system, comparatively, needs far more technical know-how for its operation and allows the application of numerous additional product types such as latex and primer. Airless sprayers consume higher volumes of paint due to the high-pressure level, which is around 2000 psi, resulting in more paint molecules polluting the surrounding environment. You will require a larger quantity of paint when using an airless system, but these sprayers allow quicker and more effective application over large areas.
Achieving the Smoothest Finish When Painting Cabinets
Achieving an even, smooth finish on your cabinets requires you to follow a few steps in the process. First, your spray tip must be well suited for your application purpose, and you should go about completely removing any dirt blemishes by sanding your cabinets properly. You then require the appropriate primer and a compatible type of paint. To achieve the smoothest finish, it is recommended that you sand between each coat once it has dried completely.
Ensure you select a spray unit that allows easy operation and simple cleaning and maintenance. Decide between an airless or HVLP spraying system, as each has specific benefits. You can then combine this great spraying unit with correct application methods and this will completely update the surface of your cabinets.
Ensure the primer you use works well with your selection of paint so you can achieve a consistent, even cabinet surface.
How to Paint Over Painted Cabinets
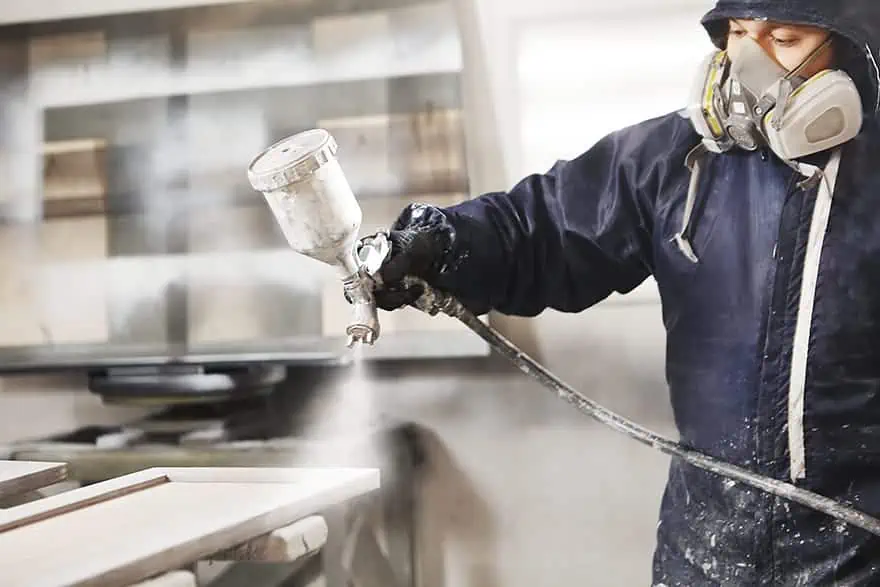
Painting over previously painted cabinets is a breeze! Firstly, understand that the surface does not require stripping before you repaint the new coat, and this also applies to cabinets that have been previously varnished or stained. You can start the procedure by removing any traces of grease from the cabinets. Scuff and texturize the surface of the cabinet effectively with sandpaper. This will improve the adhesive quality of the primer. Once you have sanded and cleaned thoroughly, you can proceed with painting.
How to Sand Cabinets Before Painting
Sanding the surface before you begin painting is an essential preparation step. All surfaces, wood or otherwise, should be sanded or texturized effectively. Proper pre-application sanding is crucial, so pay no attention to any online advice suggesting otherwise!
Should you have stains or existing paint on the surface, be sure to use sandpaper with a grit rating of 150 to clean, strip and sand thoroughly. Varnished cabinets will require 80-grit sandpaper. With each completed sanding session, be sure to assess the surface closely for any inconsistencies or flaws before proceeding with painting. Should you find any significant gouges or scratches, make use of a wood filler well suited for cabinets to provide you with a smoothly prepared surface.
Do not sand any deeper scratches, as this will result in further inconsistencies on your surface. Rather remove any residue with a clean, wet cloth – do not use paper toweling. Once the sanding is complete, you can begin priming the surface for painting. Be sure to select a primer that masks stains effectively on the surface of your cabinets.
How to Prime Your Cabinets
Priming your surfaces properly is a crucial part of this entire process. Without an effective priming layer, achieving the professional results you desire just isn’t possible. A well-primed surface creates far superior adhesion strength with the paint, allowing a smoother resulting finish in a variety of lasting colors.
Always begin working from the top of your cabinets, as this reduces the chance of the paint running. A roller or brush will help you to smooth out your already primed surface.
Ensure your primer is completely compatible with the paint type used. Once your surface is primed, you can then proceed with painting your cabinets.
When applying primer on your cabinets, be sure you only use 2 layers of primer coating, as the spraying process will thin the paint slightly, causing it to dry rapidly. These two primer layers will be sufficient to cover your cabinets completely, but if you need to mask a dark stain you can use 3-4 primer coating layers.
Allow the initial primer coat to dry for at least 1-2 hours before you start painting, and be sure to test the surface before you proceed with the second layer. By allowing the initial coat to dry totally, you can prevent the surface from bubbling or peeling. Keep in mind this can be time-consuming, as you can only paint one side of each cabinet door at a time.
Masking Cabinets Before Spray Painting
The masking process is essential, as it prevents your items and surfaces from unintentionally being sprayed with paint. So, ensure that surfaces such as the ceiling, walls, and countertops, or any appliances are securely taped and covered. This is a pretty straightforward procedure that requires only newsprint paper, so plastic sheets won’t be necessary. Be sure to mask the inside walls of the cabinet, unless you are planning to paint them. You may also require an additional workspace for the painting of the doors, perhaps a garage or outdoor area if you have access to one.
Tips and Tricks for Cabinet Spray Painting
- By using a finer nozzle size and tip you ensure the smoothest possible finish.
- The pressure level affects the velocity of the paint spray, so be careful to keep this low enough to avoid over-spraying and the resulting mess.
- Ensure you use the correct primer that is not flammable.
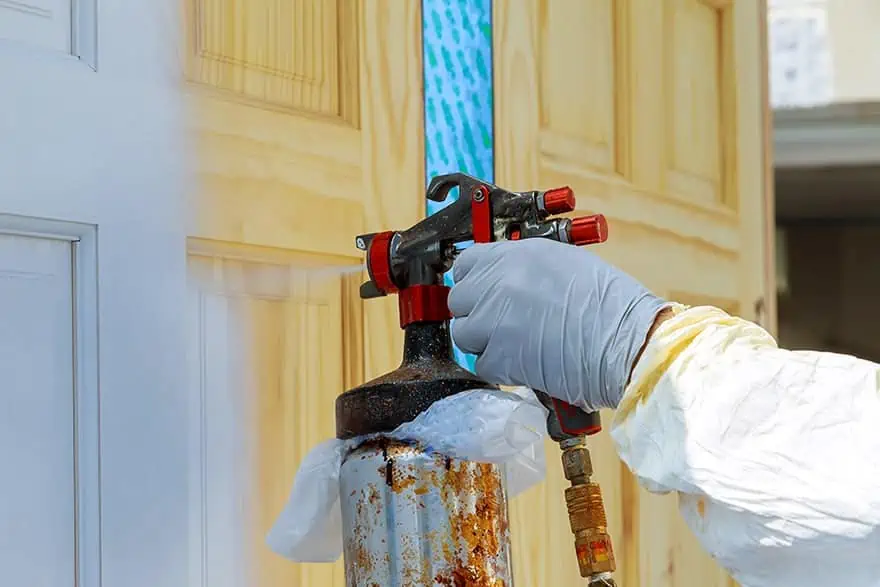
- Carefully read the product guide and follow all the necessary steps before you begin working. Your safety is the highest priority, so be certain that you are wearing the correct protective equipment – especially a paint respirator.
- Be sure to select a workspace with decent airflow.
- Airless spray guns are a safety hazard, so use them with caution as the pressure levels produced can even break the skin.
- Before you start to paint your surface, test the spray gun on some loose cardboard so you can calibrate it properly to suit your project.
Frequently Asked Questions
Is it Possible to Use a Paint Sprayer to Paint Cabinets?
This is the recommended tool for cabinet painting. Not only does it speed up the procedure, but the level of finish achievable is far superior compared with using a roller or brush.
Can You Finish Cabinets Without Sanding?
Sanding your surface is essential, as it provides optimized adhesion for your primer coating layer. Regardless of the type of material you work with, you will always need to prepare it for priming by texturizing it.
Is a Brush or Roller Recommended for Painting Cabinets?
Yes, you can paint cabinets with a roller or brush, but a spray gun is a far better option for this purpose. With the increased level of speed and control it provides, you can easily avoid, over-applying paint coats, dripping and running, or getting a resulting finish that just isn’t smooth enough.
Giving your cabinets a fresh coat of paint can restore their former glory and revitalize the look of your home’s interior. We hope to have provided you with a starting point for finding the best paint sprayer for cabinets. Keep this guide handy and you can be assured of some excellent results on your next painting project. Good luck!
In 2005, Charlene completed her wellness degrees in therapeutic aromatherapy and reflexology at the International School of Reflexology and Meridian Therapy. She worked for a company offering corporate wellness programs for several years before opening her own therapy practice. In 2015, she was asked by a digital marketer friend to join her company as a content creator, and it was here that she discovered her enthusiasm for writing. Since entering the world of content creation, she has gained a lot of experience over the years writing about various topics such as beauty, health, wellness, travel, crafting, and much more. Due to various circumstances, she had to give up her therapy practice and now works as a freelance writer. Since she is a very creative person and as a balance to writing likes to be active in various areas of art and crafts, the activity at acrylgiessen.com is perfect for her to contribute their knowledge and experience in various creative topics.
Learn more about Charlene Lewis and about us.
