Chibi Girl Drawing – How to Easily Draw a Chibi Character
This post may contain affiliate links. We may earn a small commission from purchases made through them, at no additional cost to you.
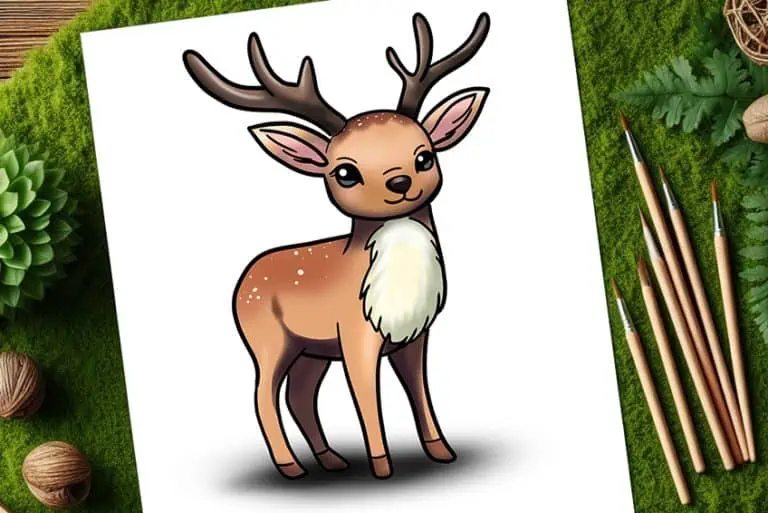
If you are a fan of cute and quirky artwork, then you’ve probably heard of chibi drawings! These adorable little characters are a popular style of Japanese animation, that feature exaggerated features like big heads and tiny bodies. Chibi’s are often used to represent beloved characters from manga, anime, and video games, and their playful and cartoonish design can make them an instant favorite among fans of all ages. Whether you’re a seasoned artist or just starting, chibi drawings are a fun and creative way to express your love for your favorite characters uniquely and adorably. Grab a pencil, and some paper, and let’s get drawing!
Step-by-Step Guide on How to Draw a Chibi
Get ready for an exhilarating artistic adventure today! Our tutorial is filled to the brim with simple and easy-to-follow steps that will enable you to create a chibi anime drawing in no time. Even if you’re new to drawing, fret not, as our instructions are beginner-friendly and will lead you through the process of making your magnificent masterpiece with ease! As you progress through the steps, you’ll gain new drawing techniques, skills, and confidence that can be utilized for future drawings.
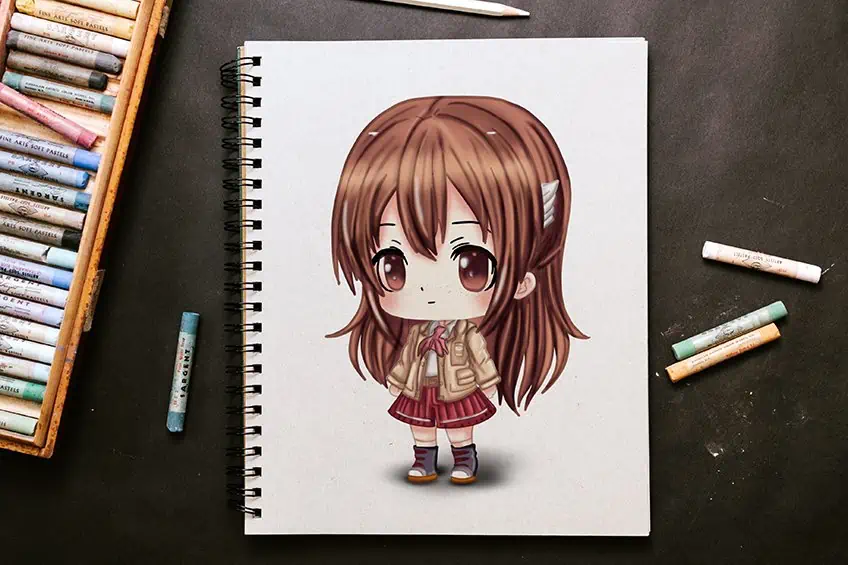
The below chibi art collages show you every step necessary to reach your final result!

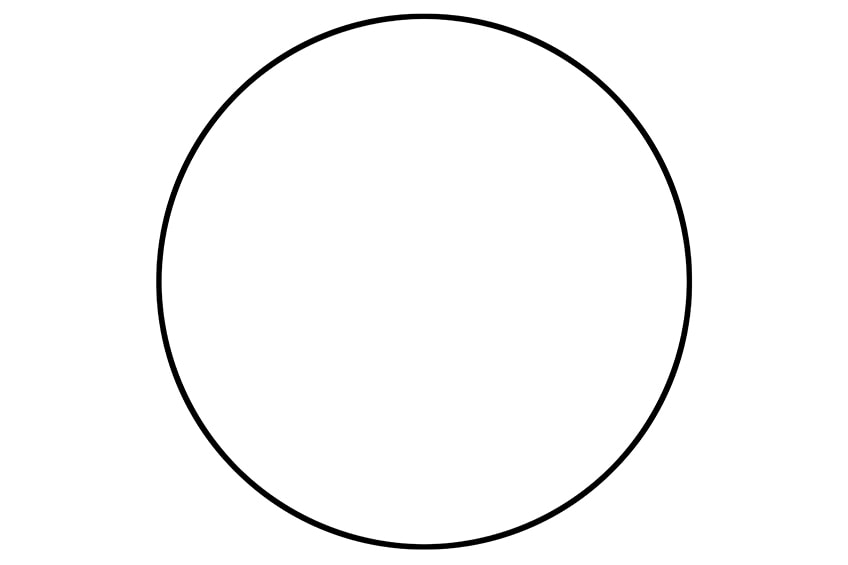
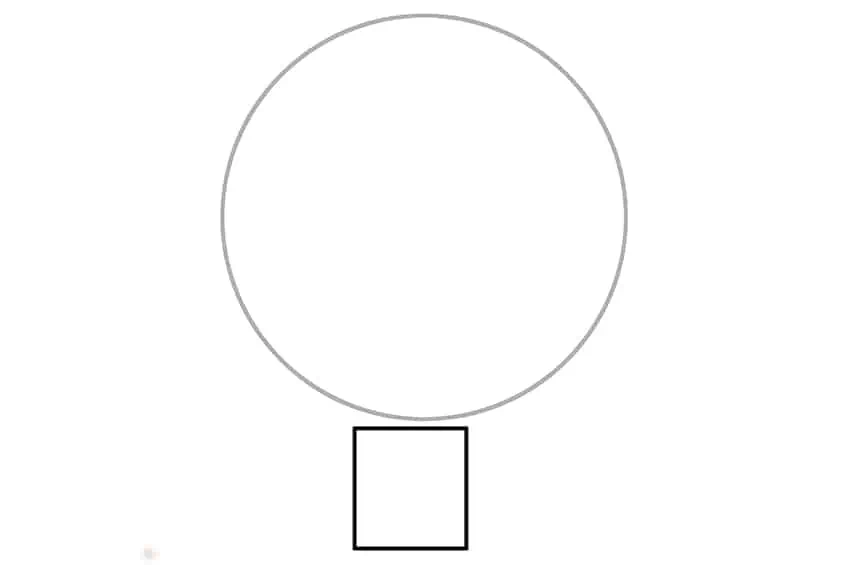
Step 1: Draw the Head of Your Chibi Art
Begin your chibi drawing by drawing a large circle to represent your chibi head.
Step 2: Draw the Main Body
Beneath the head draw a small square to represent the main body. In this case, a Chibi girl has a larger head than the main body.
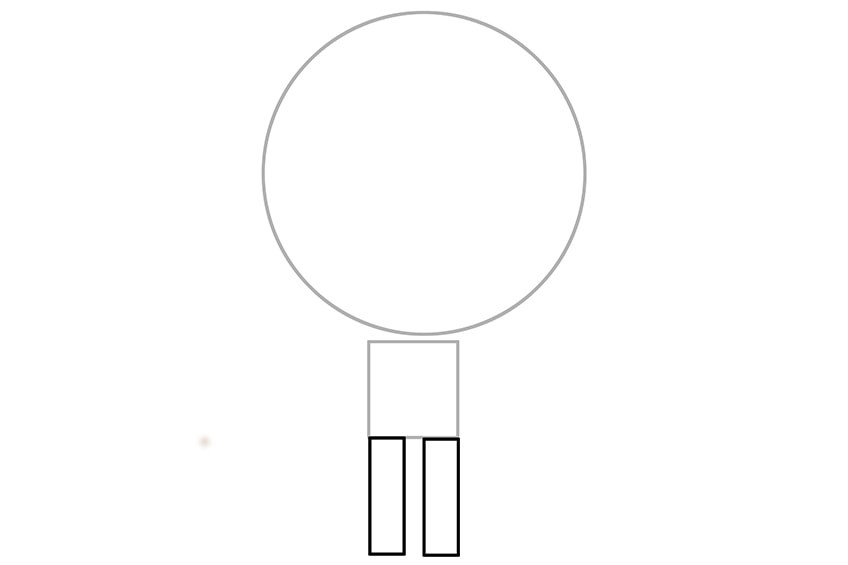
Step 3: Add the Legs to Your Chibi Style Drawing
Attached to the main body draw the two vertical rectangles, side by side, to represent the legs.
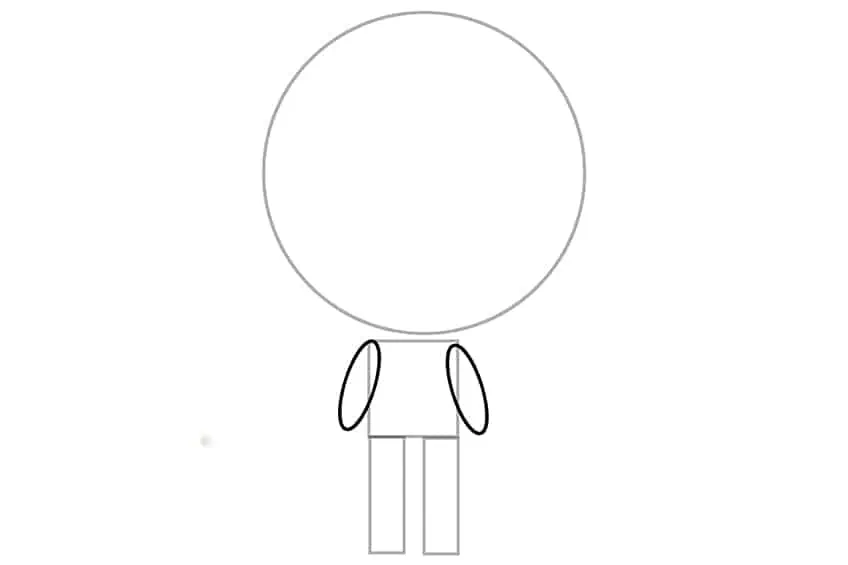
Step 4: Draw the Arms
On each side of the main body, draw an oval shape to represent the arms.
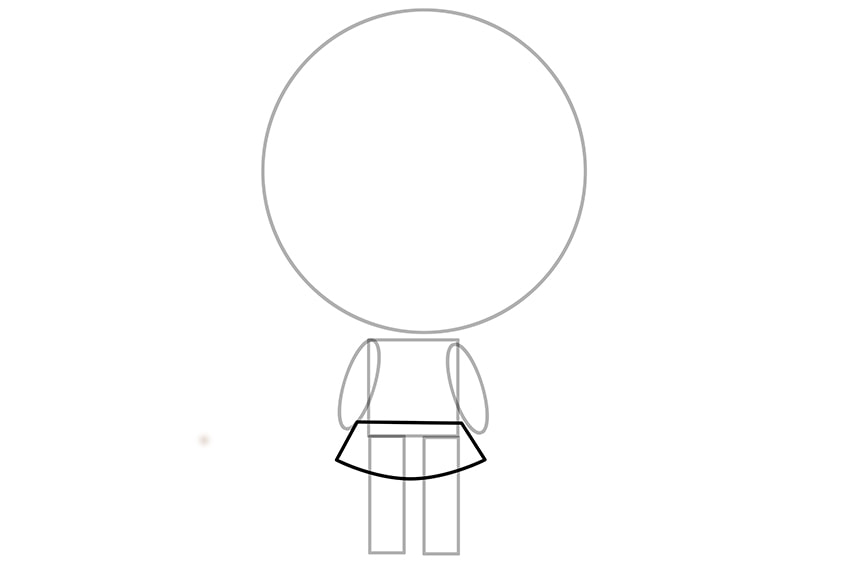
Step 5: Add the Skirt to Your Chibi Style Drawing
Overlapping the main body and legs, draw the construction lines for the skirt.
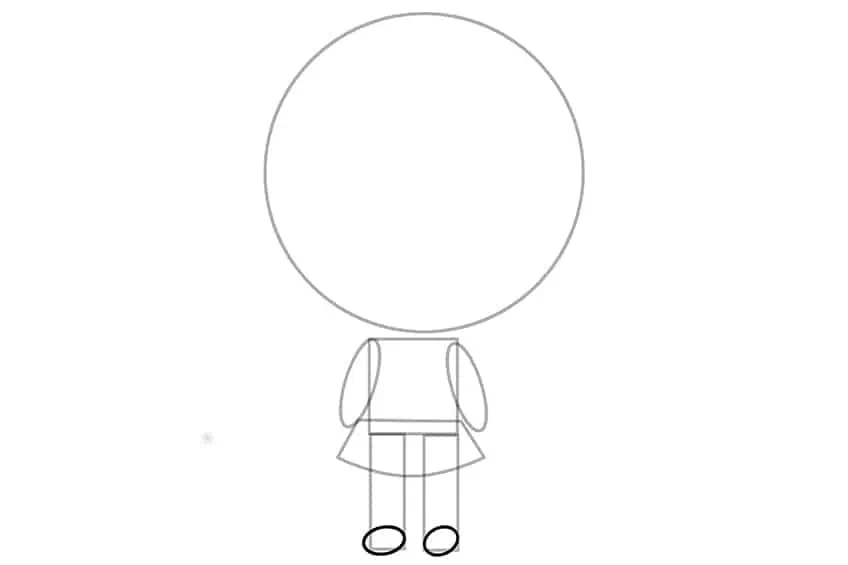
Step 6: Draw Feet to Your Chibi Anime Drawing
At the bottom of each leg, draw two small oval shapes to represent the feet.
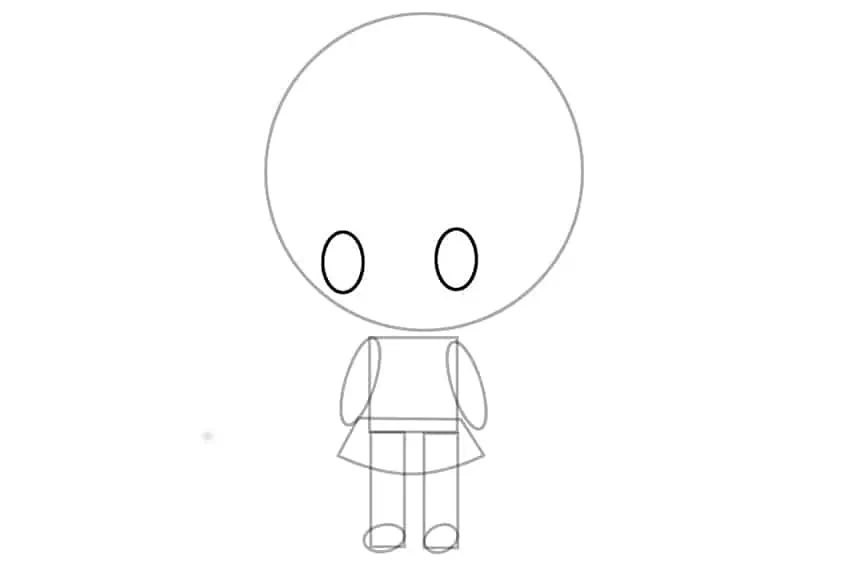
Step 7: Add Eyes
Within the head, draw two wide oval shapes to represent the eyes.
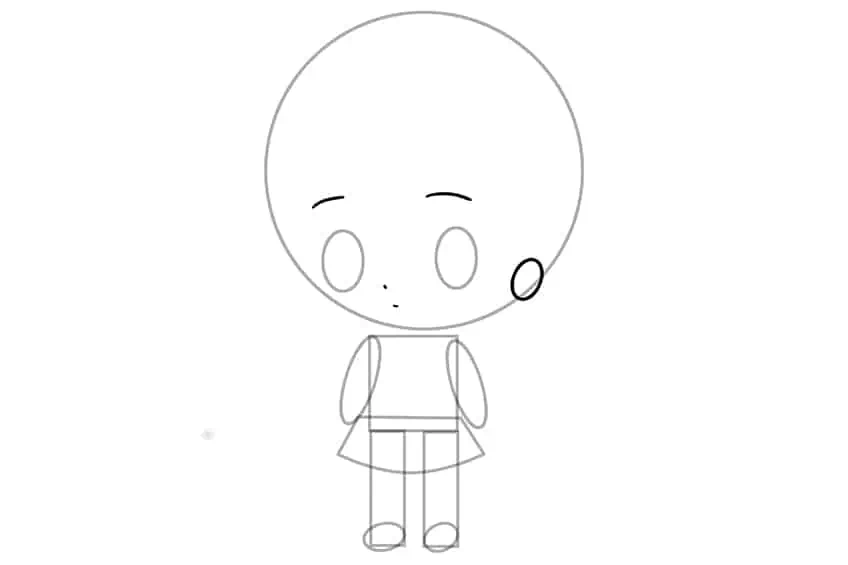
Step 8: Add in Facial Features
Above each eye, draw a fine curved line to represent the eyebrows. Continue by drawing a fine spot between the two eyes to represent the nose. Beneath this draw the fine mouthline.
Finish this step, by drawing a small oval shape, to the right end of the head. This will represent the ear of your chibi drawing.
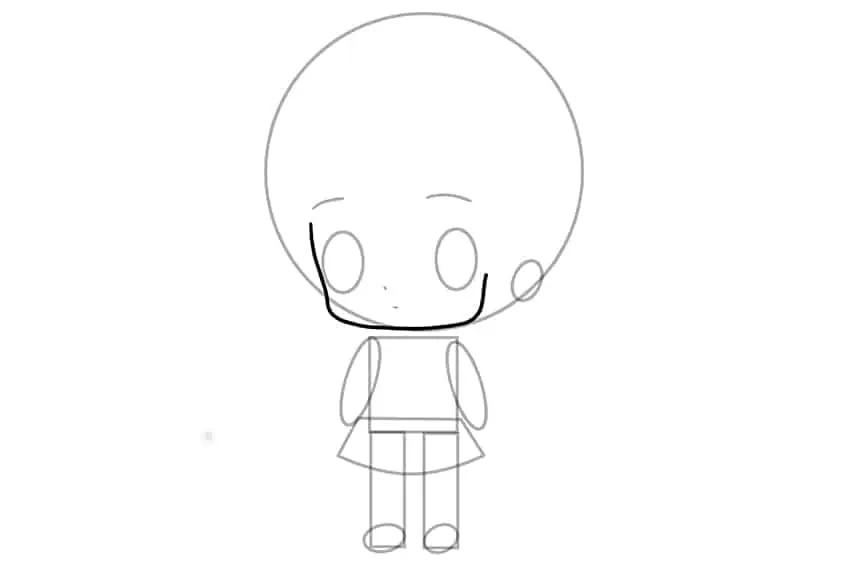
Step 9: Shape the Face of Your Chibi Art Style
Within the circle representing the head, draw the ‘U’ shape to help aid the shaping of the face.
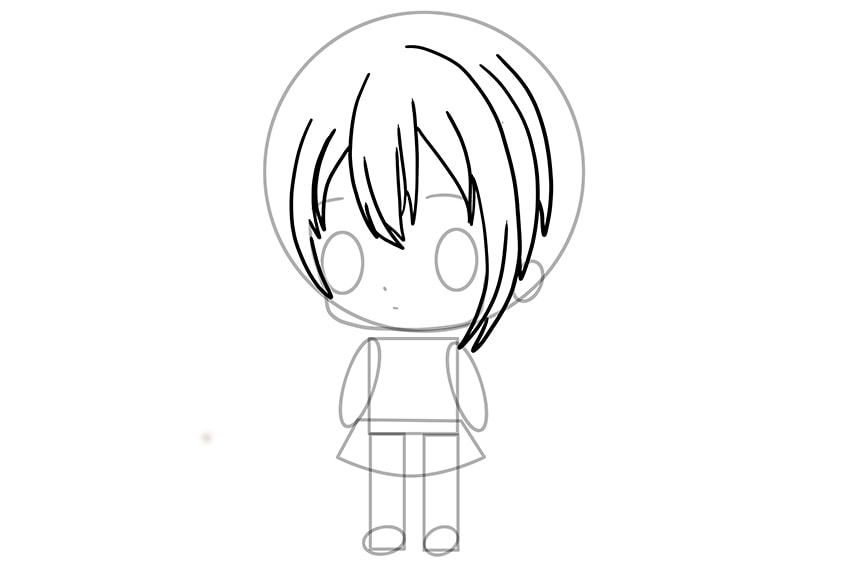
Step 10: Draw the Fringe
Within the head, draw the hair fringe as sharp hairlines which lead downwards on the forehead. The facial features should be still visible.
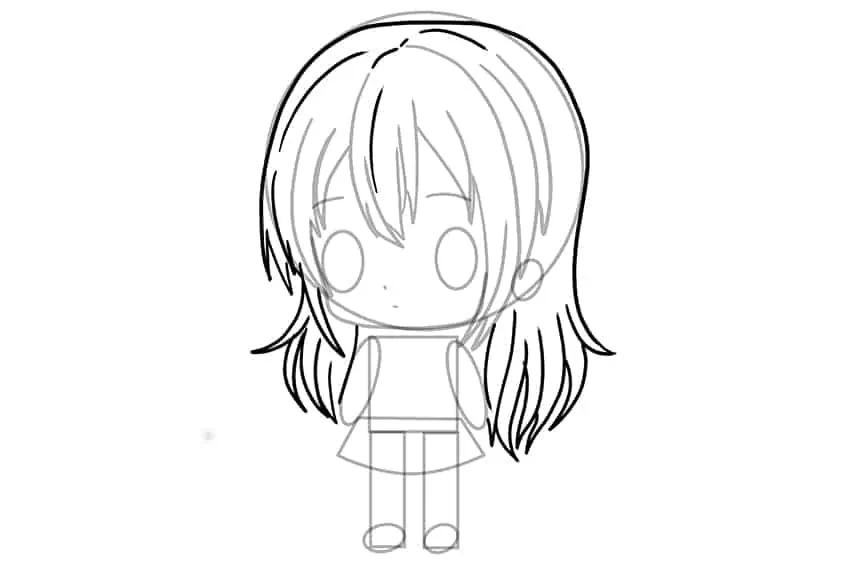
Step 11: Add the Hair
Surrounding the head, draw the hair with fine hairlines leading downwards with a gentle curve.
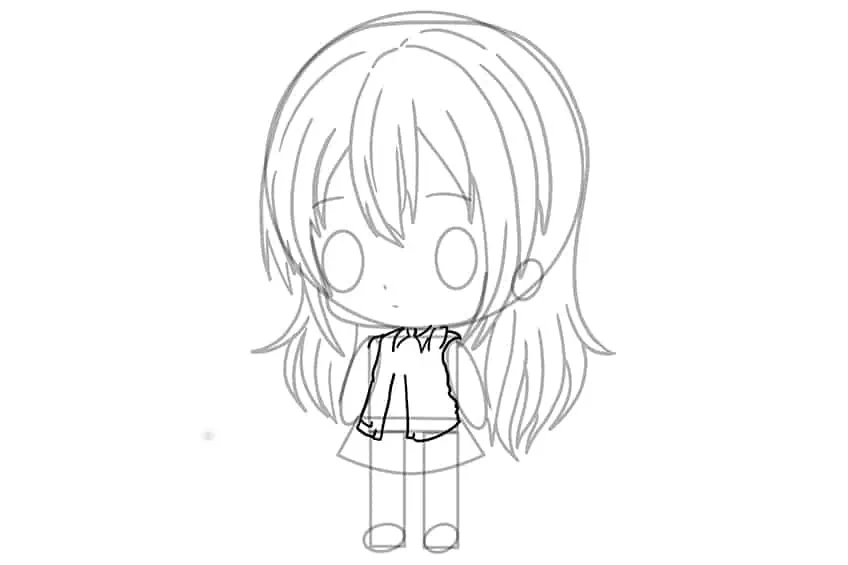
Step 12: Outline the Top of Your Chibi Drawing
Make use of the previously drawn construction lines to aid you in outlining the top shirt to your chibi drawing.
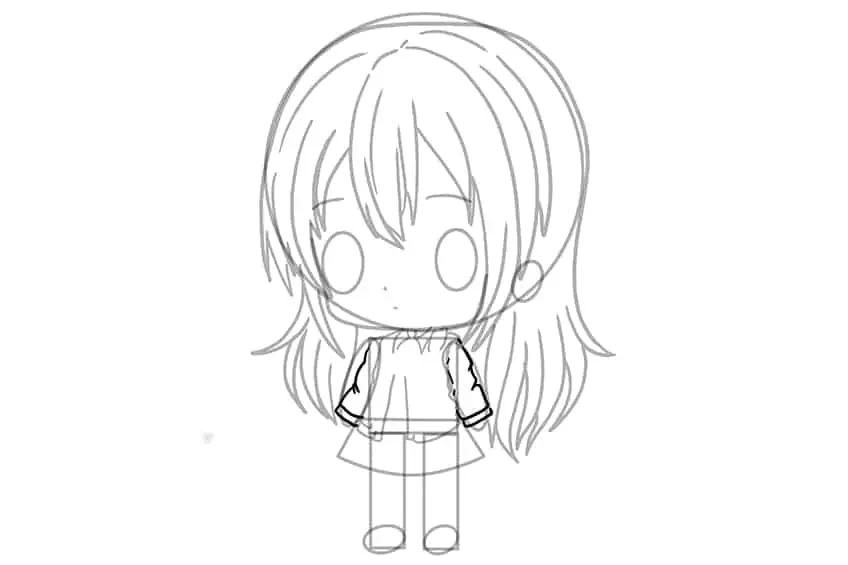
Step 13: Outline the Arms
In this step, you will outline the sleeves of the shirt, with the aid of your previously drawn construction lines.
Step 14: Draw the Bow
Between the shirt cut, draw the exposed bow tie and at the bottom, the visible belt buckle.
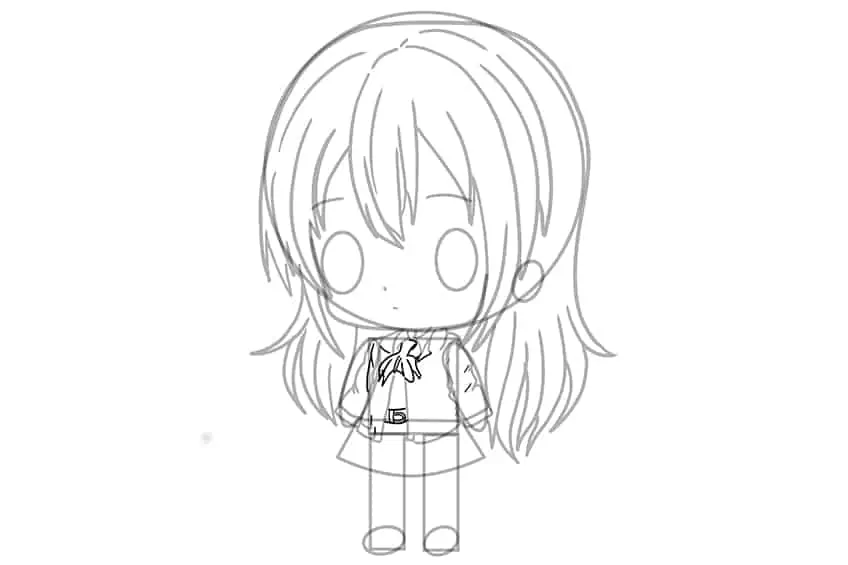
Step 15: Outline the Skirt
Use your previously drawn construction lines to aid you in outlining the skirt of your chibi drawing.

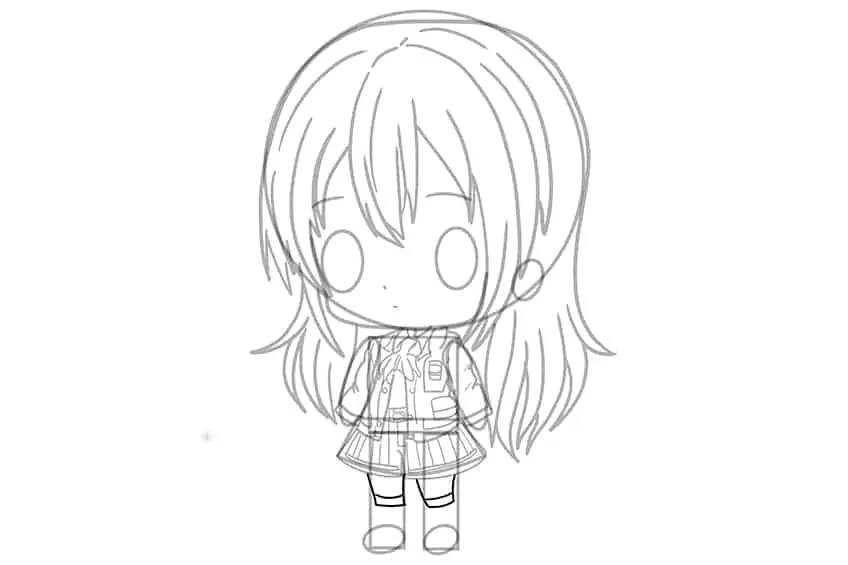
Step 16: Detail the Outfit
Begin by drawing the shirt’s buttons and pockets. Continue the step by drawing the skirt’s vertical seam lines.

Step 17: Outline the Legs
Make use of the previously drawn construction lines to aid you in outlining the visible parts of each leg. At the bottom of each leg, draw a second horizontal line to represent the visible socks.
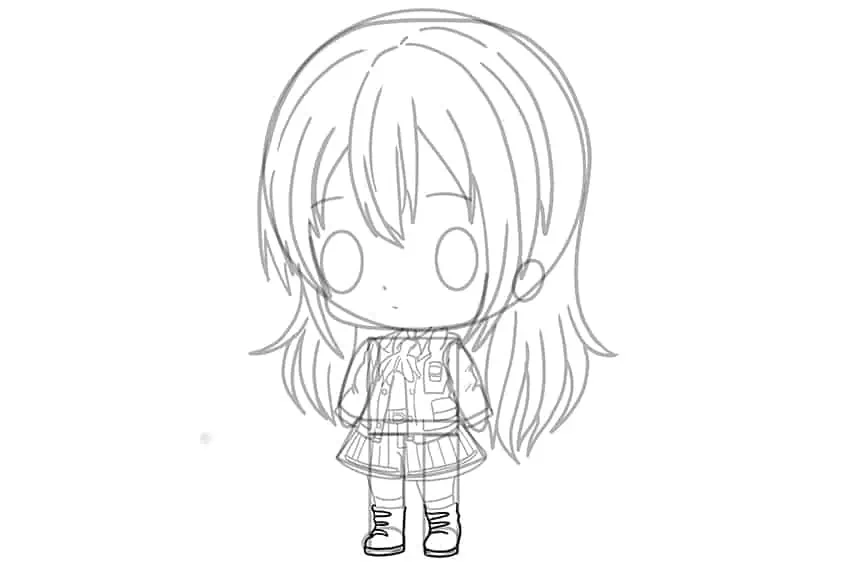
Step 18: Outline the Boots of Your Chibi Art Style
In this step, begin by outlining the boots leading up to the socks on each foot.
Note! You can use your previous construction lines to aid you in outlining a realistic boot.
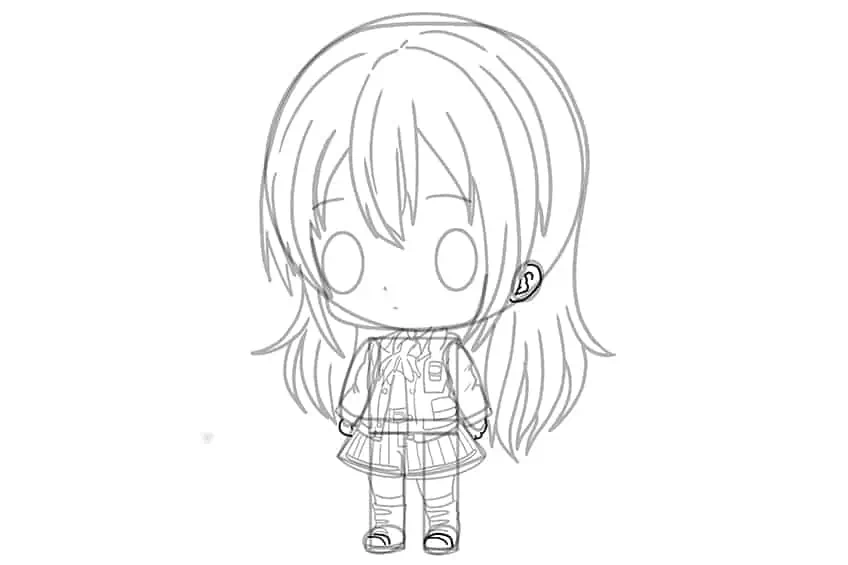
Step 19: Begin to Outline the Ear
Outline the ear of your chibi drawing and make sure to not overlap the hair. Complete the ear by drawing the inner ear lobe. Continue by drawing the hands and the creases on the boots.
Step 20: Draw the Eye Lids
Above each eye draw a fine, short curving line to represent the eyelid areas. Trace the nose and mouth lines. Complete the step by drawing the hair clip, this should look somewhat like a wing.
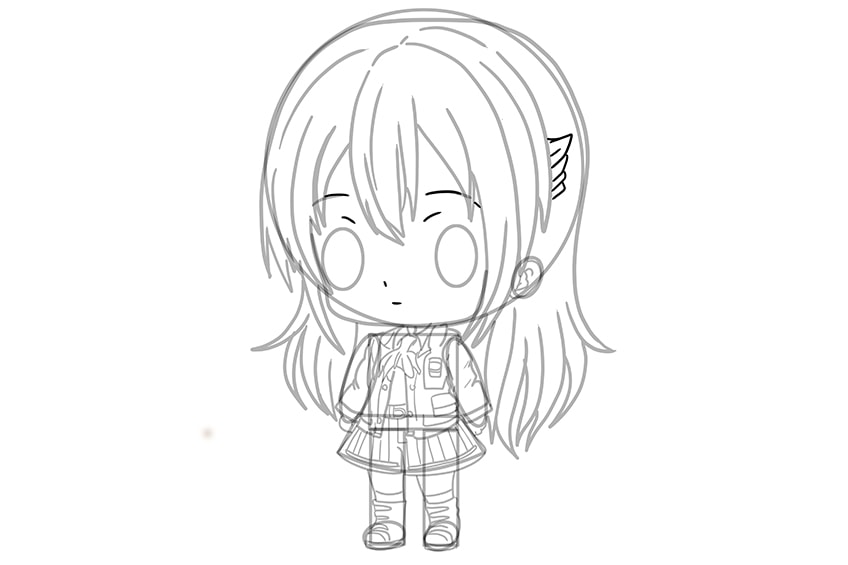
Step 21: Texture the Hair
Add fine hairline strokes within the hair patches to add more texture. Surrounding the hair clip, draw several additional hairlines. Once completed, you are now ready to erase any visible and unnecessary construction lines.
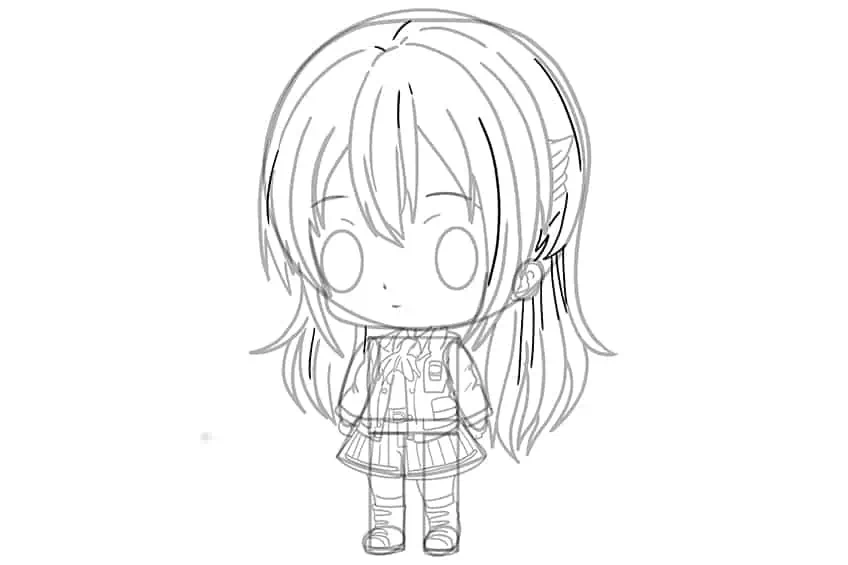
Step 22: Outline the Eyes
Using the eye construction lines to aid you, outline a more realistic pair of eyes. Include the outer eyelids and two inner circles.

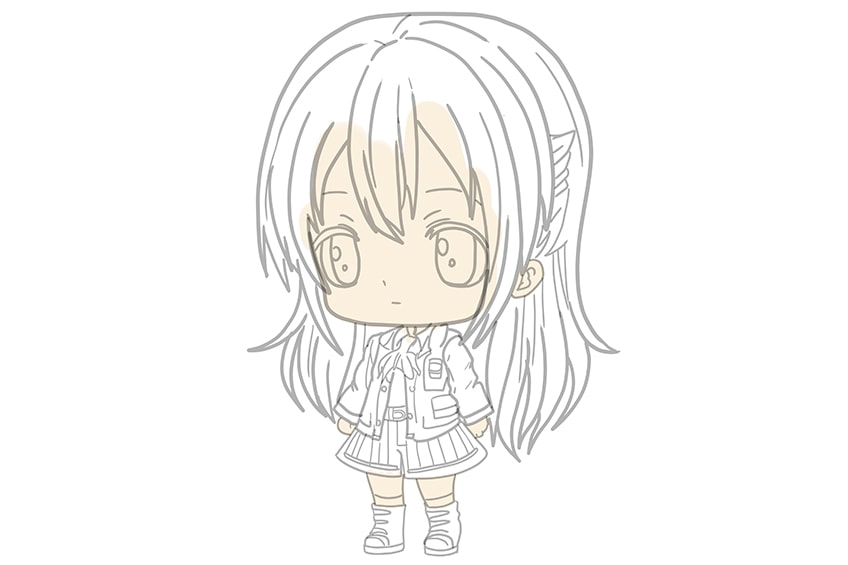
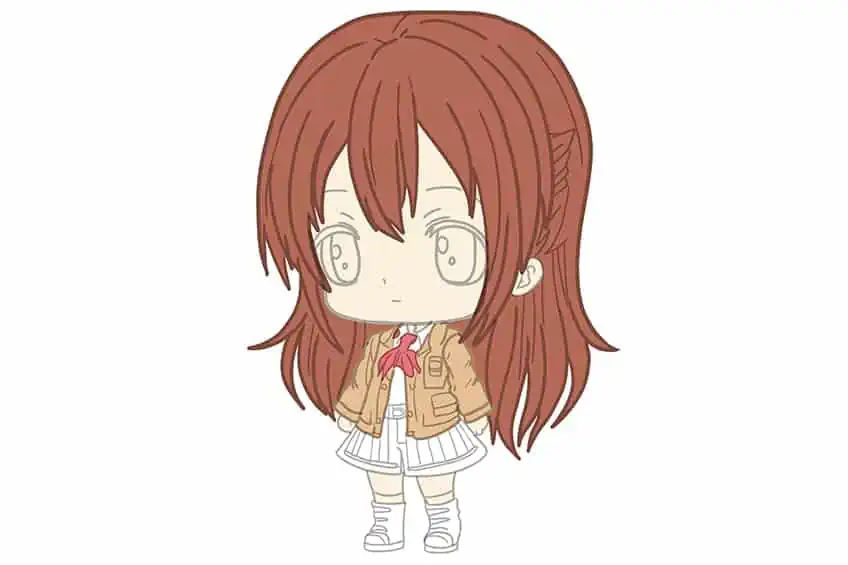
Step 23: Add the First Color Coat
Select a fine, sharp brush and cream paint, and color the face, hands, legs, and ear of your chibi drawing.
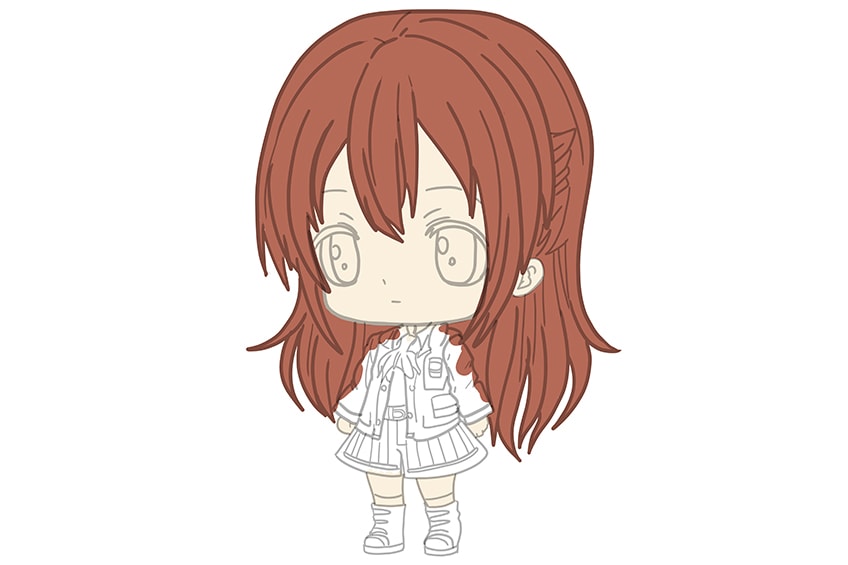
Step 24: Color the Hair to Your Chibi Anime Drawing
Use the same brush as previously and switch to brown paint, and evenly coat the hair.
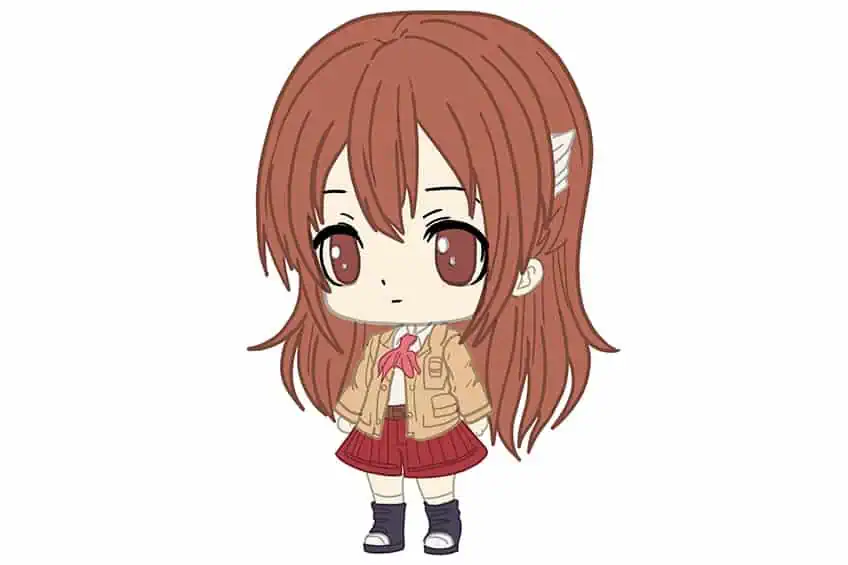
Step 25: Add Color to the Jacket
In this step, begin to paint the jacket using a thin brush and a light shade of brown paint. Continue using a darker shade of pink to coat the bow.
Step 26: Color the Skirt and Boots
Using the same brush as previously, evenly coat the skirt with red paint. Switch to dark purple paint, and coat the boots on your chibi art drawing.

Step 27: Paint the Facial Features of Your Chibi Style Drawing
With a thin brush and black paint, evenly coat the eyebrows, around the eye, the nose, and the mouth. Continue using brown paint and evenly color both eyes. Switch to gray paint, and trace the outline of the hair clip.
Continue using white paint and color the inner area of the hair clip.
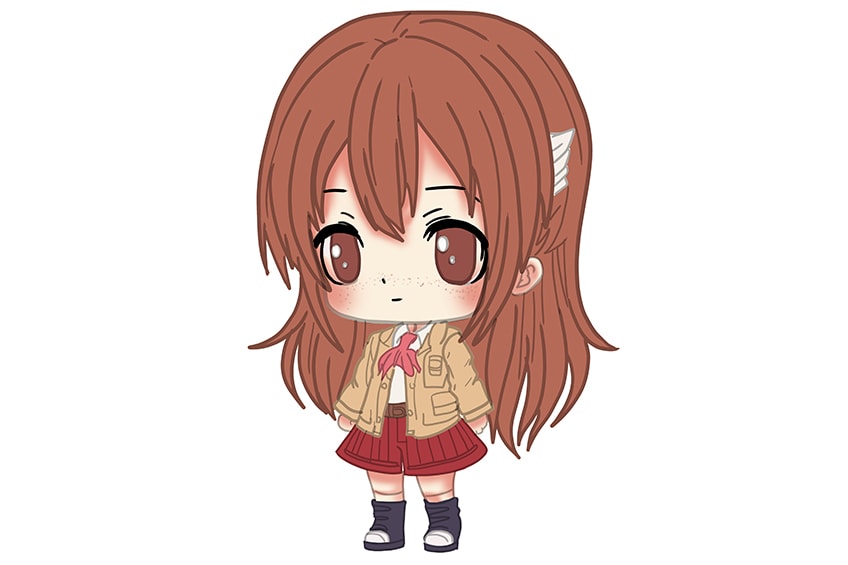
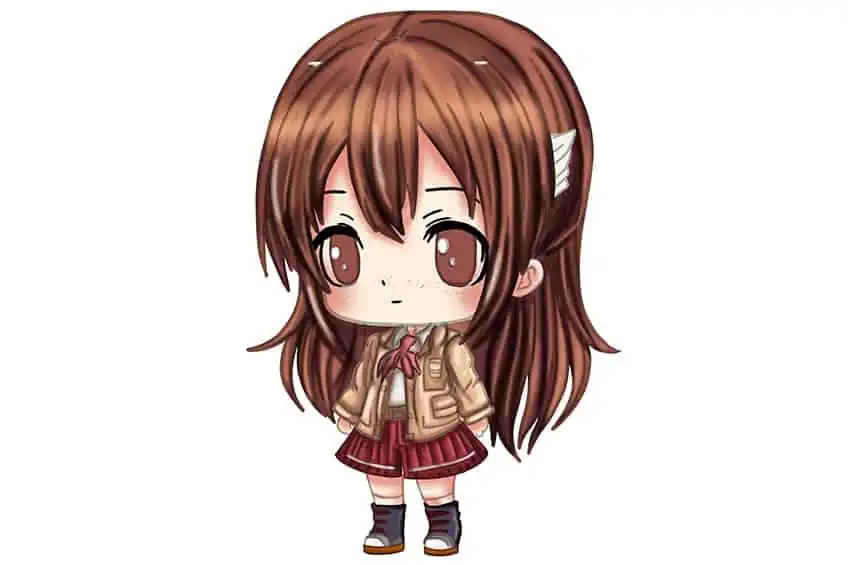
Step 28: Tone the Skin
Select a fine, sharp brush and brown paint, and add fine dots and spots along the center area of the face to represent the freckles. Continue using a small, soft brush and pink paint, and add soft shading to the cheeks. Repeat using white paint for highlights.
Switch to brown paint, and add light contouring, along the edges of the face, between the hair and face, the hands, legs, and skirt. Finish this step with a blending brush to soften the contouring.
Step 29: Shade and Highlight the Hair
Select a soft brush and black paint, and add shading within each hairline, specifically the hair texture lines. The first color coat should still be visible. Continue using a blending brush to soften and spread the shading with the first color coat. Switch to white paint, and add strands of highlights throughout the hair.
Step 30: Add Highlights and Shading to the Skirt
With a thin brush and black paint, add fine shading along each of the vertical skirt seam lines. Continue by adding black spots along the bottom seam of the skirt. Switch to white paint and add highlights to the skirt.
Continue using gray paint, and add shading along the inner shirt, and to the edges of the boots.
Complete the step using brown paint to color the soles of each boot. Paint the straps on each boot using dark red paint.
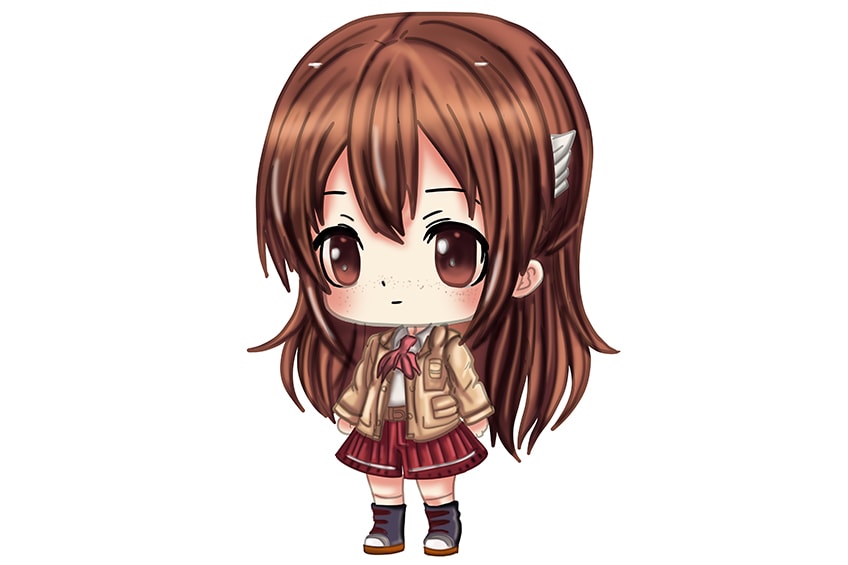
Step 31: Shade the Jacket of Your Chibi Art
Select a fine, sharp brush and dark brown paint, and enhance the structure of the jacket by applying brushstrokes along the structure and texture lines previously added. Switch to white paint to add fine highlights along the edges of the jacket.
Step 32: Color the Pupil
With a soft brush and black paint, softly apply shading within each eye. To represent the pupil, paint a small spot using brown paint. Continue by using black paint to softly shade the hair clip.
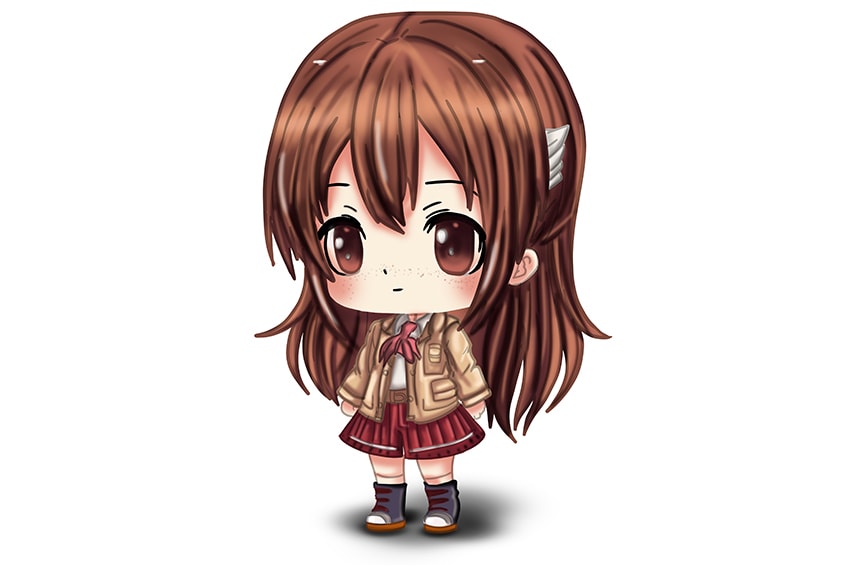
Step 33: Add a Ground Shadow
Use a thin brush and black paint, and fill the gaps between each boot and the ground. Repeat the step using a blending brush to soften and spread the shading.

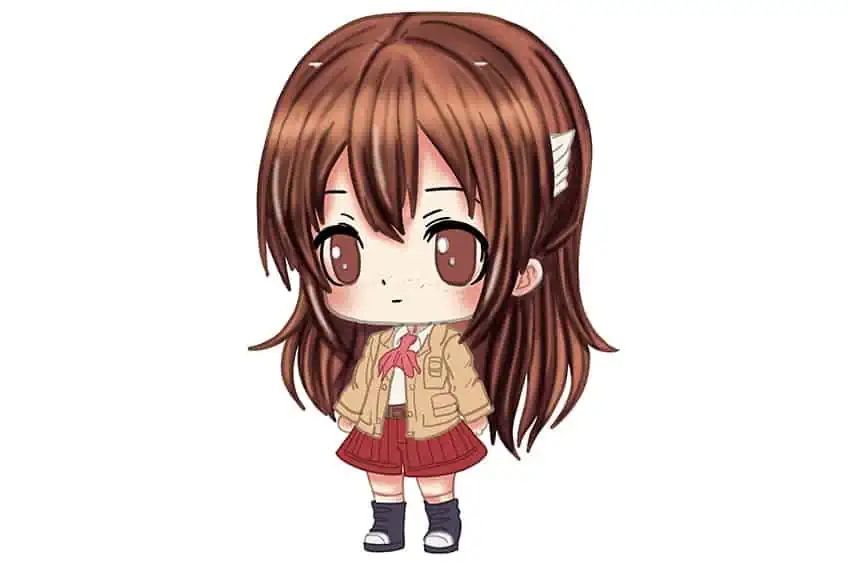
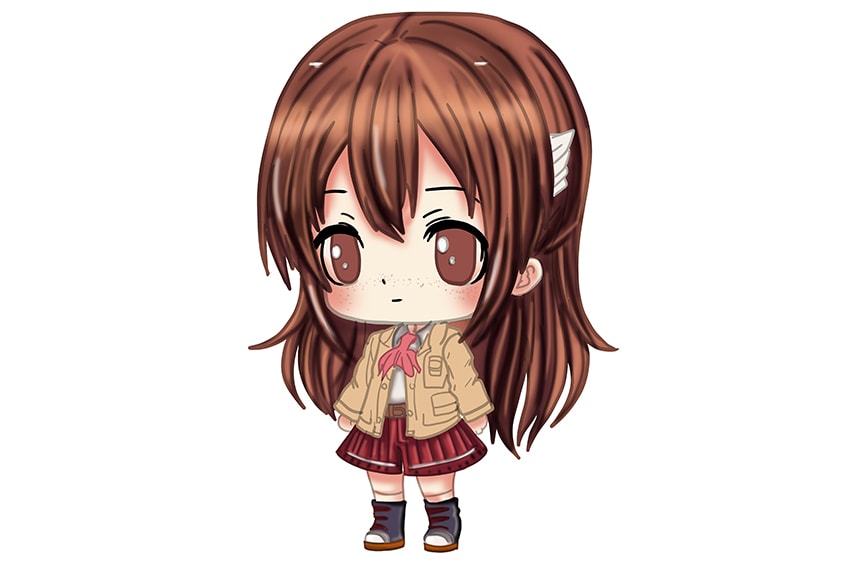
Step 34: Finalize the Tutorial on How to Draw a Chibi
You are one step closer to finalizing your drawing on how to draw a chibi character. Begin by erasing any visible harsh outlines. Complete using a fine, sharp brush and the corresponding colors to trace the texture lines, to create a final seamless result of a chibi drawing.
Congratulations! You have reached the end of our tutorial on how to draw a chibi character. Following our simple and straightforward guide, you are now equipped with the ability to create an adorable and charming chibi girl drawing. We sincerely hope that this tutorial has taught you some useful techniques and given you the confidence to apply them to your future chibi art. Don’t be afraid to experiment with different poses and details to create unique chibi anime drawings. Remember, practice makes perfect, so keep honing your skills and keep on drawing! Thank you for joining us on this fun and rewarding chibi drawing journey.
Frequently Asked Questions
What Are Some Tips for Drawing Chibi Style Hairstyles?
When it comes to drawing chibi-style hairstyles, the possibilities are endless! One of the best tips is to start with a basic shape for the hair, such as a rounded rectangle or oval, and then add details like bangs or layers. Consider using different hairstyles to inspire your design. Also, keep in mind the overall proportions of the chibi girl’s head, as the hair should not overwhelm the rest of the drawing. Practice different hairstyles and experiment with colors and accessories, like hair clips and bows, to create unique and cute looks!
How Can I Add Shading and Highlights to My Chibi Drawing?
Adding shading and highlights to your chibi drawing can bring it to life! To create shading, imagine where the light source is coming from and darken the areas that would be in shadow. This can be done using a pencil or other shading tool. To create highlights, use a white or light-colored pencil or marker to add small dots or lines to areas that would be hit by direct light. You can also experiment with blending techniques to create smooth transitions between light and shadow.

IzzyBll is a digital artist and content creator from Israel and currently residing in South Africa. Originally coming from videography, Izzy then turned to digital graphic art. He specialized in using digital drawing software such as Photoshop and Procreate. Drawing and photo editing has always been a sort of second nature for Izzy. In doing so, he can now look back on 5 years of experience in the industry, completing commissions for various well-known brands such as Audi.
Learn more about IzzyBll and about us.