How to Clean Airbrush – Tips for Using Airbrush Cleaner right
This post may contain affiliate links. We may earn a small commission from purchases made through them, at no additional cost to you.
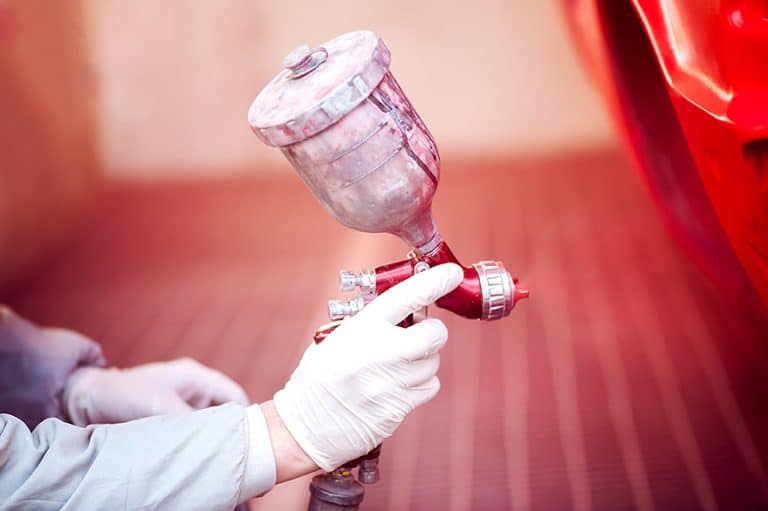
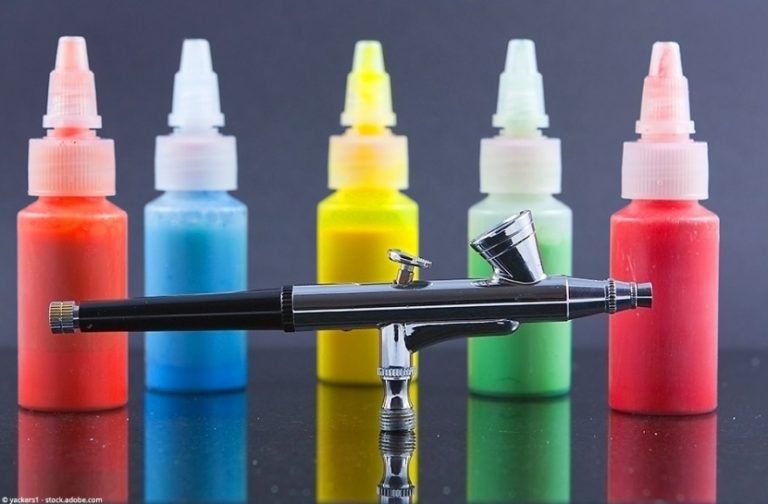
The airbrush gun is an extremely precise tool, which consists of different parts that are precisely matched to each other. To ensure that you can enjoy your airbrush gun for as long as possible, careful treatment and regular cleaning is essential. With the correct cleaning you ensure that the spray pattern is consistently fine and that you can enjoy your airbrush gun for a long time.
How do you clean your Airbrush Gun properly?
You should clean your airbrush gun after each use. At least, however, when you take a longer break from work. For a thorough cleaning you have to disassemble the airbrush gun into its individual parts and carefully remove all paint residues.
For a color change between operations, you can rinse the gun with water or cleaner. This prevents unwanted color mixing during a color change. Before you fill in the new color, make sure that the water or cleaner is completely blown out. Otherwise the new color will be diluted too much.
Basics for thoroughly Cleaning your Airbrush Gun
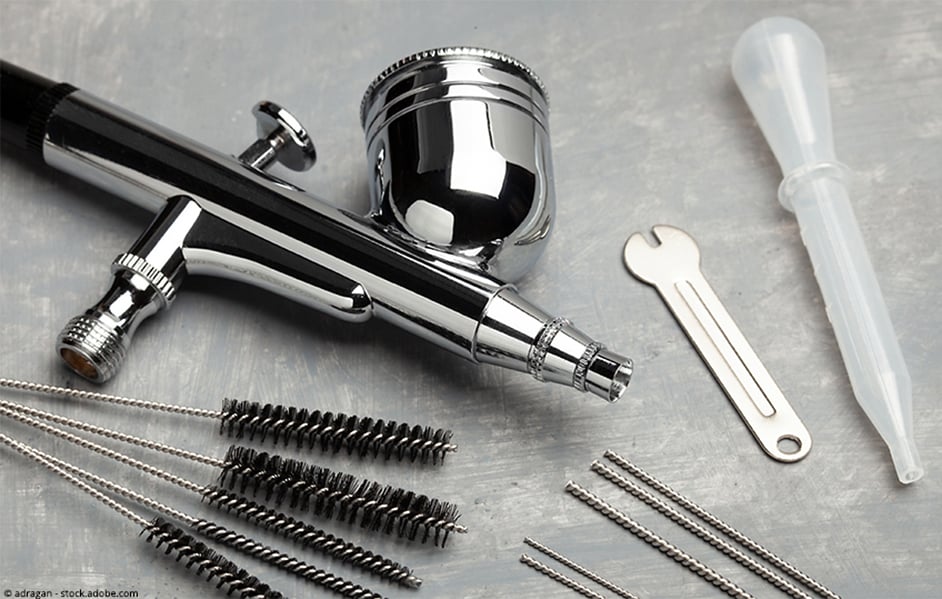
For a thorough Cleaning of your Airbrush Gun you need the following Utensils:
- Tools for disassembling the airbrush gun
- Airbrush cleaner and/or water
- Cotton swabs
- Kitchen roll, cellulose cloth or other cloth
- Airbrush cleaning brushes in different sizes
- Brushes
- Nozzle cleaning needle
- Utensils for cleaning the ink duct
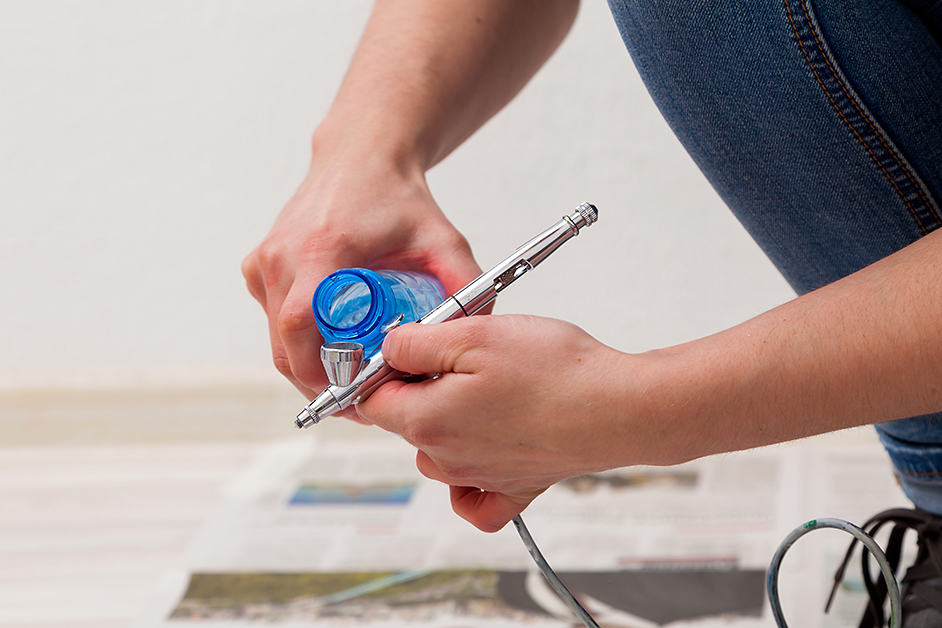
First you empty the paint container. You can store any remaining paint from the container in a small container with a lid. Then you can pour a little water into the paint cup and dissolve any remaining paint with a kitchen roll or cotton swab. Alternatively, a brush works very well for cleaning the paint container. The water in the paint container should be poured out and not sprayed through the nozzle, as any paint residue could clog the nozzle.
After the first rough cleaning you can put a few drops of airbrush cleaner or again water into the paint container and then spray the whole thing through the nozzle. As a background you can use some white kitchen paper, so you can see when there is no more paint in the gun.
Water may not be sufficient to dissolve ink residues, depending on the ink medium. If you do not have an airbrush cleaner at hand, you can use some alcohol / isopropanol or window cleaner. If these liquids are colored, spray them with water afterwards. Finally, let air through the gun so that there is no residual moisture in the duct.
Airbrush Cleaning: Step-by-Step Instructions
You should consider the following tips before cleaning:
- To really spray the paint channel freely, you should set the compressor pressure to about 4 bar.
- If you use airbrush cleaner, vapours are produced which can be harmful to health. Therefore, always use a respirator when airbrushing.
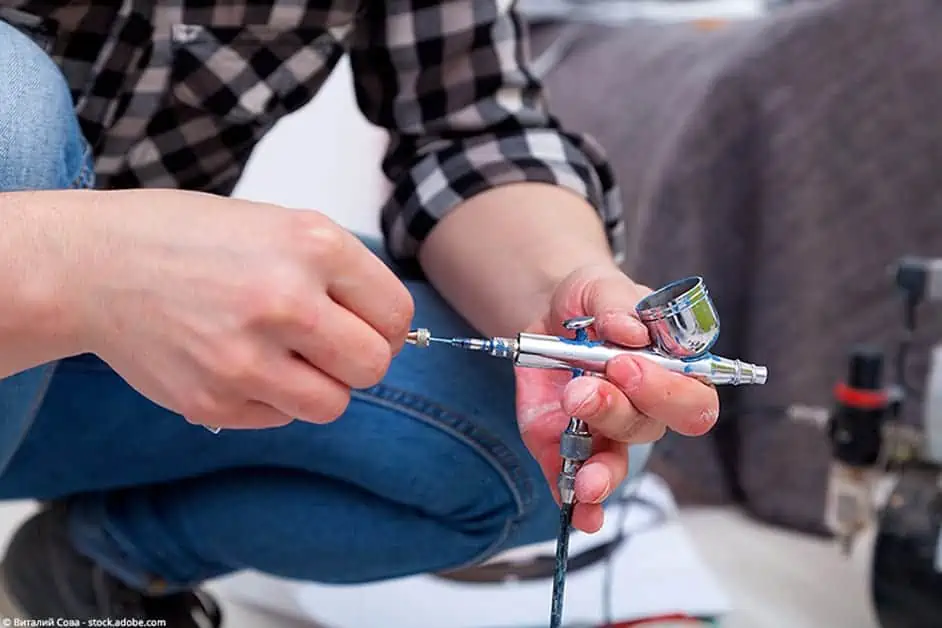
Disassemble Airbrush Pistol
As soon as the color channel is free of color residues, you can clean the individual components. Before you start cleaning, please refer to the user manual to find out how to disassemble the gun without damaging the parts.
If tools are required, they are usually included in the delivery of the airbrush gun. There are also airbrush models that you can take apart without tools.
The small parts get lost quickly and the replacement is not so easy to get. Therefore we recommend that you collect the parts in a container so that you do not lose them.
Normally, disassembly of the airbrush gun starts with you removing the needle. To avoid unnecessary contamination of the inside of the gun, you should pull the needle out to the front. Afterwards, the nozzle and the air head are removed. If the nozzle does not have a plug connection, you have to remove it with a special tool. Finally, the paint container, operating lever and needle chuck remain.
Afterwards you can clean the individual parts with cotton swabs, airbrush cleaner, cloth and fine brushes. Be careful with the parts, as they will be damaged quickly if too much pressure is applied. You can also put metal parts in cleaner to remove stubborn paint crusts.
Cleaning the needle
To clean the needle, you can put some airbrush cleaning fluid on a cloth, pick up the needle, and then pull it through the cloth with a light rotating motion from back to front until the paint residue is removed. You should never clean the needle from front to back, otherwise you could be injured and the needle could be damaged.

Cleaning the Airbrush Nozzle
Cleaning the nozzle from the inside works best with a nozzle cleaning needle or a very fine brush. However, you should be particularly careful not to damage the nozzle.
Clean Nozzle connection, Ink duct and Air head
To clean the air head, we recommend using a cotton swab, which you sprinkle with a little airbrush cleaner. The easiest way to clean the paint channel is to use a fine brush, which you will often find in a cleaning set. In order to maintain the functionality of all seals, you should also thoroughly remove any paint residues.
Cleaning of Needle Chuck, Gun Body and Paint Container
The paint cup can be easily cleaned with a paper towel and some airbrush cleaner. If it is too small for this, you can also use a cotton swab. The needle channel, which is located in the back of the gun, can be cleaned with a brush. The cleaning also works without completely dismantling the needle chuck.
Reassemble Airbrush Gun
First reassemble the needle chuck, paint container and operating lever back to the body and push the needle in from front to back. Be careful not to push the needle in from the back to the front, as this could bend it.
Guide the needle into the body until it comes out of the needle chuck at the back. As soon as you can see the needle through the paint container again, it is optimally placed and you can mount the nozzle. Once the nozzle is mounted, push the needle forward again until you can see the tip on the nozzle. Finally, unscrew the gun body.
Airbrush Gun Maintenance
Once the airbrush gun is disassembled, you can use this opportunity to check the seals and threads. This is important for the proper functioning of the airbrush gun. This is important to ensure that your airbrush gun always has an optimal spray pattern and that it is fun to use.
Tips and Tricks
Use of a Cleaning Set
To make cleaning easier for you, there are inexpensive and useful airbrush cleaning kits on the market. They provide you with all the materials you need for cleaning, consisting of a cleaner, matching brushes, containers for storage and other accessories.
The special airbrush cleaning agent works best, but you can also try to replace it with household cleaning agents. For example, you can also use a normal window cleaner instead of the expensive cleaner. The cleaning brushes can be replaced by dental brushes, but these are often too short. The cleaning brushes are slightly longer and can therefore clean the needle channel completely.
Solvent as Cleaning agent
In general, you should always be careful when using solvents, as not every airbrush gun can tolerate this treatment. Even seals, which are actually solvent-resistant, can be damaged if used too often.
Acetone is not recommended. Although it dissolves the paint residues very effectively, it quickly attacks the sensitive rubber seals of the airbrush gun. In addition, acetone is relatively poisonous and the fine spray mist should never be inhaled.
Use Ultrasonic bath for Cleaning
An ultrasonic bath is ideal for cleaning the individual parts of the airbrush gun. This treatment takes only a few minutes and is very effective. In addition, cleaning with the ultrasonic bath reduces the risk of damaging the fine parts.
Our conclusion
In order to get a beautiful spray pattern permanently, the correct cleaning of the airbrush gun is absolutely necessary. The different steps sound like a lot of work, but with a little practice the work can be done in a few moments. The more often you clean your airbrush gun, the less time the actual cleaning process takes.

In 2005, Charlene completed her wellness degrees in therapeutic aromatherapy and reflexology at the International School of Reflexology and Meridian Therapy. She worked for a company offering corporate wellness programs for several years before opening her own therapy practice. In 2015, she was asked by a digital marketer friend to join her company as a content creator, and it was here that she discovered her enthusiasm for writing. Since entering the world of content creation, she has gained a lot of experience over the years writing about various topics such as beauty, health, wellness, travel, crafting, and much more. Due to various circumstances, she had to give up her therapy practice and now works as a freelance writer. Since she is a very creative person and as a balance to writing likes to be active in various areas of art and crafts, the activity at acrylgiessen.com is perfect for her to contribute their knowledge and experience in various creative topics.
Learn more about Charlene Lewis and about us.