How to Make Air-Dry Clay Dry Faster – Learn to Use Air-Dry Clay
This post may contain affiliate links. We may earn a small commission from purchases made through them, at no additional cost to you.
Air-dry clay is popular for many when it comes to creating various clay craft ideas and can be used by the young and old alike. However, there are a few important things to know when working with air-dry clay, such as how long does it take air-dry clay to dry? Once you know this, you can then figure out when your clay item will be ready for use. In this article, we will be discussing the various factors that could affect drying times, as well as providing a few tips on how to make air-dry clay dry faster.
What Is Air-Dry Clay?
Air-dry clay is water-based and is composed of natural materials and a combination of paper fibers as well as glue. The difference when compared to other clays is that it does not require heat to cure. All you need to do is wait, and the clay dries naturally when all the moisture has evaporated from the clay. This makes it a little easier to work with and is why crafters as well as artists love working with it.
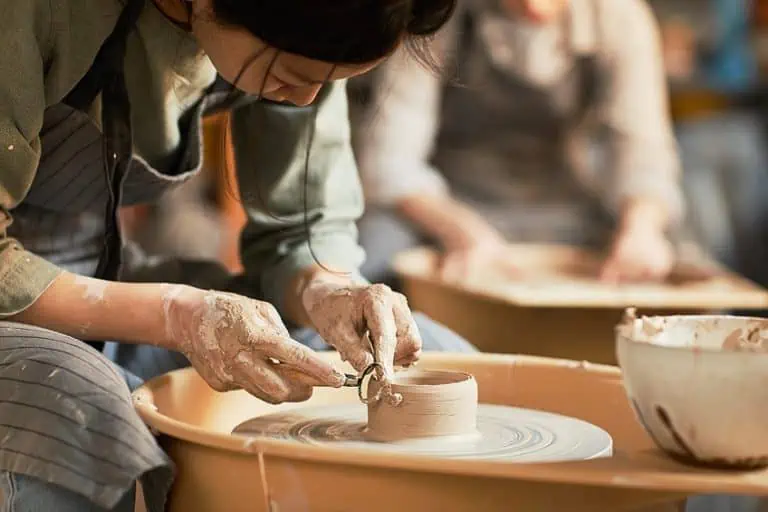
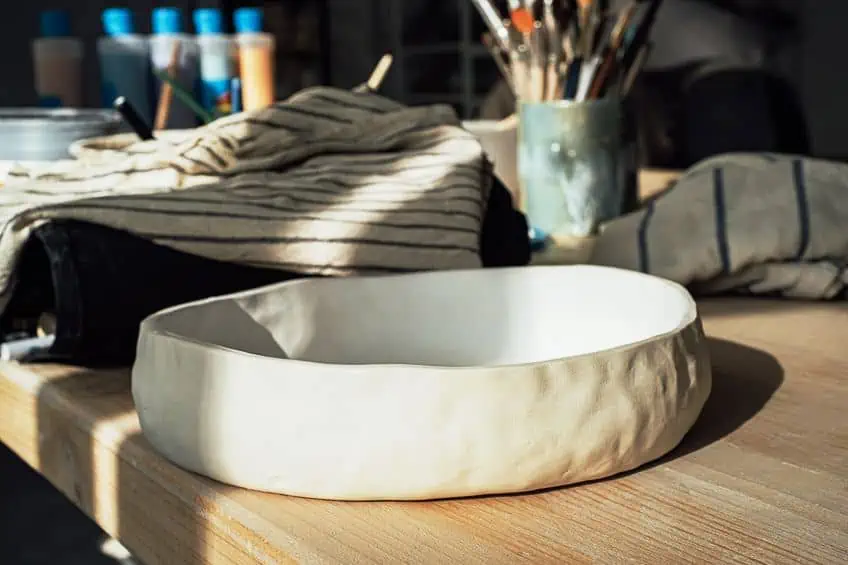
Air-dry clay is easy to manipulate and is perfect for creating sculptures and larger forms.
Once dry the clay can also be painted and decorated. However, air-dry clay does remain porous when dry and is not waterproof, so you will need to seal it to protect it further. If you want to create a clay item that has no cracks or warping, the drying process must be done properly. Next, we will be looking at certain factors that can influence the drying times and how to make air-dry clay dry faster.
Factors That Affect the Drying Time of Air-Dry Clay
There are different air-dry clay brands, and all of them are not the same. Some clays can contain earthen clay, while others have a paper base. The paper-based clay seems to be able to resist cracking better than other options. So, it is important to read labels and find out what the composition of the clay is, as this could affect the drying time. Below are a few well-known brands for air-dry clay.
- DAS
- Jovi
- Crayola
- Fimo
- Amaco
- Craftsmart
How long does Crayola clay take to dry? The Crayola clay as well as all the other brands says that the clay will dry within 24 hours. However, some might be more difficult to handle than others. This is because the clay could differ in moisture content, which can also affect the final finish. This will show in the texture, porosity, and hardness of the clay once it is dry. A drying time of 24 hours is a general indication, and it can take up to 72 hours or maybe longer to dry and harden. Let us look at what can influence the drying times of air-dry clay.
Temperature and Humidity Levels
How fast the clay takes to dry, depends on the temperature in the room. You do not want the temperature to be too high, as it could crack the clay, and too cold, it takes a long time to dry. The drier and warmer it is, the quicker the clay will dry. For example, in hot and dry summer months, a clay item can take 24 hours to dry completely. On the other hand, when it is cold and humid, it can take up to several days or maybe a bit longer for the clay to dry.
Room temperature is perfect for drying the clay, making sure it is not kept close to heat sources, such as heaters or direct sunlight.
Also, consider keeping it away from cold drafts as it is drying, which could cause the clay to dry unevenly and crack. High-humidity areas can pose a problem when drying the clay, and it could take some time to completely harden. The drying process involves the evaporation of moisture from the clay, so humidity can slow this process significantly.
Thickness and Size of the Clay Item
The larger the clay item and the thicker it is, the longer it will take to dry. Thinner clay items will dry much quicker. You can try and turn thicker clay items regularly to help expose all areas of the clay, which can help to slightly quicken the drying time. Clay that is about 3mm or thicker can take 48 hours or longer to dry.
Air Ventilation
To help with the humidity issue, you can make sure you have enough airflow in the room to help with the drying process. Try placing the clay item near an open window on a warm dry day, and it should quicken the drying time. You can use a cooling rack to try and maximize exposure to help speed up the drying process. Larger clay items should also be rotated regularly to help avoid warping or cracking.
If you use a mold for the clay, leave it dry for about 24 hours in the mold before removing it and then letting it dry further.
Techniques for Speeding Up the Drying Process
How to make air-dry clay dry faster? The best option is to have patience and wait for your air-dry clay item to dry properly, however long it takes. If you are willing to try a technique that speeds up the drying process, then you can have a look at some of the below questions and suggestions.
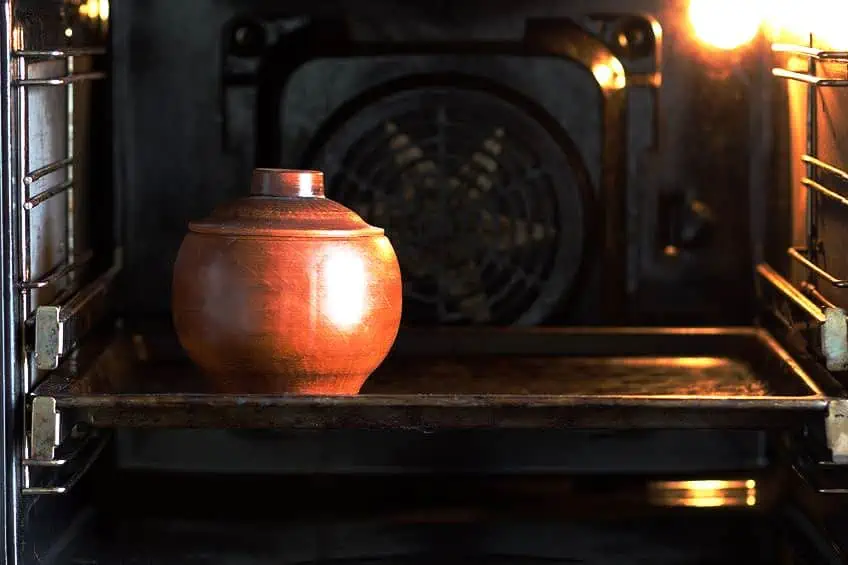
Can You Put Air-Dry Clay in the Oven?
It is not an ideal option, but you can put your air-dry clay in the oven. Place the clay in a very low-temperature oven at about 77 to 86 degrees Fahrenheit (25 to 30 degrees Celsius) for about 15 to 30 minutes. You can place the clay on some wax parchment and cover them as well. Keep the oven door open slightly to help with ventilation. You run the risk of cracking and warping the clay if it is baked in the oven, so it is best to avoid this option if possible.
Can You Put Air-Dry Clay in the Microwave?
This is another option to help speed up the drying process, but it is quite risky as you can easily overheat and damage the clay, maybe even burn it. Heat the clay for about 30 seconds, check, then continue with 30-second bursts until it appears dry.
Can You Use a Dehydrator for Air-Dry Clay?
This is a better option than oven-baking or microwaving. The dehydrator will help to remove the moisture from the clay without the risk of damaging the clay because you can set it at a low enough temperature.
Can You Use a Hairdryer for Air-Dry Clay?
You can use a hairdryer on air-dry clay, just make sure it is at its lowest setting. You should also hold the hairdryer at a distance of about four to six inches to avoid cracking the clay. As you go, keep checking to see if it is drying properly. You can also turn the item regularly to distribute the heat more evenly. This is another uncertain method, so do not rush the process, or decide to increase the heat.

Other Techniques to Increase the Drying Process
When searching for ideas on how to make air-dry clay dry faster, there are quite a few more techniques you can try. Some of them are riskier than others, and you might find yourself with a cracked or warped clay model. The best options offer lower temperatures and good airflow. Let us see what other methods you can use to help increase the drying process.
Dehumidifier
This is a simple method that helps to remove any excess moisture from the air, which will then help the clay to dry a little faster. This is quite an easy and safe method, and you might already have a humidifier in your home. This should be done in a small space or room to be effective.
Heating Pad
You can use a heating pad to place the clay item on. This will create a warm place where the moisture can evaporate faster. You can leave for a few minutes, and then check the clay item and rotate it to help dry more evenly. This is also an electrical heating pad, not the ones you place in the microwave oven.

Fans
This is another simple method to help speed up the drying process. Place the clay on a tray and bring in the fan, making sure it is aimed at the clay. The fan should move back and forth over the clay, which should help with the drying process.
Heat Gun
This method might be one of the riskier options, but if you set the heat gun on low heat, you can give it a try. Point the heat gun at the clay and move it around so the clay gets evenly heated. Not all types of clay will dry at the same time, so be patient. Keep checking the clay to see if it is drying properly.
If the clay dries unevenly, it can cause cracks and warping.

Using Accelerators
You can experiment with various accelerators you can use with the air-dry clay. Consider Epsom salts, which you can add to the clay before you shape it. You can also try adding white vinegar to the water you mix the clay with or apply it directly once you are finished shaping the clay item.
You can also similarly apply alcohol, using a paintbrush once your clay item is complete.
Clay Desiccant
You can make a desiccant chamber, which is a sealed container into which you place your clay items and desiccant. Leave the clay in the container for 24 to 48 hours. The desiccant aims to produce a low-humidity environment. The desiccant can also help to absorb moisture to an extent. Some examples of desiccants include activated charcoal, calcium chloride, and silica gel beads.
You can also use rice in the container, which has a similar effect.

Place in the Sun
Placing air-dry clay in the sun is a simple method to help clay dry faster. The heat of the sun can help to evaporate the moisture in the clay. However, if it is extremely hot, do not place it in direct sunlight, but make sure to cover the clay with parchment paper, and do not let the clay rest on a metal surface.
Turn the clay every few minutes, so it can dry evenly.
Pre-Drying Preparation
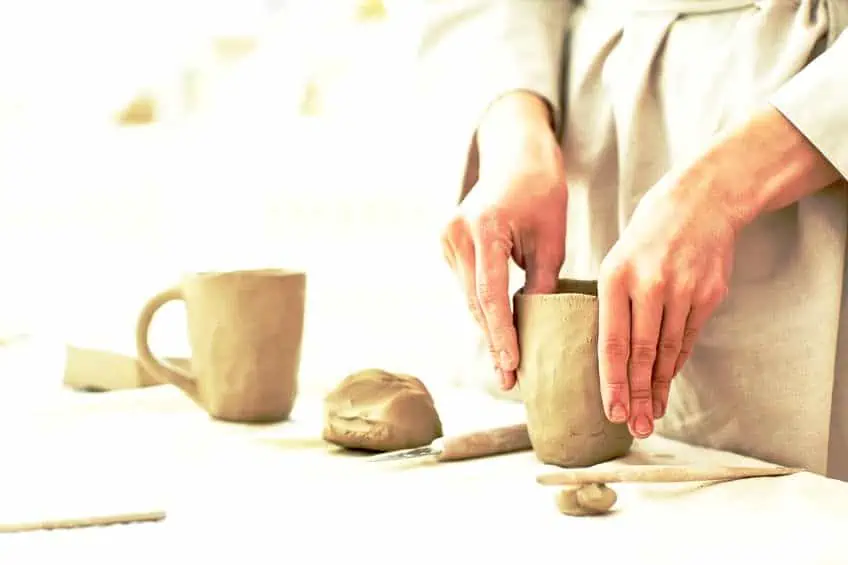
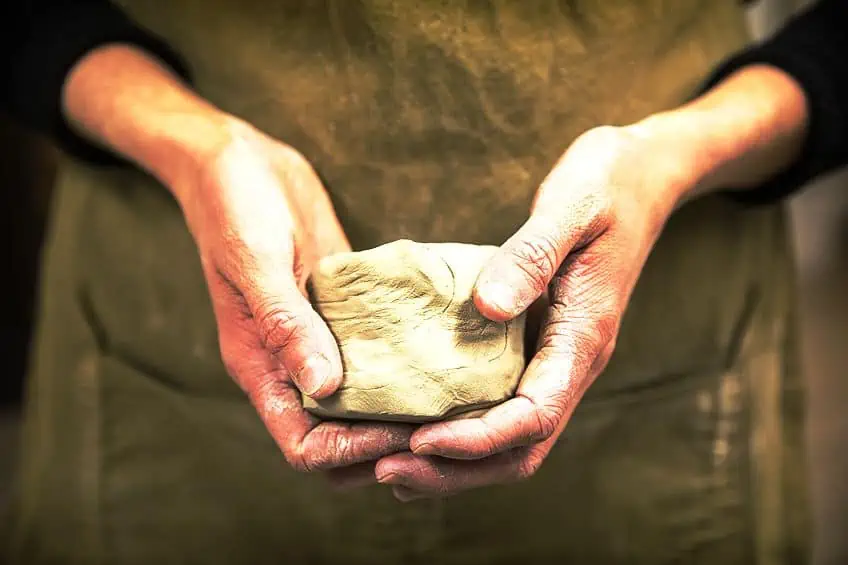
After you take the clay out of its packaging, you need to knead the clay until it is soft and smooth. This is what is known as “conditioning” the clay, which makes it easier to work with. This also helps to remove any air bubbles, which if you do not do, will produce cracks in the clay. Some clays may feel a little more sticky than others, so experiment with different brands until you discover one that you prefer.
To help stop the clay from sticking to your hands too much, you can try to apply a little lotion before you start working with the clay.
When rolling out your clay, try not to go too thin, as this can easily warp and crack when it begins to dry. In general, try rolling the clay to about a quarter of an inch thick, which makes it not too thin or thick. Below are a few tools that can be used when rolling out air-dry clay.

- Acrylic rolling pin: You can also use a metal or wooden rolling pin, but the clay tends to stick less to an acrylic rolling pin.
- Guide rings: These rings are made to help you roll out the clay evenly and come in various sizes.
- Silicone mat: The silicone mat is quite flexible as well as heat-resistant, making it easy to lift the clay off. The mat is also durable, protects your work surface, and is easy to keep clean.
You can then use a small damp sponge, or your finger dipped in a little water, to smooth the clay. Just remember to not add too much water, which could cause the clay to crack or warp when drying. Once the clay has dried, you might also notice some small imperfections. Simply mix a little water with some clay to create a clay “slip”, which you can then fill any cracks with. Leave to dry once this is done.
Common Mistakes That Can Slow Drying Time
Overall, it is best to not try and speed up the drying time, which increases the chances of the clay cracking or being damaged. Rather wait a bit longer for the clay to dry to avoid having issues. However, if you do want to dry the clay faster, below are some mistakes you should try and avoid.
Handling the Clay in Direct Sunlight
Try not to create a workspace that is by a window that gets a lot of direct sunlight. This does help to dry the clay faster, but not while you are busy working or forming the clay. You might find yourself using too much water as well, which in turn, will lengthen the drying time and might cause cracking. So, too much water will also then be an issue.
The windows should have blinds or curtains you can close or move to a better area.
Incorrect Storage
To help keep your clay in good condition, it should be stored properly. If you keep it in cheap containers, you will find later that it has dried up and you cannot use it anymore. In general, working with clay is not an overly expensive hobby, so you can get a good, airtight container to store the clay. You can also consider first wrapping the clay in clingfilm or placing it into a Ziplock bag before putting it into the container.
Keeping the clay in storage helps it to remain pliable and soft, so you can easily work with it again.

You should also only take out as much clay as you need to work with. The rest should be kept sealed. The clay will begin to harden on exposure to air, and while you are working with some of the clay, you do not want the rest of the clay to become unusable. You can also use a damp cloth to cover the clay you are working with, to keep it from drying out too quickly.
Painting the Clay Too Soon
You might be excited about decorating your clay item, and you want to begin painting the clay. However, you must make sure the clay is completely dry before painting, as it can ruin the final result. Painting clay that is not properly dry can cause various problems like the following.

- The paint can begin to peel off later
- Small cracks can form in the clay
- The clay can begin to warp
Forgetting to Seal Clay Projects
Air-dry clay remains porous once it has dried and is not waterproof. So, if you are doing an outdoor project, you must seal the clay. If you do not, you might find a melted mess or lump of clay the next day. You can seal the clay items with an acrylic sealer, epoxy resin, or clear varnish. The sealer is waterproof, adds protection, and provides a beautiful gloss finish.
Too Much Water
Water does have a part to play when working with air-dry clay, as it can help to moisten the clay if it gets too dry and helps to join clay pieces together. However, too much water can make the clay sticky and unusable. Too much water added can also cause problems when drying, creating cracks or warping. When using water, consider a spray bottle or use a small paintbrush that you can dip into the water.
You can also use a slightly wet sponge to help create a smooth clay surface.

How to Test If Your Clay Is Dry
Since air-dry clay is water-based, it is important to understand how moisture affects the clay. The water is what makes the clay more pliable so it can be shaped. However, too much water and the clay can become too sticky to work with, and if it dries, cracking can occur. You will not be able to work with clay that is too dry, it will appear chalky and dull. So, how long does it take air-dry clay to dry and how do you test to see if it is dry? There are a few methods you can try.
Nail Check
This check can be done before you begin to sand or paint the clay. To make sure the clay is dry, you can take your nail and lightly push it into the clay, preferably in an inconspicuous area. If the nail leaves a strong impression, you should consider leaving the clay to dry for another day. If the clay is dry and fully hard, there will only be a slight nail mark that is barely visible.

Color Check
You can sometimes notice that the surface of the clay becomes lighter, and there are no dark spots, indicating the clay is dry. The reason the clay becomes lighter is because of the evaporating water. This test is most visible on clays like terracotta but can also be seen on air-dry clay.
Sound Check
Once all the water evaporates from the clay, the clay will get lighter, and it will be porous. So, if you take the clay item and carefully knock the surface with your fingers, it should produce a hollow sound.

Post-Drying Techniques
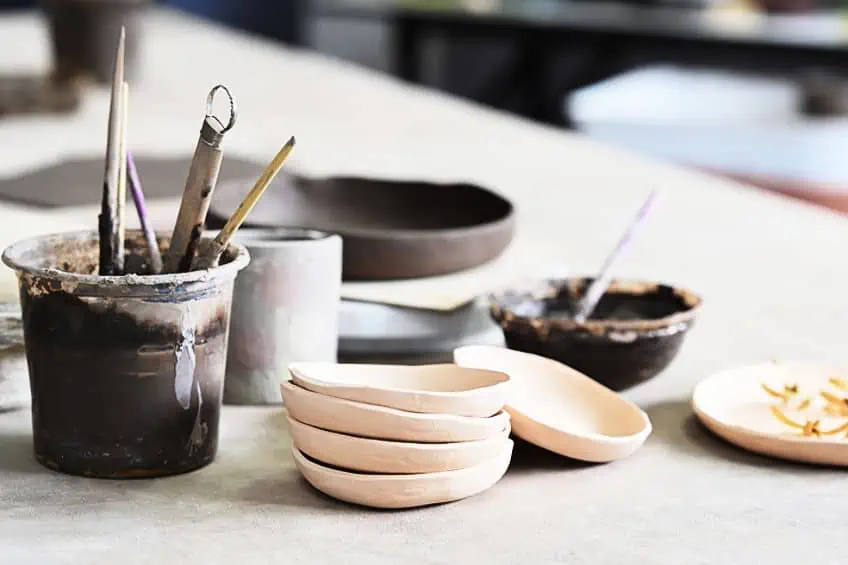
Once the air-dry clay has fully dried, there might be edges or areas that need to be smoothed out. You can first remove any edges using coarse-grit sandpaper and increase to a fine grit to produce a smooth surface. Next, you can begin decorating or painting your clay item.
Painting Air-Dry Clay
Make sure the clay is fully dry before painting, as any increased moisture added while the clay is wet can cause warping and cracking. To paint and decorate the clay, you can use acrylic paint and acrylic markers. You might need to paint on several layers before the surface is covered fully. If you are going to paint the clay, the white air-dry clay will show up the paint colors best.

Sealing Air-Dry Clay
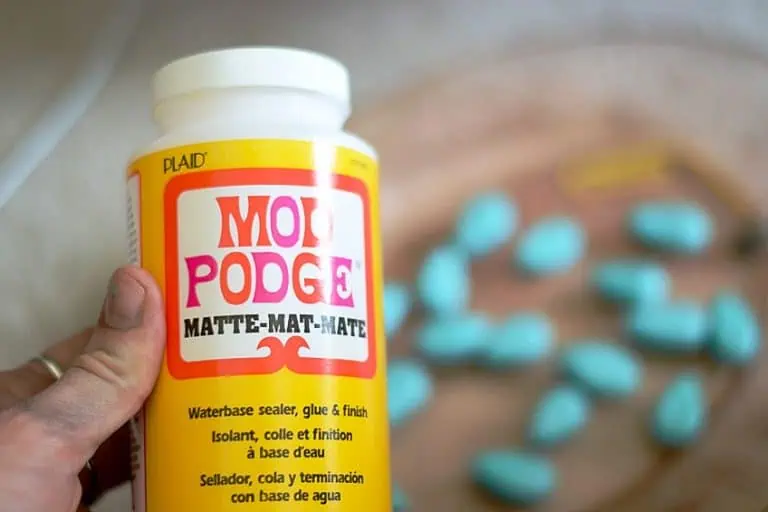
Finally, you can seal your clay item for protection. Depending on what you are going to use the clay for, there are different options. If you simply want to protect the clay from drying out and cracking, you can apply a clear acrylic sealer. You can also consider mod podge, which offers durability and is waterproof. If you want an extremely strong seal and durability, then consider using an epoxy resin sealer.
As we have discovered, there are many ways to make air-dry clay dry faster, from baking to using a hair dryer, or simply leaving it in a well-ventilated space. Many of these methods might cause problems like cracking and warping, so caution is advised when attempting them. The main lesson we should learn from all this is that if you want to achieve the best results with air-dry clay, you just need to have a little patience.
Frequently Asked Questions
Can You Put Air-Dry Clay in the Oven?
Yes, you can use the oven to help dry the air-dry clay. However, the oven must be at its lowest setting and you must leave the door slightly ajar. This is because you run the risk of the clay cracking and warping if you do not follow this method very carefully.
Can You Put Air-Dry Clay in the Microwave?
Microwaving air-dry clay is not recommended, as it could burn or severely damage the clay. However, you can experiment with air-dry clay by putting it in the microwave and heating it for 30 seconds, and repeating this, to see what happens. An oven, or even a dehydrator, would be a better option.
How Long Does Crayola Clay Take to Dry?
Crayola clay, like most other air-dry clays, takes anywhere from 24 to 72 hours to dry properly. However, certain factors like humidity, temperature, and the thickness of the clay can affect the time it takes for the clay to dry.

In 2005, Charlene completed her wellness degrees in therapeutic aromatherapy and reflexology at the International School of Reflexology and Meridian Therapy. She worked for a company offering corporate wellness programs for several years before opening her own therapy practice. In 2015, she was asked by a digital marketer friend to join her company as a content creator, and it was here that she discovered her enthusiasm for writing. Since entering the world of content creation, she has gained a lot of experience over the years writing about various topics such as beauty, health, wellness, travel, crafting, and much more. Due to various circumstances, she had to give up her therapy practice and now works as a freelance writer. Since she is a very creative person and as a balance to writing likes to be active in various areas of art and crafts, the activity at acrylgiessen.com is perfect for her to contribute their knowledge and experience in various creative topics.
Learn more about Charlene Lewis and about us.