How to Harden Modeling Clay – From Malleable to Monumental
This post may contain affiliate links. We may earn a small commission from purchases made through them, at no additional cost to you.
Welcome to the fascinating world of clay sculpting, where your imagination knows no bounds! If you’ve ever found yourself mesmerized by the malleability of modeling clay, you’re in for a treat. In this article, we’ll delve into the magical realm of hardening modeling clay, transforming your pliable creations into durable masterpieces. Whether you’re crafting tiny trinkets or intricate sculptures, get ready to unleash your creativity and learn the secrets to solidifying your clay creations. Let’s mold and bake our way to clay perfection!
Key Takeaways
- Various techniques exist to harden modeling clay, with baking and air drying being the most common.
- Oven-bake clay requires careful attention to temperature and timing instructions.
- Non-bake clays necessitate sealants or hardeners to achieve a solid finished product.
What Is Modeling Clay?
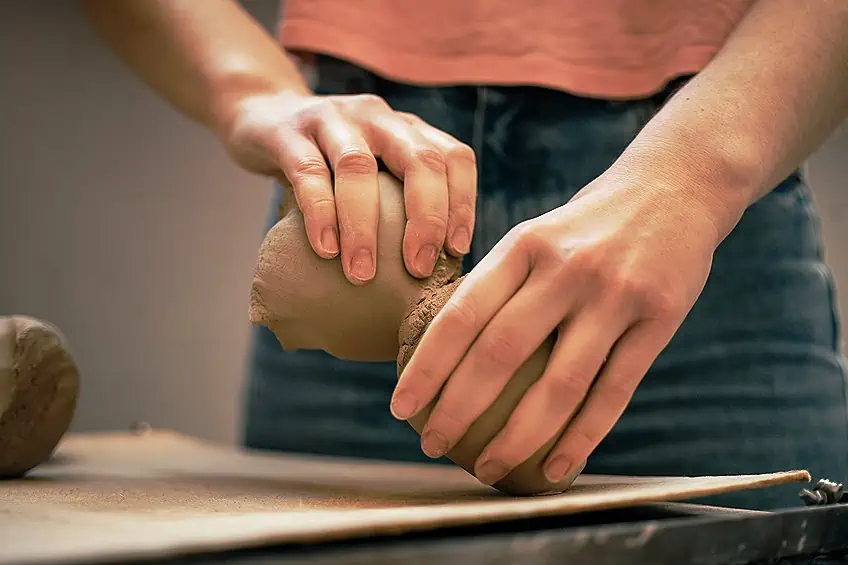
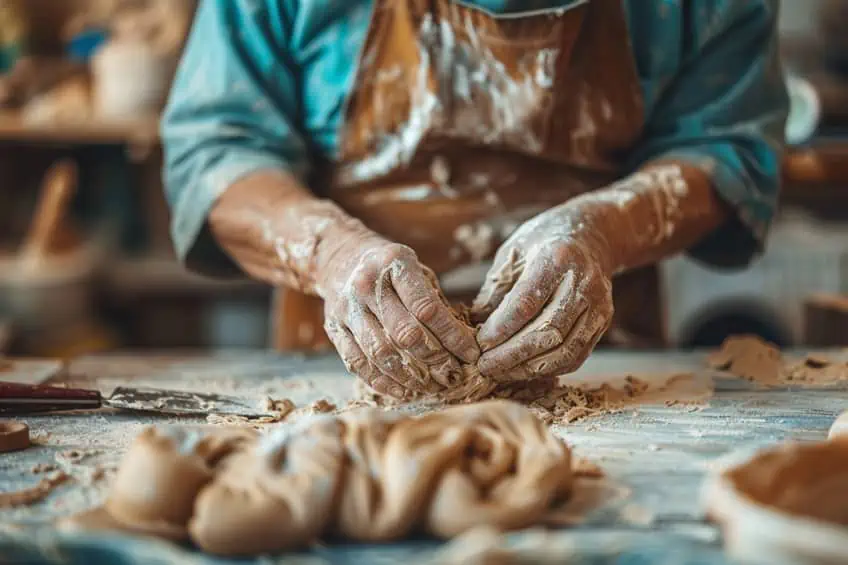
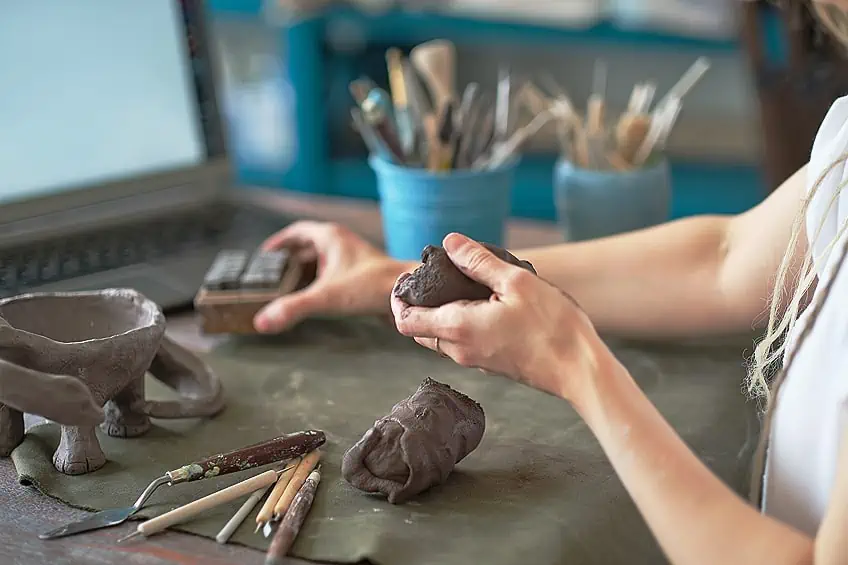
Modeling clay is a form of pliable material primarily used for sculpting, shaping, and crafting. It is known for its malleability, allowing it to be easily worked with hands and tools to create a variety of shapes and structures. Modeling clay is a favorite medium for artists and hobbyists because of its versatility. One critical aspect of working with this material is knowing how to harden it effectively to preserve the sculpted artwork. There are multiple techniques for hardening modeling clay, ranging from baking it in a conventional oven to using specialized finishes.
The process of hardening modeling clay typically involves either heat or air drying, depending on the type of clay used.
For those using oven-bake clay, detailed instructions regarding temperature and time are paramount to achieve a successful result without cracking or burning the piece. Meanwhile, non-bake clay options may require sealing with a resin or other hardening agents to solidify. Regardless of the method chosen, it is essential to follow best practices to ensure the longevity and durability of the finished work. Artists and hobbyists alike use modeling clay for creating intricate sculptures, jewelry, decorative items, and educational projects.

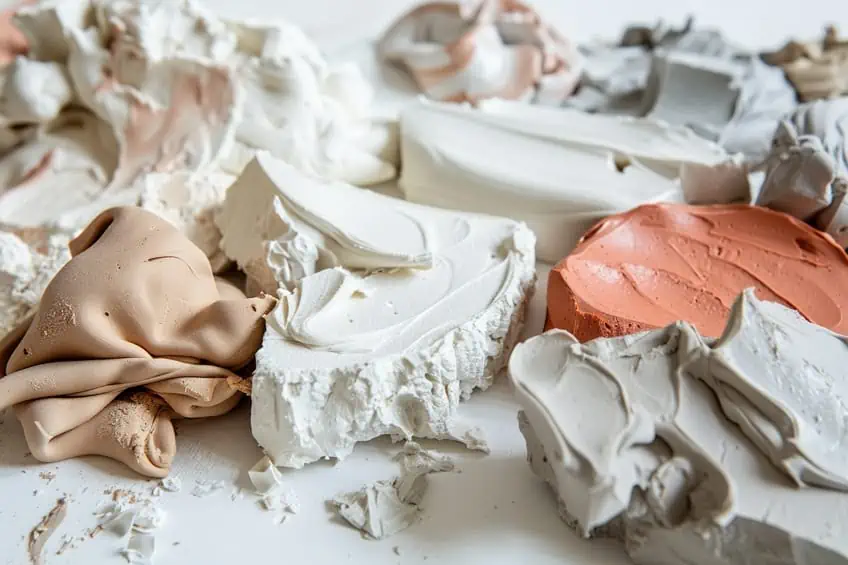
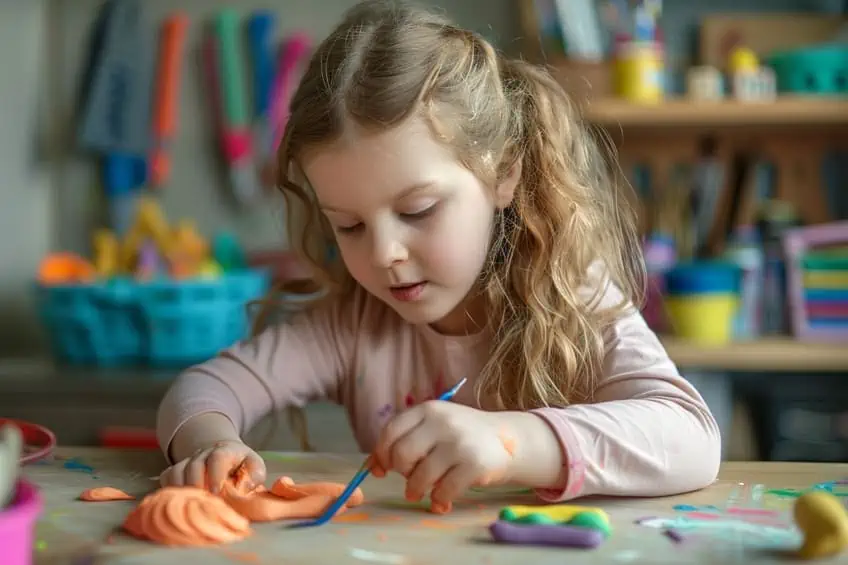
It provides a versatile medium, perfect for both beginners exploring creative expression and professionals executing detailed work. Safety feature aspects of modeling clay include its non-toxic nature, making it suitable for use by children under supervision. However, it’s essential to follow individual product instructions for use and hardening, as they can vary by the type of clay. The composition of modeling clay can vary, with some being based on natural earth clays, while others are synthetic, like polymer clay. They may contain plasticizers to maintain flexibility and can be found in numerous colors.
There are various types of modeling clay, each with distinct properties and hardening methods:
- Polymer clay: Requires baking to harden, typically at temperatures ranging from 215-300 degrees Fahrenheit.
- Air-dry clay: Hardens at room temperature without the need for an oven.
- Oil-based clay: Normally does not harden completely and can be reworked.
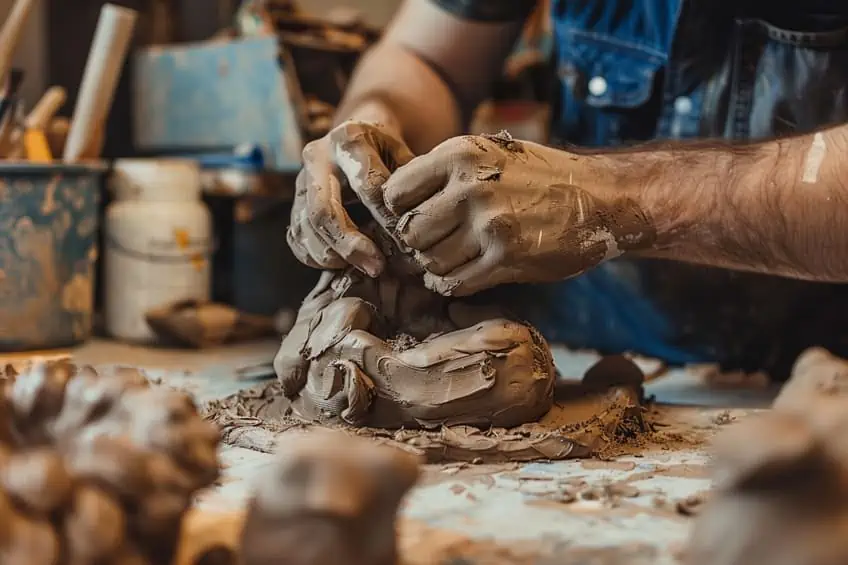
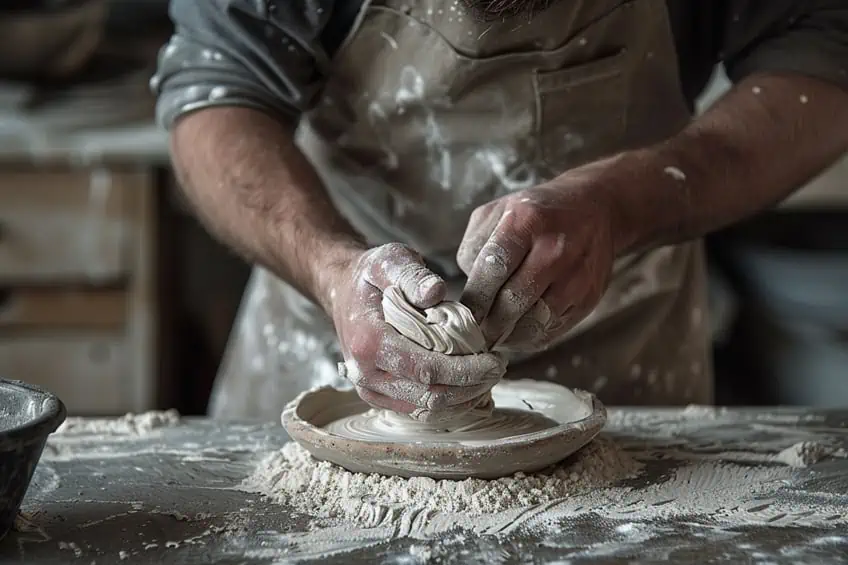
Preparing Your Modeling Clay for Hardening
Before beginning the hardening process, it’s essential to select the appropriate clay for your project and prepare it correctly to ensure successful hardening. Properly preparing your modeling clay can make a significant difference in the durability and quality of your finished creation.
Selecting the Correct Clay Type
When choosing clay, it’s pivotal to differentiate between polymer, oil-based, and air-dry clays, as each type requires different hardening methods. Polymer clay hardens by baking, while air-dry clay sets without heat. Oil-based clay generally does not harden and is not the ideal choice for creation that requires permanence.
Conditions for Hardening
The environment is key for hardening clay. For air-dry clay, a well-ventilated area helps remove moisture evenly and prevents cracking. Polymer clay prefers a stable temperature, ideally as recommended on the product label. Humidity and room temperature are critical factors to monitor for both types.
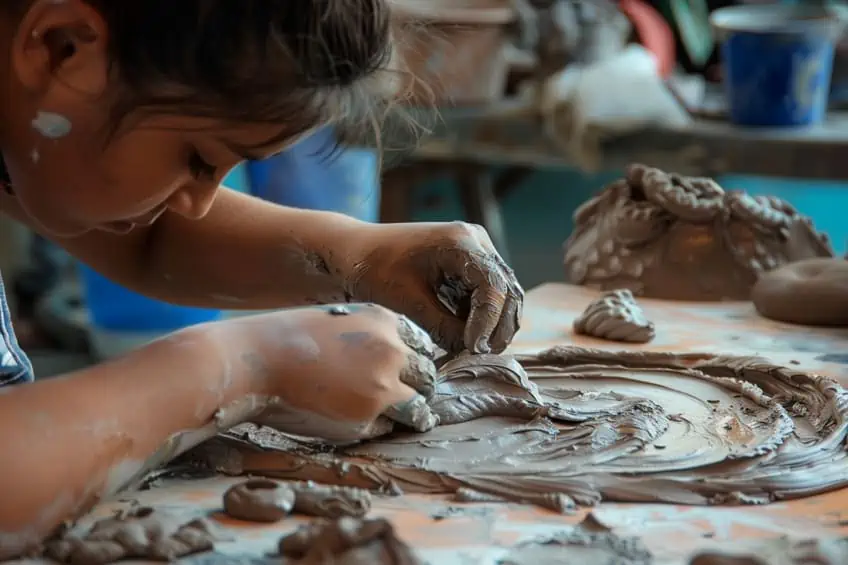
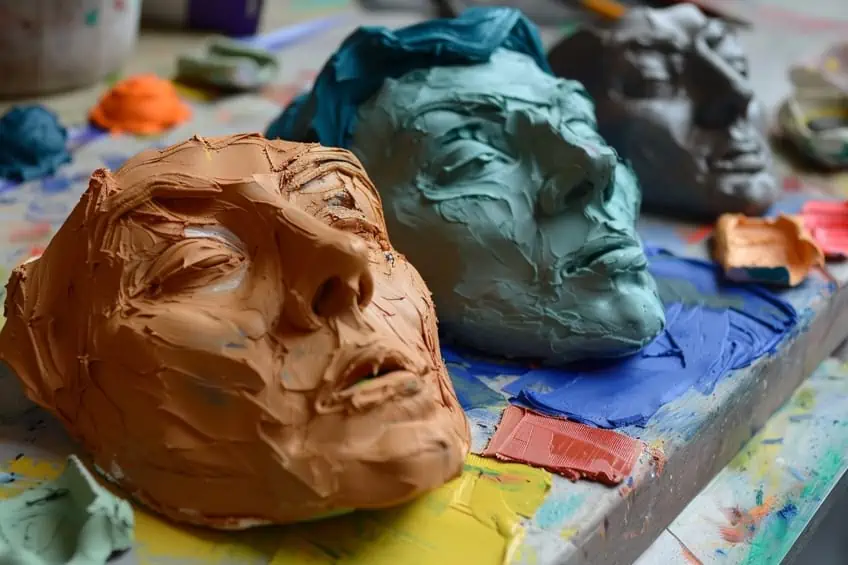
Creating an Optimal Clay Model
Ensure that your clay model has uniform thickness to avoid uneven hardening. For polymer clay, a hole to allow air to escape during baking is useful to prevent cracks or bubbles. Before hardening, remove any imperfections using water for smoothing air-dry clay models or using specialized tools for polymer clay.
Pre-Hardening Preparations
Prior to hardening polymer clay in an oven, preheat to the clay manufacturer’s recommended baking temperature. Place the model on a surface like parchment paper or a ceramic tile to avoid sticking. For air-dry clay, position your item on wax paper and gently flip over at intervals during drying to ensure even hardening.
Safety and Precautions
Always employ caution when handling clays, especially during hardening processes that involve heat. Check the manufacturer’s label for safety information and ensure that the clay is non-toxic, especially if involved in children’s craft projects. Always use personal protective equipment as needed when handling heated items.
Alternative Hardening Solutions
Besides traditional methods like kiln or oven-baking, alternative solutions include using a hairdryer, dehumidifier, heat gun, or microwave for certain clays. A UV light can be used for UV-resin clays, and a polymer sealer can provide additional hardness and durability to your model post-hardening.
Always follow the hardener’s instructions carefully to avoid damaging the model.
Popular Ways to Harden Clay
Various methods are utilized to harden modeling clay, each with its own set of advantages. Selecting the appropriate technique can affect the durability and finish of the final creation.
Use a Polymer Clay Sealer
For creators seeking to add durability to their clay projects, a polymer clay sealer is a reliable solution. After curing the clay, applying a thin layer of the sealer will harden the surface. It should be noted that sealed clay maintains some flexibility and achieves an enhanced finish.
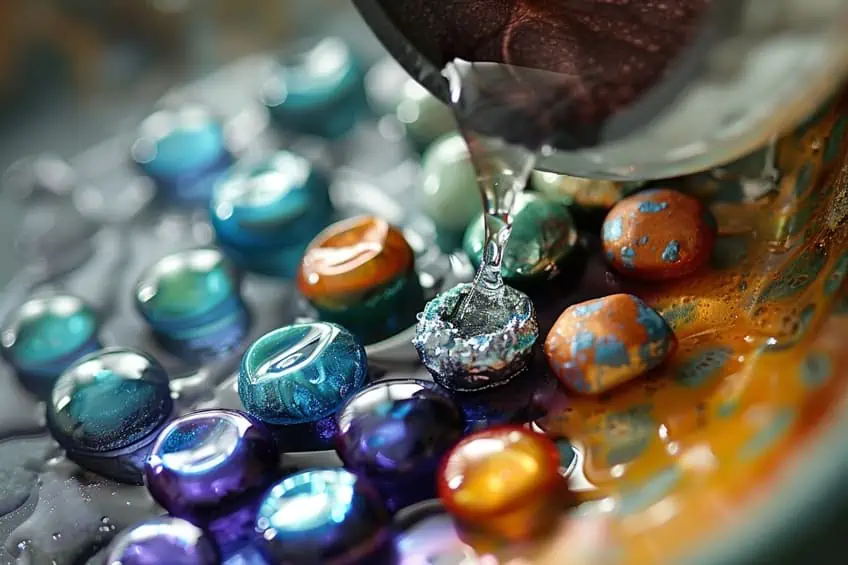
Dip in Resin
The resin dipping method caters to small items such as jewelry, where water resistance is key. A piece is dipped into the resin and allowed to cure, resulting in a hard, durable surface that can withstand moisture.
Bake the Clay
Oven baking is a widely adopted method for hardening modeling clay. First, preheat your oven to the temperature recommended by the clay manufacturer, typically around 130 degrees Fahrenheit. Next, position your clay object on a baking sheet and bake it for a duration determined by its mass, usually around 10 minutes per 100 grams of clay. Once baked, carefully remove the clay from the oven and allow it to cool down completely to achieve the desired finish. With these straightforward instructions, your clay creations will be ready to showcase in no time!
When baking the clay, it is crucial to adhere strictly to the manufacturer’s recommended baking times and temperatures to prevent any mishaps such as burning or incomplete curing.
Baking Versus Not Baking
When hardening modeling clay, one can either bake it or use alternative methods to achieve a solid state. Baking physically alters the clay to make it hard, while non-baking techniques involve chemical or physical changes without heat.
How to Bake Modeling Clay
To bake modeling clay, preheat the oven to 130 degrees Fahrenheit. Place the clay object on a baking sheet and bake for 30 minutes. For thicker pieces, adjust the time according to the clay’s packaging instructions, typically adding 10-15 minutes per quarter inch of thickness.
It’s crucial to let the clay cool down completely after baking to complete the hardening process.
How to Harden Modeling Clay Without Baking
Several methods exist to harden modeling clay without baking:
- Polymer clay sealer: Apply a thin layer to the clay and let it dry.
- Air drying: Simply leave the clay out at room temperature until it hardens.
- Dip in resin: Coat small pieces in resin and allow to cure for a hard, water-resistant finish.
- Salt dough cover: Cover the clay with a dough made from equal parts salt, flour, and water, then bake at a low temperature until the dough hardens.
Each non-baking method varies in drying time and final hardness, and one should choose based on the desired finish and clay type.
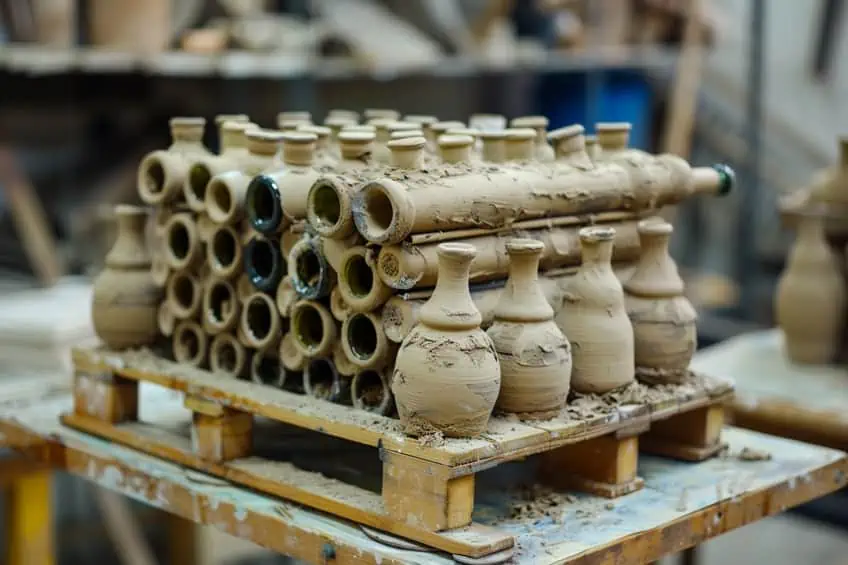
Finishing and Protecting Your Hardened Clay
Once the clay has been hardened through baking or air drying, the next phase is finishing and protection. This ensures the durability of art pieces, models, ornaments, and prototypes for long-lasting enjoyment and utility.
Cooling and Finalizing the Clay
After hardening clay in the oven, allow it to cool completely before handling to prevent distorting the form. Cooling on a wire rack can prevent any trapped heat from causing sogginess or minor collapses. For pieces like pottery and ceramics, which are fired in a kiln, ensure that the kiln’s temperature decreases gradually to avoid thermal shock that might cause cracks or warping.
Adding Color and Details
To add colors and details to hardened modeling clay, simply apply oil or water-based paints to infuse vibrant colors or intricate details into your pieces. Ensure vent holes are clear to prevent air pockets when baking polymer clay, as these could expand and cause the piece to crack.
Use fine brushes for detailed work and remember to layer the paint for a more polished finish.
Sealing and Preservation
To extend the life of your hardened clay creations, it’s crucial to apply a sealant. The type of sealant can vary based on the intended use of the item:
- Varnish or paint sealant: Offers a durable finish for ceramics and models.
- Epoxy resin: Ideal for jewelry and ornaments needing a water-resistant coating.
- Plaster of Paris: Can serve as a rigid backing for larger pieces.
Remember to test the sealant on a small area before covering the entire piece to ensure compatibility.

As we wrap up our journey through the wonders of hardening modeling clay, remember that the joy of sculpting knows no bounds. From playful pinch pots to intricate sculptures, each creation tells a story uniquely yours. Embrace the magic of molding and baking, and let your imagination run wild. As you venture forth, may your clay endeavors be filled with whimsy, wonder, and endless possibilities. Happy sculpting, and may your hardened masterpieces inspire awe and delight for generations to come!
Frequently Asked Questions
What Methods Are Available to Harden Modeling Clay at Home?
One can harden modeling clay at home primarily using baking or air-drying techniques. Polymer clays are typically baked in an oven following the manufacturer’s instructions, with average baking temperatures around 130 degrees Fahrenheit and times varying based on the clay’s thickness.
Is It Possible to Use a Microwave to Speed Up the Hardening Process of Modeling Clay?
While not all types of clay are suitable for microwaving, some modeling clays can be hardened using a microwave. This process requires careful timing and monitoring, usually about 2 minutes for small pieces, ensuring that the clay does not overheat and understanding that not all clays are microwave-safe.
Are There Any Ways to Harden Clay Without the Use of an Oven?
Yes, there are non-baking methods to harden modeling clay, such as air drying, which can take from a few hours up to several days depending on the size and thickness of the modeled item. Some clays can also be hardened by applying a polymer clay sealer or dipping the item in resin, which provides a hard, durable finish without the need for an oven.

In 2005, Charlene completed her wellness degrees in therapeutic aromatherapy and reflexology at the International School of Reflexology and Meridian Therapy. She worked for a company offering corporate wellness programs for several years before opening her own therapy practice. In 2015, she was asked by a digital marketer friend to join her company as a content creator, and it was here that she discovered her enthusiasm for writing. Since entering the world of content creation, she has gained a lot of experience over the years writing about various topics such as beauty, health, wellness, travel, crafting, and much more. Due to various circumstances, she had to give up her therapy practice and now works as a freelance writer. Since she is a very creative person and as a balance to writing likes to be active in various areas of art and crafts, the activity at acrylgiessen.com is perfect for her to contribute their knowledge and experience in various creative topics.
Learn more about Charlene Lewis and about us.