How to Age Paper – Create Antique-Looking Paper
This post may contain affiliate links. We may earn a small commission from purchases made through them, at no additional cost to you.
Aging paper is a fascinating technique employed by artists, crafters, and restorers to give new documents, artworks, or props a vintage or antique appearance. This process, which can involve a variety of methods such as staining, baking, and tearing, adds a sense of history and character to the paper, making it resemble aged manuscripts, letters, or maps. Whether you’re looking to create an authentic-looking prop for a historical reenactment, add a rustic touch to a scrapbook, or restore an old document, understanding how to age paper effectively can enhance the aesthetic appeal and authenticity of your project.
Key Takeaways
- Tea and coffee are effective for creating an aged paper look.
- Proper preparation and drying of paper are essential for the best results.
- Different techniques offer various aesthetic effects to achieve an authentic vintage appearance.
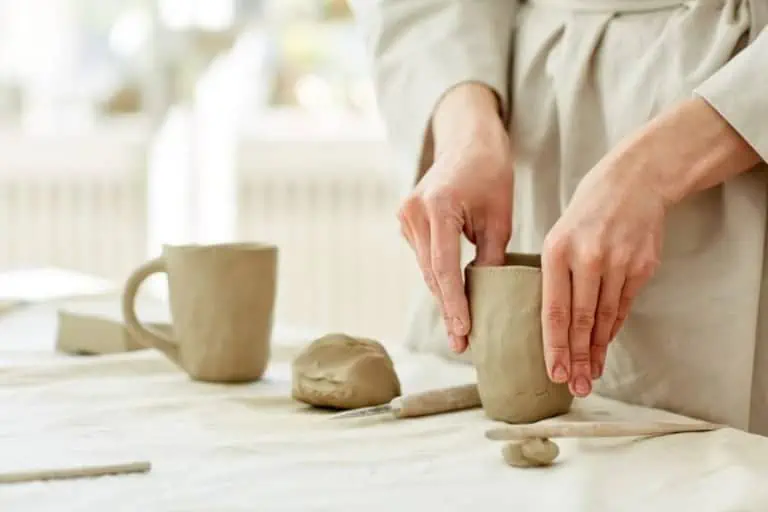
Preparing the Paper
Aging paper is a creative technique that can add a touch of vintage charm to any project, whether it’s for crafts, art, or historical recreations. Understanding how to make paper look old opens up a world of possibilities for DIY enthusiasts. To achieve an aged paper look, you can use simple household items like tea, coffee, vinegar, or even fire. These materials create unique effects that vary in texture and color, allowing for a wide range of antique appearances. One popular method is using tea or coffee, which stains the paper in a warm, brown hue, giving it that aged and weathered look.
Additionally, preparing your paper correctly before aging and ensuring it dries properly after treatment are crucial steps. This careful preparation not only enhances the final result but also helps in preserving the paper for prolonged use. Experimenting with different aging techniques can produce different effects. For instance, using fire edges the paper with a burnt look, evoking a sense of old-world manuscripts. Each technique offers unique aesthetics, providing myriad options to create authentic-looking vintage or antique paper that’s perfect for various applications.
Choosing the Right Paper
Selecting the correct paper is the first step toward achieving an authentic aged look. High-quality, thick paper is recommended as it can withstand the aging techniques applied. Standard printer paper, though readily available, may tear easily or not absorb stains properly. Consider types like parchment, cardstock, or even acid-free paper, which tend to produce a more realistic and durable aged effect. Avoid glossy papers, as these resist staining and heat applications.
For specific projects, experimenting with different kinds may yield varied and interesting outcomes, enhancing the final appearance.
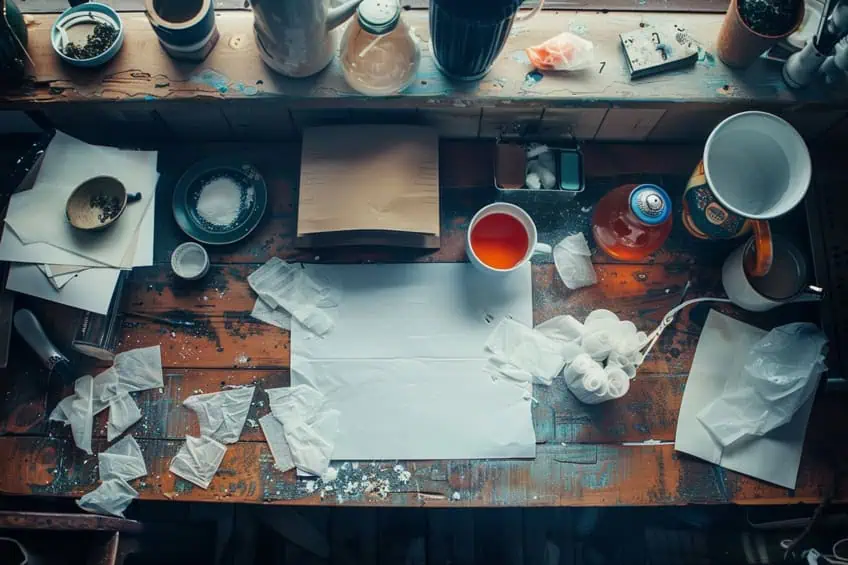
Cleaning and Preparing the Workspace
Clear and clean the workspace to keep the process organized and efficient. Lay down parchment paper or use a baking sheet to protect surfaces from any spillage of staining agents like tea or coffee. Gather all supplies, such as paper towels, tea bags, and a sponge brush. These items should be within easy reach to ensure a smooth workflow. Regular housecleaning can prevent unwanted substances from sticking to the paper or disrupting the staining process. Preparing the workspace properly will save time and lead to a more polished result.
Aging Techniques
Aging paper involves various methods to achieve a vintage, antique look. These techniques include tea staining, coffee staining, burning the edges, and incorporating creases and wrinkles for added character.
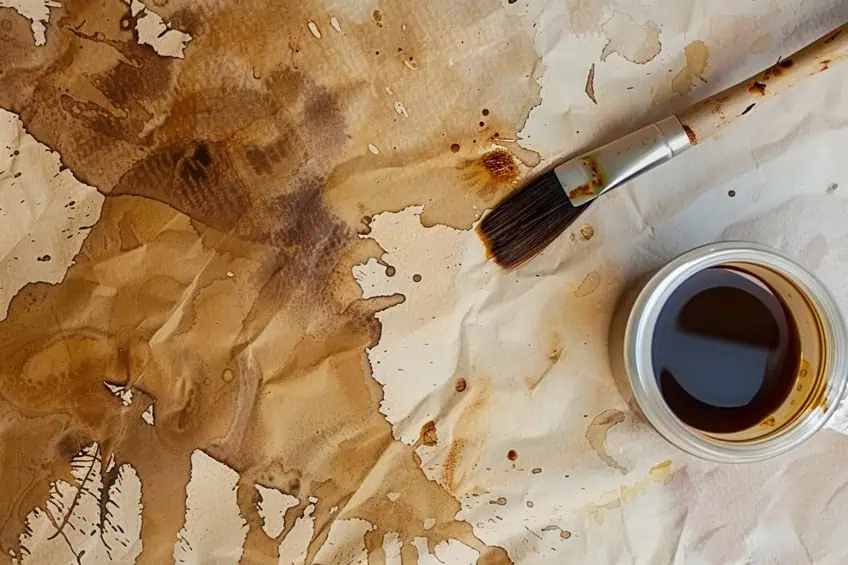
Tea Staining
Tea staining is one of the most effective ways to age paper. To start, prepare a strong cup of tea using about two tea bags in a cup of boiling water. Allow the tea to cool slightly before use. Place the paper flat on a tray and carefully apply the tea using a sponge brush or a clean cloth. For a deeper, richer color, let the paper soak longer in the tea. Once the paper is evenly stained, let it air dry or use a heat source like an oven set to a low temperature (200ºF or 90ºC) to speed up the process.
This method achieves a warm, natural look, perfect for historical documents or craft projects.
Coffee Staining
Coffee staining offers a darker, bolder tone compared to tea staining. Begin by brewing strong coffee, using approximately two teaspoons of coffee per cup of water. Let it cool slightly to prevent warping the paper too quickly. Place the paper on a baking sheet and apply coffee with a sponge brush or by submerging the paper entirely. Allow the coffee to penetrate the fibers for a few minutes before removing excess liquid. Baking the paper in a preheated oven at 200ºF (90ºC) can intensify the color and hasten drying. This method is ideal for creating a rugged, aged appearance.
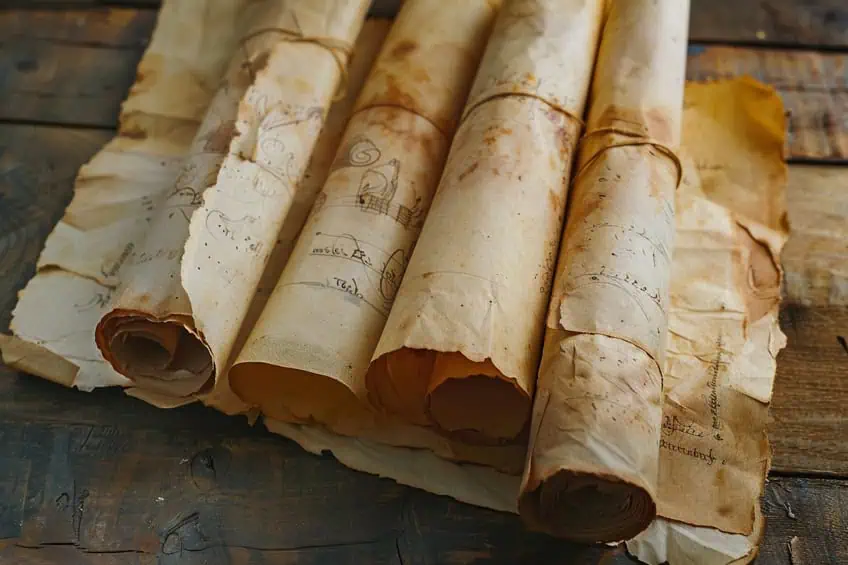
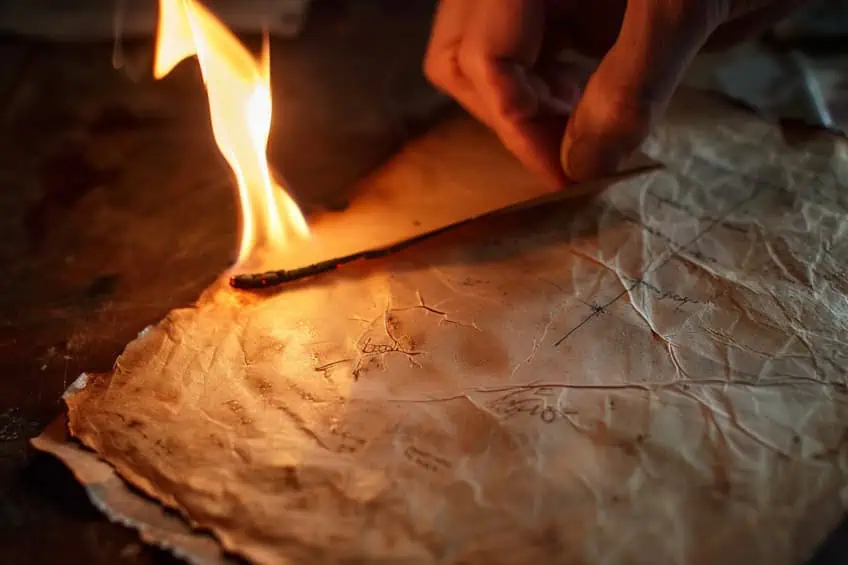
Burning the Edges
Burning the edges of paper introduces a historical, worn-out effect. Ensure safety by working in a well-ventilated area with water or a fire extinguisher nearby. Hold the paper over a sink and use a lighter or a candle to singe the edges gradually. Move the flame along the paper’s edge and blow out the flame quickly to avoid excessive burning. This process can be repeated for a more dramatic effect.
The resulting charred edges lend an authentic feel to the paper, perfect for ancient-looking manuscripts or pirate maps.
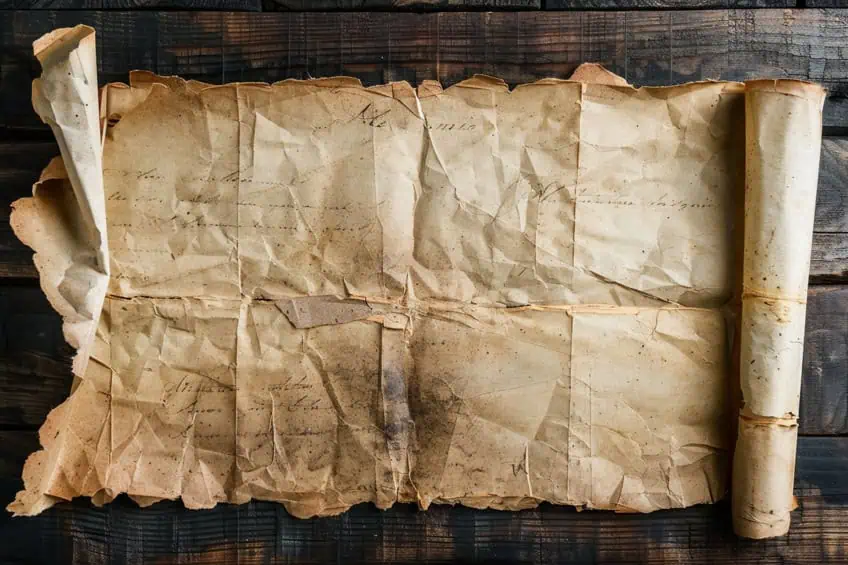
Incorporating Creases and Wrinkles
Adding creases and wrinkles to paper further enhances its aged appearance. Begin by crumpling the paper into a tight ball, then carefully unfold it to reveal natural creases. For more pronounced wrinkles, lay the paper flat and mist it lightly with water, then crumple and unfold it again.
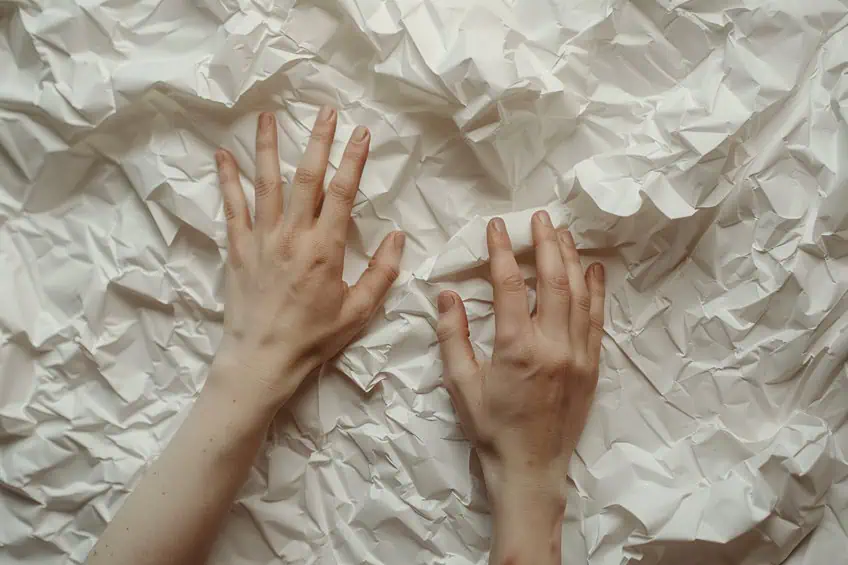
To set the wrinkles, either let the paper air dry or use a warm iron, placing a cloth between the iron and the paper to avoid scorching. This technique adds a tactile, antique feel, enhancing the realism of aged documents. By using these paper aging techniques, anyone can create authentic, vintage-style paper suitable for a variety of DIY projects and decorative purposes.
Drying and Final Touches
Drying and adding final touches to aged paper are essential to achieving an authentic, timeworn look. These steps ensure the paper doesn’t just look old, but also feels aged and interesting to the touch.
Drying Methods
- Air drying: Spread the stained paper flat on a clean, dry surface like a table covered with paper towels. This method can take several hours, depending on humidity and thickness of the paper.
- Oven drying: Preheat the oven to the lowest setting (around 200 degrees Fahrenheit). Place the paper onto a baking sheet, preferably lined with parchment paper. Bake for a few minutes, monitoring closely to prevent burning. Once the edges curl, remove it.
- Using a hair dryer or heat gun: Hold the dryer or heat gun 6-8 inches away from the paper. Move it evenly across the surface. This method dries the sheet within 10-15 minutes, making it brittle if overexposed to heat.
Adding Additional Details
- Burnt edges: Carefully singe the edges of the paper with a lighter or candle. This creates a charred, antique look. Burn small sections at a time to avoid significant damage.
- Inking edges: Using dark ink or shoe polish, gently rub the edges of the paper. This enhances its aged appearance, giving it depth and contrast.
- Adding textures and marks: Crumple the dried paper to create wrinkles. Optionally, use a sponge brush dipped in coffee to add more stains and patterns. For extra authenticity, consider stamping or handwriting elements like maps, photos, or handwritten letters.
- Other enhancements: Torn edges can make the paper look like it has been through extensive use. Adding subtle drops of dye or even rubbing a bit of ash can amplify the vintage feel, making the paper suitable for crafting projects like junk journals or greeting cards.
Preservation and Usage
Proper preservation and thoughtful usage of aged paper ensure it remains visually appealing and intact over time. This involves careful handling and creative ways of incorporating aged paper into various projects like junk journals, historical document replicas, and crafting endeavors.
Handling Aged Paper
Aged paper, whether given a vintage look through DIY methods or natural processes, needs gentle handling. When moving or displaying the paper, avoid direct sunlight to prevent fading. Store it in a cool, dry place to avoid moisture damage. Touch the paper minimally and always with clean hands to prevent oils from staining it. Using sandpaper can enhance its worn look, but be cautious, as excessive abrasion can damage the fibers.
Boiling water and other aging techniques weaken the paper, making it more susceptible to tearing. Use paper weights or protective sleeves for added safety.
Incorporating into Projects
Aged paper’s natural look can enhance the aesthetics of various projects. For crafting and junk journaling, aged sheets add an authentic, vintage feel. When used in a historical document replica, they impart a convincing antiquated appearance. Folded edges, tea stains, and crumpling effects can further dramatize the aged look.
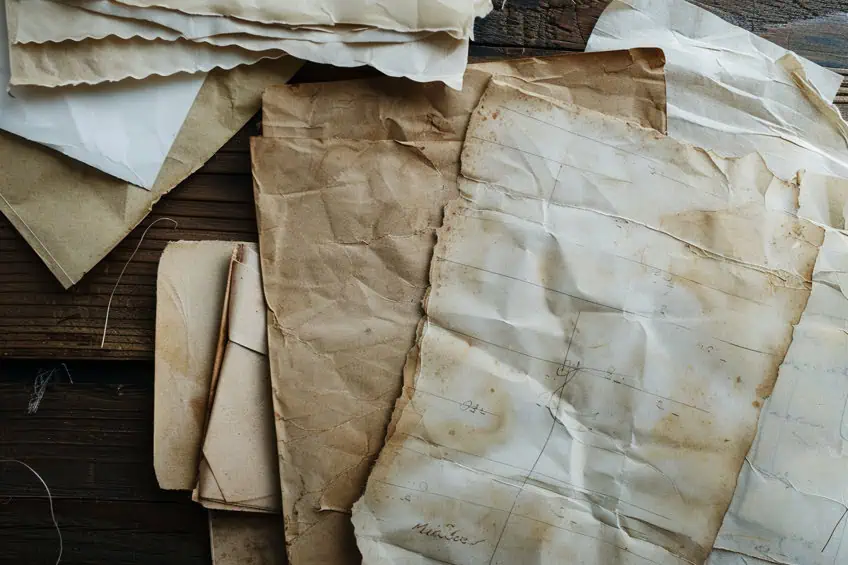
For a DIY greeting card or scrapbook project, aged paper serves as a unique background that stands out. Attach aged paper to frames or collages, ensuring they’re secured with acid-free adhesives to prevent future deterioration. Incorporating aged paper into various mediums not only adds artistic value but also keeps the paper’s historical essence alive.
Mastering the art of aging paper not only enhances the visual appeal of your creative projects but also imbues them with a sense of timelessness and authenticity. By experimenting with various techniques such as tea or coffee staining, controlled burning, and strategic tearing, you can achieve a range of effects that mimic the natural aging process. These methods allow you to transform ordinary paper into something that appears steeped in history, perfect for artistic endeavors, restoration projects, or creating vintage-inspired pieces. With practice and creativity, aging paper can become a valuable skill in your artistic toolkit, bridging the gap between the past and the present in your work.
Frequently Asked Questions
What Techniques Can Be Used to Give Paper an Aged Appearance Without Involving Any Liquids?
An effective method is to expose the paper to fumes, such as those from ammonia or vinegar. Additionally, letting the paper sit in direct sunlight for extended periods can also produce an aged effect.
Can You Age Paper That Already Has Ink on It?
Yes, pre-inked paper can be aged. One safe method is to bake it slowly at a low temperature, such as 200 degrees Fahrenheit. This process will darken the paper without smudging or removing the ink.
How Can You Safely Age Paper in an Oven Without Causing Damage to the Paper?
To avoid damage, set the oven to a low temperature, around 200 degrees Fahrenheit. Place the paper on a baking sheet and monitor it closely. Start with short intervals and check frequently to prevent burning.
What Methods Are Available for Giving Paper a Parchment-Like Appearance?
To achieve a parchment look, crumple the paper to create wrinkles, then flatten it out. Baking the crumpled paper can enhance this effect. Alternatively, using steel wool soaked in vinegar and applying the mixture to the paper can create a parchment-like texture.

In 2005, Charlene completed her wellness degrees in therapeutic aromatherapy and reflexology at the International School of Reflexology and Meridian Therapy. She worked for a company offering corporate wellness programs for several years before opening her own therapy practice. In 2015, she was asked by a digital marketer friend to join her company as a content creator, and it was here that she discovered her enthusiasm for writing. Since entering the world of content creation, she has gained a lot of experience over the years writing about various topics such as beauty, health, wellness, travel, crafting, and much more. Due to various circumstances, she had to give up her therapy practice and now works as a freelance writer. Since she is a very creative person and as a balance to writing likes to be active in various areas of art and crafts, the activity at acrylgiessen.com is perfect for her to contribute their knowledge and experience in various creative topics.
Learn more about Charlene Lewis and about us.