How to Make a Candle Wick – Learn About Various Candle Wicks
This post may contain affiliate links. We may earn a small commission from purchases made through them, at no additional cost to you.
You might not realize it, but a candle wick is an essential part of a candle. You might first consider the design, type of wax, or fragrance, but if you choose the wrong wick, the candle will not burn as it should. Of course, you can buy the basic materials to make candles, including a wick, but what if you wanted to make a homemade candle wick? How would you go about making candle wicks, and is it easy? In this article, we hope to point you in the right direction, so you can make the best DIY candle wick that will provide the most effective flame!
Types of Candle Wicks
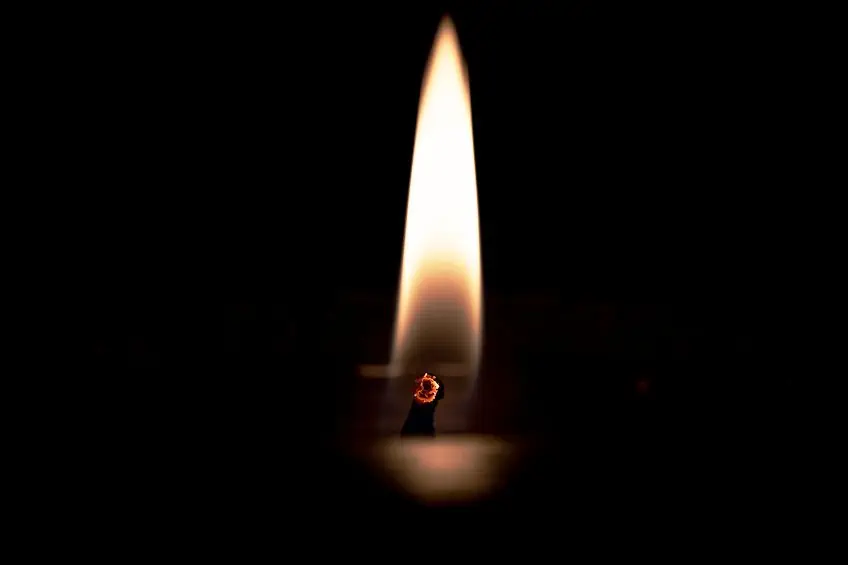
If you have no wick, you have no flame, so it forms a crucial part of a candle and is something you cannot do without. What is a candle wick? The candle wick is the fuel source for the flame and absorbs the liquid wax, which keeps the flame burning. The wick size will help to determine the burn quality. So, if you get the size wrong, for example, if you use a wick that is too thick, it will supply too much wax and will then produce more soot than it should.
If the wick is too thin, there will not be enough wax or fuel, and the flame will burn out.
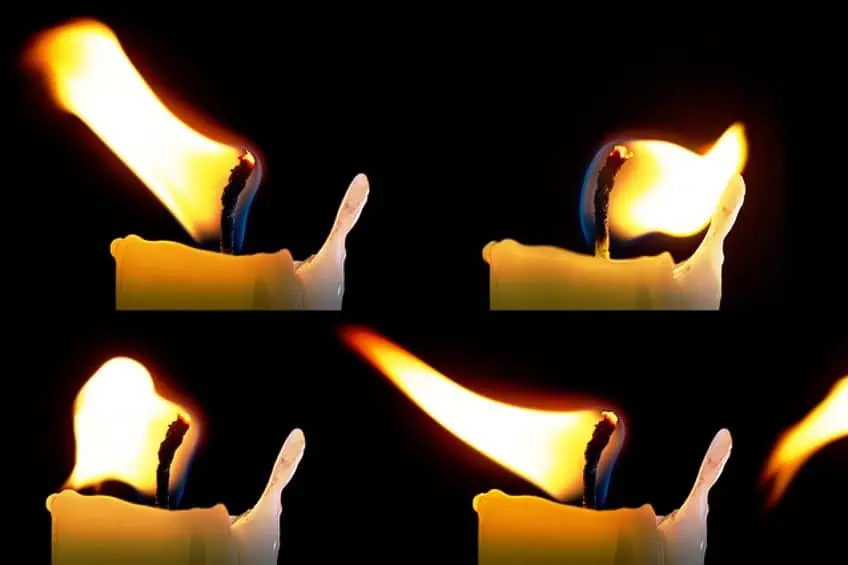
Other factors that also influence the burn quality include the wick’s condition and length. All of these things together determine how well the candle burns and how the fragrance is distributed. There are various candle wicks available, and each can have differing flame consistencies and burn quality. What can you use as a candle wick? Let us see what types of candle wicks there are.
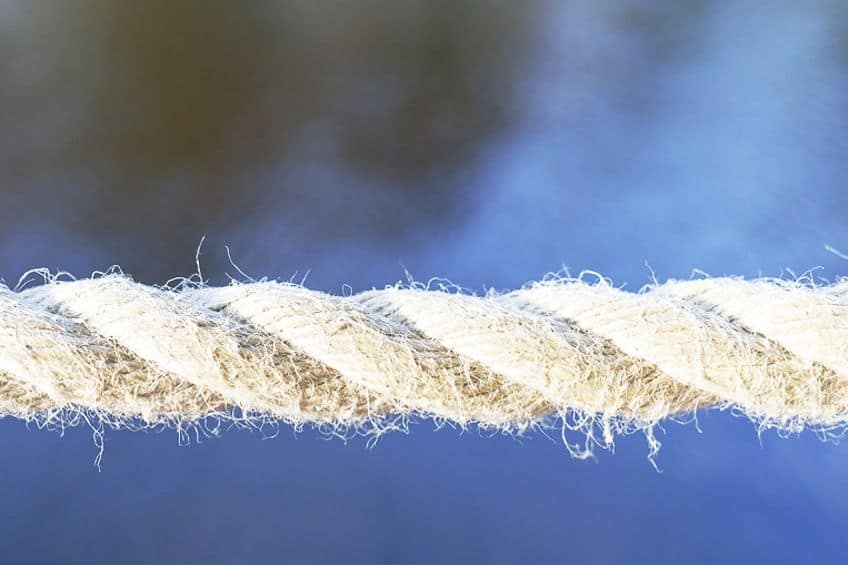
Cotton Wicks
You can get two varieties of cotton wicks, which are made from fibers that are either knitted, plaited, or braided. The fibers should be undyed, and one hundred percent cotton string or yarn. This is done to help encourage the flame to burn more slowly and consistently. The knitted and braided variety of wicks is better quality than the twisted wicks, which have a looser make-up and the fuel reaches the flame quicker. However, twisted wicks are perfect for birthday candles, which do not burn for long periods. Kitted or flat-plaited wicks are made from bundles of fiber and provide a more consistent burn and are the more common form of candle wicks.
Then, you have the square braided wicks. These are more durable and are preferred when using them for beeswax candles.
Hemp Wicks
This is a more eco-friendly option made from hemp fibers, which are then coated with beeswax. Hemp wicks burn slower and at a lower temperature and produce little to no smoke when burning. So, you will get a long-lasting burning candle, longer than both cotton and wood wicks. It is more eco-friendly because of its sustainability, as you can produce more wicks from fewer acres of hemp than you can with cotton.
You do pay more upfront for hemp wicks; however, you save in more ways than one over the long run.
Wooden Wicks
Wooden wicks are popular because they have a more aesthetic appeal, and also make a soft crackling sound when burning. There are different varieties available, from single-ply to layered and decoratively shaped. The wood wicks can be completely made of wood, or they can be semi-wood with a combination of other fibrous materials. The wood wicks also help to throw scent better and burn evenly, which means they will not mushroom but provides an efficient burn quality.
These wicks also tend to burn longer than cotton wicks. However, they cost more than cotton wicks.

Metal Core Wicks
These types of wicks are usually knitted or braided fibers that also contain a metal core, which helps keep the wick rigid while burning. Different core materials are used, including zinc or tin core. These wicks typically produce a cool flame and can produce an increased burn time with low melting point waxes, such as soy, gels, and coconut. The metal core also conducts heat down, which helps to melt the wax more easily. The rigid form of the wick also makes it simpler to form the candle.
Various common applications include tea lights, containers, jar candles, votives, or pillar candles.
Pre-Tabbed Wicks
These are those wicks that have a metal tab at the end, which makes it easier to make a candle by securing the wick to the bottom of containers. The wick is flat braided and also contains paper filaments, and the entire pre-tab wick comes in a variety of sizes. The tab itself is usually made from steel that is tin coated, which helps resist corrosion. The tab has a long section that helps to snuff the flame before it gets to the bottom of the container. Other options besides the pre-tab include wick stickers, which are heat-resistant, and you can secure them with the wick to the bottom of a candle container. This is a cheap and simple option when producing your own candles.
You can also get other specialty wicks, which are specially made to meet certain applications, such as oil lamps.

How to Make a Candle Wick
To make a simple candle wick, you can use cotton twine, which you can use on its own, or soaked in materials like salt, or oil, or you can make a borax solution. The borax solution is one of the more standard methods. When deciding on a candle wick, you should aim to achieve the following.
- No blooming
- Consistent temperature
- Even wax pool and no dripping
- Steady flame size
- Little to no smoke or soot
- Even burn, with no flickering
Choosing the correct wick is important and there are a few factors to consider. You need to consider things like the type of wax you are using, as there are harder and softer varieties that will affect how the wick burns. Other factors include:

- The size of your candle container or jar, which includes the width, depth, thickness, and volume.
- The type of container or jar you will be using.
- What type of fragrance will be in use, and how much of it you are going to add.
- Are you going to use additives or dyes?
Once you know what you want to use in the making of your candle, you can then decide on the wick size. The diameter of the container plays a major role when choosing the wick size. In general, thinner wicks can be used for smaller containers, while larger wicks will work for containers with bigger diameters. However, you will have to reconsider if you are going to do a multiple-wick candle. In this case, smaller wicks might work better.
You might need to try a few wicks out to see what works best, which means candle-making can be a bit of trial and error as you learn.
Materials Needed to Make a Candle Wick
When making a homemade candle wick, you need a few materials besides cotton twine. Some of the common materials you will need include scissors, pliers, tongs, or something that can dip and pull the wick from the wax, candle wax, and a pot or wax melter. If you want, you can also add a wick sustainer to create your own tabbed wicks.
DIY Candle Wick
The first step is to choose your container or jar. Next, you should determine how long and how thick you want the wick to be. Smaller candles usually only need to have a single wick, while medium-size candles will need to have three braided cotton strands. You can also use string instead of braiding the cotton yourself. If you want to be even more creative, you can try a cotton ball that you have twisted or pulled out.
You can also try waxed floss, with a few strands braided together.

If you are going to braid the wick, cut three pieces that are eight inches longer than the height of the jar or container. You can then tie a knot with all three strings, and braid to form the wick. Before the wick can be dipped in the wax, you should first soak it in a borax solution. This is optional but produces a flame that burns longer and brighter. It also helps to reduce the amount of smoke or ash that is produced.
Soaking Wick in Borax Solution
Take one cup or 250 ml of water and heat this in a pan until it begins to simmer. Turn off the heat, and then add one tablespoon or 19g of salt and three tablespoons or 43 g of borax to the water. Mix until it appears fully dissolved. You can also just use salt and no borax, as this white substance can be an irritant when you inhale it, and it can also irritate the skin. Borax is also toxic when ingested, so store it safely away from animals and kids.
The salt will slow down the time it takes for the wax to melt, providing a longer and more cost-effective burn.
After you have cut your twine, you can place it in your solution, and leave this to soak for 24 hours. If you are not sure how tall your candle is going to be, you can take a foot of the twine, soak it, and then trim it later. Once the cotton twine has soaked, you can remove it and hang it to dry for at least two to three days. You can hang it over a hanger or use a clothespin to hang it up in a dry and warm place. You can place some aluminum foil underneath to gather any excess liquid that trickles off. Sometimes, crystals can form, but this is easy to remove, by wiping them off.
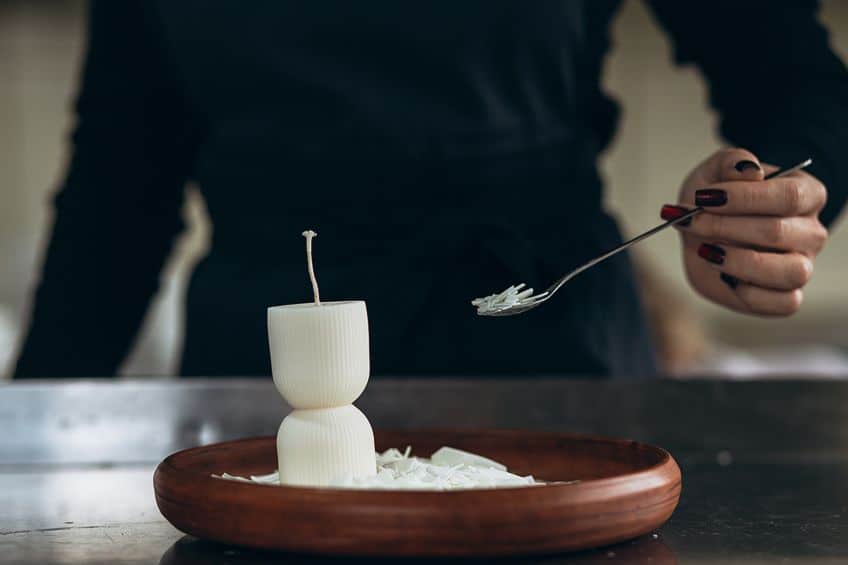
Melting the Wax
You can use a wax melter or double boiler to melt the wax. Add the wax into the pan and slowly melt it as you stir. You will need enough wax to cover the braided cotton. Place the cotton into the melted wax and completely immerse it. You can use tongs to do this, so you will not burn yourself. You can leave the strips to soak for a few minutes.
Drying the Wicks
You can then remove the wicks with the tongs and hang them out to dry. As the wick cools, try to straighten them before they are completely dry. Once dry, you can then repeat the process to create more layers so that the wick is thicker.

Cut the Wick
Once dry, you can then cut the wick to the preferred length. You can also then add a wick sustainer, which is optional. Pass the wick through the hole and secure it with pliers. You can then store the wick in a cool and dry place until you want to use them. When you are ready, simply fasten the wick to the base of your jar or container.
DIY Wooden Wicks
Items you will need for this include some Balsa sticks, scissors, olive oil, pliers, and a wick tab. The step is to cut the wood sticks, using scissors. This should be done so that the wood sticks are one inch taller than your jar.

Soak the Wood Sticks
Use a shallow dish and pour the olive into it, enough so that it covers the sticks. You can soak the wooden sticks for about 25 minutes, up to an hour. The olive oil helps the wooden sticks to burn more evenly. The stick will also burn cleanly, and there is less soot.
Drain Excess Oil
Remove the sticks from the oil and place them onto some paper towels, which helps to absorb any excess oil. Just leave them for a while, do not dab, or rub them. They are ready to use when they still feel oily and damp, but your fingers should not come away excessively oily when you touch them. You can use a tab for the wooden wick to keep it standing upright. Place this into the jar before you pour the wax to make the candle.
You can also soak cotton wicks in oil and follow the same process as with the wooden wicks.

Tips for Making a Perfect Candle Wick
Traditional candle wicks are always best to use when making candles, however, there are also other options you can try. What are some candle wick substitutes? You can use any type of paper like twisted paper towels or rolled-up newspaper as a wick; however, you will need to first dip this into a borax solution and soak in the melted wax before using. What about mop strands, these are already braided cotton strands you can use. What are some candle wick substitutes when it comes to wooden wicks? You can try chopsticks, popsicle sticks, or wooden meat skewers, which are best for pillar candles. Let us now consider a few helpful tips when making candle wicks.

- If you find that your sting is too thin, simply braid a few strands together to make it thicker.
- When it comes to smaller candles, use thin wicks, while larger candles should have thicker wicks.
- Making candles does require certain experimentation, so have a bit of patience and do not rush the process.
- Candles like tea lights, thin pillar candles, or taper candles, only require single-stranded wicks.
- Always use good quality materials, so you can produce the best flame.
- Remember to measure the wick correctly and to get the proper size.
- You should always trim the wick before you light it. Trim to a quarter inch before lighting, to help produce a longer and brighter burn.
- Double-wax the candle so it provides a more even burn.
What Are Some Common Candle Wick Problems?
If this is your first candle-making experience, then you will need to experiment with the process. You will always have challenges or problems to overcome, many of them easy to fix. Below, you will find more common problems when making candle wicks.
Tunneling
If you use the wrong type or size of the wick, you run the risk of what is known as tunneling. A too-small wick does not burn hot enough to melt the whole surface. Instead, a small section of the candle liquefies, causing a tunnel to run down through the wax, with solid surrounding wax. This makes it hard to light the candle and the flame will eventually burn out. If the wick is too thick, it can produce more smoke and melt the wax faster. To make sure of an even burn, consider the following recommendations.

- Make sure the candle remains burning for at least two hours so that the entire surface can melt.
- You can use a larger wick or consider using a softer wax.
- Keep the candle burning on an even surface and do not leave it in drafty areas.
- It is crucial to trim the wick before you light the candle every time.
- If you are not using the candle, consider covering it, and make sure to cool the candle properly before moving or lighting it up again.
- Do not use water to put a candle out, rather consider a candle snuffer.
- If the tunneling effect is not too bad, you can try using a candle topper to help even the wax out again.
- If a candle is not burning evenly, it could simply be that the wick is not centered properly.
Mushrooming
One of the more common problems with cotton wicks is mushrooming. This is where the flame begins to consume more wax than it burns. A “mushroom” shape is then produced at the end of the wick after it has burned. Simply cut the top of the wick off before burning again or use a smaller wick.
Wrong Type of Wick for the Wax
There are quite a few different types of waxes including beeswax, coconut wax, soy wax, and paraffin wax. Some of these waxes are harder than others, for example, beeswax is quite a hard wax. So, if you use the wrong wick for this type of hard wax, you will get a small flame that can burn out. As we mentioned, a square braided candle wick is best suited for this.

Excessive Use of Additives
To make your candle look pretty and smell nice, you need to add fragrance and dyes or other additives. If you have too much of a heavy hand, this could cause problems, such as producing excessive smoke and soot. Simply leave these out or use less to prevent this problem.
We hope that you have gained some insight into how to make a candle wick, and what problems you might run into. Although you can purchase candle wicks for your candle-making project, it is more satisfying to know that you have made your entire candle without taking any shortcuts. You also have more control over the quality of the candle wicks when making them yourself, which will help to ensure the best candle burn.
Frequently Asked Questions
What Is a Candle Wick?
The candle wick is what holds the flame in a candle and is usually made from braided cotton. The wick conveys the fuel to the flame, which is known as wicking. When the fuel, which is most often candle wax, reaches the flame, it ignites. The type of candle wick is what influences how the candle burns.
What Can You Use as a Candle Wick?
When making a homemade candle wick, you can use some twine or braided cotton string. You can also use other materials, such as embroidery floss, cotton balls, cotton fabric strips, twisted paper towels, or rolled-up newspaper, among other things.
Can You Make a Candle Wick Without Using Wax?
You can use vegetable oils, such as olive oil, on your homemade candle wick instead of wax. However, it is not an ideal option, as it takes longer to ignite and burns the wick up faster.
How Long Will a Candle Wick Last?
Depending on the materials used, a candle wick in a smaller container can burn for about seven to nine hours per ounce of wax. Larger candles that contain about 12 ounces of wax can burn for about five to seven hours, which works out to about 60 to 80 hours of burn time. However, it is best to only allow a candle to burn for four hours and not more, to prevent any damage.

In 2005, Charlene completed her wellness degrees in therapeutic aromatherapy and reflexology at the International School of Reflexology and Meridian Therapy. She worked for a company offering corporate wellness programs for several years before opening her own therapy practice. In 2015, she was asked by a digital marketer friend to join her company as a content creator, and it was here that she discovered her enthusiasm for writing. Since entering the world of content creation, she has gained a lot of experience over the years writing about various topics such as beauty, health, wellness, travel, crafting, and much more. Due to various circumstances, she had to give up her therapy practice and now works as a freelance writer. Since she is a very creative person and as a balance to writing likes to be active in various areas of art and crafts, the activity at acrylgiessen.com is perfect for her to contribute their knowledge and experience in various creative topics.
Learn more about Charlene Lewis and about us.