How to Paint a Fence with a Sprayer – Complete Guide
This post may contain affiliate links. We may earn a small commission from purchases made through them, at no additional cost to you.
One of the best and quickest ways to paint your fence is to use a fence paint sprayer. It’s a very efficient way for painting fence, but not easy to learn how to do it the right way. This is especially true if it the first time you are doing this, so we have come up with a basic guide on how to paint a fence with a sprayer
Different Options for a Fence Paint Sprayer
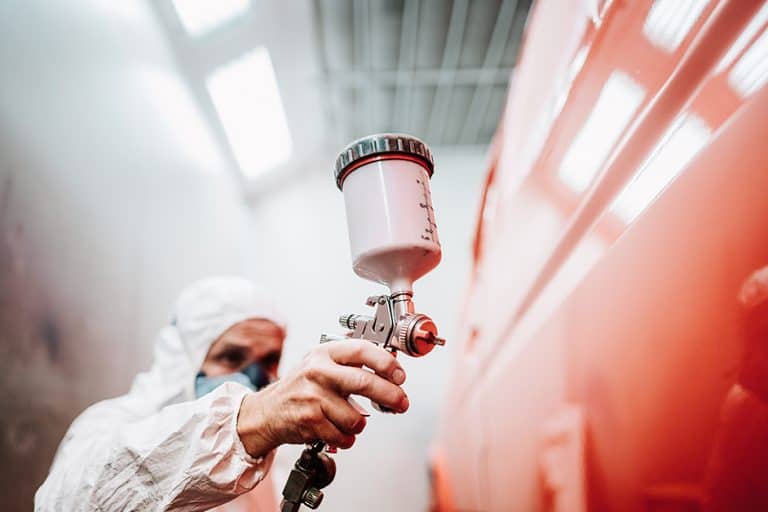
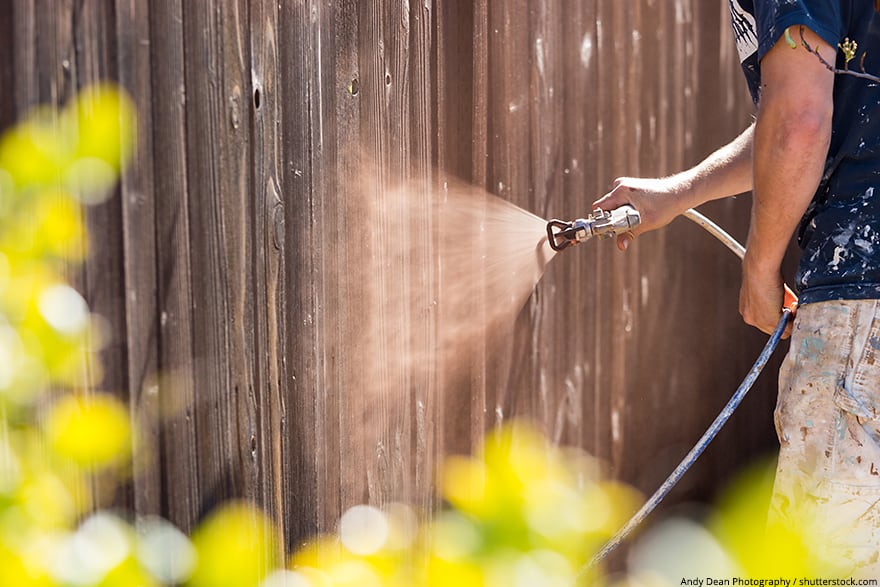
A fence paint sprayer can come in two forms, your airless stain sprayer and the HVLP sprayer. The airless variety does not use compressed air and is the quickest way to apply your paint. They do, unfortunately, have significant overspray.
Airless Stain Sprayer
These are a great option when it comes to bigger projects outside because you can get things done fairly quickly. You can also select different options including a portable or handheld option. There are also sprayers that are quite heavy, so they come with a stand.
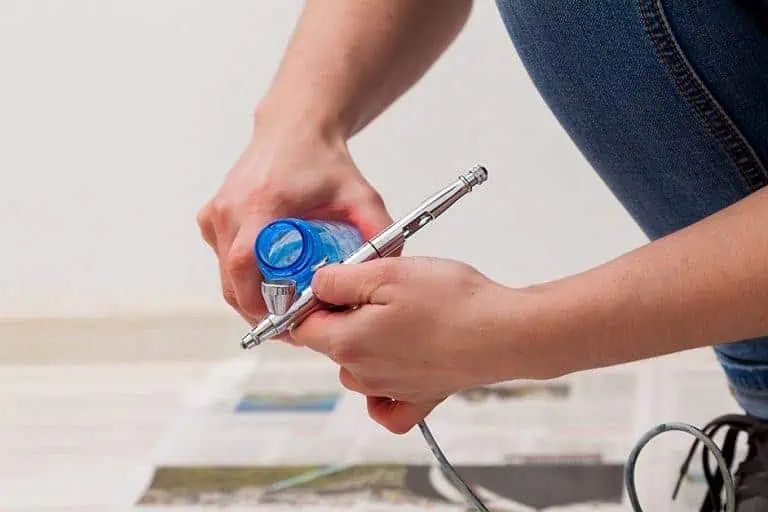
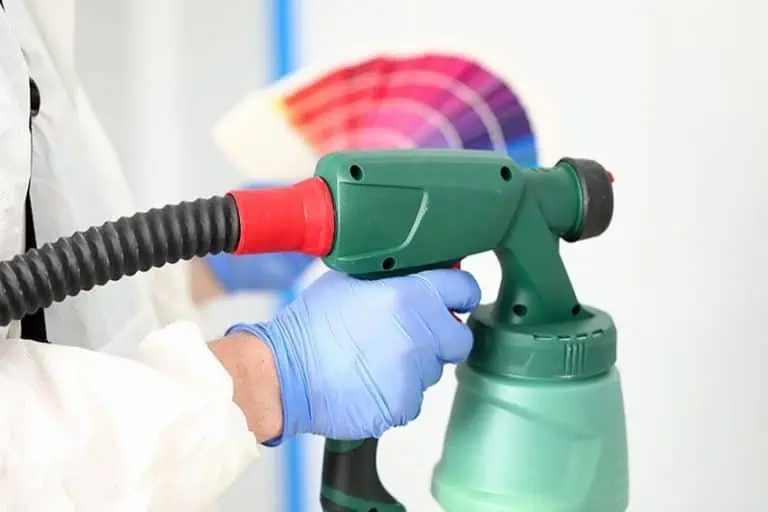
High Volume Low Pressure (HVLP) Stain Sprayer
This system uses compressed air, which then sprays the paint onto the surface. This type of fence stain sprayer is slower than your airless option, but they do offer reduced overspray and achieve a more thorough finish. The HVLP system is best used for smaller projects around the house that need more of detailed finish.
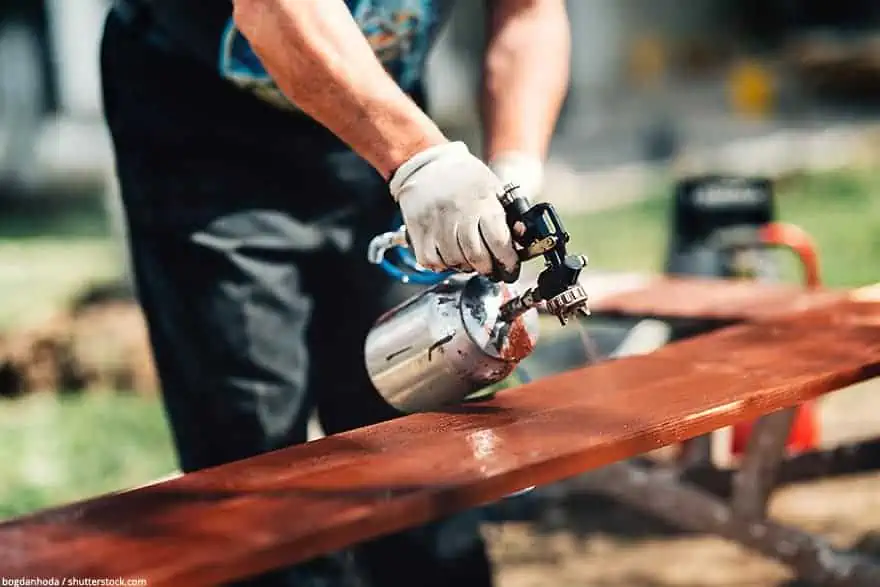
Pump Stain Sprayer
You can also try staining your fence with a pump sprayer. This is also a quick method of applying paint, but you will also need to back-brush the fence. When using a pump spray, the paint does not sink into the wood effectively. So, you need to use a brush to help things along to achieve a better finish.
Choosing the Optimal Stain Sprayer
Each stain sprayer has many of its own features, so what should you consider when choosing a fence paint sprayer?
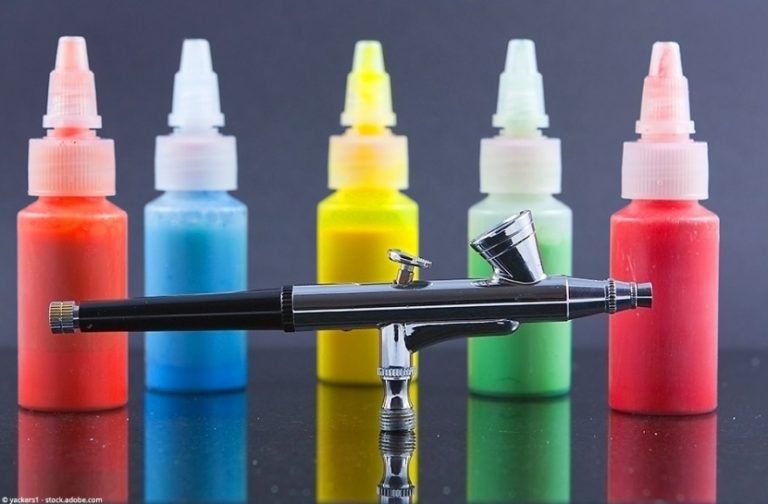
Stain Sprayer Compatibility
When painting, you want to be able to do it with ease and without problems. Many of the spray systems provide smaller nozzles, which are great for a finer spray finish. Others come with a variety of nozzles, so you can choose what you need for thin or thicker liquids.
Stain Sprayer Appearance
You want to look for a sprayer that sprays the best finish. Many sellers will claim a great finish, but it is always best to find out about a particular sprayer and how well it performs. You should be looking for a sprayer that can give you an even and smooth finish. Your fence should not have a rough look to it after you are done painting.
Stain Sprayer Capacity
The preferred size of a paint cup is up to you. Bigger paint cups carry more paint, but they are then heavier. While smaller cups hold less paint, but they are easier to use. Some of the smaller cups can hold 20 ounces, and the bigger cups can go up to 1.5 quarts of liquid.
Tutorial for Painting a Fence with a Sprayer
Discover the essentials on how to use a fence paint sprayer:
Inspect the Wood
Inspect the wood you are going to stain, search for broken places, screws, nails, or staples. Everything should be taken out or repaired, leaving a smooth surface. Now is also a good time to ready your equipment. Decide on what you need, type of sprayer and your stain.
Preparing the Wood Surface
Make sure the wood surface is clean, using a cleaning agent like a deck cleaner. This is to guarantee a great finish. When cleaning wear protective gear like gloves and eye protection. If you find a persistent dirty spot, try using a brush to get rid of it. Wash and rinse, then allow to completely dry before you begin painting.
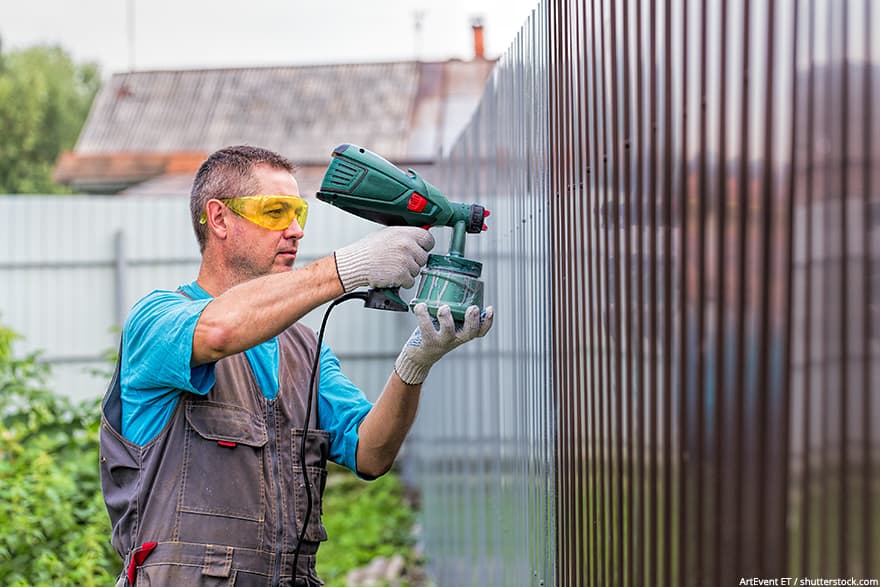
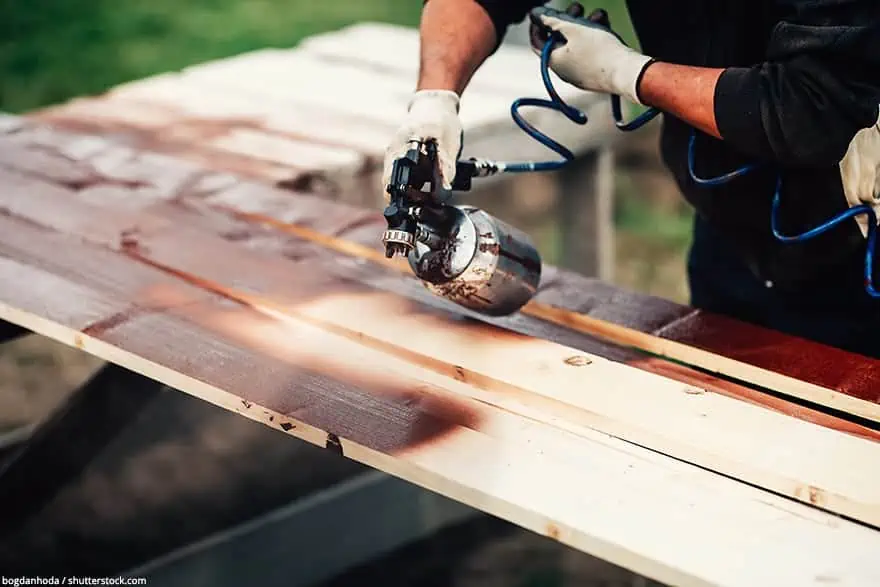
Staining the Fence
Once the preparation is done, you are ready to begin. You can stain your fence using a sprayer, but you can also use a brush or roller. The stain sprayer is the more obvious choice, as it is faster and will give you a great finish.
When spraying, move continuously, so that the paint is evenly applied. If you are staining a fence with a pump sprayer, you might have to also use a brush to get to the hard corners and to even the paint out more.
Allow Drying
Once the fence is finished, leave it to dry thoroughly. Leave the fence for about 24 hours before touching it. However, some stains take 48 hours to dry completely, so be cautious. Humidity is a huge factor when it comes to the drying time. So, to reduce the drying time, try to apply the stain in times of low humidity.
Fence Maintenance
Once dry, you admire your complete handiwork. To maintain the appearance of the fence, clean the fence each year. If you have a large fence area, maybe think about getting a professional company to help maintain things.
Fence Stain Sprayer Safety Guidelines
Painting a fence is done outside but you still have to be aware of safety precautions. There are paint fumes to be aware of, which could affect the lungs, so wearing a respirator mask is important. Another important safety recommendation is wearing a pair of vinyl or latex gloves. One of the things to be aware of when using a stain sprayer is static electricity. Also, be cautious of electrical shorts and any fire hazards. You will most probably have to use an extension cord, so check this out before using and make sure it is grounded while in use.
Think of the placement of your ladder if you have to use one, it tends to sink into softer ground. Ensure it is stable before you climb up. You can place a piece of plywood underneath to prevent this and avoid a potentially nasty fall.
Frequently Asked Questions
What Temperature is best for Painting a Fence?
The best temperature is 70°F (21°C), but you can still consider anything from 50°F to 90°F. The drying time can differ for each stain product, so the best thing is to read the label first. Avoid staining onto already hot surfaces and high humidity may cause problems. Any kind of moisture in the air will change the drying time of the stain.
How much Paint is needed for Application?
Smaller fence jobs reaching 175 square feet requires about one gallon of paint in all transparencies. Bigger jobs reaching to 550 square feet requires 2 gallons of paint. Anything larger might need up to 3 or 4 gallons to finish the job.
Is it possible to use an Airless Sprayer for Fences?
When using smaller tips, you can use thinner liquids such as a stain, varnish, or lacquer. Also, you can try thicker solutions like latex house paint. You might need a bit of practice, but you should be able to apply a good finish to surfaces like cabinets, doors, and other woodwork.
How do you go about Staining a Fence with a Pump Sprayer?
Open your pump spray device and pour in your wood stain or mixture. Close the lid counterclockwise, this will form a seal, which then allows you to create the vacuum needed to spray.
Once you have Pressure washed the Fence, how long should you wait to Paint?
Everything hangs on the weather, if it is dry, sunny, and warm staining can commence within 24 hours. Rather wait for 48 hours after washing, then you can begin staining.
Should you Sand the Fence before you Paint?
Yes, sanding helps to remove any loose pieces of wood and old paint and provides a smooth surface for the new coat of paint. Sanding previously stained wood can help to roughen the surface, which will then assist the new coat of paint to cling to the surface.
How many Lyers of Stain should you Use?
The type of stain or paint used is what will determine the number of coats. Most require a single coat, which can last quite a long time. However, lighter more transparent stains will require at least two coats.
Does a Stain last a long Time?
Many of the stains have a guarantee that goes up to 5 years, others last 2 to 3 years. The time depends on the application and which product or brand you used.
Can you Paint Wood that has already been Stained?
If the stain has a topcoat, you cannot apply more stain. You will have to strip and remove the topcoat and stain layer. Next, you will have to prepare the surface for the new stain. Wash, sand it down and then apply the new coat.

In 2005, Charlene completed her wellness degrees in therapeutic aromatherapy and reflexology at the International School of Reflexology and Meridian Therapy. She worked for a company offering corporate wellness programs for several years before opening her own therapy practice. In 2015, she was asked by a digital marketer friend to join her company as a content creator, and it was here that she discovered her enthusiasm for writing. Since entering the world of content creation, she has gained a lot of experience over the years writing about various topics such as beauty, health, wellness, travel, crafting, and much more. Due to various circumstances, she had to give up her therapy practice and now works as a freelance writer. Since she is a very creative person and as a balance to writing likes to be active in various areas of art and crafts, the activity at acrylgiessen.com is perfect for her to contribute their knowledge and experience in various creative topics.
Learn more about Charlene Lewis and about us.