How to Airbrush Models – Helpful Guide with Tutorial
This post may contain affiliate links. We may earn a small commission from purchases made through them, at no additional cost to you.
Hobby model makers usually want to give their miniatures a realistic look. With an airbrush pistol, designing is particularly easy. This technique can be learned quickly, and you can create beautiful works of art after only a few exercises. In this way, a large number of model dioramas, figures, or miniature buildings can be enhanced in a short time. In this article, you will get an overview of what is needed for airbrushing in model making, and you will learn which techniques you can use to achieve the best results.
Airbrush for model making
In order for your portrait to look as realistic as possible, you need a color scheme in model making that looks as realistic as possible. With the airbrush technique, you can achieve amazing effects. Even if you don’t succeed in creating perfect works of art right away, you will quickly learn the techniques after a few exercises on paper.
The many advantages of the airbrush technique make it ideal for use in model making:
Pros
- Uniform paint application is possible
- No brush stripes visible
- Finest color gradients possible
- Small parts, corners, and edges are easy to paint
- Very thin paint layers are possible
- Unlimited possibilities of color gradients and design effects
- High strength of the paint application
- Very large selection of basic and special effect colors available
- No irritating odors if water-based paint is used
Cons
- Acquisition costs
- After each use a careful and time-consuming cleaning of the airbrush gun is necessary
- Due to the partially aggressive color for primers, the surface of plastic models can be attacked and thus make them unusable (testing the primer beforehand is absolutely necessary!)
- Primers have a filling effect, which is why under certain circumstances very fine details of the model could disappear
The appliances required for airbrushing in model making
To get started with airbrushing, you will need some tools, such as the airbrush gun, the compressor or other source of compressed air, and the paints.
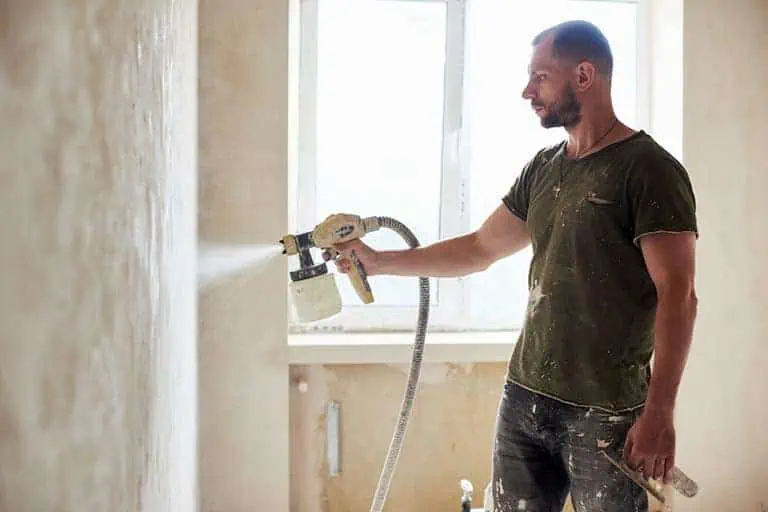
Compressor or other compressed air sources
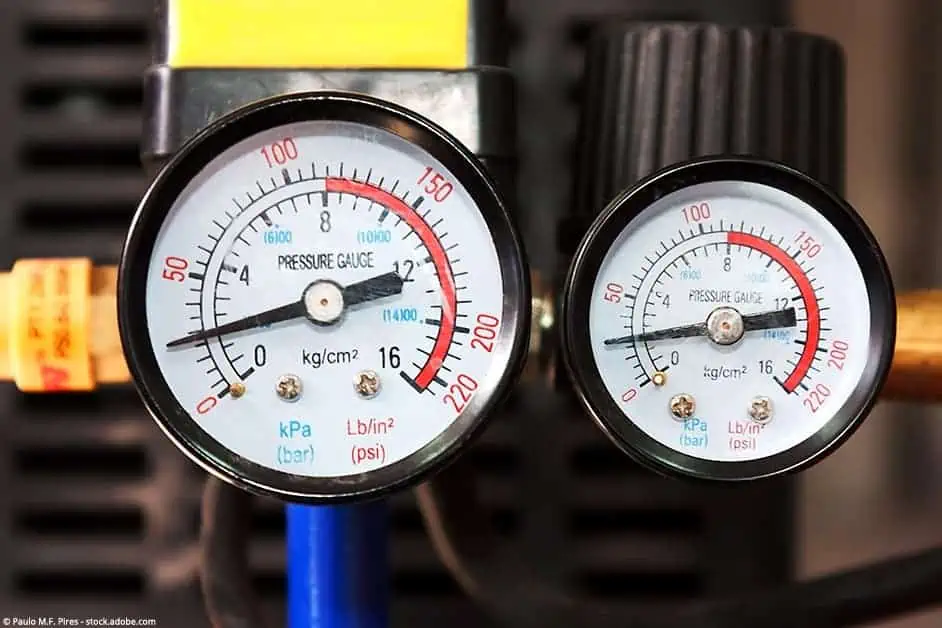
Usually, an airbrush gun is operated with a compressor. Special airbrush compressors are available for this purpose, which are equipped with an air pressure regulator, pressure gauge, water separator, and sometimes also with an air tank. The advantage of these airbrush compressors is that they are particularly quiet in operation and are often handy and relatively light.
Some model builders use a compressed air bottle to operate their airbrush guns. This is possible, but also less economical, as these bottles are quite expensive and empty quickly. The cost of buying a compressor is often recovered already after the 3rd model you have worked on.
Important: CO2 cylinders are not an option for the operation of an airbrush gun. Carbon dioxide displaces the oxygen in the lungs. Because it is heavier than air, it collects near the ground and poses a real danger to children, pets and the artist himself/herself. Ventilation of the workshop is of limited help. Therefore it is better to steer clear of CO2 cylinders.
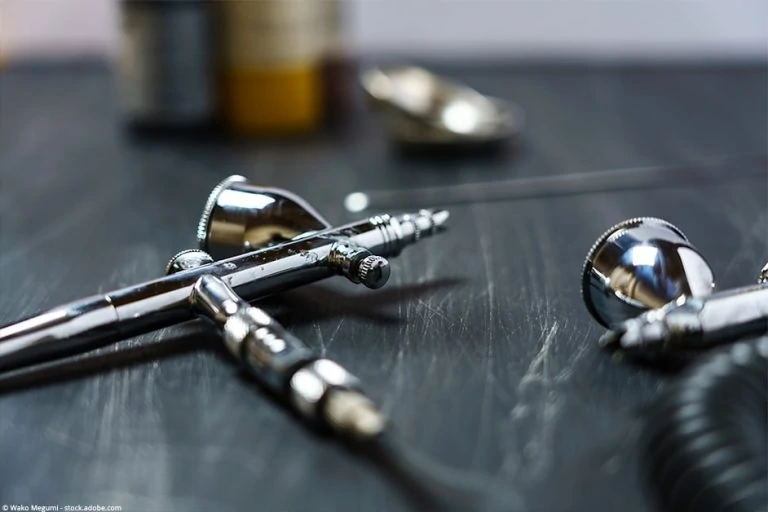
Which airbrush gun is suitable for model making?
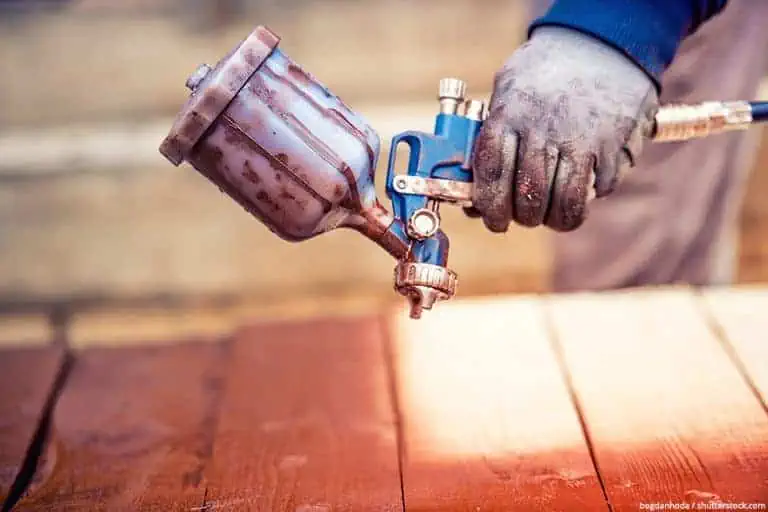
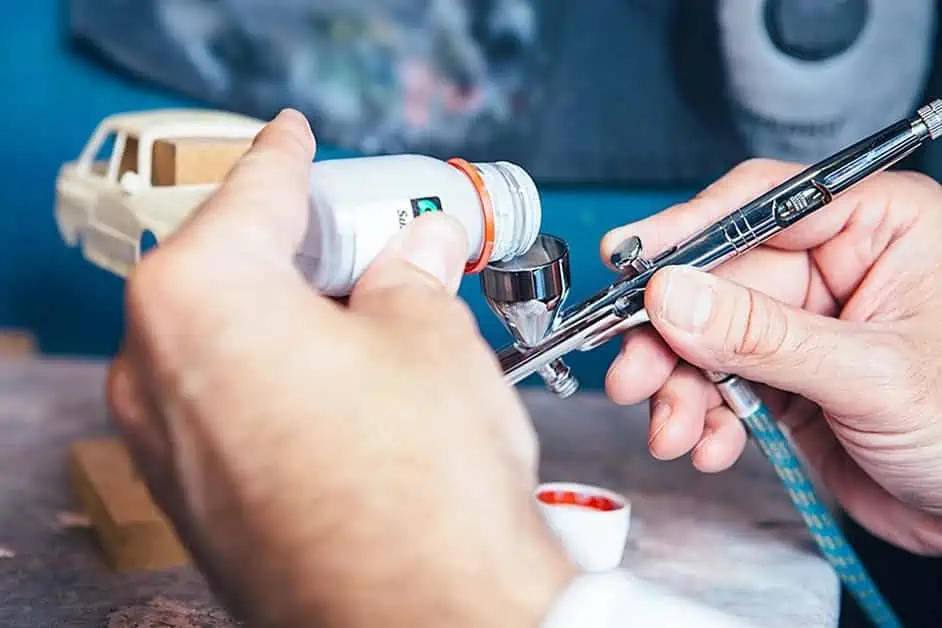
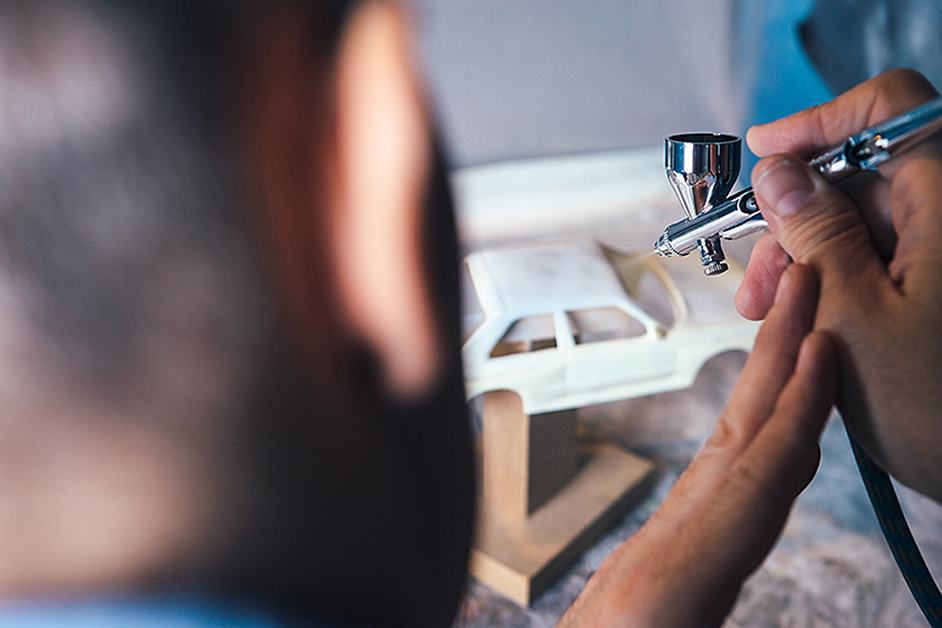
Fundamentally, all airbrush guns are equal. A stream of air passes through the paint inside the gun, and the atomized paint then passes through the nozzle to the outside. The guns differ in the placement of the paint cup and the possibilities of regulating the air and paint volume.
The paint cup can be placed either on top or underneath the gun. If the paint cup sits on the gun, it is a so-called flow cup system. Thanks to gravity, the paint flows into the air stream and is mixed there. The flow cup system is often combined with the Double Action System described below and is therefore a real all-round tool. If the paint cup is located underneath the gun, this is referred to as a suction cup system. In this process, the paint is sucked out of the catch cup by the negative pressure generated by the airflow. Due to the larger paint cup, this system is particularly suitable for primers.

In both double action and single action, the airflow is regulated by a lever, operated with the finger. The lever in the Double Action version has a two-fold function (hence Double Action): Pressing the lever adjusts the air volume and pulling it adjusts the amount of paint.
With the Single Action, the lever only serves to regulate the airflow. The amount of ink is fixed by means of a rotary wheel. This action is quite easy to use and quick to learn but unfortunately, it is not suitable for detailed work, fine gradients, and effects. An airbrush gun with a single-action suction cup is ideal for primers. With a Double Action Airbrush Gun with a flow cup system, you can create lifelike artwork with fine details and realistic effects.
Airbrush colors and primer for model making
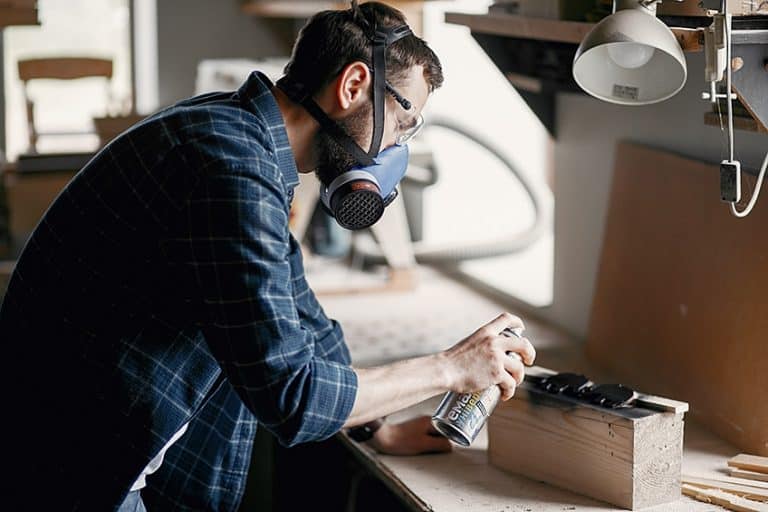
For airbrushing in model making, you can use almost any water-based acrylic paint. The advantage of this is that it is odorless and harmless to your health. Solvent-based paints can also be used. However, you should check beforehand whether your airbrush gun is suitable for this, because the seals often do not withstand frequent use of such paints. It is also important that you wear an airbrush breathing mask when working with solvent-based paints.
Many manufacturers offer special effect paints for model making, in addition to the special model making airbrush paint sets with different basic colors. For example, you can find the following colors: Metallic paints, camouflage paints for model cars, paint for rust, dirt, flaking and aging effects, and color sets for realistic imitation of wood and leather.
If the substrate is significantly darker than the colour to be applied, a primer is necessary. But a primer can also be used to make the airbrush colours adhere better to the substrate. These special primer paints are available in white, grey and black.
Airbrushing in model making: step-by-step instructions
In the following instructions, we assume that you are already familiar with an airbrush gun and have already gained some experience on paper. Before you start working on your model, you should master the basic exercises such as circles, points, and fine lines. You should also know how your spray pattern changes when you change the distance to the substrate, move your hand quickly or slowly and vary the amount of paint or air.
Preparation of the workplace
- Unfortunately, paint spray does not only adhere to the object to be sprayed, but also to everything else in the vicinity. Therefore, you should clear your workplace of everything that should not get painted. It is best to line the work surface generously with newspapers or the like. There are also special spray boxes for model making, which make the tedious covering work easier for you.
- Make sure that your workplace is free from dust and fuzz, as these can settle on the still-wet paint.
- Good lighting is particularly important for the fine work in model making. A daylight lamp helps you to distinguish fine color nuances and to create your model realistically. To avoid shadows being cast, right-handed people should place the lighting on the left and left-handed people on the right.
- Put all the tools and equipment you need at your fingertips. Make sure that the paint pots and solvents have a firm stand and that the airbrush gun cannot fall off the table (an airbrush holder is a good aid for this). Position the compressor so that its vibrations and noises disturb you as little as possible.
- Find a comfortable sitting position and/or chair to protect your back.
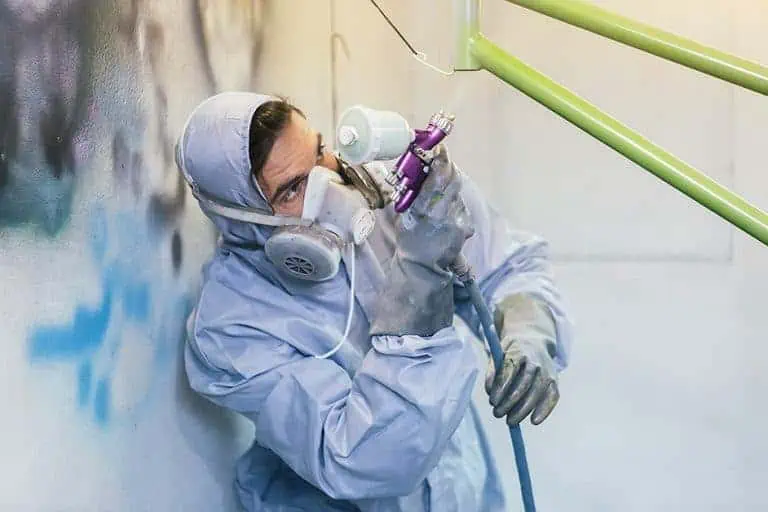
- Ventilate your workshop well, even if you work with water-soluble paints. The fine mist of paint could otherwise cause damage to your lungs in the long term.
- If you work with paints containing solvents, you must always wear a breathing mask, protective gloves, and goggles and ventilate the work area particularly well.
Use of an extraction system: For model making, extraction systems are available at moderate prices. These are small boxes open at the front, which have a suction device in the rear and a rotating plate in the middle. They absorb the fine paint mist and thus protect the environment and your lungs. By placing your model on the rotating plate, it can be easily sprayed from all sides.

Masking
- When the airbrush gun is used in model making, make sure that all parts that should not be painted are masked.
- To protect larger areas (approx. 20 cm x 50 cm), you can use a conventional masking film. The film, which is recommended for the hobbyist, is equipped on one side with self-adhesive crepe tape for fastening.
- Masking tape or a liquid masking film is used to cover small areas. Masking tape is a type of self-adhesive tape. You trace the shape of the part to be covered onto the tape, cut it out and stick it onto the model. Masking tape is only suitable for straight surfaces, as it must lie firmly on the edges, otherwise paint can get under the film. Carefully remove the masking tape immediately after spraying to avoid smearing of the paint and frayed edges.
- With the liquid masking film, you can protect windscreens, windows, and all other parts of your model that are not completely flat. You apply the masking film relatively thickly with a brush. As soon as it is dry, it will appear transparent and you can start airbrushing. Once the airbrush paint is dry, you can remove the masking film layer with tweezers.
Priming of the model parts
As already mentioned, a primer is not always necessary, but sometimes it does help. A primer has the following advantages and disadvantages:
Advantages
- Acrylic paint dries very quickly, so after a short time it is possible to paint over or add to your pictures
- Depending on the acrylic paint and thinner you can paint either transparent or covering
- You can easily dilute acrylic paint with water
- Even if the acrylic paint contains some additives, it is not harmful to your health
- Acrylic colors are available in different viscosities: You can fill with thick paint and pour with thin paint
Disadvantages
- Primer paint is relatively aggressive and eats into the surface. With metals, this creates a good basis for the airbrushed paint. But with models made of plastic, this can sometimes be a problem due to the rough surface.
- Since the primer layer is an additional filling, the smallest details of the model could disappear.
The primer is available in white, black, and grey. If you want to make the colors red or yellow shine better with the primer, it is best to use a white primer. Silver looks best on a black background. For all other colors, it is best to use a grey primer.
Primer paints are available as universal paints that can be used for many surfaces. It is best to first test the primer on an inconspicuous area or piece of waste. Special primers are also available in the trade, for example for plastic, wood, metal or polystyrene.
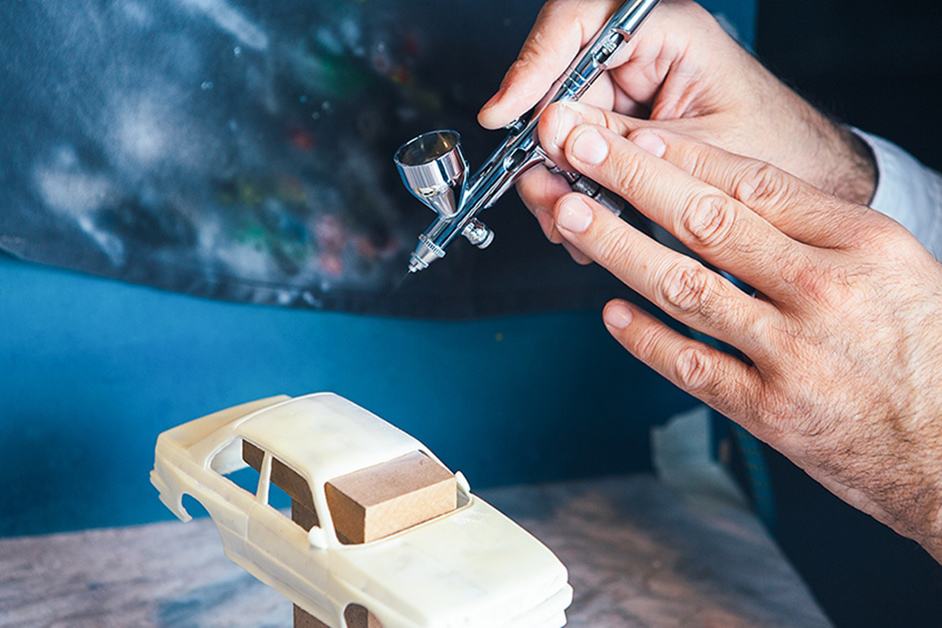
The actual application of paint
- Do not make your first attempts on a complex or expensive model. It’s best to try it initially on old models.
- In general, paint is injected at right angles to the model. The paint application should only be thin, so try to adjust the amount of paint to a minimum. Start with the corners and edges and only when they are finished should you spray the larger surfaces.
- Do not spray the model in one go, because very quickly unattractive color schemes can develop.
Tips and Tricks
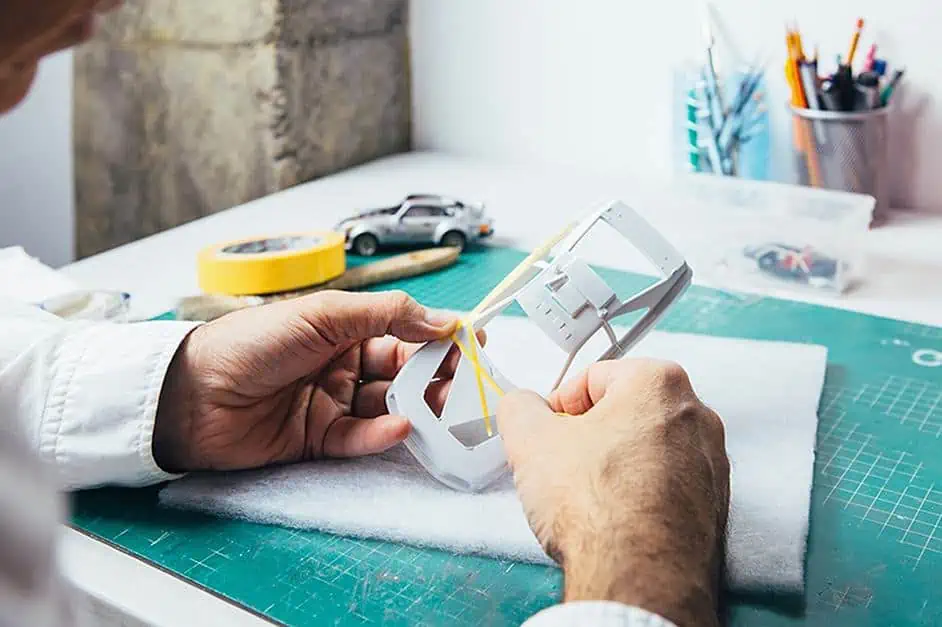
Painting of kits
It is best to paint model kits directly on a spray stand, before separating the pieces, where it can hang freely and you can paint the parts without any problems. If you already have individual components that are difficult to hold on to, you can fix them in place with a piece of tape or double-sided adhesive and thus paint them better.
Drying on the chemical stand
As soon as you are finished with your airbrush work, you can hang the model parts on a chemical stand to dry. Bend simple hooks from thin wire for this. These often leave only tiny colorless spots, which are usually hardly visible.
Bulk parts
Bulk parts are best left to dry in a cardboard box. This keeps them dust-free and lint-free.
Correcting errors
You can repair small errors in your airbrush work with an airbrush cleaner. This is normally used to clean the airbrush gun and dissolves hardened paint.
Cleaning the airbrush pistol
As soon as you are finished with your work, you should disassemble your airbrush gun and clean it thoroughly. When changing the color it is sufficient to blow through the airbrush gun several times with water or Airbrush Cleaner. Ensure that all water or cleaner is removed from the gun before filling with new paint. Spray it until there’s nothing but air left in your gun.

In 2005, Charlene completed her wellness degrees in therapeutic aromatherapy and reflexology at the International School of Reflexology and Meridian Therapy. She worked for a company offering corporate wellness programs for several years before opening her own therapy practice. In 2015, she was asked by a digital marketer friend to join her company as a content creator, and it was here that she discovered her enthusiasm for writing. Since entering the world of content creation, she has gained a lot of experience over the years writing about various topics such as beauty, health, wellness, travel, crafting, and much more. Due to various circumstances, she had to give up her therapy practice and now works as a freelance writer. Since she is a very creative person and as a balance to writing likes to be active in various areas of art and crafts, the activity at acrylgiessen.com is perfect for her to contribute their knowledge and experience in various creative topics.
Learn more about Charlene Lewis and about us.