How to Paint Plates – From Kitchen to Canvas
This post may contain affiliate links. We may earn a small commission from purchases made through them, at no additional cost to you.
Welcome to the colorful world of plate painting! Whether you’re jazzing up plain dishes or creating custom masterpieces, painting plates is a fantastic way to add flair to your tableware. From whimsical designs to elegant patterns, this craft lets your creativity shine while also making dining an artistic experience. So grab your brushes, unleash your imagination, and let’s dive into the delightful art of painting plates!
Key Takeaways
- Proper preparation of plates and workspace is foundational to a successful painting project.
- Choosing the correct paint and tools contributes to the vibrancy and precision of the design.
- The curing and sealing processes ensure the longevity and usability of painted plates.
Preparing Your Workspace and Materials
Painting ceramic plates is a creative and enjoyable way to add a personal touch to your home decor or to create unique gifts. This form of art painting allows for the expression of individual inspiration and creativity through designs and patterns. Before beginning the painting process, it’s essential to gather all the necessary materials and prepare a workspace to ensure cleanliness and organization. The process involves several important steps, from the initial cleaning of the plates to the sealing of the paint, each requiring careful attention to detail to achieve the best results.
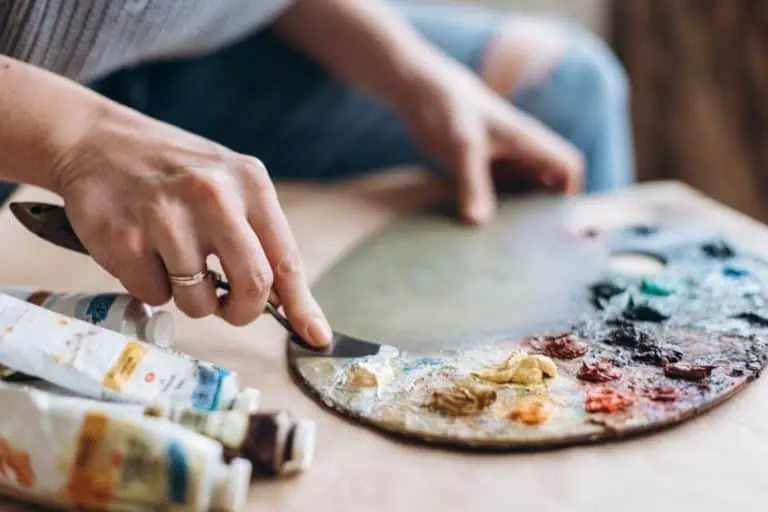
Selecting the right type of paint and brushes is crucial for the success of your plate painting project. Materials like ceramic or acrylic paints and synthetic brushes of various sizes can cater to different styles and intricacies of plate designs. It’s important to consider the curing and sealing methods to preserve the artwork and make it suitable for display or usage. Painting on ceramic plates not only serves as a form of artistic expression but also can answer practical needs, such as creating custom dishware for special occasions. Before embarking on the creative endeavor of painting plates, it is essential to choose suitable plates and paints and establish an organized workspace. Adequate preparation of materials and techniques is foundational to the success of your project.
Choosing the Right Plates and Paints
When selecting plates for painting, ceramic and glass plates are popular choices. For ceramic plates, porcelain paint or enamel acrylic paint is recommended due to their durability and compatibility with the surface. Glass plates pair well with enamel acrylic paint, which adheres strongly and offers a glossy finish. In any case, make sure the paints are food-safe if the plates will be used for serving food.
To source these materials, one can visit a local art supply store or craft store.
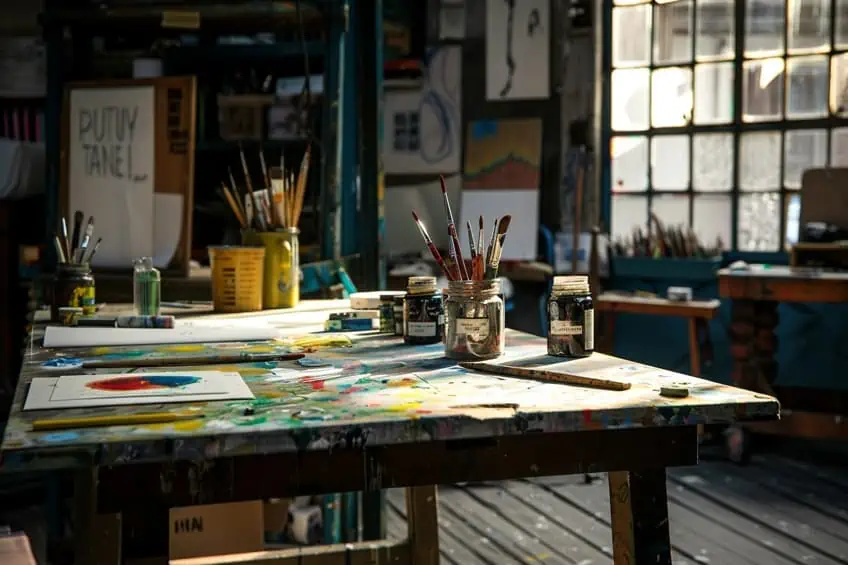
Setting Up Your Painting Area
The workspace should be a clean, flat surface with plenty of light. Ensure the workspace is well-ventilated, especially if using solvents or aerosol sealants. Gather all necessary supplies, including:
- Water container for rinsing brushes
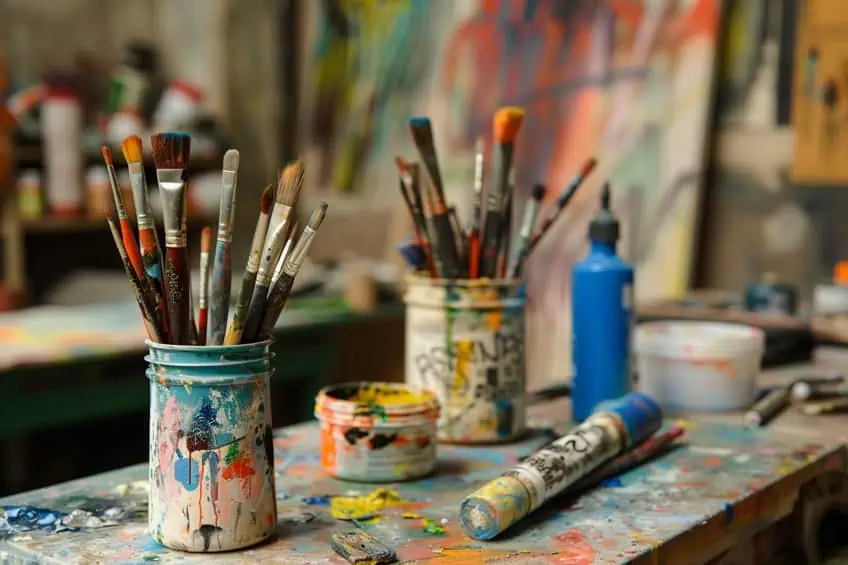
- Brushes of various sizes
- Paint palette for mixing colors
- Sandpaper (for roughening plate surfaces)
- Clean cloths and rubbing alcohol (for cleaning plates)
Organize these items within easy reach to facilitate a smooth painting process.
Preparation Techniques
Before painting, the plates should be thoroughly clean. Use a lint-free cloth and a bit of rubbing alcohol to remove any grease or fingerprints, as these can prevent paint from adhering properly. If the surface is too smooth, lightly sand the plate with fine-grit sandpaper to help the paint stick. After any sanding, it’s important to wash and dry the plate to remove dust particles.
Once the plate is clean and dry, it is ready for painting.
Creating Your Plate Design
The creation of a plate design involves careful planning and precise application. One starts by conceptualizing a motif and then transfers the vision onto the ceramic surface.
Sketching and Planning
An artist begins by sketching their design on paper. It’s essential to use a pencil for easy adjustments during the planning phase. For those preferring a structured approach, stencils can provide uniformity and precision. One can either purchase stencils or create custom ones tailored to the project.
The sketch acts as a blueprint, helping to visualize the end result before the paint is applied.
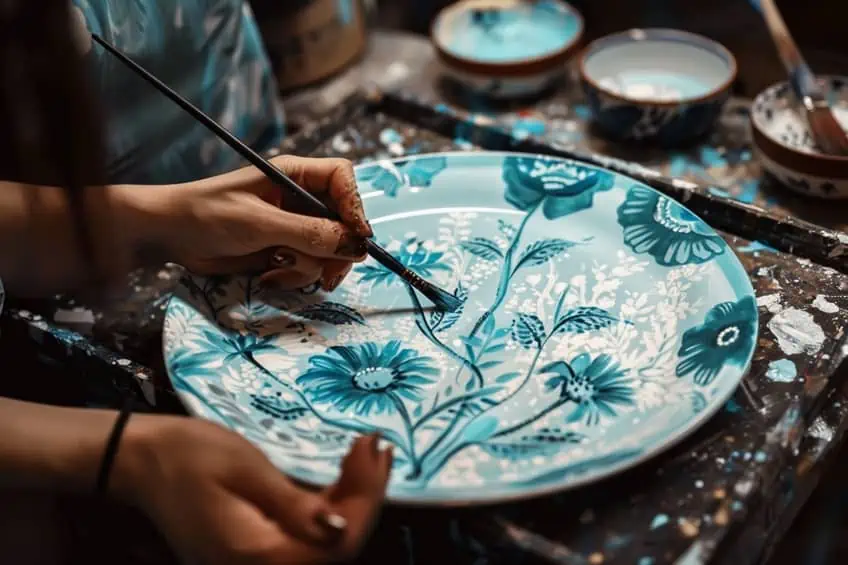
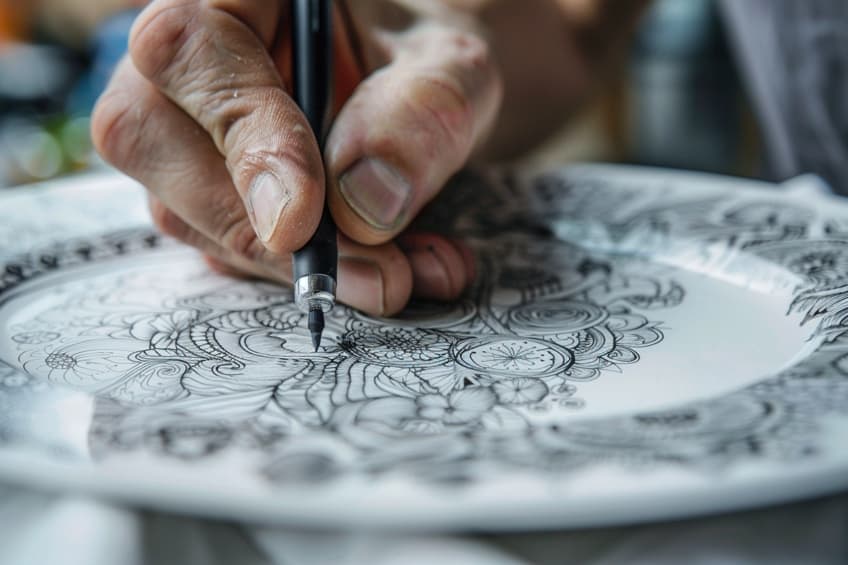
Applying Your Design
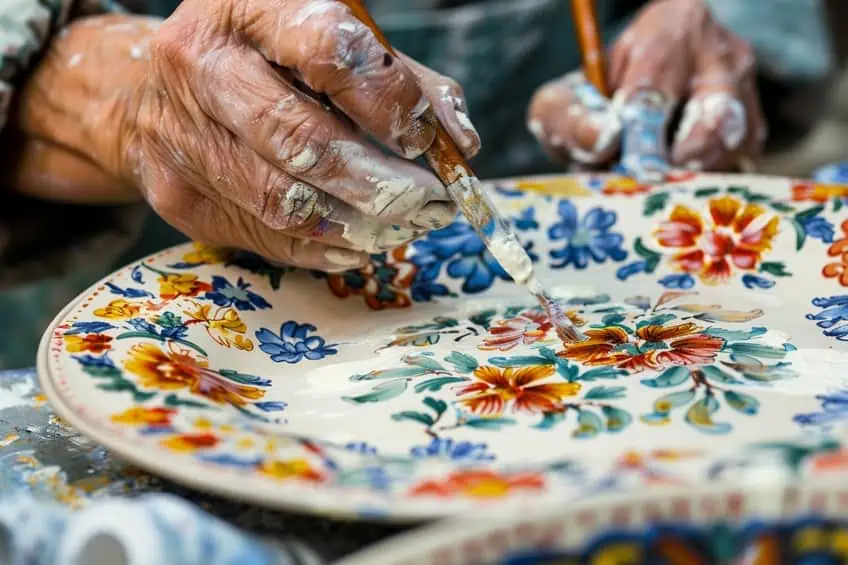
After finalizing the sketch, the design gets transferred onto the plate using a ceramic paint pen or markers suited for freehand drawing. For complex patterns, masking tape can help in achieving crisp lines. One can also paint directly with a brush, allowing for dynamic strokes and a handcrafted feel. Stencils ensure correct replication of the initial sketch on the plate’s surface, especially for intricate designs. Applying ceramic paint requires a steady hand and patience to allow for adequate drying time between layers.
Painting and Decorating Techniques
In this section, the focus will be on executing the painting process with precision and adding the final touches that bring a painted plate to life, using specific techniques, and various paint types such as acrylic, porcelain, and enamel.
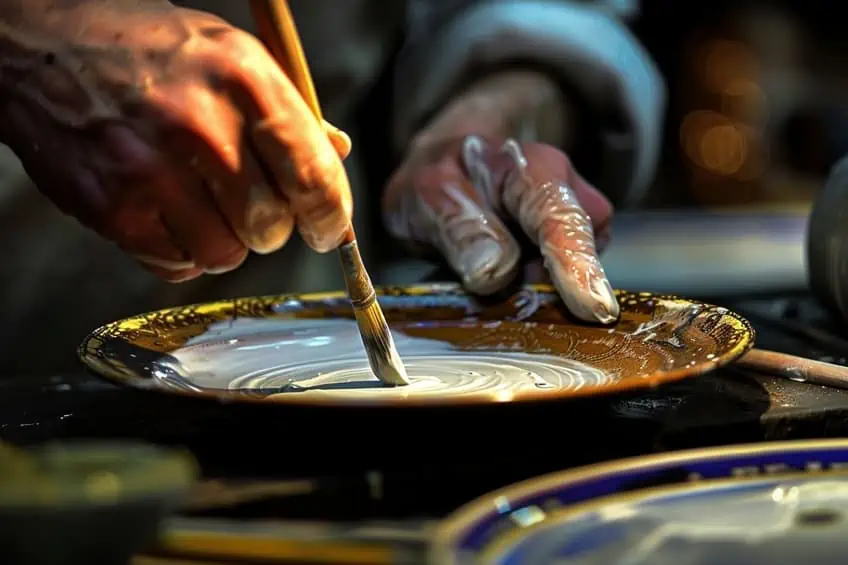
Mastering the Painting Process
The artist should start with a clean plate; any residue can interfere with the adherence of the paint. For acrylic or enamel paints, one should apply a base layer to help the subsequent layers of paint stick to the ceramic surface. When using porcelain paints, they often require no base layer, as they are formulated to adhere to the slick surface of the plate. The key is to paint in layers, allowing each to dry thoroughly before applying the next.

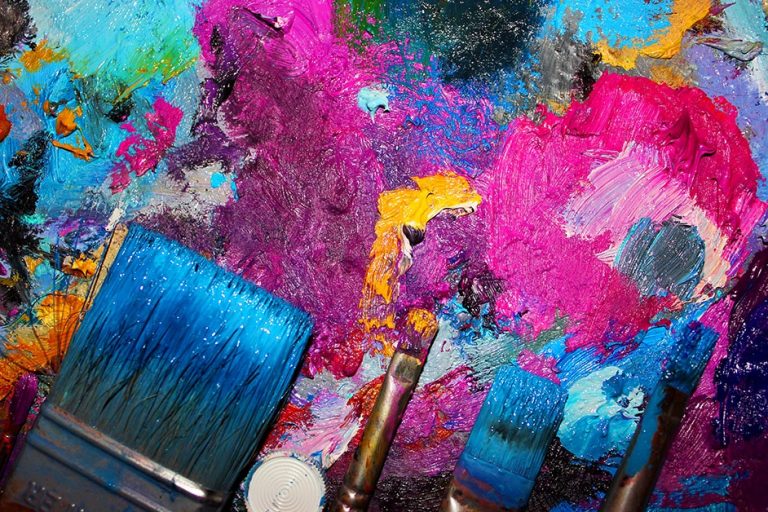
This layering technique prevents colors from blending unintentionally and helps maintain the vibrancy of the hues. Tools are crucial, and the painter’s brush selection can dramatically affect the outcome. Brushes with fine tips are excellent for detailed work, while flat brushes can cover larger areas smoothly. An artist’s palette becomes a critical workspace for mixing colors to achieve the right shade and for keeping the paints moist during the application process.
Accentuating Details and Finishing Touches
Once the foundational layers of paint are down, the focus should turn to details. This might involve a smaller brush or a specialized tool such as a paint pen for intricate designs. Clean edges can be achieved by using painter’s tape or by steadying the hand against a solid object to maintain control.
In painting, even a small misstep can draw the eye, so artists should patiently apply touch-ups as needed.
Artists often employ a sealing layer to protect the painted design, which is especially important for plates that will be used and washed. A sealant like a clear acrylic gloss can preserve the integrity of the painting against moisture and wear. It’s essential to follow the specific instructions for the paint and sealant used, such as drying times and conditions, to ensure a professional and long-lasting finish.
Curing and Sealing
The durability of painted ceramic plates relies heavily on proper curing and sealing processes. These steps ensure the paint sets correctly and the artwork is preserved for daily use.

Setting the Paint and Curing Process
To set the paint on ceramic plates, one should begin by placing the painted plates in a cold oven. It is crucial to allow the oven to gradually warm to the recommended temperature to prevent cracking or damage to the plates. Ceramic paint typically cures at an oven temperature of 325 °F (163 °C).
The plates should reach this temperature as the oven preheats and should remain inside until the oven cools down after turning it off; this allows the plates to cool slowly, preventing any thermal shock.
Oven curing steps include:
- Place the painted plates in a cold oven.
- Set the oven to the recommended temperature—usually between 320-350 °F (160-176 °C).
- Once the oven reaches the set temperature, bake for the time specified by the paint manufacturer, often around 30 minutes.
- Turn off the oven and let the plates cool completely inside before removing.
Sealant Application and Safety Tips
After the paint has been set and the plate cooled, applying a sealant protects the paint from chipping, moisture, and general wear. One should use a nontoxic sealant, especially for plates that will come into contact with food. This sealant can be applied with a clean brush or sponge applicator, ensuring even coverage over the entire surface. Sealant application is as follows:
- Clean the plate to remove any dust or loose paint particles.
- Apply a thin, even coat of sealant.
- Allow the sealant to dry according to the product instructions.
Safety precautions are essential during this stage. It’s advisable to work in a well-ventilated area and use gloves to protect one’s skin. Always follow the safety guidelines of the sealant manufacturer for a safe and successful application.
As you put the finishing touches on your painted plates, remember that the joy of crafting lies not only in the final product but also in the creative journey itself. Whether you’ve created a set of vibrant dinnerware or personalized gifts for loved ones, painting plates is a delightful way to express your artistic vision and add a touch of handmade charm to everyday moments. So keep experimenting, exploring new techniques, and infusing your plates with your unique style. Happy crafting and happy dining!
Frequently Asked Questions
What Type of Paint Is Best for Painting Plates Intended for Food Use?
For painting plates that will come into contact with food, one should use lead-free, non-toxic ceramic or enamel paints that are specifically formulated for use on dinnerware. Most importantly, these paints should be labeled as food-safe by the manufacturer.
What Is the Process for Sealing Painted Plates to Ensure Longevity?
After the painted plates have fully dried, one applies a food-safe sealant to protect the paint and make the plate suitable for use. It’s essential to apply an even coat of the sealant, which could be a ceramic glaze that needs to be fired in a kiln, creating a durable, gloss finish resistant to washing and daily use.
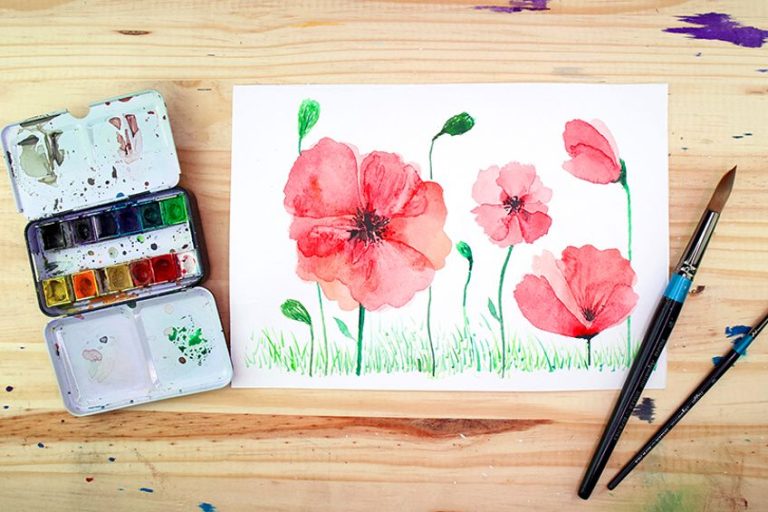
What Are Some Creative Ideas for Hand-Painting Plates?
They can use various colors and techniques to produce appealing designs on hand-painted plates. Combining complementary colors, integrating pastel shades with a bright accent color, or experimenting with different painting tools can create unique and attractive patterns. One might also consider thematic designs, such as seasonal motifs or personal monograms.

In 2005, Charlene completed her wellness degrees in therapeutic aromatherapy and reflexology at the International School of Reflexology and Meridian Therapy. She worked for a company offering corporate wellness programs for several years before opening her own therapy practice. In 2015, she was asked by a digital marketer friend to join her company as a content creator, and it was here that she discovered her enthusiasm for writing. Since entering the world of content creation, she has gained a lot of experience over the years writing about various topics such as beauty, health, wellness, travel, crafting, and much more. Due to various circumstances, she had to give up her therapy practice and now works as a freelance writer. Since she is a very creative person and as a balance to writing likes to be active in various areas of art and crafts, the activity at acrylgiessen.com is perfect for her to contribute their knowledge and experience in various creative topics.
Learn more about Charlene Lewis and about us.