Rat Drawing – Learn How to Draw a Rat in Five Easy Steps
This post may contain affiliate links. We may earn a small commission from purchases made through them, at no additional cost to you.
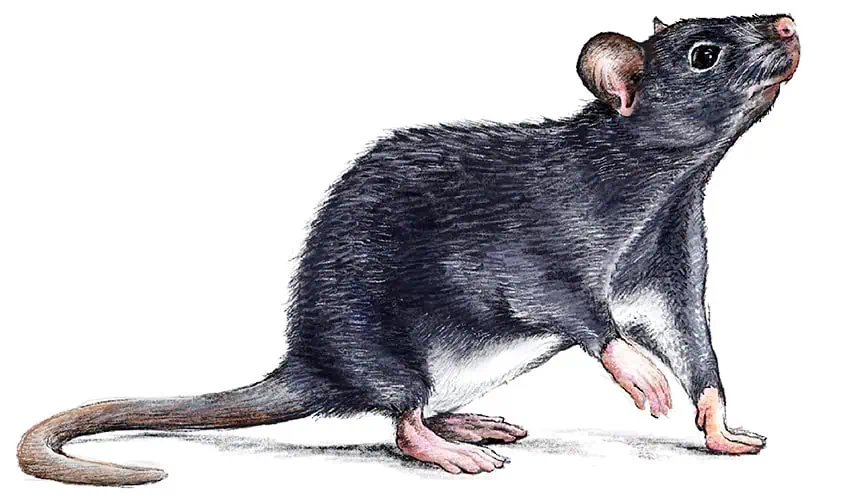
Rats are fascinating creatures that are often associated with the gutters or dirty streets of New York City. However, rats are also beautiful and intelligent animals with distinct characteristics and social qualities. Learning how to draw these interesting animals is a great exercise, as a rat can be a very versatile drawing in artworks from various genres. Rats have also been associated with mystical and fantasy genres, which makes them useful for more surreal artworks. More than that, rats also have similar qualities to other animals, making some of their features transferable. There is a lot to learn from a rat drawing, which makes it a good exercise for any artist.
How to Draw a Rat Step-by-Step
Learning how to draw a rat, easy as it may be, does require some attention to the following steps. We will work slowly with shaping the rat in its correct proportions, which we will then refine with some line work. We will then move on to adding in some light shades of color and see how we can build up these layers to achieve a fur-like quality. We will take time on the fur, working with shading and linework to achieve the unique fur qualities realistically. Then lastly we will work on details in the face, hands, and feet to enhance the overall visual quality of the rat drawing.
Step 1: Shaping the Rat
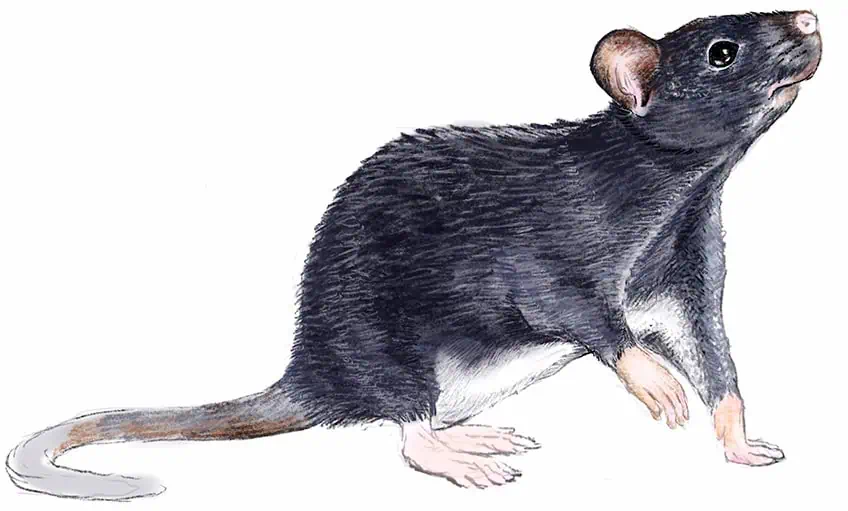
We can start by shaping the rat in its basic features, we can start by drawing the head in a spear-shaped way. The body of the rat is often pear-shaped, and slightly larger near the hind legs.
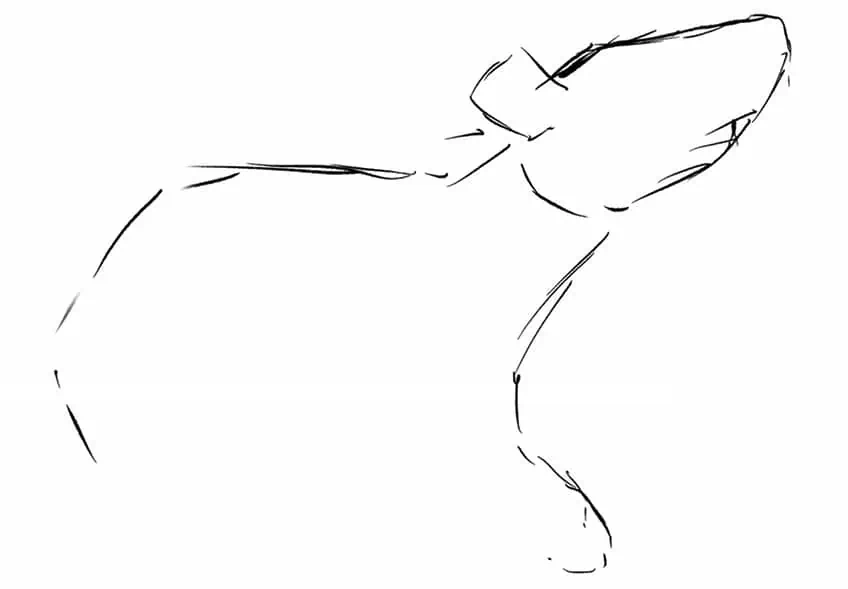
Consider looking at a reference image of a rat to assist you in your drawing process. We can also draw in the legs and arms, which extend from below the rat’s body. Keep your sketch quite loose, just try to capture the shape of the rat drawing.
We can then lightly erase our rat drawing, leaving behind some ghostlines to assist us in refining the structure of the various features of our rat drawing.
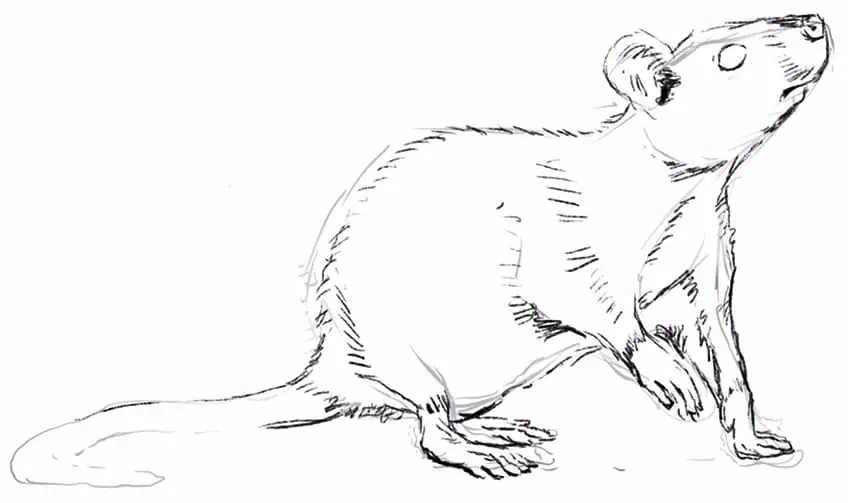
Step 2: Refining the Features of the Rat
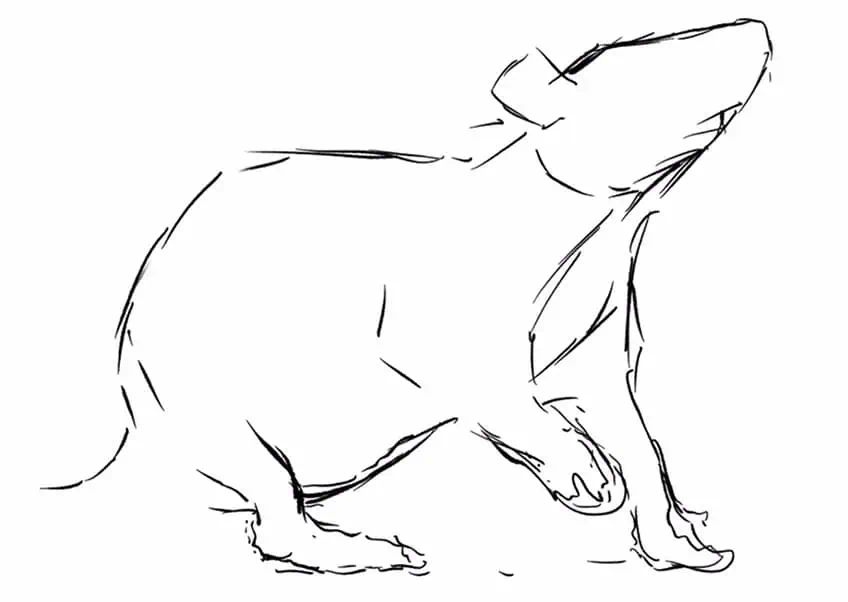
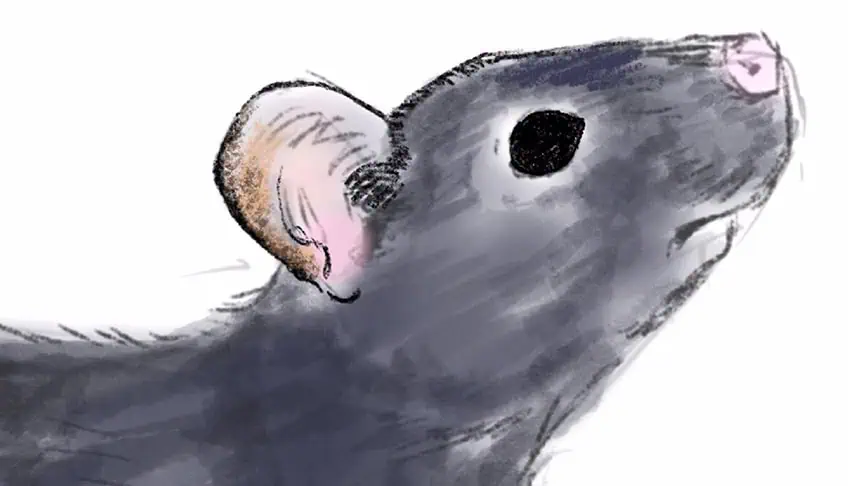
We can now start working from the head of the rat, slowly drawing in the finer details, such as the nose, mouth, eyes, ears, and head structure. Again, we are still keeping our sketch quite light and loose for now, aiming to capture the general placement and proportions.

As we work our way down towards the front feet, we can draw the legs covered in fur with exposed hands like front feet. The limbs are generally covered in fur with exposed feet.
The hind feet are also generally larger than the front feet, where the front feet function more like hands to grab items, climb, and open objects. The lower body is also slightly rounded, similar to that of pear fruit. Take your time working through the shape and refining the rat sketch. Again, keep your linework quite loose for now, allowing for the linework to represent a disheveled quality in the fur coat.
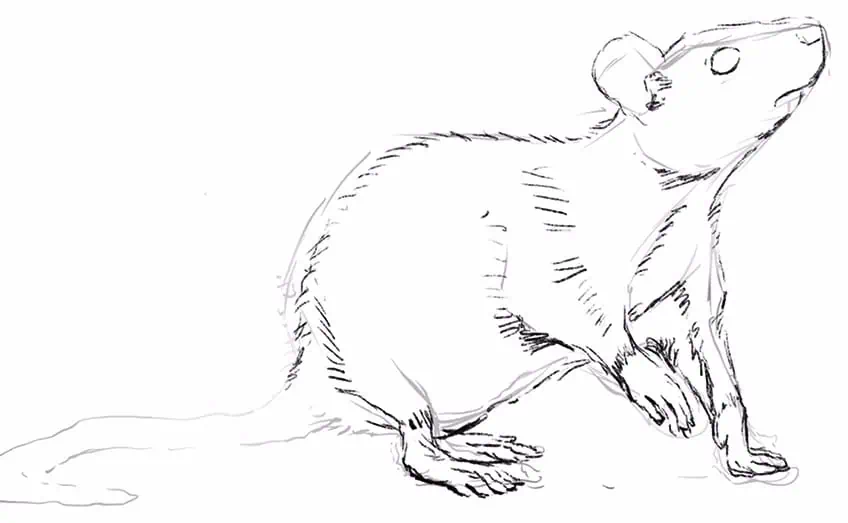
As we make our way through to the tail of the rat. We can make it fairly long and pointed towards the end of the tail. The long scaly tale is an identifying feature of the rat so it is essential for the rat drawing.
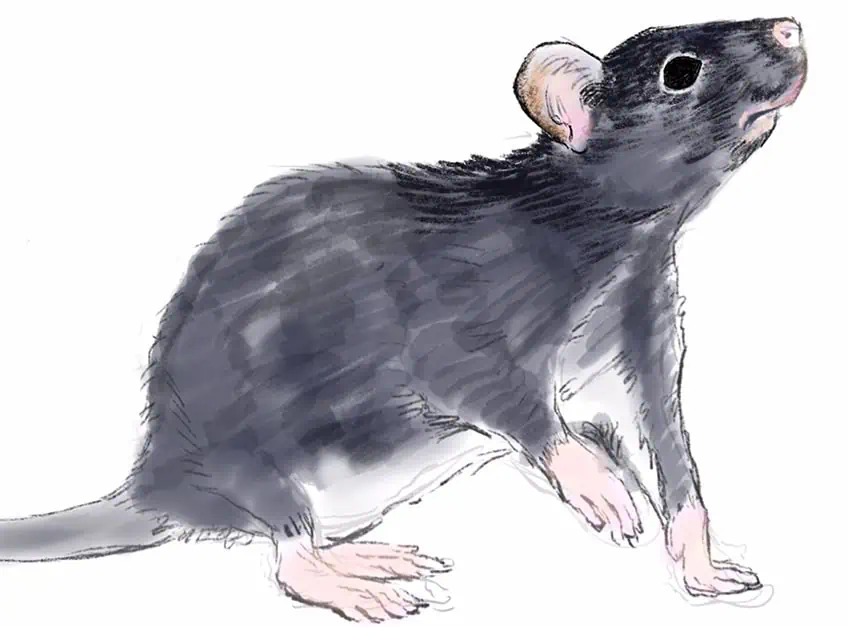
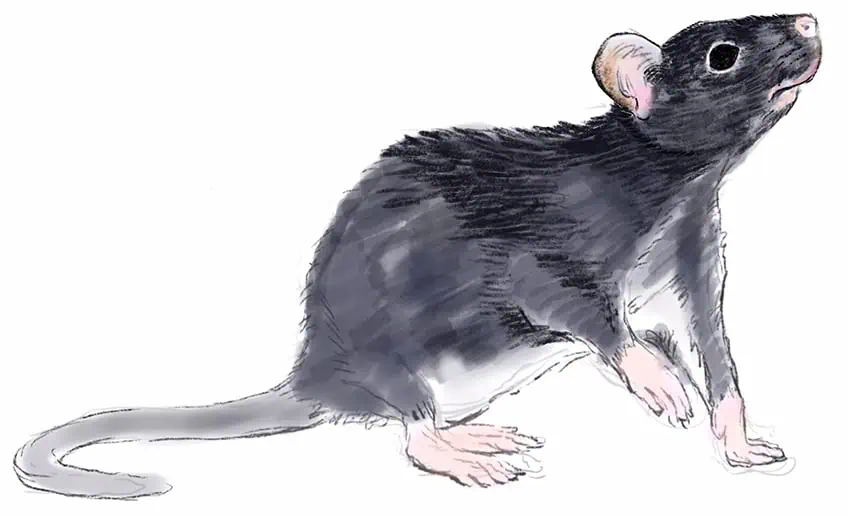
Step 3: Adding Color to the Rat Drawing
We can now start adding some layers of color to the rat drawing, in this case, let us work with a dark color like grayish blue. The intention is to start with light layering of color into the rat drawing. You want to keep your colors fairly light, establishing a base layer within the outline of your rat sketch. This way we can also control how dark or light some areas of our rat drawing should be.
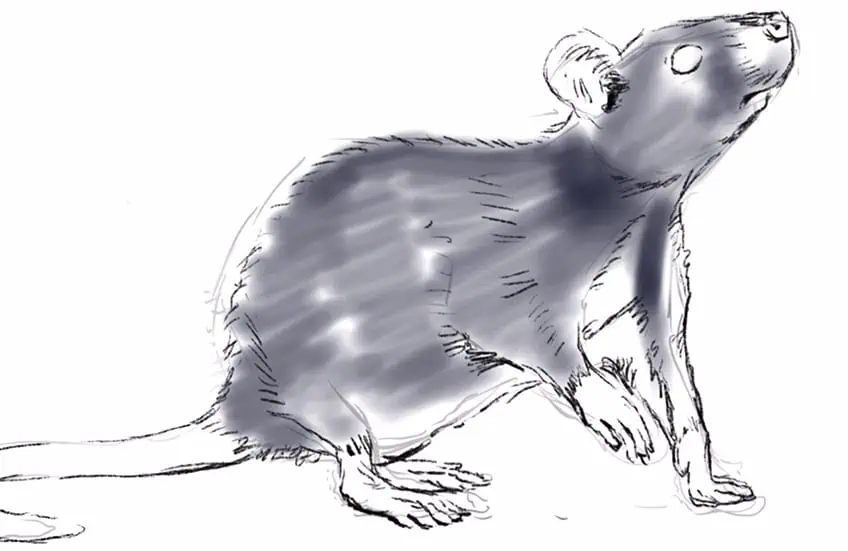
You can keep your mark-making quite scattered and scribble-like, as this will develop a rough undertone that will enhance the fur qualities of the rat drawing. We want to create subtle tonal distinctions by making some areas slightly darker than others. This is where we start to think about areas of the rat that would have more shadows.
We also want to be conscious of the lighter underbelly of rats, which is often contrasted with the fur coat that covers their back.
We can also start adding some light pink color to the exposed areas of the rat such as the nose, feet, and inner ears. The tail is often darker in color, so we can give it a slight gray color.
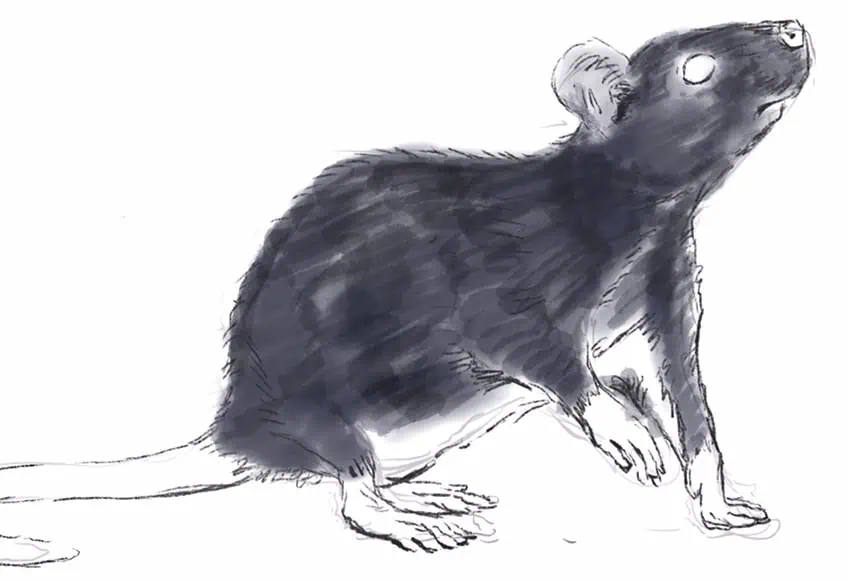
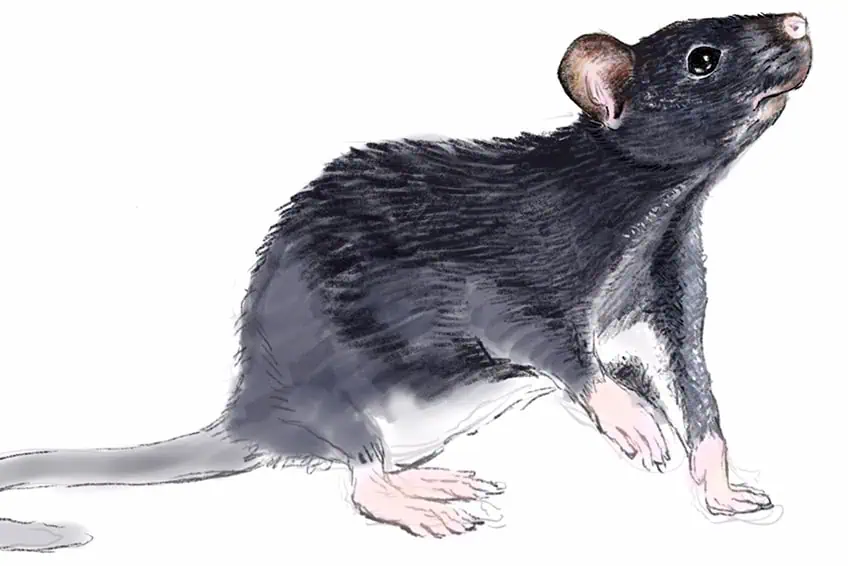
Step 4: Refining the Features of the Rat
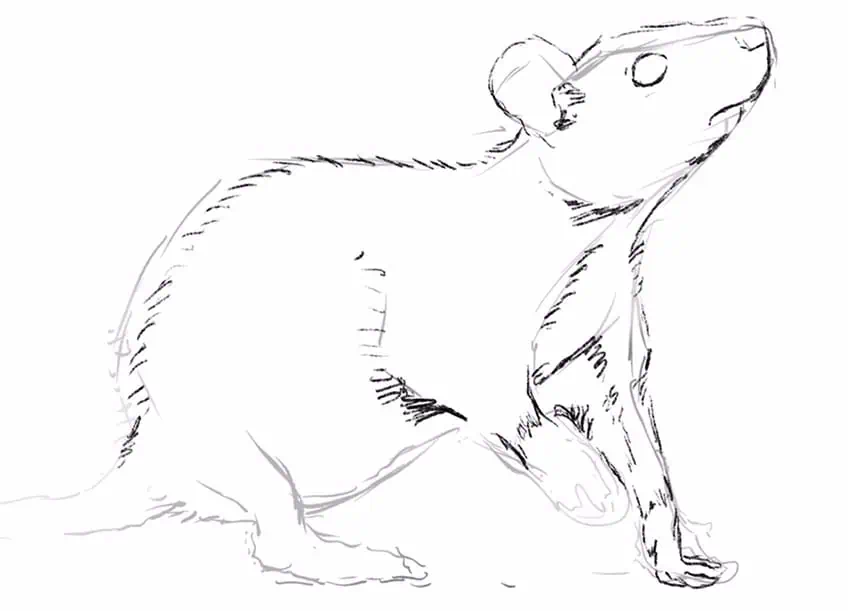
Now that we have the shape and base colors of the rat established, we can proceed by sketching in some details. Working our way from the head we can start to shape certain features, such as the eyes and ears.
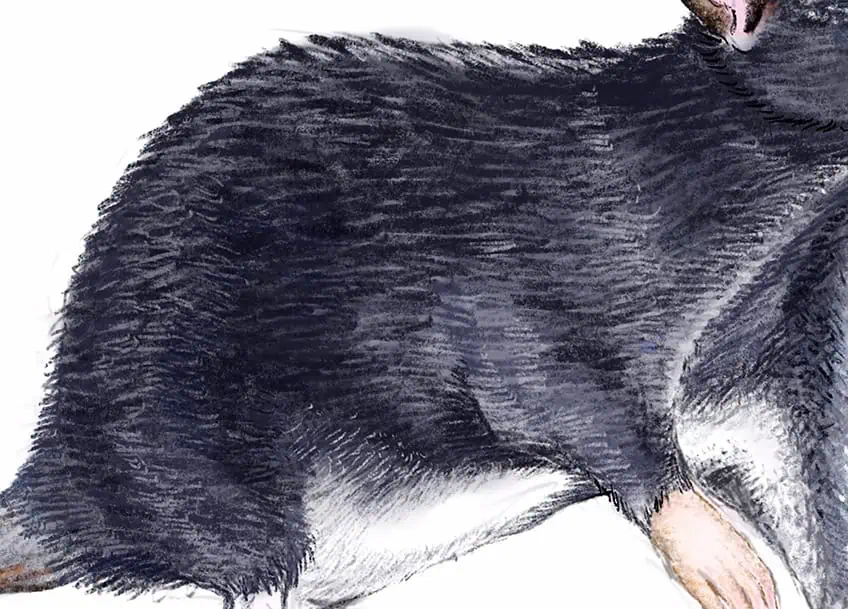
This is where we start to work with linework to emphasize the textural qualities of fur throughout the body of the rat. We want to build on top of the base layers of color we have previously established.
As we add in some line work throughout the body of the rat, we can start to think about how these lines shape the different features as we proceed. We want to think about how darker lines can be used to shape features and bring dimension.
This means we also want to be conscious of lighter areas in the body of the rat that represent areas that may protrude and be more exposed to a light source. This is particularly true for legs as they extend outwardly from the body. We can also make the linework much smaller in strokes around the facial features. We can also make the eyes of the rat black with small highlights to emphasize the glossy surface area.

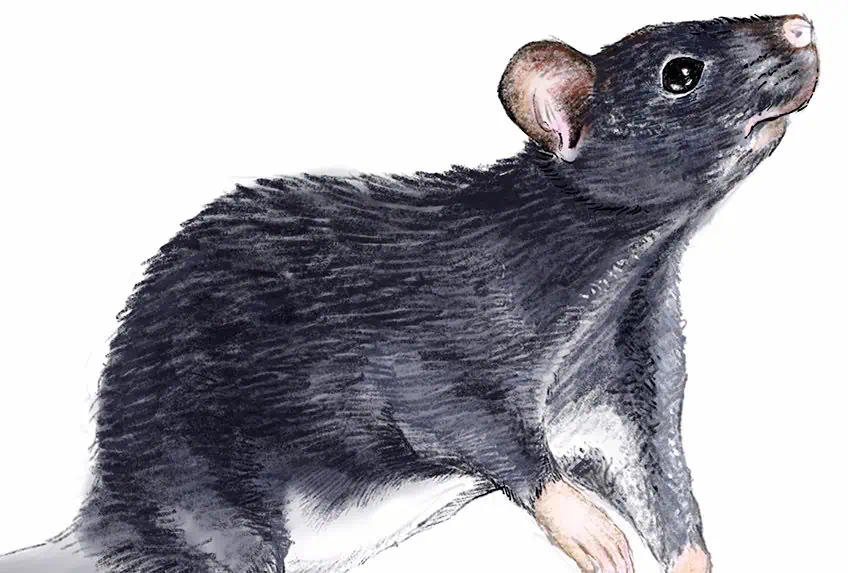
Try to take your time with adding in these details and lines, slowly working your way through the entire body. Naturally, the color of your detailing will change depending on the areas that you work on. This means we want to work with lighter colors like grays and whites near the underbelly, making sure it aligns with the color values of the fur coat. The intention is to think about using linework strategically to create texture and emphasize form in the rat.
This means we can use a spectrum of blues and grays in the fur coat to play around with the shaping of the rat and how these differences in tonal value emphasize the shape of the body.
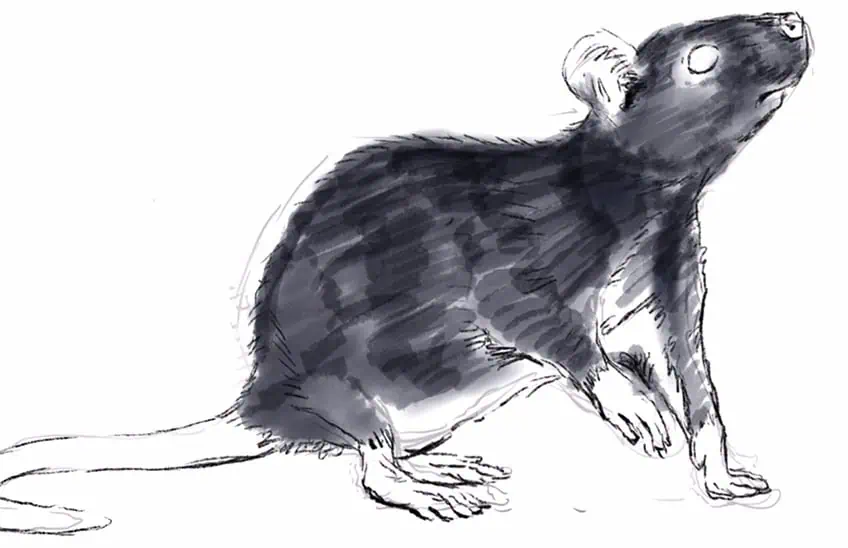
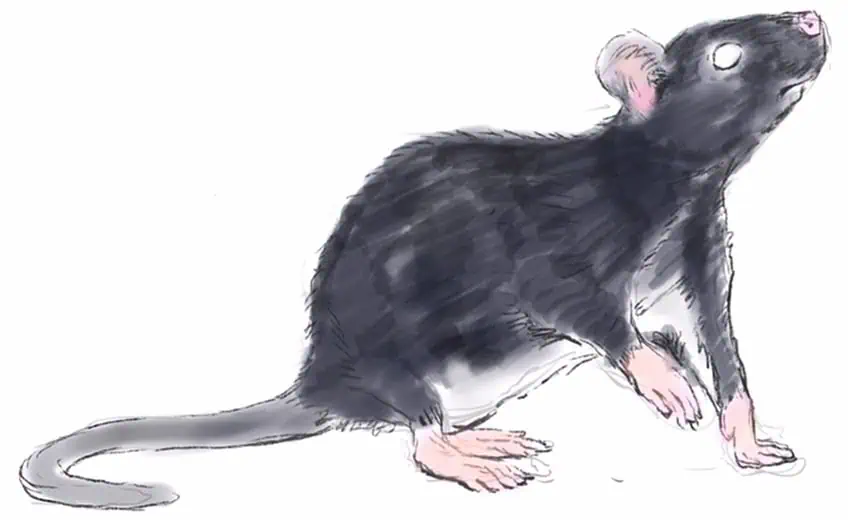
Step 5: Adding Final Details
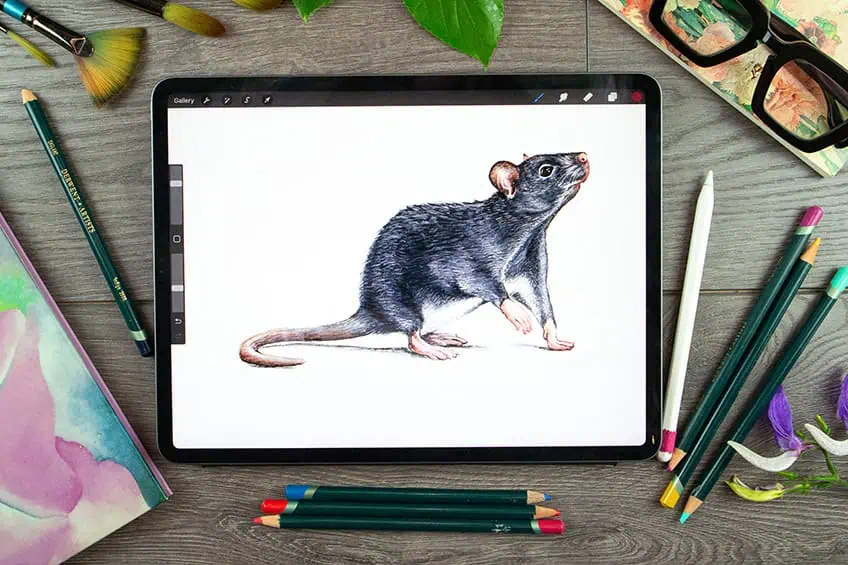
Once you have established most of the linework into the body of the rat, we can start working with subtle highlights and details to bring more shape to the different features.
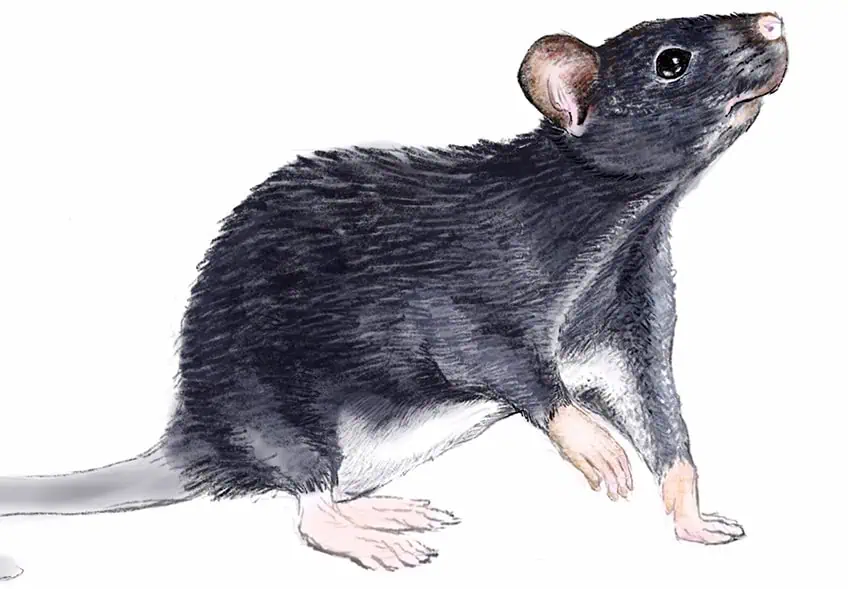
We can also start to add some color to the tail, keeping it gray and brown as this is more aesthetically accurate of a rat’s tail. We can also start bringing more shape to the feet with some shading and outlining.
We want to work in those subtle lighter highlights between the lighter and darker areas of the fur coat. This will create a more seamless integration between these different colors on the fur as well as bring more shape to the underbelly.
Allow yourself to work in these highlights through the body of the rat, making sure to not overpower the features but to enhance them with these details. Then lastly, we can add some shadow beneath the rat to suggest three-dimensionality.
And that is how to draw a rat step-by-step, done easily and simply. Most importantly, take your time working with layering your details allowing the drawing to slowly come together.
Tips and Tricks to Remember
- Work with simple shapes first. Shaping the rat in its correct proportions is going to make the rest of the drawing process much easier for you.
- Refine the drawing from simple shapes. You can then start to work in some base colors, linework, and details into the simple shape structure of the rat drawing.
- Take your time with the colors. Always build your colors up with layers, working from lighter tonal values to darker tonal values.
- Take your time with the details. Lastly, spend time on shadows, highlights, and the finer linework as a last addition to the drawing.
Learning how to draw a rat, easy as it is does come with little learning curves that require attention. Rat drawings are great because they teach you some fundamental concepts when it comes to furry animals. It’s also such a versatile creature that can be utilized in so many genres of art. Understanding fundamental features like fur can be used in other animal drawings, which makes it a great skill to have when creating different artworks with furry animals.
Frequently Asked Questions
How to Draw the Hands and Feet of a Rat?
The hands and feet of a rat are quite similar to monkeys in the sense that they have five digits with opposable thumbs. This allows them to grab objects and open them with their fingers. The coloration of a rat’s hands and feet are often quite pinkish, as they are exposed without fur covering them. We can draw the hands and feet similar to the structure of human hands. The hands are also smaller than the feet, as the feet often ground the rat when they are seated or stationary. Learning how to draw a rat, easy and simple, just requires one to build up the drawing through layers, especially for finer details like feet.
How to Distinguish a Rat from a Mouse?
Both the rat and mouse belong to the same family of species known as Rodentia, which means that they share similar qualities. However, rats tend to be slightly larger with longer and scaly tales. Mice, however, have a smaller structure with shorter tails that are slightly more hairy. These main aspects must be considered when creating a rat drawing, as they all work together to contextualize the rat. When drawing a rat, remember that it has quite a blunt snout, which is slightly less pointy than that of a mouse. A good suggestion is to look at some reference images when creating your rat drawing.

Matthew Matthysen is a multidisciplinary artist. He completed his fine art degree, majoring in History of Art and Contemporary Drawing Practice at the University of Witwatersrand, South Africa. Before joining acrylgiessen In 2020, Matthew worked part-time as an art teacher at Reddford Blue Hills High school. Matthew creates drawing and painting tutorials for acrylgiessen and captures them not only photographically and in written form. He also records the creation of his works in his own creative studio as in video format, from which later with a voiceover and a video editor also drawing tutorials for the Youtube channel of acrylgiessen are created.
Learn more about Matthew Matthysen and about acrylgiessen.