Rose Drawing – Create a Realistic and Elegant Rose Drawing
This post may contain affiliate links. We may earn a small commission from purchases made through them, at no additional cost to you.
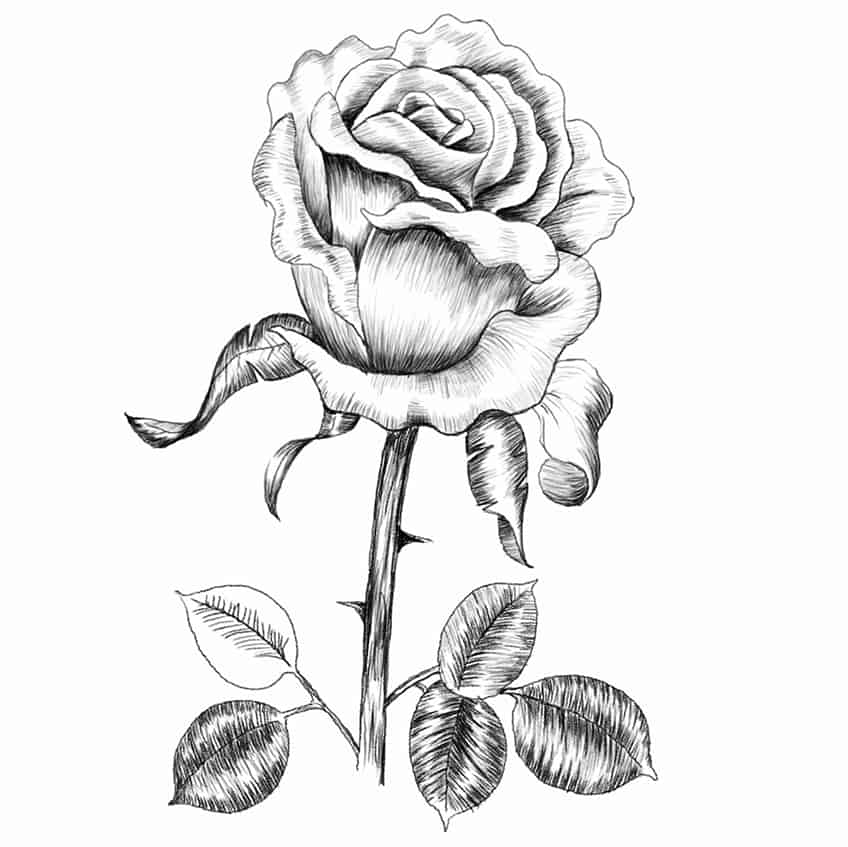
Realistic rose drawing is a classic exercise that all artists should learn at some point in their artistic careers. Due to their popularity and beautiful form, rose illustration are very prevalent in a variety of artworks. Rose illustrations are a handy skill for any artist to learn, as rose sketches are a great introduction to drawing flora. Working with unique, delicate, and ever-changing forms teaches you a great deal about organic shapes and how to work around their shading and line work. This tutorial will show you not only how easy rose drawings can be, but the fundamentals of floral drawings and their general process.
An Easy Guide to Drawing a Rose
In this easy rose drawing tutorial, we will be breaking down the drawing process into easy-to-follow steps. Rose drawings are really simple regardless of their seemingly complicated shape. With their ever-changing shape and delicate form, with a few simple tips, drawing a rose is much easier than you would imagine.
Necessary Materials
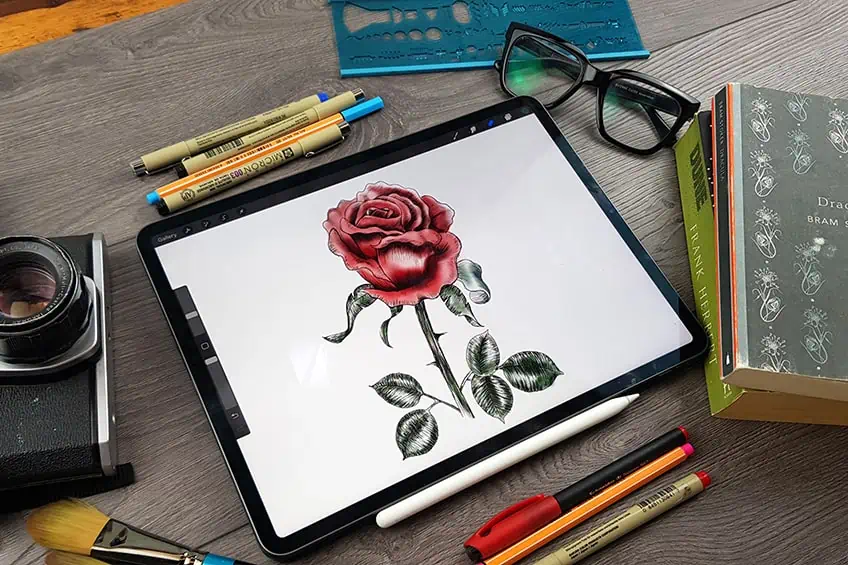
This tutorial is conducted using a digital art device, however, the drawing processes used and discussed apply to traditional drawing methods as well. If you intend on creating your rose drawing using traditional methods, there are a few basic materials that you will need. You will need pens or pencils, an eraser, a sharpener, and some paper. Make sure you have your materials ready and let’s get started!
All the materials you will need can be found below:
- Ballpoint Pen
- Micron Pens
- Pencil
- Eraser
- Sharpener
- Paper
Step-by-Step Guide on How To Draw a Rose
In this tutorial on how to draw a rose, we will start with a simple rose sketch, where we work out the basic fundamental shapes. From here, we will work on refining the shapes into a more identifiable structure that resembles a drawing of a rose. We will then proceed with our drawing of a rose by working on the petal formation and the stem and leaves.
Now that we know what to expect, let’s go through the drawing process.
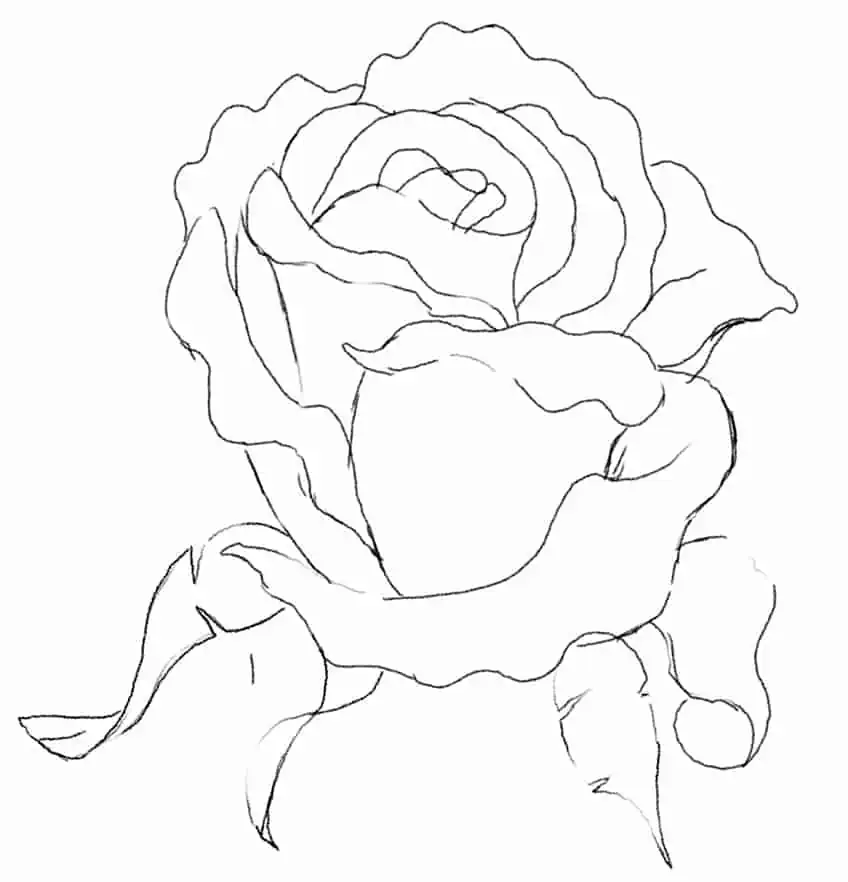
Step 1: Establishing the Shape of the Rose
Using our pencils, we want to start by demarcating a general area in which the rose will be drawn. We want to start with vague and basic shapes, which will then refine into realistic petal shapes.
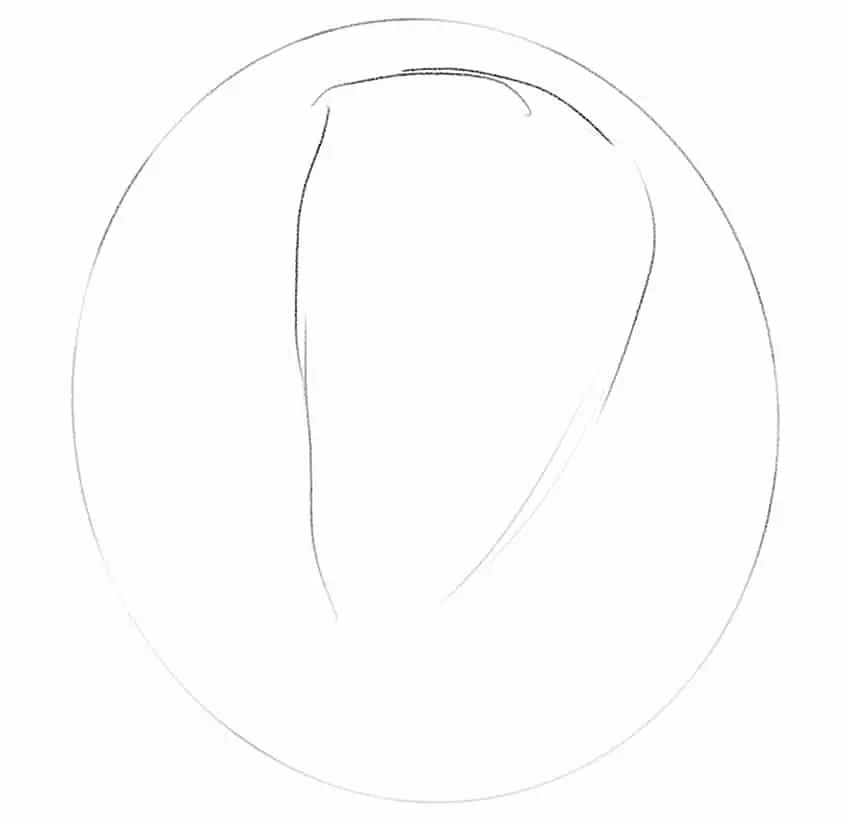
Step 2: Drawing the Petals of the Rose
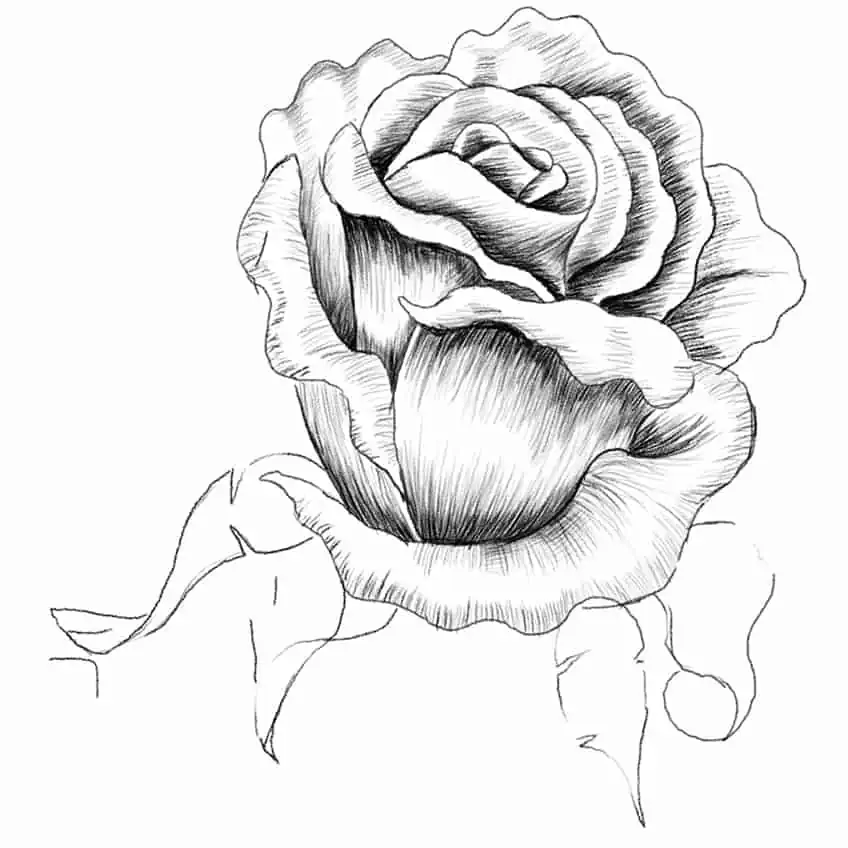
Roses have petals that are stacked in layers, we want to start working on the stacking of petals. The petals are quite compact in the center of the flower and start to become looser and more open as they move toward the outer layers.
Rose petals are quite thin and have uneven edges, these uneven petals also start to curl into each other. The petals also get narrow near the base of the flower’s head,
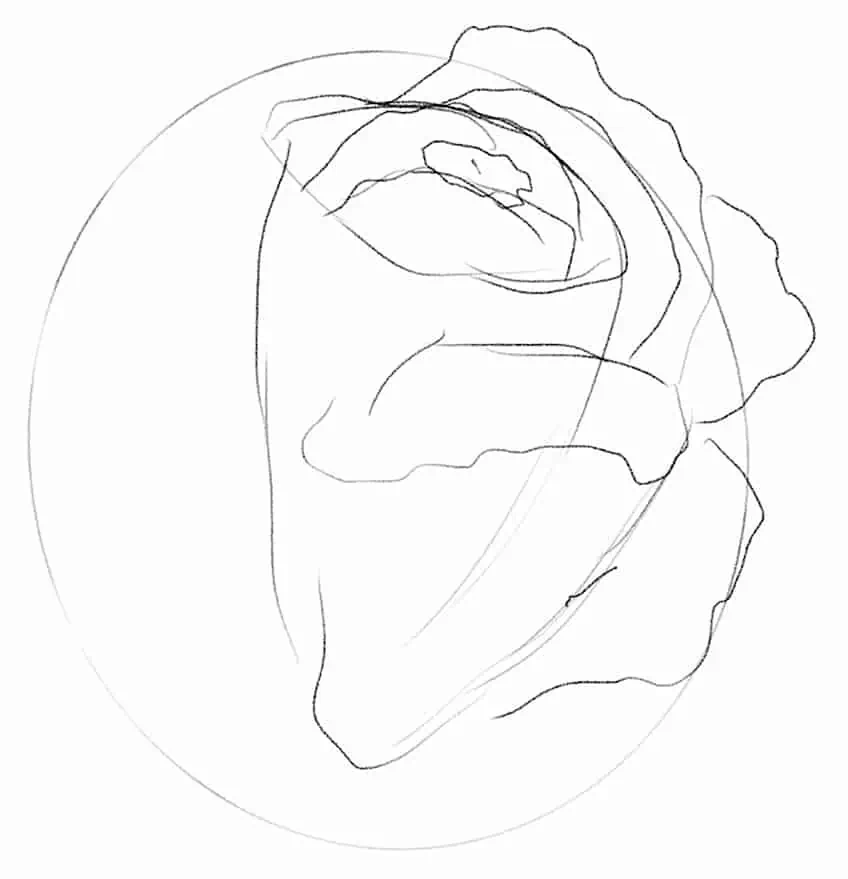
Take your time to work out how the petals stack in a circular fashion, try to think of it as a wrapping effect. The petals unfold from the center point, therefore they wrap around a center point as they become more compact and closer.
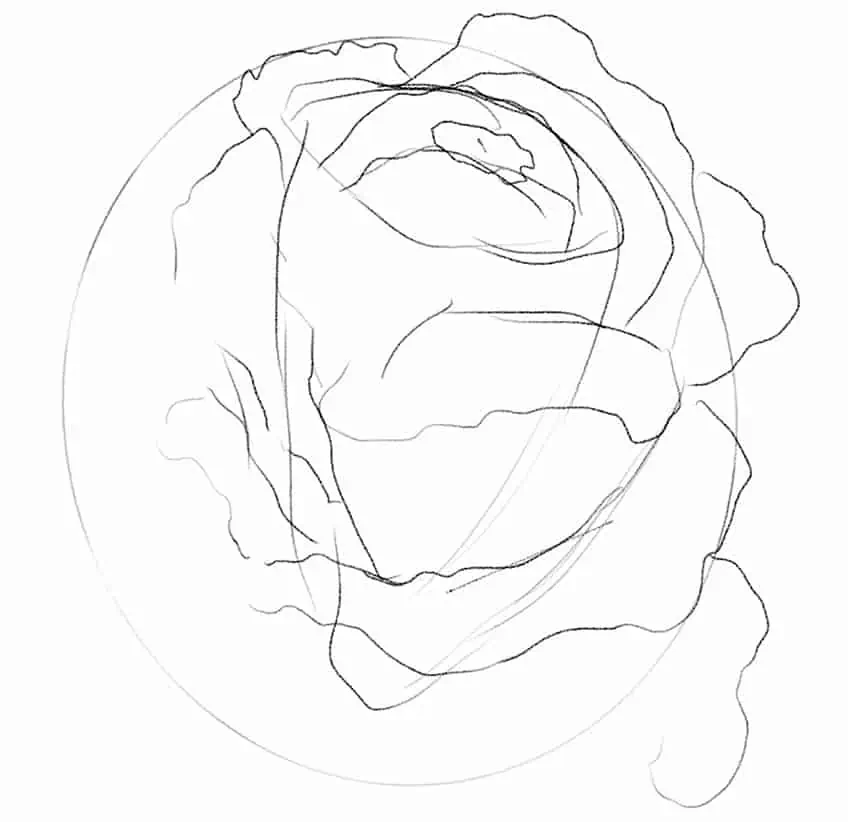
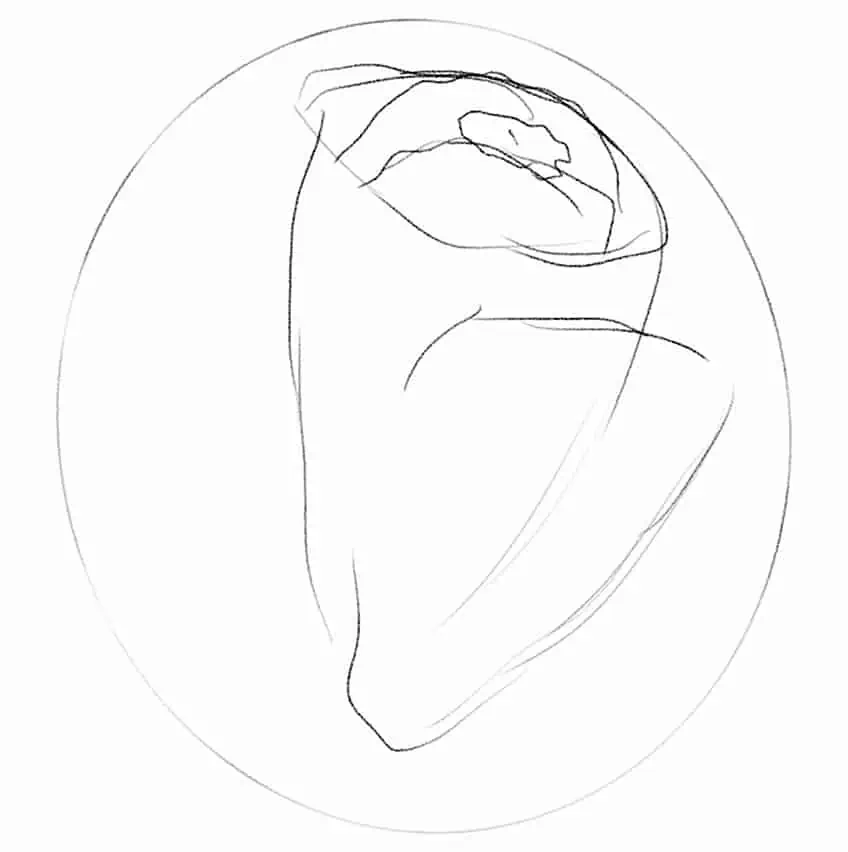
Step 3: Refining the Petals on the Rose
Once we have worked out the wrapping quality, we can then start to refine the petals a little more with finer linework. We want to keep in mind that the petals are quite disheveled along their edges.
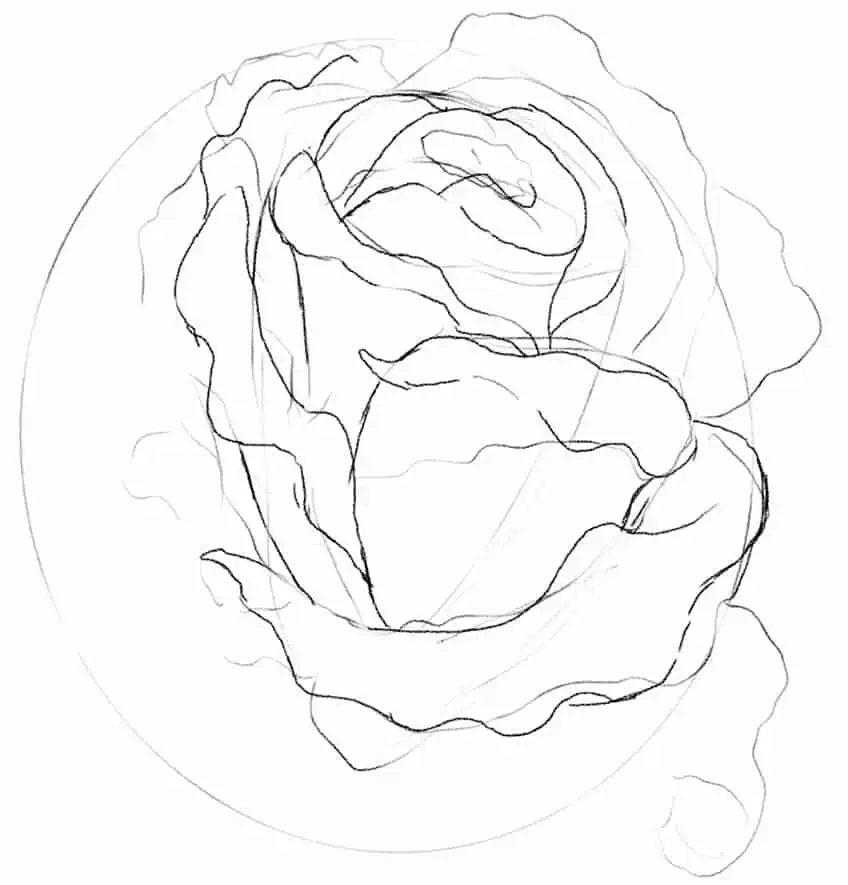
This means we can add ridges along the edges by creating these bumps along the edges of the petals. Once the general shape of the petals has been established, you can play around with how you refine their shape, adding in smooth and disheveled petals as they wrap around one another.
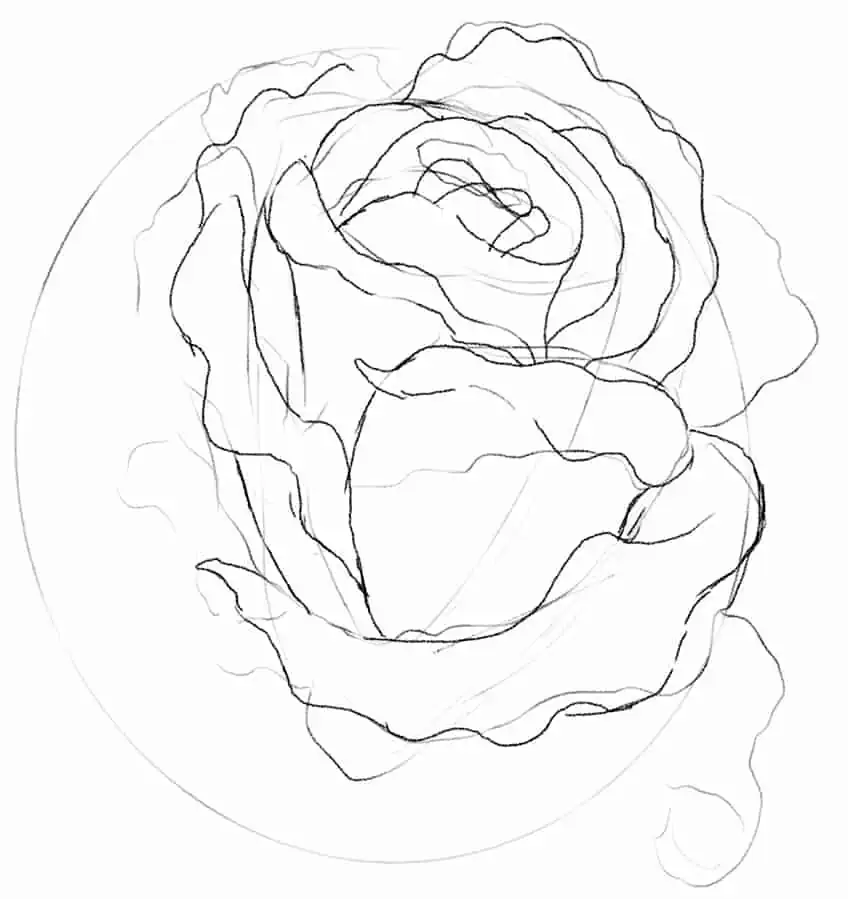
Once we start to have the general outline of the petals drawn, we can then work in some leaves along the bottom of the rose. leaves on a rose tend to be quite narrow and spearheaded. you can decide how many you would like in your rose drawing.
Step 4: Adding Shading to the Rose Drawing
Now that we have established a general rose drawing and worked out the outline, we now want to add dimension to the drawing with shading. We do this by working on shading each of the petals.
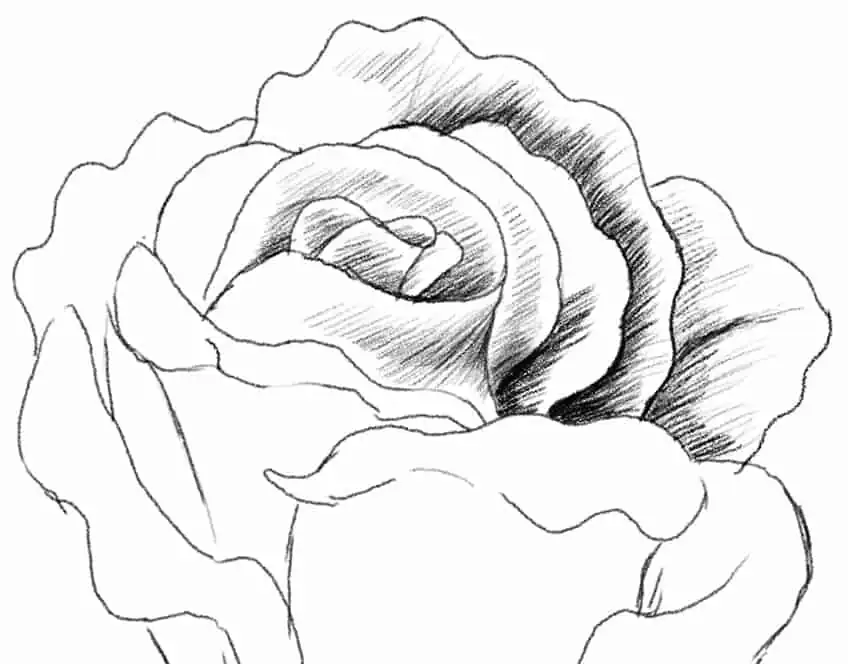
We want to consider how light would interact with a rose’s petals because roses are compact in the center, and more shadows would be present in the center of the flower. The shadows would then slightly disperse as they moved toward the edges of the petals.
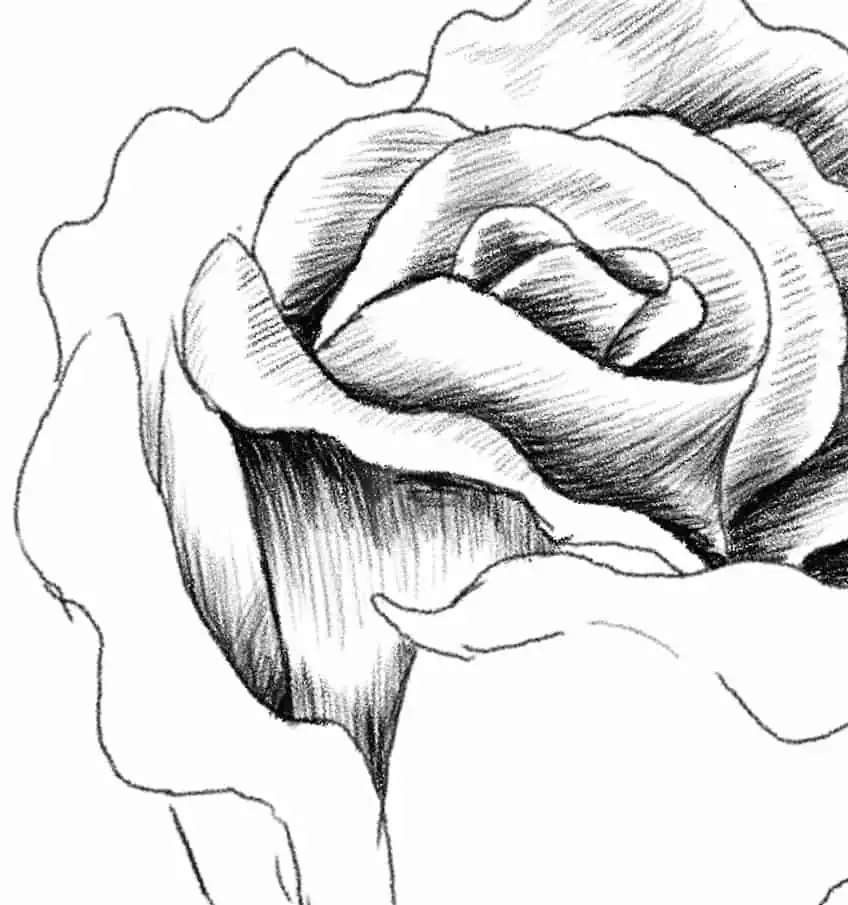
We also want to think about our shading style, this could be smooth for shadowing but more line-styled to provide texture to the petal surfaces. Think about how the petals also curl near the edges and cast subtle shadows on their surface.
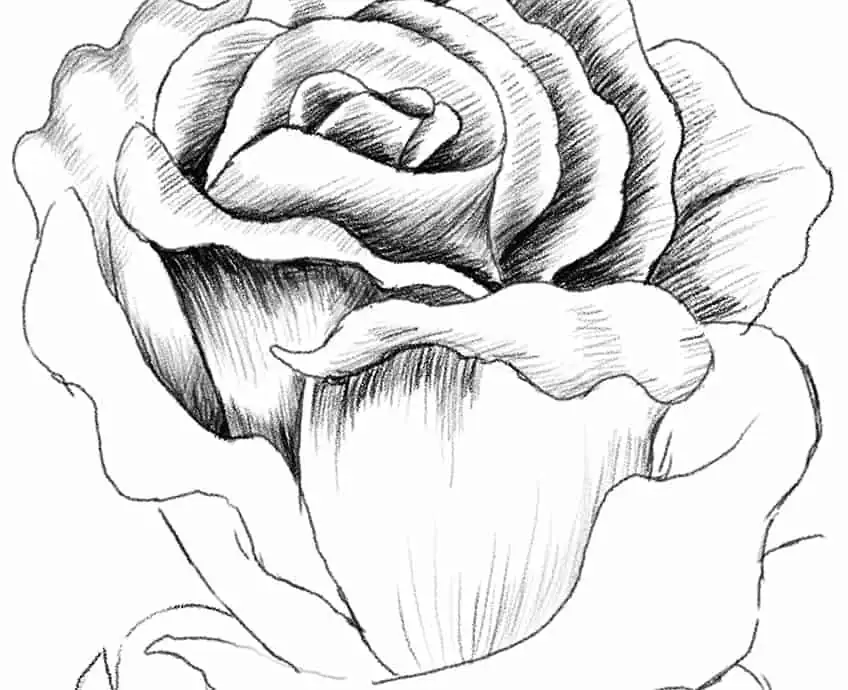
Take your time, slowly working through the entire rose drawing, adding shading to each petal. You want to make sure that the shadowing remains consistent and makes sense with the rose formation and how it folds in on itself.
The leaves of a rose are generally darker compared to their petals. The way in which we can represent this in a sketch is to darken the shading in the leaves. We want to have variety in the tonal ranges throughout the different features of the rose drawing.

Step 5: Drawing the Stem and Leaves
The stem of a rose drawing is quite narrow with a sturdy shape, allowing the rose to stand upright. This can be drawn as a thin structure directly below the center of the rose head.
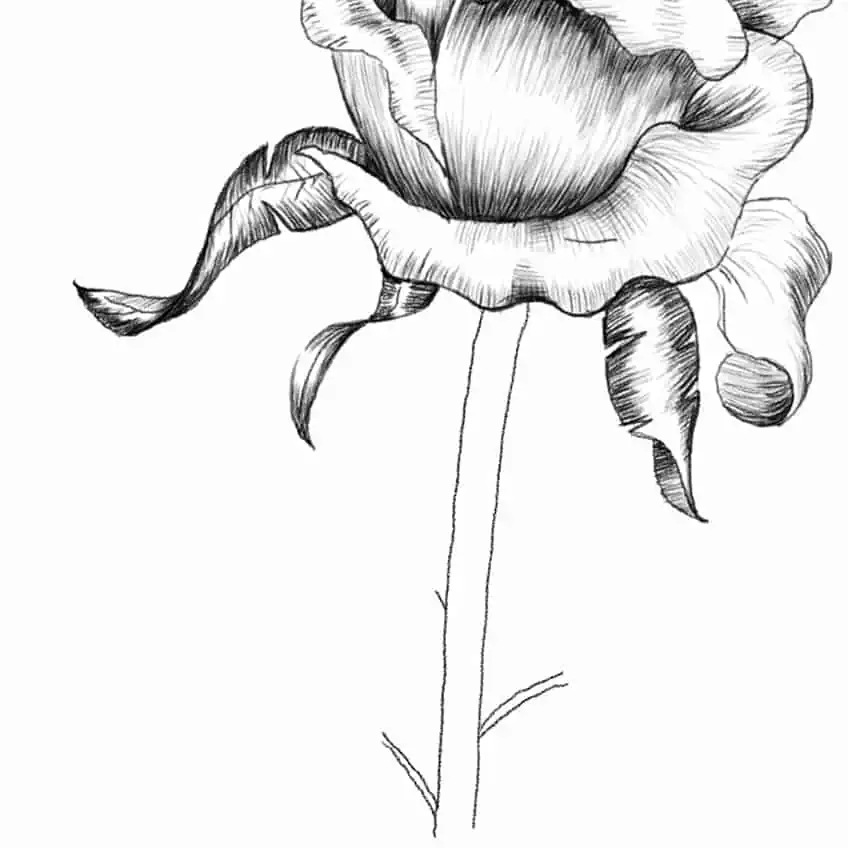
We can add texture to the stem with darkened vertical lines, this is going to define the fibrous quality of the rose, drawing stems tend to be quite moist, allowing for these vertical lines to run down the stem. We can also draw in the little thorns of the flower.
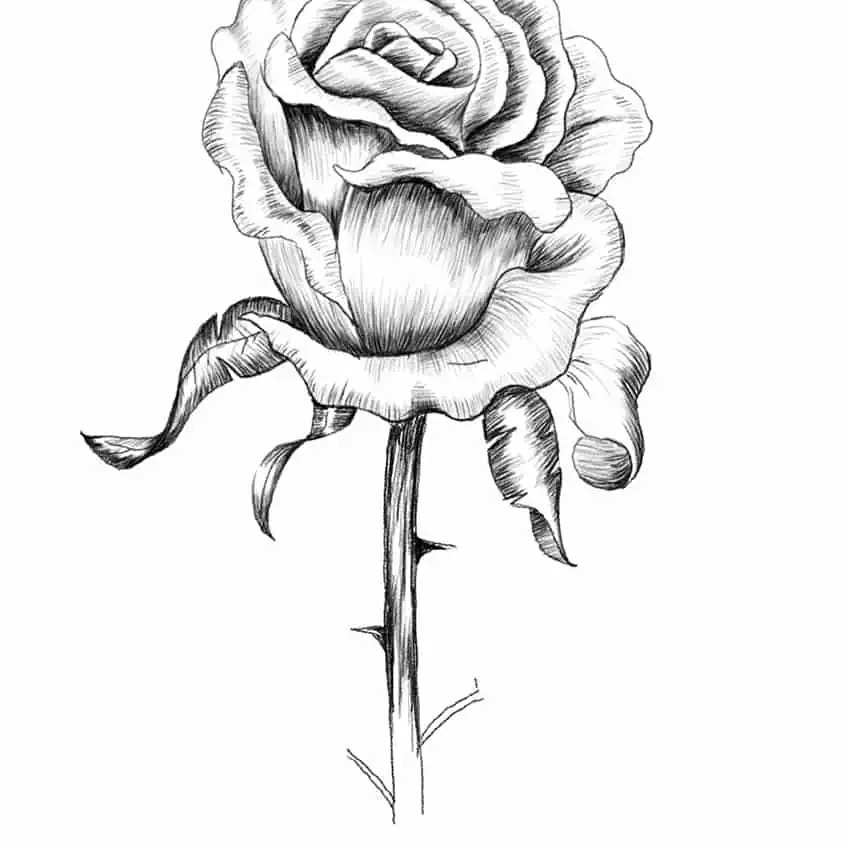
As we continue we can proceed with drawing in the leaves of the rose, the leaves can be drawn as circular spear-headed shapes. The leaves are generally in groups of two or three and are connected to thin branches that connect to the stem.
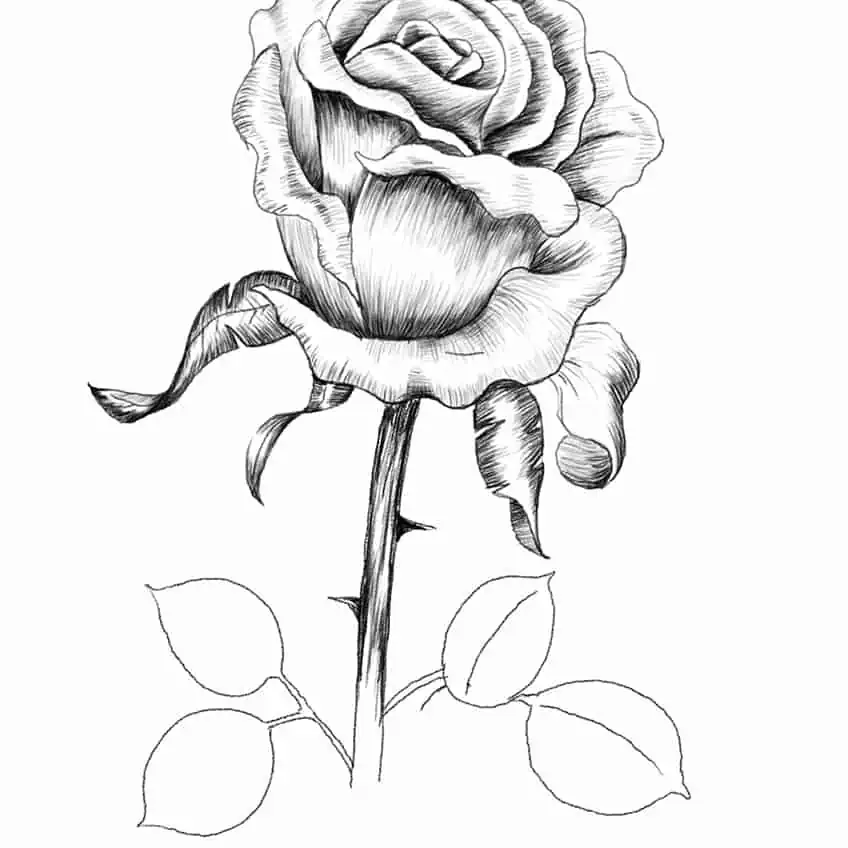
We can draw the pattern in each leaf as a series of lines that connect to the outer edges and the center partition in each leaf. We want to make sure we draw a variety of these lines in each leaf.

We want to add linework to each leaf, making sure we have a center line that runs through each leaf with shading along either side. Take your time shading each of the leaves.

As we continue with this process we will start to see how the leaves bring a different realistic quality to the rose drawing. The leaves are an important aspect that contextualizes the rose drawing.
You can add in as many leaves as you would like, giving the rose drawing a fuller look. remember to take a break whenever you feel tired so that you can retain consistency in the shading.

Continue with this process of shading and make sure you go over all the different features in the rose drawing one last time, making sure you have worked out the detailing and shading. And there you have it! How to draw a rose in a few simple steps.

Tips and Tricks To Remember
- Establish the shape of the rose first. You want to make sure that you build the structure of the rose in its fundamental shape before refining the shape.
- Consider the light source. Try to keep the shadows consistent within your rose illustration.
- Play around with shading styles. Different shading techniques can be used to achieve different effects in your rose drawing.
- Experiment with possibilities. Once you know how to draw a rose, explore the possibilities of how you can use it in your work.
Rose drawings are quite simple and are a great drawing exercise to practice your shading and line work. Roses also have unique textures, which is a good challenge for drawing. There is a lot to be gained from a simple rose drawing, both in technical skills and as an additional feature to your own work. There are many ways to be creative and how use your drawing of a rose.
Frequently Asked Questions
How To Draw Leaves on a Rose?
The leaves on a rose are simple in form, as they have a rounded shape that narrows towards the tip like a spearhead. The leaves have veins that connect between the edges of the leaf and to the center line, which runs through the leaf from bottom to top. We want to use linework to give the leaves a textural quality, which will simultaneously, create a vein-like feature that is unique to leaves. Leaving some negative space within each leaf also gives a subtle reflective quality, which will define a smooth surface area on the leaf.
How Do You Draw the Shape of a Rose?
The rose shape is quite simple; you want to imagine it as a swirling or wrapping shape. The inner petals become more compact and, therefore, wrap more closely to one another. The outer petals start to become much wider and looser, allowing for slight curves along the edges that fold into themselves. The petals are also uneven with ridged edges, giving the rose a subtle disheveled aesthetic. Mainly, it is important to maintain the wrapping quality of the flower’s petals.

Matthew Matthysen is a multidisciplinary artist. He completed his fine art degree, majoring in History of Art and Contemporary Drawing Practice at the University of Witwatersrand, South Africa. Before joining acrylgiessen In 2020, Matthew worked part-time as an art teacher at Reddford Blue Hills High school. Matthew creates drawing and painting tutorials for acrylgiessen and captures them not only photographically and in written form. He also records the creation of his works in his own creative studio as in video format, from which later with a voiceover and a video editor also drawing tutorials for the Youtube channel of acrylgiessen are created.
Learn more about Matthew Matthysen and about acrylgiessen.