Acrylic Glazing – The Best Method for Glazing with Acrylic
This post may contain affiliate links. We may earn a small commission from purchases made through them, at no additional cost to you.
When referring to acrylic glazing, we often conjure up an idea of a top or seal coating applied over the acrylic paints to preserve your painting. However, by acrylic glazing, we refer to a very thin layer of paint that is lustrous and transparent and is applied over your paint to bring out the color underneath. All the delicate and fine layers of glazing transform the colors beneath a painting and produce a more solid form that brings your painting to life. In this article, we will show you the glazing techniques you can apply for that special refined appearance you are looking for.
What Are Acrylic Washes and Acrylic Glazes?
When painters want to thin or lower the viscosity of their acrylic paints, all they do is add some water, which is also known as acrylic washes. However, when the painters make use of mediums to change the viscosity of their acrylic paint and make it transparent, these are known as acrylic glazes.
The main or key comparison between acrylic washes and glazes is that acrylic washes soak right into the surface, while the acrylic glazes stay on top and bring out the undertone of the colors more clearly. So, how, and when do you use these different techniques in your acrylic paintings?
Acrylic Washes
An Acrylic wash is made up of fluid acrylics that are thinned with water and then brushed over a dry canvas that has been pre-wet with a few drops of some wetting agent. Thinning the paint reduces the pigment in the paint as well as the amount of acrylic binder. When the wash dries, the pigment particles are dispersed onto the painting surface with a small amount of the acrylic binder. When you use acrylic washes, the pigment particles tend to collect in certain concentrated areas. This depends on the way you applied it and also how absorbent the surface is.
This type of pigment flow is at times very hard to control, which can make this technique challenging to work with.
For this acrylic wash technique, you can make use of heavy body acrylics. However, it is a lot easier to use high-flow acrylics or fluid acrylics. How much water should you add to your acrylic paint? If too much water is added, it will cause the acrylic binder to break down which will result in the paint failing to adhere to the surface and flaking off. Over the years, the acceptable amount was a 1:1 ratio, but because acrylic paint is water-based, it already contains around 45 to 55 percent of water. So, a more reasonable and safe figure will be around 30 percent.
Acrylic Glazes
You can create an acrylic glaze by using any form of transparent medium to extend the paint. An acrylic glaze is a rich mixture binder that contains a small amount of paint mixed with a larger amount of transparent medium. The mediums that you can use and which work well are a high flow medium, glazing liquid, or even a very thick gel medium. Non-transparent mediums such as pumice gels or molding pastes are not going to work effectively when mixing your glaze. Acrylic glazes, on the other hand, are much more effective and you can make use of thick, thin, or any consistency in-between. Glossy mediums produce the best clarity and transparency, whereas the semi-gloss mediums will give you a slightly misty or foggy effect, which you can make use of if you are looking for that type of effect.
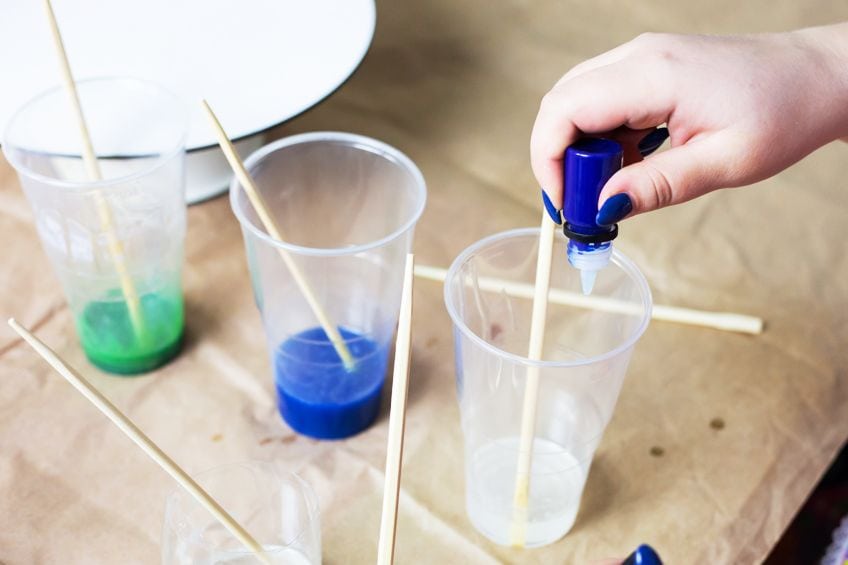
Acrylic glazes, if applied correctly, can bring out the brightness of the colors by allowing the light to travel through your glazing medium to the surface and then bounce back through your medium. This effect is very difficult to achieve without the use of a glaze. You can make your glaze very simple by just adding some water. You can also add other additives to create a more effective glaze. Here is an easy-to-understand description of the glazing art technique. When you take a red-colored lens and hold it up to the light, then place a blue-colored lens in front of the red lens, you will see a purple color. This is the basics of glazing, where you mix colors by making use of transparent layers.
Famous painters like Rembrandt, Leonardo da Vinci, and Vermeer all used glazes in their work, because if they did not, then the pigments in the paints would turn a black color when mixed directly.
For example, if they wanted a purple color, instead of mixing red and blue directly, they would paint a layer of transparent red and then add a layer of transparent blue that would visually blend the colors. This allowed the light to pass through the transparent layers of paint, giving it a special glow, and depending on how the light shone it gave their painting depth. When working with acrylic paints and applying paint glazing techniques, the acrylic medium should tint the painting with transparent acrylic colors. This should produce a rich surface that has amazing deep colors with a jewel-like finish. Transparent pigments always produce clear glazes that when applied in layers, will bring a glow to your images.
When Should you Apply an Acrylic Wash or an Acrylic Glaze?
You can use an acrylic wash when you want to thin out your paint so that it can be better absorbed into the canvas surface, which should give you an effect that is similar to watercolors. Washes can be applied to pre-moistened or dry absorbent surfaces as well as on surfaces that are not very absorbent. Acrylic glazes can be used when you want a transparent color effect in a subtle paint film, this allows you more control of the surface sheen and easier handling of the paint on the surface. Depending on the viscosity and how you apply the glaze, you can create sharper and more controlled edges as well as graduated or sheer color effects.
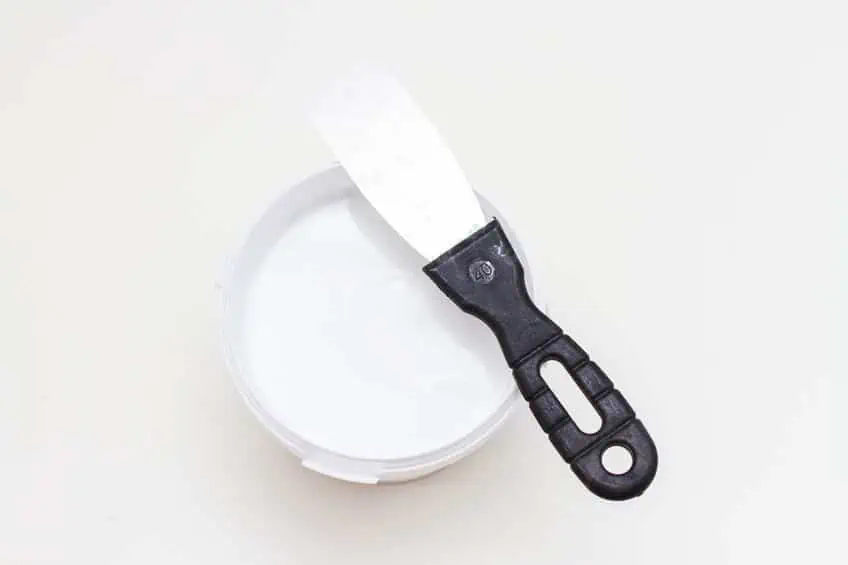
You can create some amazing and intense color effects with glazes, especially if you make use of certain synthetic organic colors such as phthalic greens and blues or quinacridones. Glazes created with these colors and applied over a white background provide high chroma overtones that generate brighter colors, better than when tinted with white. You can apply acrylic glazes with a paintbrush, palette knife, or squeegee. Acrylic glazes can even be poured out if you make use of a thinning medium. However, take note that certain thinning mediums can tend to “craze” if you apply them too thickly. This craze term means that it creates a surface defect, which is formed mostly with the use of acrylic paints. What happens is a thin skin is formed on the surface while the paint underneath stays fluid and wet.
This causes stretch marks all over the canvas surface as acrylic is very flexible and stretches when the paint film begins to dry out.
When applying the acrylic glaze with a paintbrush, you will often notice brush marks in the raised areas, owing to the darker drying of these areas. If these marks do not bother you can leave them, or if you want to remove them, then you can use a thinner medium to make another glaze, which you can apply using a palette knife or a synthetic bristle brush.
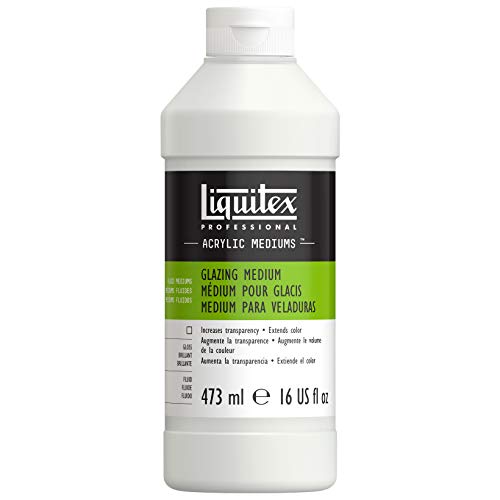
The Best Acrylic Glazing Medium: LIQUITEX Professional Fluid Medium
The Liquitex Professional Fluid Medium is one of the best acrylic glazing mediums on the market. It is water-based and self-leveling, enabling you to create layers of transparent colors without leaving any brush marks behind. You can also create amazing effects with a jewel-like finish that will not yellow over time, giving you an archival quality surface. The Liquitex fluid medium does not take long to dry, around 40 minutes to one hour. This allows you to add other layers fairly quickly, but you need to ensure that each layer is completely dry before applying the next one. If you are rushed for time, you can always use a hairdryer to dry the glaze faster.
- Creates a brilliant jewel-like glaze with acrylic paints
- Easy to apply, levels quickly, and does not yellow with time
- Non-toxic, lightweight, and water-resistant glaze
You can mix any amount of acrylic colors to your Liquitex glazing medium, but smaller amounts will always give you the best transparency. The product is specially formulated to provide maximum adhesion and flexibility. The product will also not crack or chip on your canvas in high humidity and other temperature changes. The product is useful and can be used on various surfaces like wood, paper, canvas, and much more. The Liquitex glazing medium can also be used as a non-removable varnish, which can protect your painting and can form a gloss sheen surface finish. When dry, it will form a hard, non-tacky, and flexible surface that resists dirt retention.
PROS
- Water-resistant after drying
- Non-yellowing over time
- Durable
- Permanent
- Fairly quick drying time
- Water-based so non-toxic
CONS
- Cannot be applied over oil paints
- Fairly expensive
- Difficult to remove when dry so we suggest you use gloves when applying
How to Apply the Acrylic Glaze
Applying glazes to your paintings is a very powerful technique, and can bring your painting to life and is not very difficult to master. Acrylic glazing uses a watery layer of paint that is transparent, which will allow the colors beneath to be transformed and show through. The more glazed paint layers you apply, the more it will bring out the glow and depth of your image, giving it a perception of solidity and form. Let us now show you how to mix and apply glazing with acrylic.
Tools and Supplies Needed
Like any other project, you must have all the necessary tools and supplies available before you start. Make sure all the tools can be reached easily. As acrylic glazing mediums are water-based, it is not necessary to be in a well-ventilated area as they are non-toxic. However, it is always advisable to paint in a space that is comfortable and not cramped or overcrowded. Here is a shortlist of the tools and supplies you will need.
- Acrylic glazing medium
- Plastic bowl
- Paintbrush
- Palette knife
- Water preferably distilled water
- Acrylic colors
- Soft clean cloth
Mixing Your Acrylic Glaze
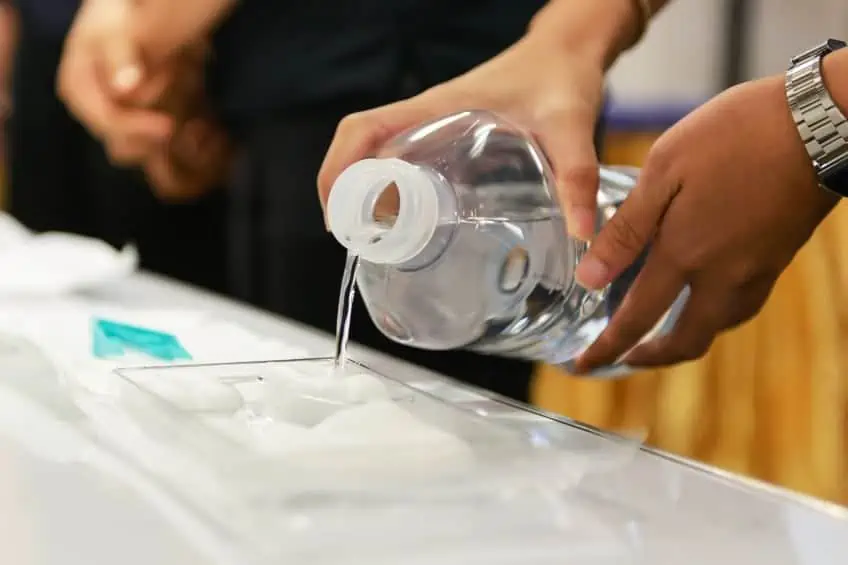
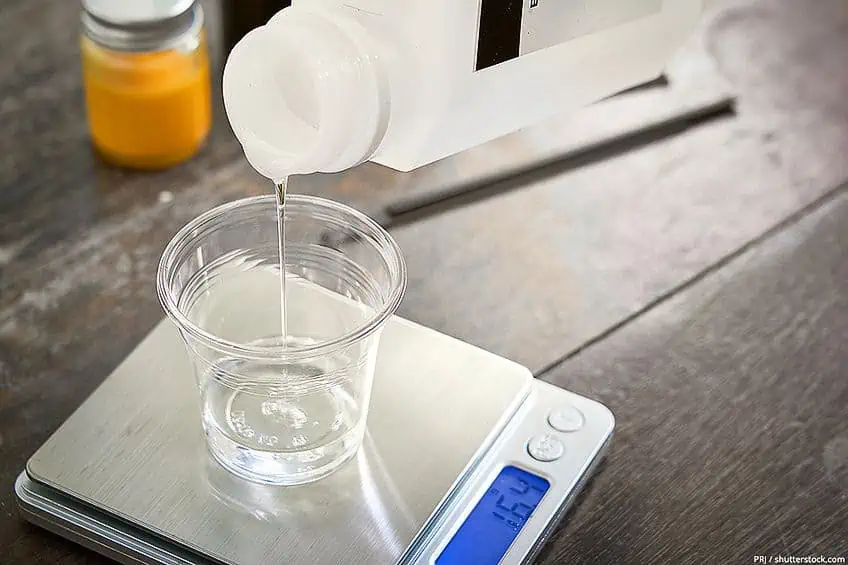
When creating your acrylic glaze, mix all of the ingredients including the glazing medium, acrylic paint color or pigment, and water. Some say the ratio of mixing is one-third glazing painting liquid, one-third acrylic paint color, and one-third water. Others say one part of acrylic paint color to 10 parts of glazing medium, and then add enough water to create the right consistency. There is no perfect ratio or formula to use for this mixture, but the amounts used will depend on what you want to do with your glaze. If you mix in more glazing painting liquid, your glaze will be more transparent, or if you mix in more acrylic paint color or pigment, your glaze will be opaque.
For this article, the glaze needs to be transparent, so you need to mix only a very small amount of pigment or acrylic paint color as the paint pigments have very powerful tinting strengths. Remember that you need to mix in enough water so that the glaze mixture is thin and pourable. So, the level of consistency you are looking for should be thin enough that you will be able to see your painting underneath. You must be careful not to add too much water to your glaze as the watery glaze will lose its ability to properly adhere to your canvas. When mixing the glaze, do it gently to avoid creating bubbles. However, if some bubbles do appear, leave your glaze for a while until all the bubbles rise to the surface and disappear.
The glaze will be semi-opaque when it is wet but will become transparent as soon as it dries.
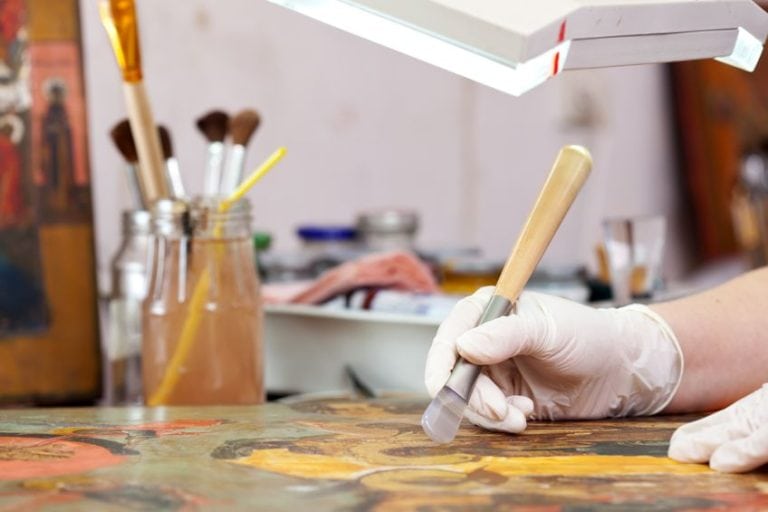
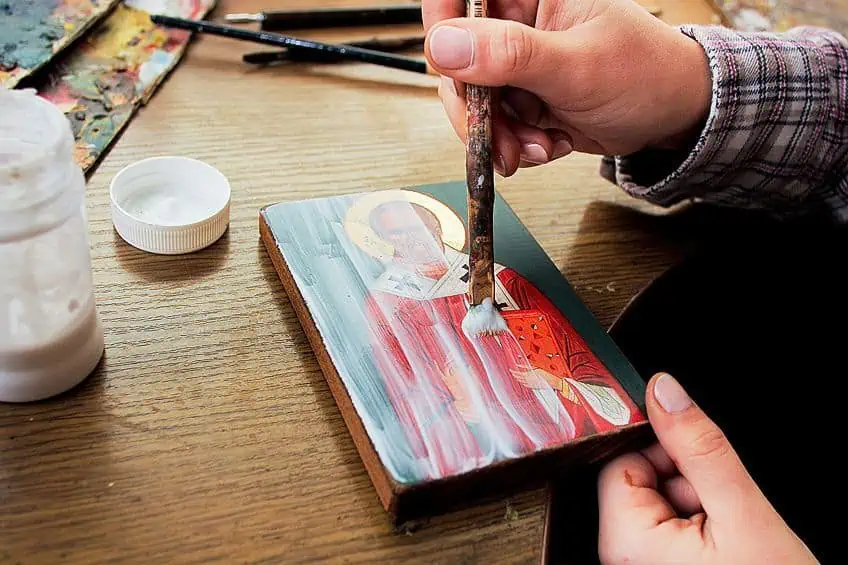
Applying the Glaze
Take the glaze you have mixed and apply with a brush. Make sure it is a soft bristle brush, apply the glaze in one uniform direction, which will create a much smoother glaze. When applying the glaze, it is important to understand that it is not how much glaze you put onto your painting but how much you take off that makes the difference. Once you have finished applying the first layer, take your clean, soft cloth and start removing some of the glazed paint from your painting. This means that in certain areas you will remove more of the glaze than in other areas and provide depth to the painting. If you are used to working with watercolors, then the acrylic glaze feels almost the same because it is so thin. So, if your acrylic glaze has the same fluidity as watercolors, then you are doing the process correctly.

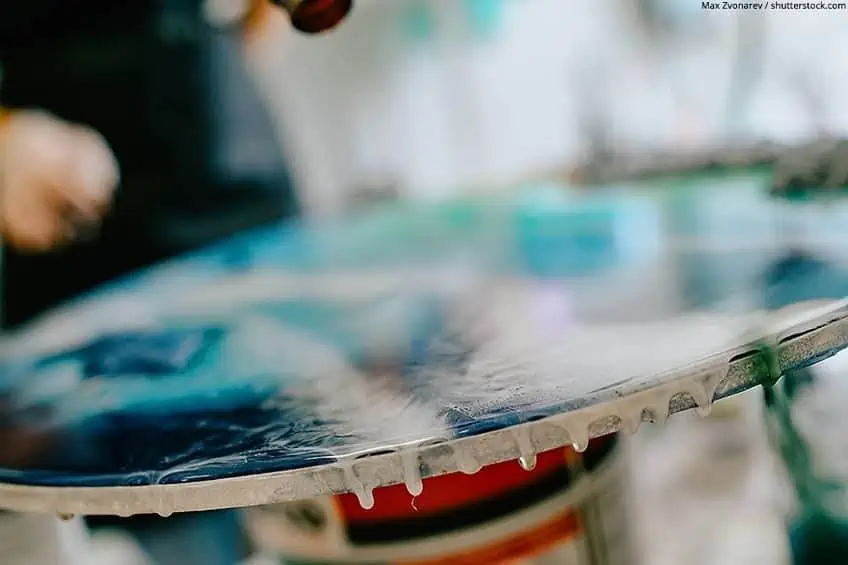
When applying your glaze, you may notice that it is quite thin and watery. Thus, it is best to lay your painting down flat as the glaze will flow down in an uneven pattern when in an upright position. This will form pools of acrylic pigment at the bottom of your painting, which is not what you want. When you have made a mistake, do not stress, all you need to do is to paint over that area again and the problem should be solved. This is the beauty of working with acrylic paints. Once you have finished applying your first layer of glaze, you need to wait 40 minutes to one hour before you can start applying the second layer. If you do not do this, your glaze will be ruined, and you will have to start all over again.
You can use as many colors and acrylic glaze layers as you want. This will create a thick glaze that will give you a high degree of transparency, and the colors will also become deeper, brighter, and clearer with each layer.
By applying a glaze, you can improve or change the properties of your paint colors. Looking for a violet color? All you need to do is apply a red glaze first, then apply a blue glaze over that and you will have the violet color you want. Similarly, you can also change the temperature of your painting by simply adding a glaze that is warmer or cooler over the area you want to change. For example, you can make a painting that was painted in the daytime look like a moonlit evening scene. You can accomplish this by using transparent colors, and if you are not sure if the color you are using is transparent or not, simply read the instructions on the back of the tube.
Acrylic Glazes Versus Glass for Picture Framing
When you are thinking of framing your glazing art, you need to consider certain factors. For example, the type of frame – is it plastic, metal, or wood? You should also consider how you want to protect your prized art piece. Also, you might want to consider your budget and how and where you will be displaying your art piece.

You can choose acrylic or glass for protecting your painting, and both have their pros and cons. However, there are various quality levels and properties of both acrylic and glass, so we will simply be looking at the standard products.
| Acrylic Glazing | Glass |
| Will not break | Can shatter or break easily |
| Allows ten percent more light in | Allows less light in |
| Colors will be more clear and radiant | Colors will be less radiant and clear |
| UV rays may damage the painting | No damage caused by UV rays |
| No reflection or glare | Can cause reflection and glare problems |
| Expensive | Cheaper to use |
| Can be scratched | Painting cannot be scratched |
| Acrylic is much lighter | Heavy |
Tips for Applying Acrylic Glaze
An acrylic glaze is just an extremely thin layer of transparent paint that is applied on top of another layer of paint. This then dries and brings out the depth, richness, and luminosity of your paint colors, which is not possible to achieve by mixing the paints on your palette.
This effect is due to the light traveling through the transparent layers, bouncing off your canvas and reflecting at you.
- Transparent colors work best, so you need to understand what colors are transparent and what colors are opaque. Often this information is reflected on the back of the paint tubes, making it easier for you to know which ones are transparent.
- As acrylic glazes are very thin, they work best on smooth surfaces, otherwise, your glaze can build up on rough surfaces creating a puddle. So, a fine-weave canvas is ideal to use.
- Apply your glaze to a light-colored background as this will reflect the light better, whereas a darker background will tend to absorb the light.
- Make sure you use a flat soft brush to apply your glaze so that the glaze can go onto your canvas smoothly without leaving any brush marks behind.
- When you have finished with your glazed paint, it is recommended that you apply a final glaze over the entire painting, which helps to unify the whole painting.
- If you find your glaze is drying too quickly and you do not have enough time to direct it, apply a small amount of glazing medium or wetting spray.
- Try not to over-brush with your glaze as this may cause a foggy or hazy look after it dries.
- Never use this glaze with any non-acrylic mediums.
- Add some glaze to build up dark areas in your painting and leave the white areas to shine through, this will give shadows a lot more depth.
- Apply glazing medium directly to your painting and then add pigment while the medium is still wet. Blend the colors directly into your painting, you can also move the wet pigment around from one area to another
We hope that this article has been of help to you and allowed you to better understand the awesome tool you have at your disposal, which is acrylic glazing. This truly is an amazingly powerful tool and making use of it will allow you to become a lot more creative with your painting skills.
Frequently Asked Questions
What Is Glazing With Acrylic?
Acrylic glazes are extremely thin layers of paint that are transparent, and when applied to your painting it allows light to shine through the layers, bringing your painting to life and making your colors more vibrant and clear. Many artists use paint glazing techniques to mix their paints as it gives you colors that cannot be equaled by mixing on a paint palette.
Must You Include Water With Acrylic Glazing Medium?
Sometimes the glazing medium is very thick and needs some water to thin it out a little. However, you need to take extra care not to use too much water as this will weaken your paint film and cause it to not adhere to the canvas properly.
How Long Does It Take Acrylic Glazes to Dry?
In most cases, it takes about 45 minutes to one hour for the glazed paint to dry. This depends on the environment, but you need to allow the glaze to dry properly before you apply the second layer.
When Can You Start Wiping Off the Acrylic Glaze?
Remember that once you have applied your glaze to your painting, you do not have a lot of time before the glaze begins to dry. We suggest you move quickly, removing the glaze from 30 seconds to one minute after being applied. If you find the glaze has already begun to dry, you will have to sand the layer off and start all over again.

In 2005, Charlene completed her wellness degrees in therapeutic aromatherapy and reflexology at the International School of Reflexology and Meridian Therapy. She worked for a company offering corporate wellness programs for several years before opening her own therapy practice. In 2015, she was asked by a digital marketer friend to join her company as a content creator, and it was here that she discovered her enthusiasm for writing. Since entering the world of content creation, she has gained a lot of experience over the years writing about various topics such as beauty, health, wellness, travel, crafting, and much more. Due to various circumstances, she had to give up her therapy practice and now works as a freelance writer. Since she is a very creative person and as a balance to writing likes to be active in various areas of art and crafts, the activity at acrylgiessen.com is perfect for her to contribute their knowledge and experience in various creative topics.
Learn more about Charlene Lewis and about us.