Beach Art – Resin Art Tutorial with Textures
This post may contain affiliate links. We may earn a small commission from purchases made through them, at no additional cost to you.
With this resin art tutorial for beach art I would like to present to you my resin artworks with textures. I will show you step by step how you can make beautiful resin paintings with a naturalistic ocean look that incorporate wonderful structures and natural materials, and which resin art supplies you will need to re-create it. This is where you receive inside information into resin art-making, combined with valuable tips and tricks – from the basics to the finished artwork.
Basics for the Application of Resin and Textures
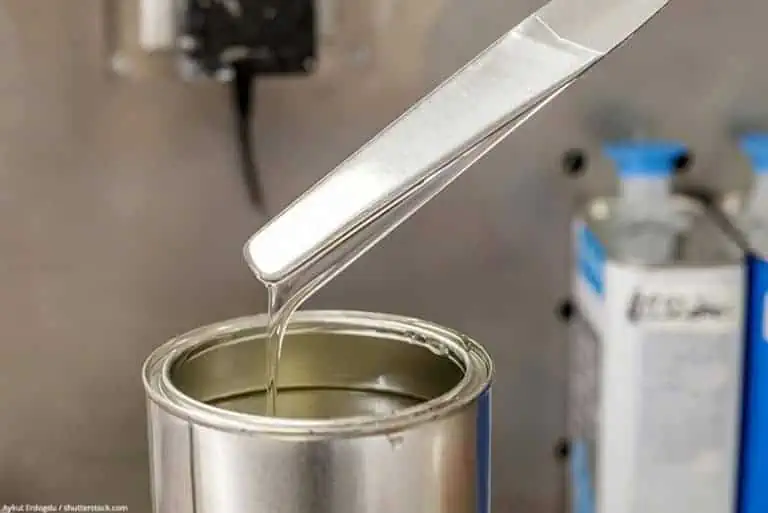
Resin is a two-component-system consisting of resin and hardener. The mixing of the two components produces a chemical reaction that causes the liquid resin to harden into a plastic. After curing, a clear, high-gloss surface with WOW effect is created.
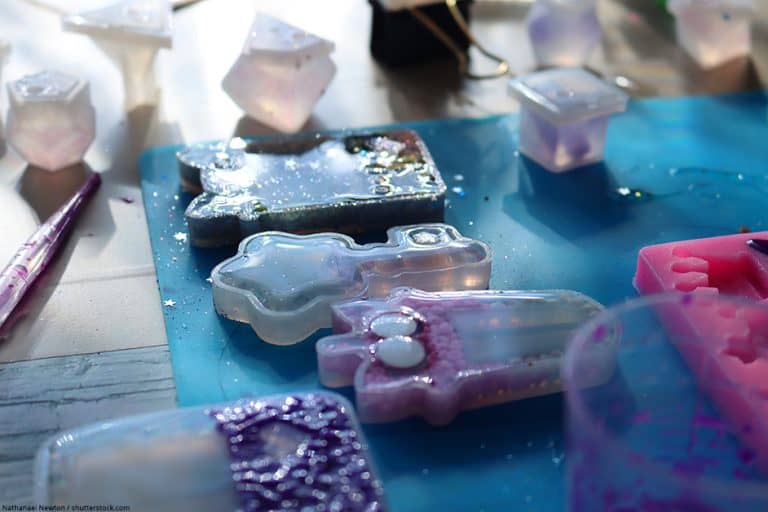
During structural work it is up to you whether the resin should completely enclose the structures or whether the structures should stand out from the resin. Designed resin art with structures enchants with their clarity, brilliance and depth.
You can create great 3D effects with it:
- The choice of the painting surface
- Different colors and pigments
- The textures and added decoration materials
- Additives like resi-BLAST or isopropyl alcohol 99,9% for building cells
- The casting method
Resin and Quantity Calculation
I use Master Cast 1-2-1 for my resin paintings. This resin is particularly suitable for the coloring of resin. At a room temperature of 22 degrees, you have 20 to 30 minutes working time until the drying phase begins. The mixing ratio for Master Cast 1-2-1 is 1:1, i.e. 1 part resin and 1 part hardener. By stirring slowly for at least 2 to 3 minutes, a uniform consistency with a chemical reaction is achieved. The stirred mixture must not remain in the mixing vessel for longer than 4 minutes as otherwise, a strong heat development takes place which accelerates the curing process and thus also shortens the processing time.
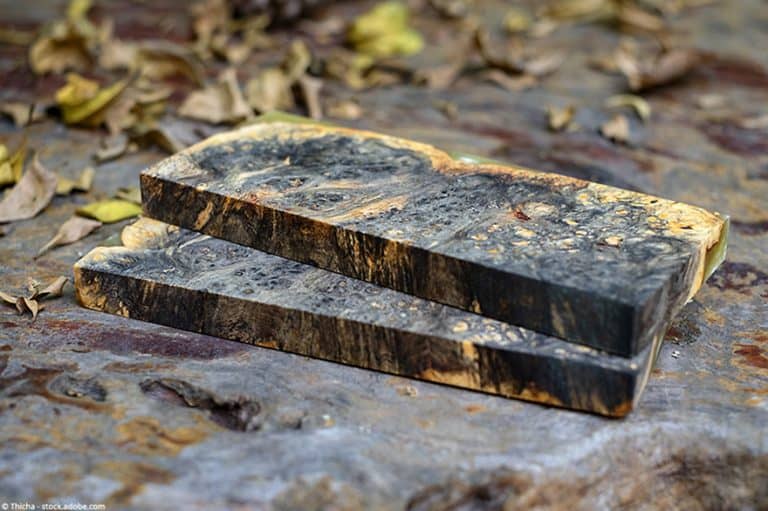
Painting substrates made of wood, glass, Plexiglas, metal and much more are all very suitable for resin art. Canvases are generally unsuitable, especially for larger pieces as the weight of the resin and the collage materials cause the canvas to sag and then the resin pools in the recesses.
Supplies you need for Beach Art Resin Paintings with Textures
- Epoxy Resin
- Wood panel as a painting ground
- Pebeo Fantasy Moon Multi-Surface Pearl Effect Craft Paint
- Viva Decor Maya Gold Set
- Amsterdam Acrylic Paint Set
- Construction Adhesive
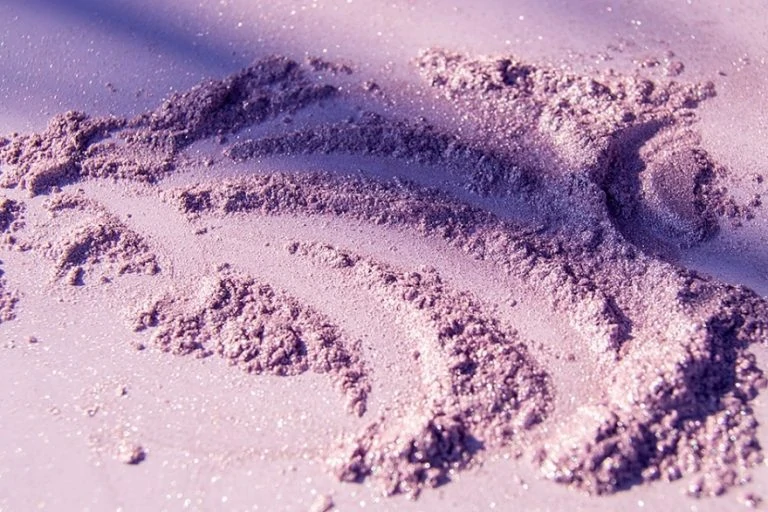
- Sand paste, seashells, glitter
- Isopropyl Alcohol 91,9%
- Resin Mixing Cups and Stir Sticks
- Jumbo Craft Sticks
- Palette Knife Set
- Heat Gun
- Butane Torch
- Nitrile Gloves
- Respirator Mask
Resin Art Tutorial for Beach Art with Textures
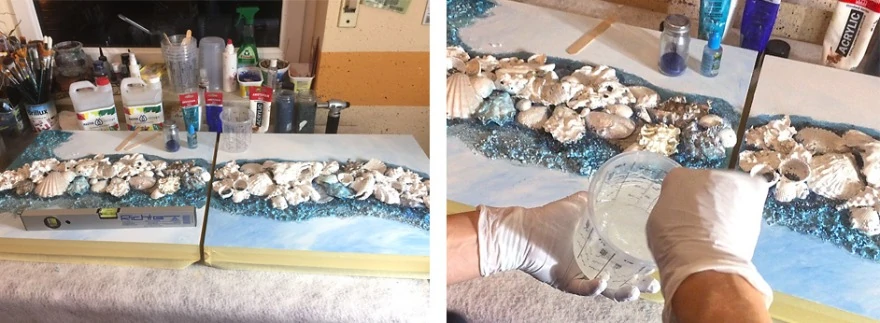
Step 1: Preparation of the Workplace and the Painting Surface
- Layout the table and floor with foil
- Provide all required materials
- Clean the background of the picture with vinegar or spiritus
- Glue the side edges of the painting base with crepe (protection against soiling when applying the structures)
Step 2: Create Textures
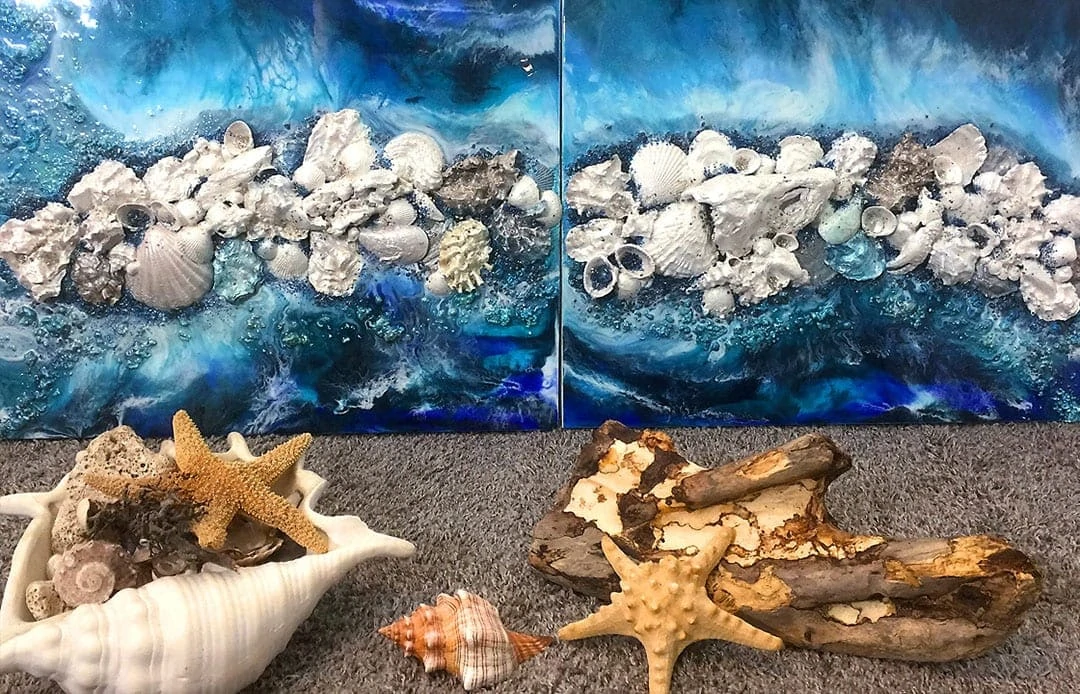
- Select the collage supplies and arrange them according to your preferences
- Fill the substrate with coarse sand structure paste (only the area where the collage materials are to be fixed)
- Now the mounting adhesive is used! The collage materials or natural materials can be generously coated with mounting adhesive, but the adhesive is not visible on the picture
- Once all the materials have been fixed as desired, the area around the shells, stones and woods is designed. For this I also use structure paste coarse and extra coarse
- After about an hour, when the structure paste has dried slightly, I apply further structures with assembly adhesive. This should be spread, otherwise unattractive foam bubbles form (this needs a little practice)
- Once these design steps have been completed, I have to take a break for at least 12 hours so that everything can dry well (I like to put on structures in the evening so that everything can dry well overnight and the next day it can go on fresh and lively)

Step 3: Priming the Collage Materials
- Before I start with the primer, I check whether all collage materials are firmly bonded to the substrate
- For priming, I use white acrylic paint (this is my personal taste because I can play with other color nuances)
- Important for this step is that all spaces and the collage materials are painted with the acrylic paint
- Especially if structures have been applied with assembly foam, it must be completely covered with paint, otherwise it will become crumbly (i.e. it needs a protective layer)
- Now we have to be patient again because everything has to dry out well
Step 4: Creating Color Nuances in the Area of Structural Materials
- I am a big fan of Pebeo effect colors for the color design of collage and structure materials. These can be applied very well with a pipette and are therefore very suitable for the spaces between, as they flow into the recesses
- To create the structures I chose a dark blue, turquoise, silver and a light cream shade of Pebeo
- After a new drying phase you can set color accents with the shells, stones and woods. I have chosen different shades, but mainly white, mother-of-pearl and a white-silver pigment
Step 5: Set Accents
- The entire area of the structures can now be covered with resin using a brush
- Here you should be absolutely careful that no larger amounts of resin run together because otherwise unattractive “puddles” arise
- You can add decorative stones, gravel, mirror glass pebbles and glitter to the still liquid resin according to your taste. I have chosen deco pebbles in different shades of blue, mirror nuggets and glitter in blue and silver
Step 6: Preparation for Resin Casting
- The workplace should be clean, dust-free and well ventilated
- First, the frame has to be taped again. Therefore the tape should end at the upper edge, at the lower edge the tape should protrude so that no drops collect at the lower edge of the picture
- If resin should “stand”, a strong adhesive tape must be used
- Whether the sides of the painting base are taped or not is purely a matter of taste – you can decide this individually
- You should place the painting base on a cup or something similar so that it does not stick to the tabletop later. With the spirit level you can balance the whole thing
- Provide hot-air blow dryer and Torch
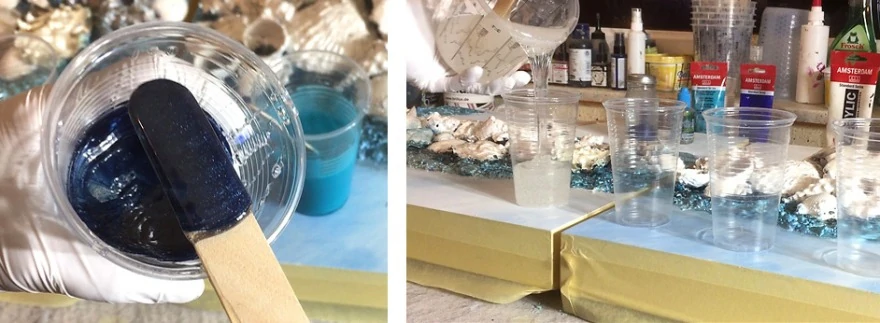
Step 7: Pour the “Ocean” with Resin
- Calculate resin quantity according to the formula
Pour resin and hardener in a mixing ratio of 1:1 (based on volume) into the measuring cup - Stir the resin mixture slowly and very thoroughly until a uniform, clear consistency is obtained (mix for approx. 3 minutes) Air bubbles are created if the mixture is stirred too quickly
- When the mixture is ready, you can portion it into disposable cups
- You can now add the colors to the individual quantities of resin and mix them properly (approx. one spatula tip of pigment)
- If you use pigment powder, you should dissolve it in isopropyl alcohol 99.9%, otherwise no lumps will form
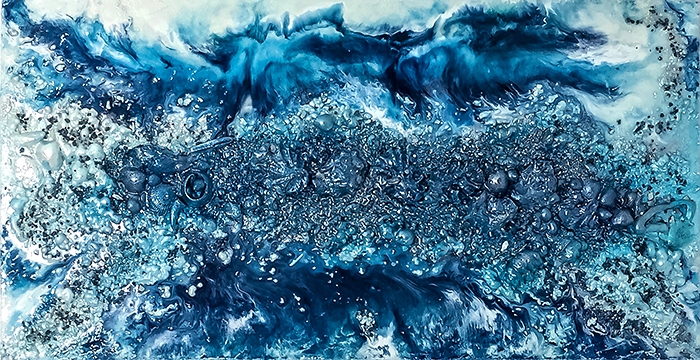
- I have used Amsterdam acrylic colors in blue, turquoise and white, as well as color of VIVA Maya gold, night blue / night blue and a noble metallic pigment in dark blue
- I added Resi-Blast to the white color. This creates cells that are supposed to imitate the foaming of the sea.
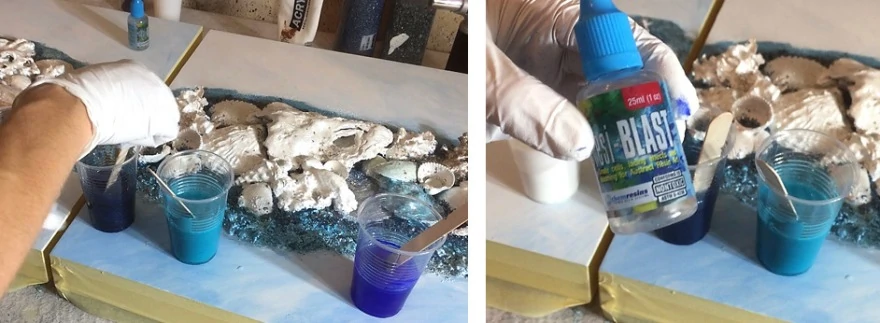
- Now you can pour the mixed colors onto the picture and spread them with the spatula. The edges should be well covered (Attention!). Working time with the resin mixture is approx. 20 to 30 minutes
- The hot air hairdryer ensures a beautiful color gradient. This can be used to direct the color gradient. You should blow dry at a distance of approx. 10 cm with fast movements
- If the color gradient is as you imagined it, you can remove small bubbles with the Bunsen burner. This is led with fast short movements over the picture (please note also here that no punctual heat develops since burn danger of the Resins

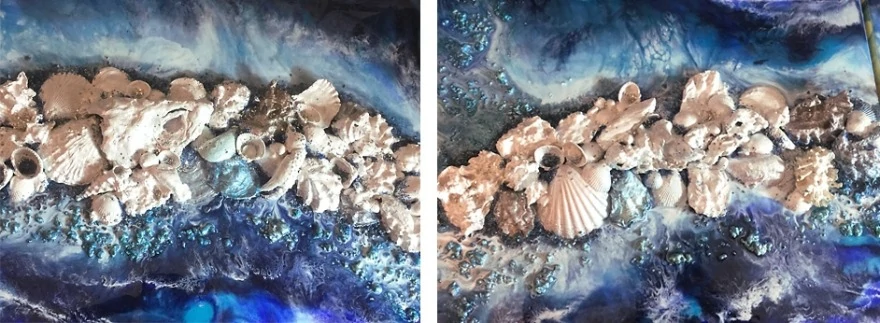
My picture consists of two substrates, the collage materials I have centered (the sea should wash around the collage materials), so I have cast the resin in two steps.
Step 8: Drying Process
- After about 3 hours you should check the consistency of the resin. When the resin layer has reached the consistency of chewing gum, you can remove the tape. If you would remove the tape after it has hardened, the picture would have an unattractive, sharp edge
- The work of art should be protected from dust by a cover or by an environment that is as dust-free as possible
- After 12 to 24 hours the resin is cured, but only after 72 hours it is completely cured and insensitive, only after 72 hours the surface can be cleaned with a damp cloth
- During the drying time, the resin artwork should not be exposed to large temperature fluctuations
- when the picture is dry (after approx. 5 hours) another layer of epoxy resin can be applied if required. If it is already dried, the first layer must be sanded for a second layer.
After everything has dried, I process the picture frame with texture paste and paint it white. Beautiful frames are very important to me.
Cleaning the Tools
- Turn the mixing cup over and place it on a plastic surface. A sheet of baking paper is excellently suited. The resin runs out of the cup and after hardening the resin can be separated from the mixing cup very well. You can clean spatulas and tools with vinegar, spirit or isopropyl alcohol and a cloth
- You can rub your hands with vinegar or a gel-like disinfectant and then wash them with clear hot water and soap
- Alternatively, you can also use spirit, alcohol or nail polish remover. To protect your health and to avoid cleaning your hands with these skin-unfriendly substances, I recommend that you wear nitrile gloves when working with resin
I wish you a lot of fun and creativity creating your first resin artwork with textures!
A Resin Art Tutorial for your first steps with the resin art techniques and a detailed Resin Art Supplies list with many great recommendations can be found in separate articles. Also don’t miss out our resin geode tutorial or our epoxy for wood article.

Sylvia Hauffe is married and has a 17-year-old daughter and three French bulldogs. She lives near Dresden, Germany. In her free time, she is often out in nature with her family and her three four-legged friends. Nature clears her head, relaxes, inspires, and motivates her. Creativity has always played an important role in Sylvia Hauffe’s life. Twelve years ago she developed her passion for painting and collage. During this time she experimented a lot, attended workshops to develop herself further, and participated in smaller exhibitions. Sylvia’s passion lies in abstract, spontaneous, and informal canvases and collages. She likes to work with textures, collage materials (especially from nature), with different color techniques, pigments, and resin.
Learn more about Sylvia Hauffe.