Best Clay for Sculpting – Exploring the Top Professional Modeling Clay
This post may contain affiliate links. We may earn a small commission from purchases made through them, at no additional cost to you.
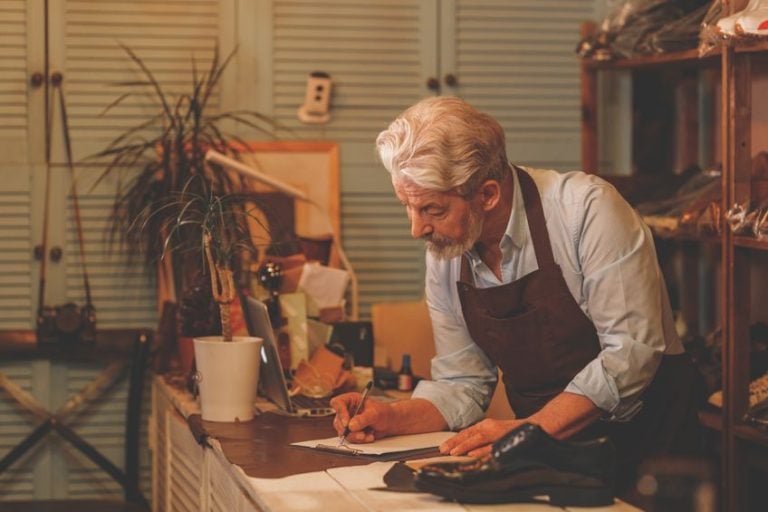
Sculpting clay is something everybody can try and is a great way to express yourself. Creating clay sculptures does take some time to learn, but with the right clay, tools, and techniques, you can create anything from jewelry to beautiful, sculpted art pieces. To do this, we need to choose the best clay for sculpting.
Types of Sculpting Clay
Modeling clay needs to be malleable so you can shape it, carve it, and create three-dimensional pieces. So, in general, these types of clay are wax or oil-based. However, you can also sculpt with air-dry clay that hardens by itself over time. Depending on what you wish to make, you must choose the right type of sculpting clay. Other types of clay are best suited for kids, while many require firing in a kiln.
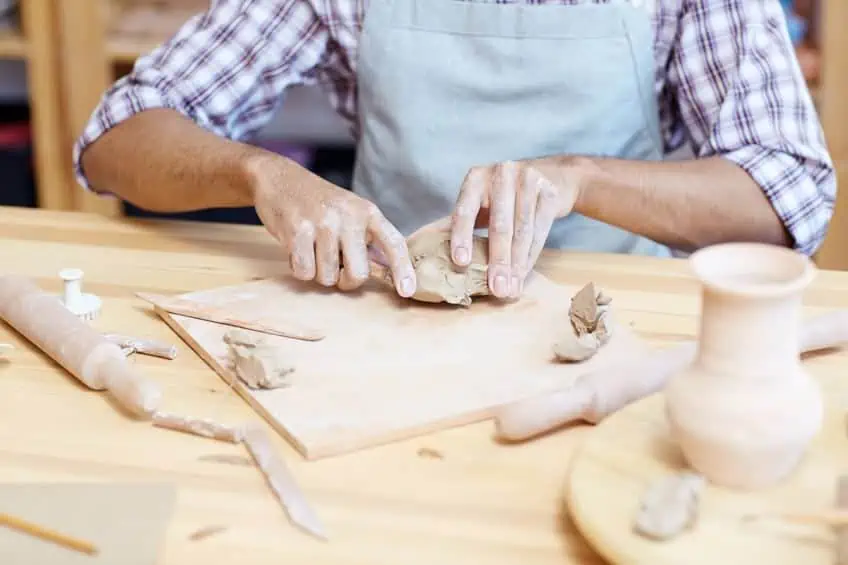
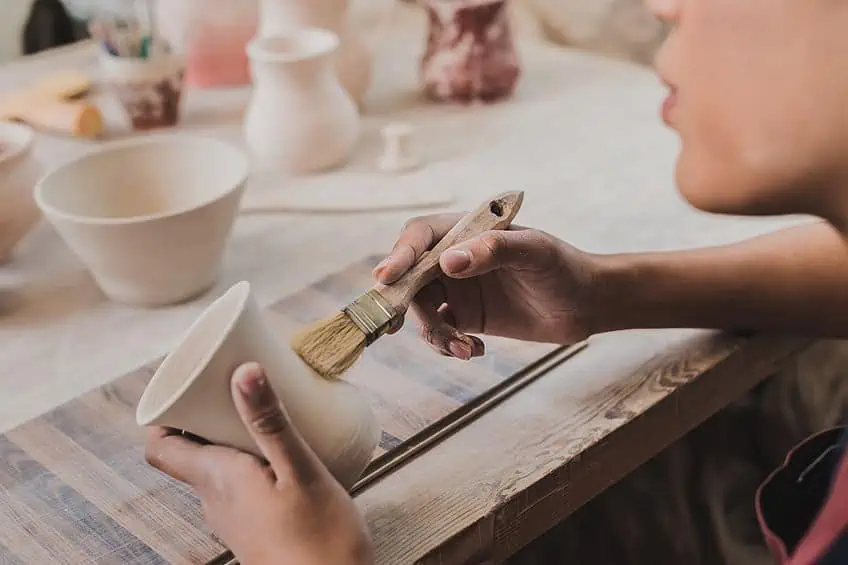
To make sure you are choosing a suitable modeling clay, there is a way you can test it out first before buying any more. Take the clay and create a cylinder with it, about 10 cm (4-inches) long and 1 cm (half an inch) in diameter. Once you have done this, bend the shape and see what happens. If you notice that the clay cracks easily, it does not have enough elasticity and can be too dry for sculpting. The cylinder shape should bend easily smoothly but still retain the stiffness it needs for sculpting. The best clay for sculpting should also stand up to any changes in temperature.
Let us take a look at some of the types of sculpting clay options available.
Water-Based Sculpture Clay
This type of clay is affordable and a popular choice, for example, air-dry clay. This means the clay is combined with water and when the water evaporates, the clay will dry and harden. This usually takes about 24 hours to 72 hours, so you do not have to wait weeks on end for it to dry. Since the clay does dry quite quickly, it is best to use it for smaller projects. Once you have taken the clay you need, you can store it properly in an airtight container, which should allow the clay to last for a while without drying out. You will need to moisten it at least once a month as well. A few advantages of this type of clay include:
- The clay is affordable
- Easy to find and purchase
- Simple to work with
- Great for beginners
- You can smooth it over with water
- Can be oven-baked or kiln-fired
The main disadvantage of this type of clay is that if you need time to create your sculpture, it might not be the best choice. However, you can spray a bit of water onto it occasionally to keep it moist or throw a wet towel over it if you have to take a break. As mentioned, air-dry clay is one example, below are a few more.
- WED clay: This clay was used to make models for Disney, which is why it is known as Walter E Disney (WED) clay. The clay is very similar to oil-based clay and dries slower than your regular water-based clays. You do not have to kiln-fire the clay.
- Moist clay: The moist clay is smooth, pliable, and used more for pottery. When you first work with it, the color is a gray color that turns whiter once heated and dried.
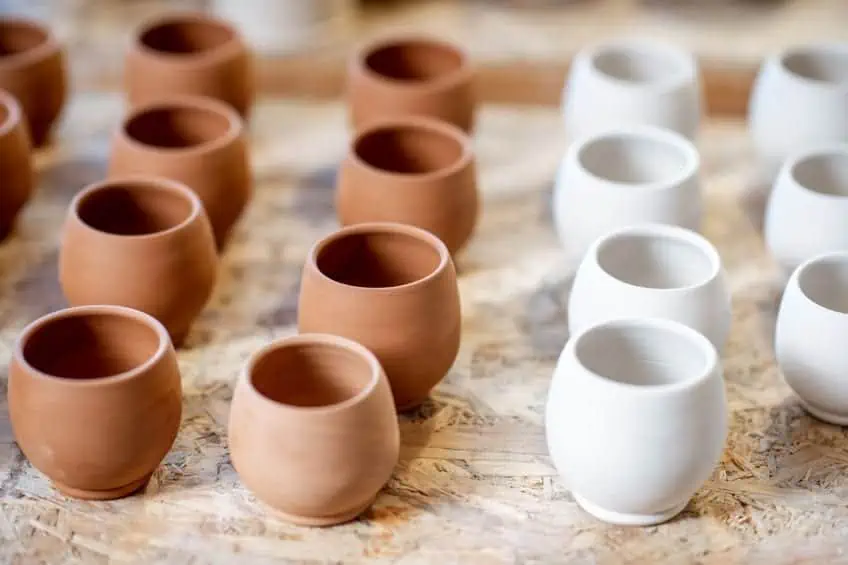
- Mexican pottery clay: The clay will dry naturally and does not require a kiln and the common color is terracotta. While drying, it does tend to shrink a little.
- Magic mud modeling clay: This is a soft, non-toxic, air-drying clay that can be used over and over again, even if it has dried. You simply add a little water to the clay, and it should turn back to a more malleable form.
Oil-Based Clay
These clays are made from clay minerals, oils, and waxes. These clays are best for those who want a long working time as they do not dry out. However, the consistency of the oil can be affected by temperature, so the clay will also change. For example, the warmer it is, the easier it is to handle. The clay is easy to mold and can be used over again, which makes it a popular choice in model animation. Some of the oil-based clays contain Sulphur and cannot be used in silicone molds. However, many of the modeling clays today are Sulphur free, smooth, and non-toxic. Always read the labels to make sure, especially if the clay is meant for children.
The oil-based clay is perfect for larger clay sculptures, and you can create finer details with the clay. The clay should not be sticky and should not stick to other surfaces. This kind of sculpture clay can be more expensive than other options. Another disadvantage is that since the oils can be affected by temperature, it needs to be warmed up in cold temperatures. This clay should not be placed in the oven or kiln unless otherwise stated. Some examples of oil-based clays are as follows.
- Polymer clay: A popular choice by many including children, professionals, and is a great clay for beginners. This clay also contains polyvinyl chloride (PVC) and can be hardened by heating in the oven at home. You can work with polymer clay over and over again until it is heated. The clay is affordable, and you do not need much equipment to work with it. There are many different colors available, which can be used to make everything from beads, jewelry to models and pottery.
- Plasticine: Made from clay, oil, and clay flour as a binder. The clay can also contain Sulphur. This is the original oil-based clay that was created by an art teacher who was looking for clay that did not dry out. The clay remains soft and pliable and does not dry or stick to your hands. The clay cannot be fired, comes in a variety of colors, and is ideal for creating fine details. This is one of the more popular professional modeling clay options.
- Epoxy clay: This clay comes in two components, your hardener, and epoxy, which you need to blend to make your clay that will harden in a few hours. Soft and pliable to work with, it comes in many different colors. Since it hardens quickly, it is best for smaller projects. Once hardened, the clay is extremely durable and can be painted with all kinds of paint. However, it can be expensive but as it has unique properties, it is suited for particular projects.
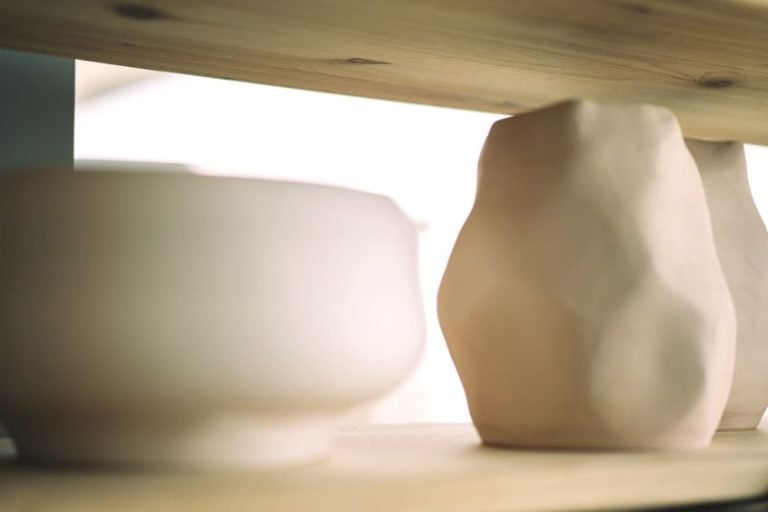
Ceramic Clay
This type of clay consists of natural clay with added materials. All kinds of clay are a form of ceramics, but not all ceramics consist of clay. Ceramics can also be used in various applications like tooth crowns, while clay is only used to form pottery or similar items. Various types of ceramic clays include:
- Earthenware: Easy to work with and pliable, but it can be sticky. You need to kiln-fire the clay at a low temperature to harden. Once it becomes hard, the clay does become brittle, and you need to handle it carefully. For example, terracotta.
- Stoneware: This clay needs to be kiln-fired at high temperatures, which creates a more durable clay. The hard clay item can withstand high temperatures and will not break easily. Great for garden sculptures or pots, and kitchenware.

- Ball clay: Also known as plastic clay and is usually not used alone but combined with other clays to make them more malleable.
- Fire clay: This clay must be kiln-fired at higher temperatures to become hard. Once hardened it is a pale color that has some texture due to the presence of iron.
- Kaolin clay: This clay can be difficult to work on as it is not easy to shape and mold. The clay is often added to other clays for better workability. Pale in color once hard, it is often used when making porcelain.
Paper Clay
This is exactly what the name implies, which is a clay that has added paper to its makeup. There are paper clay products you can purchase, or you can make your own from shredded newspaper, glue, and clay. The paper adds more structural strength to the clay, which can help to create a sturdier sculpture while you work, especially with joins. However, once kiln-fired, the paper clay does become weaker.
The sculptures made with paper clay are also lighter, and you can add on details even after it has dried.
Play Dough or Dough Clay
This is the best used only by children and has basic ingredients including cornstarch, water, flour, oil, and cream of tartar. The clay is cheap and tends to crack once it has dried. This makes it unsuitable for sculpting, however, you can place it in the oven, which will harden it.
Comparison Table for Sculpting Clay
The various arts and crafts projects will require a certain clay for best results. For example, smaller clay jewelry items will be perfect for polymer clay, while bigger clay projects will do better with oil-based clay-like plasticine. You might be wanting to get clay for beginners, or maybe looking for professional modeling clay. Whatever the project, there is sure to be a clay for the job.
Below are some of the best choices for sculpture clay displayed in a comparison table with some features of each.
| Types of Sculpture Clay | Drying Method | Durability | Texture |
| Water-Based Clay | Mostly air-dry, but some can be oven-dried | Must be left to dry thoroughly or it might break | Mostly smooth but can be grainy and course depending on the brand |
| Oil-Based Clay | Should not be kiln or oven-dried unless otherwise stated | Best for sculpture molds and castings as the clay does not dry. (Polymer and epoxy clay are very durable) | Mostly smooth |
| Ceramic Clay | Kiln-fired at low or high temperatures | Strong but inflexible and will break if dropped | From smooth to the course and gritty |
| Paper Clay | Can be air-dried or fired | Lightweight and sturdy | A slight texture that can be sanded smooth |
What to Look for When Buying Sculpture Clay
There are many modeling clay products available, and it may be a bit confusing when shopping. The best thing is to understand what various sculpting clays are available. The water-based or air-dry clays are a good choice when looking at clay for beginners. Professional modeling clay options are many including your oil-based clays, ceramic, stoneware, epoxy, amongst others. Your decision depends on what you wish to do.

Texture
You can get anything from smooth to grainy, and coarse, with fine particles or less texture. This can also differ with each brand, so make sure to check before purchasing. A coarser clay may be a better choice for sculpting as the clay holds more effectively and it can reduce cracking and shrinking. When wheel throwing, you might want a smoother grain clay, so it does not cause any skin abrasions when working with it.
You also need to consider if you want to add finer details to the sculpture.
Clay Strength
How strong must the clay item be once it has dried? You do not want your sculpture to crack and break after all your hard work. For example, earthenware clay is easy to handle but the dried product can be fragile.
Pliability
How flexible or pliable is the clay? Soft and pliable clay is easy to use, while stiffer or firmer clay can be challenging for beginners. Some might like to use firmer clay as they use sculpting tools on the clay. When making pottery, for example, good pliability is important.
You also need to consider how the clay adheres to surfaces, for example, if you are using armatures, the clay needs to adhere for it to work.
Cost
As with everything, the cost may be what helps you make your decision. Depending on the brand and types of sculpting clay, the prices can range from cheap to expensive. For example, polymer clay is more expensive than air-dry clay. Also, some brands cannot be found locally, you might have to order online, which then pushes up the costs as you need to include shipping costs.
Sculpting Clay for Beginners
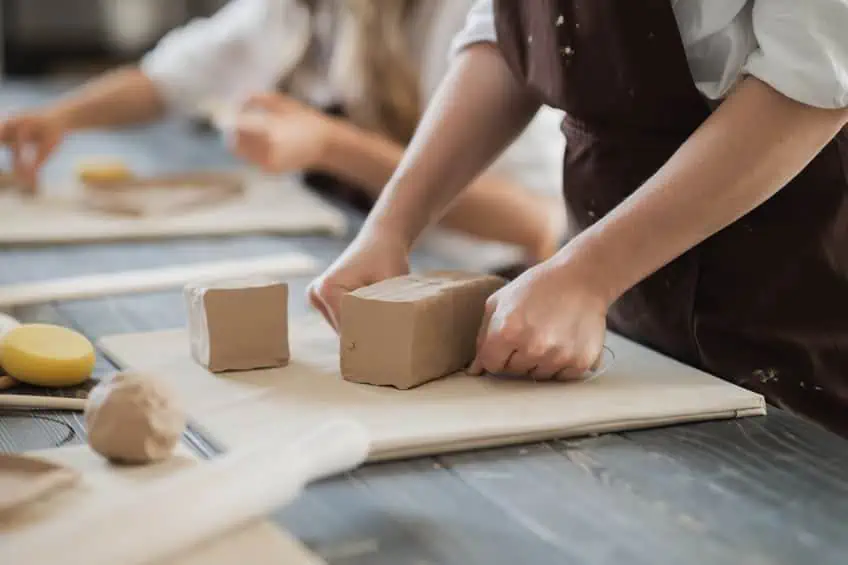
So, you want to try your hand at sculpting clay, but what do you need to get started? You must understand what you want to do and from there you can decide what clay is best for the project. Further tools and supplies needed will depend on your skill level, which could be proper sculpting tools or simply something like a rolling pin, cookie cutters, and a plastic knife.
Your working surface should be flat and sturdy, and preferably somewhere where you will not be disturbed. Clays can also stain surfaces, so make sure any furniture is covered. You also consider wearing old clothes. There should be enough light from a window nearby or bright lamps. You might need some water if needed, and an oven or a kiln. There are many sculpting sets available for different purposes. So, once you have gained some experience, you can easily add to your supplies when ready.
Techniques for Sculpting Clay
The type of modeling clay will determine how you should handle it. This is why understanding the different types of clay is important. Does the clay need to remain wet? How long can you work with the clay?
To sculpture clay, there are four basic techniques you can use.
Modeling
This technique involves adding clay, which is very malleable, and shaping it into a model. You can create models that have wonderful details. Plasticine clay is one of the more popular types of sculpting clay as it remains soft and workable so you can work for long periods, unlike other clay types like the water-based options.
Casting
This technique involves molds, where you use a melted-down material that is poured into a mold and then forms a casting. Once dry, the casting can be taken out of the mold. This technique is often used with materials like metal; however, you can also use certain types of sculpting clay. This clay can be heated and melted and poured into a mold.
This will need to dry and harden, and then be removed, and painted or sealed.
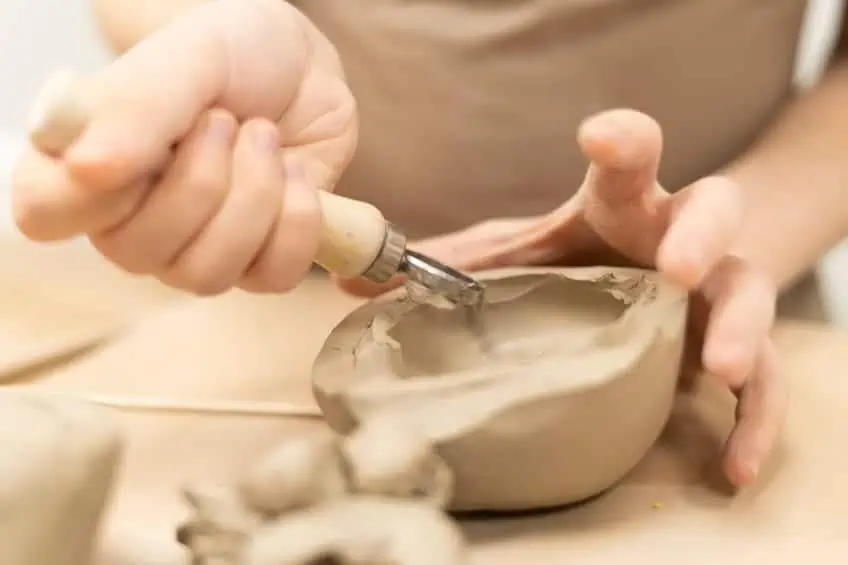
Carving Clay
Carving is more of a subtractive technique as you are removing some of the clay to cut out our shape. To carve clay, you will need to have some sculpting tools that help to remove the clay. This is the difference between sculpting or modeling and carving, where modeling is more of an additive technique.
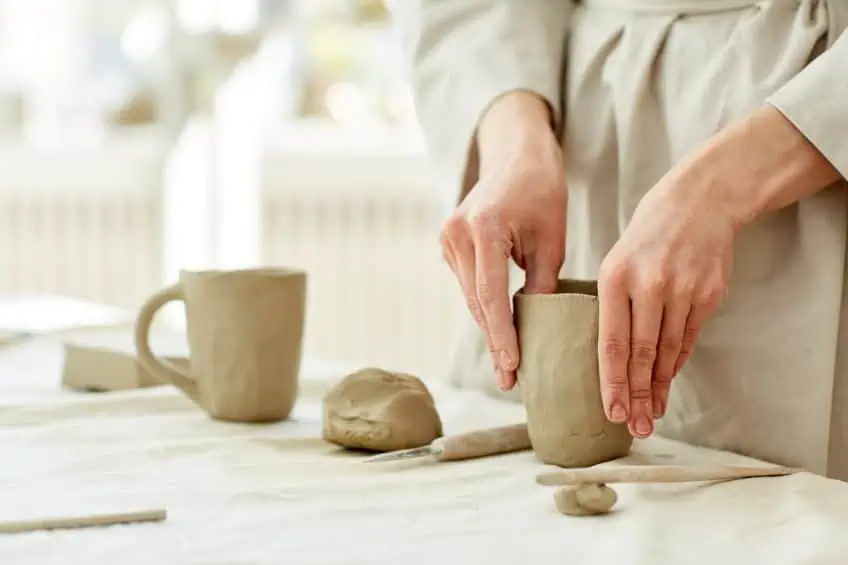
Assembling and Hand Building Techniques
Assembling is forming a combination of different materials into one sculpture. Hand building, on the other hand, is a pottery technique that helps create forms without using a pottery wheel. You only use your hands and fingers.
Some techniques involved include coil building, pinch pottery, and slab building.
Basic Steps to Begin Sculpting
Once you have all your supplies and have set up the perfect space to work in, it is time to get sculpting. You should consider starting with something simple, that does not require armature or support. For example, a flat relief sculpture.
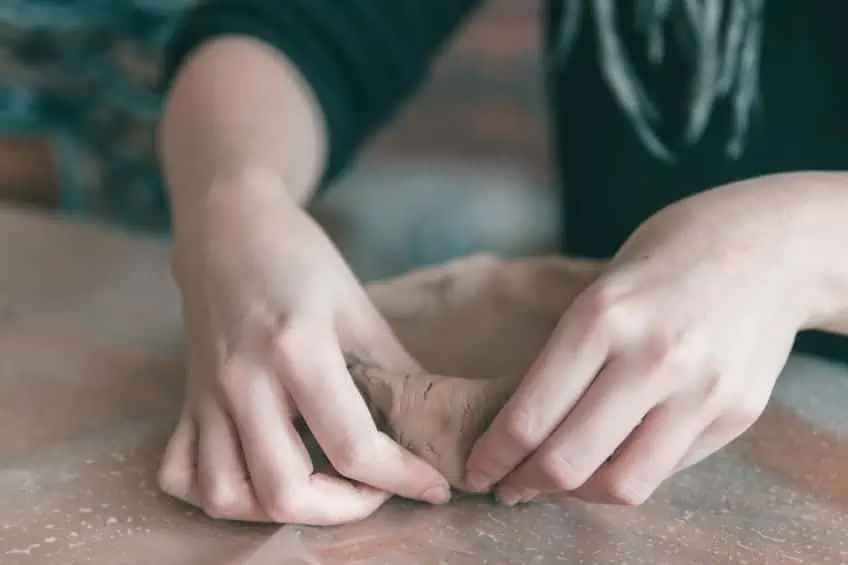
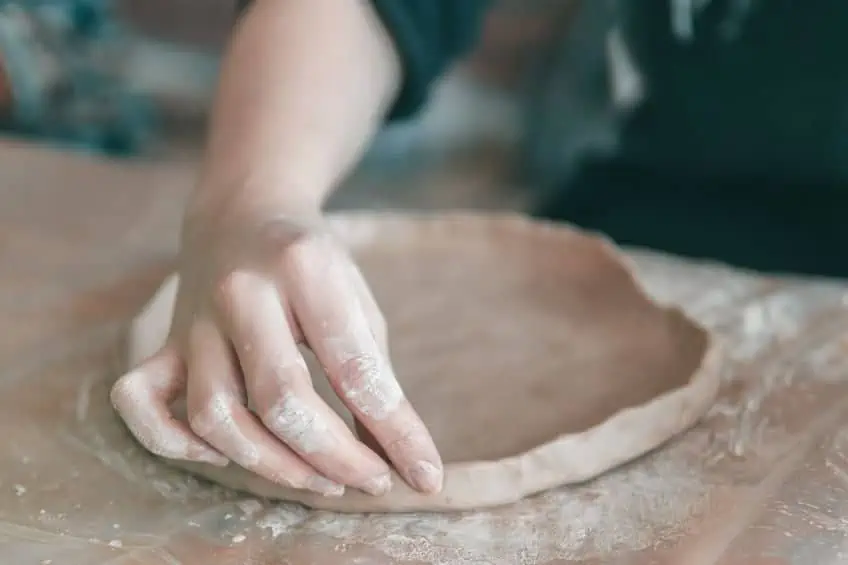
Practice Clay Techniques
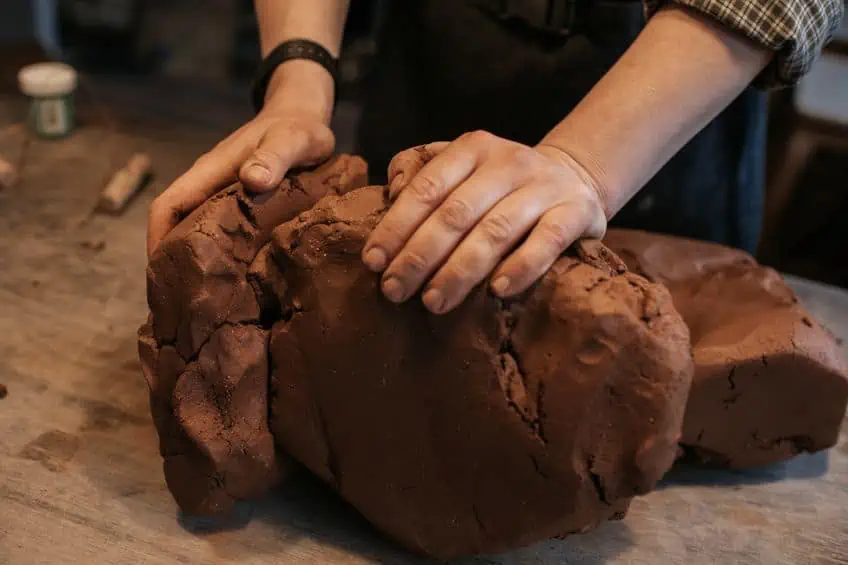
Try to practice some of the sculpting techniques before you begin a project. Take out some clay and begin kneading and getting the feel of things. You can do so with your hands and fingers, and you can place it on a surface and knead some more. This can help to make the clay softer and remove air bubbles. You can then half the clay and squash into each other. Push down with your palm and press together, halve again and follow the same process. Knead until the clay is smooth and even.
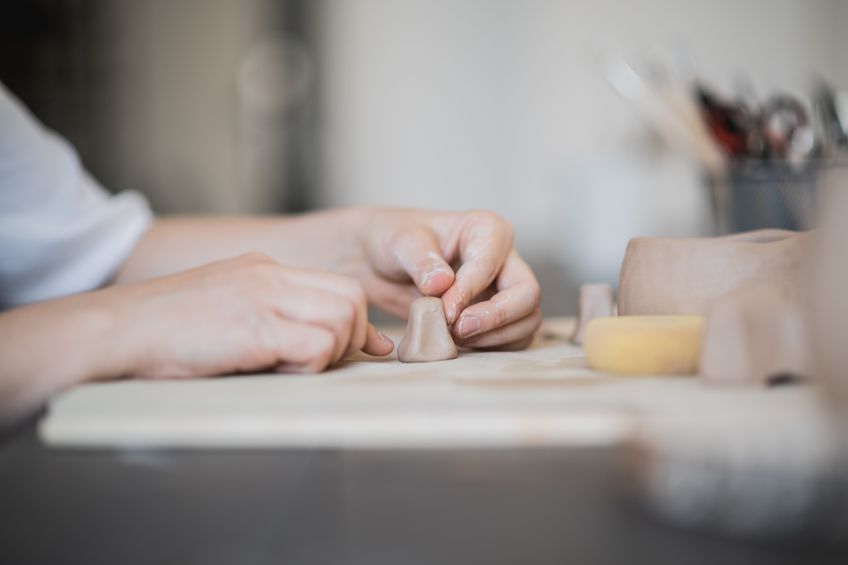
Once the clay is soft enough, try the pinching technique, which you can use to create various shapes.
To do this, take a ball of clay and lightly push it down to create a flat bottom, then use your thumb to create an indent. Then use your thumb and index finger, one on the outside, and the other inside, to pinch the clay. You can carry on until you are satisfied with the bowl shape you have made. You can also roll small pieces of the clay out until they are as long as you want, and then roll the length of the clay into a coil shape.
These can be used to shape vessels or shape other interesting sculptures or figurines. The length of the coil will determine how wide your object will be. You can also experiment with sculpting tools to see what can be done with them. There is a wide variety of wires, knives, brushes, and other tools that form textures.
Creating Your Design
Before you even start with your clay, you should put your idea and design down on paper. You do not have to be a great sketch artist, as you are simply provided a framework from which to work. A good idea is to make sketches that are from various angles, and maybe even put down an image that is to scale.
Building Your Armature
An armature is a framework from which you are going to be working with your clay. This helps keep your clay sculpture from collapsing and holds it in form as you work. A wire is usually what is used to create an armature, as it can easily be shaped and bent as needed. Once you have created your armature, you will need to fill it with clay.
This creates a shapeless form around the framework and a place to begin sculpting.
Shaping the Clay
Since it is clumps of clay you will be dealing with first, there might be quite a bit you remove. Do not worry if you remove too much, you can always add more clay and fix that problem. By looking at your sketches, you can then shape the clay into your basic form. You can then start with more detailed sculpting.
For this, you can use the many sculpting tools available. You can then add texture and shape as you see fit. Understanding how to do this will come with practice and improving your skills. In the beginning, you must be patient with yourself while you learn how to sculpt. Practicing and experimenting over time will get you through each of these processes.
Curing the Clay
Once you are done, the clay must cure or harden to protect the sculpture and maintain its shape and form. You should always check the directions that are with the clay, as each type of clay is different. Some will require you to only leave for 24 hours to 72 hours to harden. These are usually your air-dry clays. Other clays will need to be oven-baked or kiln-fired.
Different clays may require hotter or cooler temperatures.
Finishing Touches
Once the sculpture has dried properly, the last thing to do is to put on a finish. You must decide if you want to color the clay, or do you want a more gloss finish? You can then apply paint or add a glaze as you see fit. Although, you will also have to know beforehand if your chosen type of clay can be painted. Water-based or acrylic paints are best for air-dry-clays, and you may have to seal the clay for added protection.
Making Homemade Clay
Homemade clay might not be as good as those bought from the store, but it can be a fun experiment to see what happens. This is also a wonderful way to involve the kids, so they can experience the whole process. Maybe get them interested in working with clay. There is more than one way to make clay, but we will be showing you a polymer clay version. By the way, also read through our polymer clay ideas.
Other homemade clays include:
- Baking soda clay or air-dry clay
- Salt dough clay
- Playdough
Polymer clay is one of the more well-known clays that a lot of people use today. The clay has a polyvinyl chloride (PVC) base, but we will be using a polyvinyl acetate (PVA) base. This plasticizes when curing and also provides pliability. When dried in the oven, it will turn solid, and you can then paint the item if you want. You can gather the following ingredients for this recipe.
- One cup of cornstarch
- Two tablespoons of mineral oil
- Three-quarters of a cup of PVA glue
- One tablespoon lemon juice
Take a non-stick pan and place it onto the stove, then place inside the cornstarch, add the mineral oil and lemon juice. Switch on the stove to low heat, mix and wait until all the ingredients turn into something that looks like mashed potatoes. Remove from the heat, cool, and then knead until it becomes smooth. You can store this in a sealed plastic bag, which should be kept in the fridge.
Once you have created your sculpture or clay piece, you can then place it in the oven to harden. Place in the cold oven and then turn on to about 150 degrees Fahrenheit (65 degrees Celsius). You can turn it now and again to harden it more evenly and prevent any edges from curling. Keep in the oven for 15 minutes or 30 minutes, this is subject to how big or thick the clay item is. This clay cannot be eaten or put in the mouth like some of the other options, so it might not be the best choice for younger children to work with.
The main aim of creating clay sculptures is to have fun. So, if you make a mistake or there are some imperfections to start with, do not worry. You will improve as you learn and grow, so do not be afraid to use your imagination.
Take a look at our sculpting clay webstory here!
Frequently Asked Questions
Is Clay Toxic?
Many of the clays you get today are non-toxic, but you must read the labels if this is what you are looking for. Some clays can be toxic as they contain Sulphur, but there are many Sulphur-free options available as well.
What Happens if the Clay Dries Out While Working With It?
There is a solution to this problem. Air-dry clays can be warmed up and softened by kneading them, or you can spray a little water onto it and then knead it some more. Oil-based clay does not dry out, but it can become less pliable in cooler temperatures. You can place it in the microwave so it can become more malleable again.
Can You Fill Cracks That Occur in Sculptures?
To avoid this issue altogether, you should work with proper, good-quality clay. The oil-based clays are less likely to crack. However, you can brush some water over the clay while you are working to smooth over the area. You can also use clay slips to cover larger cracks or areas.
What Is the Best Clay for Beginners?
One of the best clays to start with is your air-dry clays as you do not require many tools or an oven or kiln. The clay is easy to use, and there are various types and brands you can choose from. If you want more durable clay, then polymer clay is another good choice. This clay is also easy to use, and once baked, it becomes quite durable.

In 2005, Charlene completed her wellness degrees in therapeutic aromatherapy and reflexology at the International School of Reflexology and Meridian Therapy. She worked for a company offering corporate wellness programs for several years before opening her own therapy practice. In 2015, she was asked by a digital marketer friend to join her company as a content creator, and it was here that she discovered her enthusiasm for writing. Since entering the world of content creation, she has gained a lot of experience over the years writing about various topics such as beauty, health, wellness, travel, crafting, and much more. Due to various circumstances, she had to give up her therapy practice and now works as a freelance writer. Since she is a very creative person and as a balance to writing likes to be active in various areas of art and crafts, the activity at acrylgiessen.com is perfect for her to contribute their knowledge and experience in various creative topics.
Learn more about Charlene Lewis and about us.