How to Engrave Metal – A Guide to Metal Engraving
This post may contain affiliate links. We may earn a small commission from purchases made through them, at no additional cost to you.
Over the centuries, people have been engraving metal for commercial purposes and artistry. However, what about doing metal engraving at home? You will be able to give your utensils and jewelry a unique touch and personalize all your metal belongings. The question you will find yourself asking is, “How to engrave metal, and what techniques can you use?”. In this article, we will be guiding you through the whole process and showing you exactly how to engrave metal at home.
What Is Metal Engraving?
Metal engraving is the process whereby logos, pictures, numbers, texts, or any other ideas can be engraved on the metal. The main technique used to create these designs includes making incisions with various tools. Common uses for metal engraving can be found in the industrial sector. For example, automotive, aeronautical, and other industries use letter engraving on most of their metal parts mainly for traceability.
This is where certain codes or serial numbers are engraved on the metal surface using various engraving methods and techniques.
How Does Metal Engraving Work?
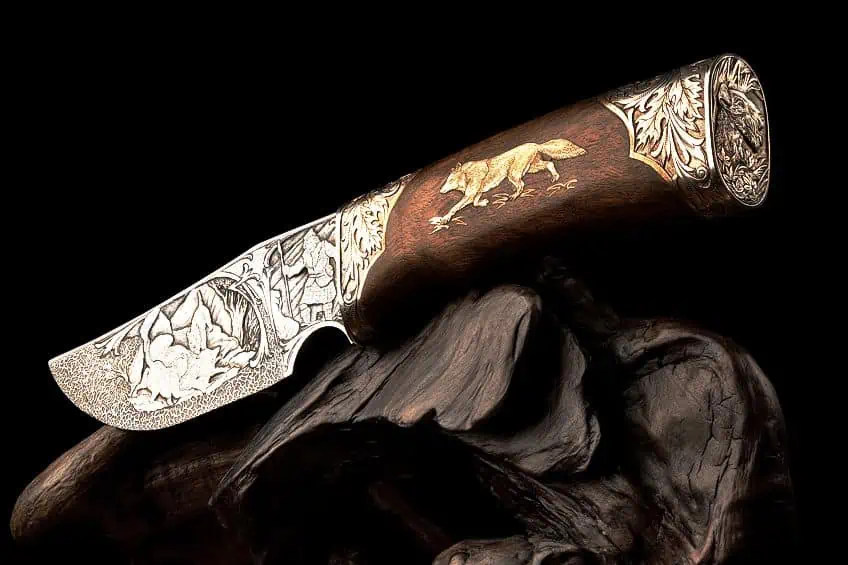
This is not only a technique that is limited to the industrial sector, but you at home can also get involved with metal engraving. This can be done on metal items like jewelry, where you can engrave on your gold rings, watches, or other pieces of jewelry, making it personal and unique. Certain lines or designs are cut or incised on the metal surface using different cutting tools. However, the technique of metal engraving is limited to linear marks, which can also include shading and toning.
Brief History of Metal Engraving
The technique of metal engraving originated in Northern Italy and Germany in the middle of the 15th century. It appears to have been developed by German goldsmiths, who are referred to only by their initials, and the most prominent of them all was Master “E.S.” The first recognized metal engraver was Martin Schongauer (1450-1491), who was also a goldsmith as well as a painter. However, none of his metal engravings were dated. In Italy, the technique of metal engraving also originated with goldsmiths, the earliest being Maso Finiguerra (1426-1464), who was well known for his decorative metalwork also referred to as niello, which was the metallic alloy they used to fill the engraved designs.
The Italians were much more enthusiastic about their engraving art than their German colleagues.
Before the end of the 15th century, metal engraving had also been made by two famous painters Andrea Mantegna and Antonio Pollajuolo. By the 16th century, the technique of metal engraving became firmly established by Italy’s master of the engraving technique, Marcantonio Raimondi (1470-1534). In the 16th century, in Northern Europe, metal engraving took root with two of the greatest masters, Albrecht Durer and Lucas van Leyden, who produced some of the finest work using the technique of metal engraving.
However, during the rest of the 16th century and into the 17th century, metal engraving became progressively more restricted to reproducing paintings. Then, by the 20th century, the English artist Eric Gill and the French artist Jacques Villon revived the line engraving technique, making it suitable for modern art that includes abstraction.
Importance of Metal Engraving
Metal engraving is the process where a design can be carved or etched into the surface of metal. You can create amazing jewelry pieces with intricate designs, or brand permanent logos on various products, and even use engraving for some intricate artwork. Let us now look at some of the advantages of this technique.

- Customization: Metal engraving allows you to personalize any item, like engraving a date, name, or short message, making that item more unique.
- Durability: Metal engraving is very durable, and it will not wear away or fade. It is ideal for engraving things like wedding rings, or heirloom pieces that can last forever.
- Versatility: You can engrave on several different types of metal like aluminum, gold, brass, silver, stainless steel, and more.
- Affordability: Metal engraving is affordable, as it does not require any additional materials like paint or ink, or other methods of decoration like gemstone settings or enameling.
Disadvantages of Metal Engraving
Some of the disadvantages of metal engraving are that you need special tools and equipment. You also need to have some experience in using the equipment, or else the process may turn out as expected. If you do not have enough experience to handle the tools and equipment, the results may be a little inconsistent.
This means that depending on the pressure you apply to the tool, the depth of the incision can vary, causing the incisions to differ in depth which will result in an uneven design.
What Type of Metal Can Be Engraved?
Some metals lend themselves more easily to different engraving techniques than others. However, it is better to choose softer metals as they are easier to engrave and control, such as steel, brass, silver, gold, nickel, aluminum, and titanium. Aluminum is the most popular and easiest of metals to engrave, and is suitable for plaques, while gold and silver are suitable for jewelry and trophies. Although brass is a soft metal, it is usually thick and hard and not very easy to engrave. Hard metals like stainless steel are moisture-resistant, corrosion-resistant, and durable, but they are not easy to engrave.
If you want stainless steel engraving, then the best technique to use is laser etching as it only removes the outer layer of the metal.

Types of Metal Engraving Techniques
Metal engraving can be classified into two groups: manual and mechanical. Manual engraving uses tools like a dremel, Cricut marker, and gravers, while mechanical engraving uses customized power tooling, which is more specialized. Let us now look at a few of these different types of metal engraving techniques in more detail.
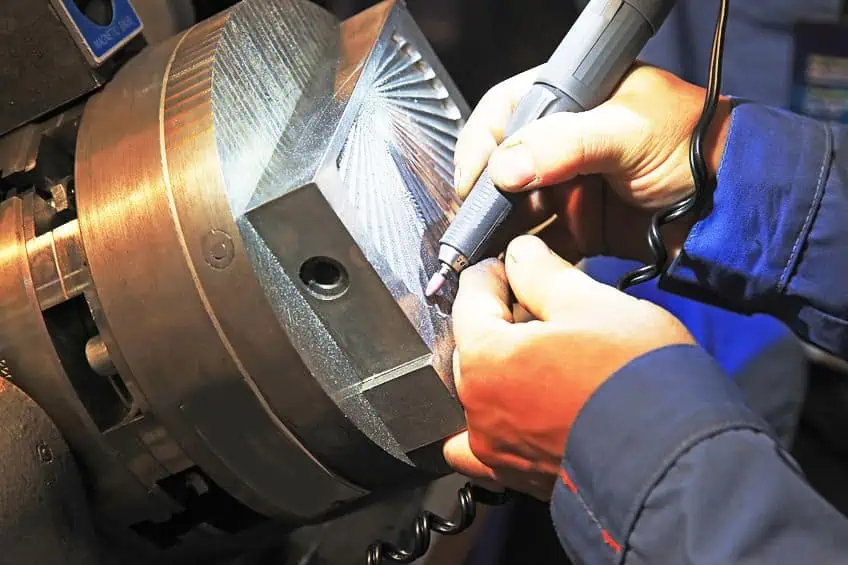
Hand Engraving
Hand or manual engraving techniques of etching designs and intricate patterns onto a metal surface, making use of hand tools like chisels, gravers, and burins. Hand engraving, unlike machine engraving, allows you to customize your jewelry, cutlery, and other metal items with great precision. However, the process requires practice and training to achieve the desired results.
There are several different tools and techniques that you will need, and in this article, we will be giving you the necessary information to ensure your hand engraving is a success.
Below you will find the tools and methods that you will need to perform the three hand engraving methods. Hand engraving is by far the lengthiest and most arduous of all three methods, requiring a high level of skill and a lot of practice, and is mostly used for engraving on various items of jewelry. You will need some specialized engraving tools as listed below.
- Metal hammer
- Graver set
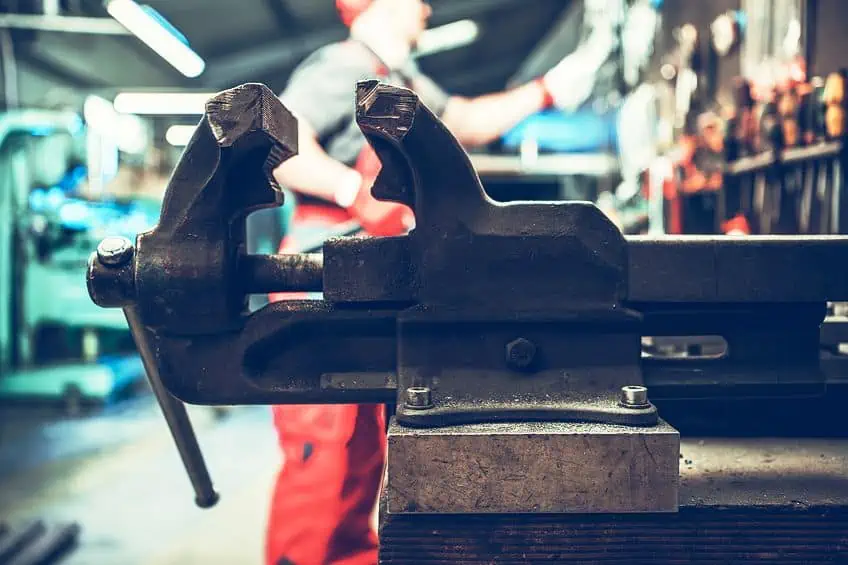
- Vise
- Printed image or design
- Acetone (optional but recommended)
Prepare the Metal Item
Clean the metal surface of your item with some warm water and soap to remove dirt, grease, or any other debris from the surface that may interfere with the engraving process. If there is still some grease remaining, use some acetone to ensure the surface is completely clean.
Secure the Metal Item
Secure the metal item with a ball vise to hold it in place while you are working on it. This usually has a spherical bottom that can tilt the item 360 degrees to the angle you need. The vise is not necessary if you are working with an item that is flat, like metal blanks, and can be held in place with your fingers.

Choose Your Design
You need to select a design that you want to engrave on the metal item, this can be a free hand drawing you created yourself, an image that you downloaded from the computer, or a picture or design you found in a book. Then you need to create an outline of that design on the metal surface, which is referred to as stamping the design.
Place the design or image onto the metal surface with the design facing the metal surface.
Take a cloth and dampen it with some acetone and place the dampened cloth over the design. Hold for a moment until you can see the image stamped on the metal. You can also use some transfer paper or carbon paper to transfer the design to the metal surface, or you can also use a marker to draw the design on the metal surface.
Start Engraving
Select the type of graver you want from the set, and with the hammer, start to cut the metal along the outline of your image or design. Care needs to be taken with the angle you hold the graver because if the angle is too steep, the tool will cut a deep line into the surface. If the angle is too shallow, the graver will glide over the surface without making a mark. This will take a little practice and a certain amount of skill to obtain the right results.
Once you have completed the outline, you can begin to add texture and shading using different tools and techniques like stippling and cross-hatching.
Cleaning and Polishing
When you have finished your engraving, you can clean the surface with some warm water and soap to remove any debris from the surface. Then you can begin to polish the metal by using a buffing wheel or a clean cloth to give it a shiny and smooth finish. Here are some tips to make your hand engraving exercise a success.
- Choose the correct tools for the job.
- Experiment on a metal scrap piece before starting to engrave on your finished item.
- Work slowly to ensure a precise result.
- Take frequent breaks to avoid hurting your wrist and hand.
- Experiment using different techniques and tools for a variety of textures and effects.
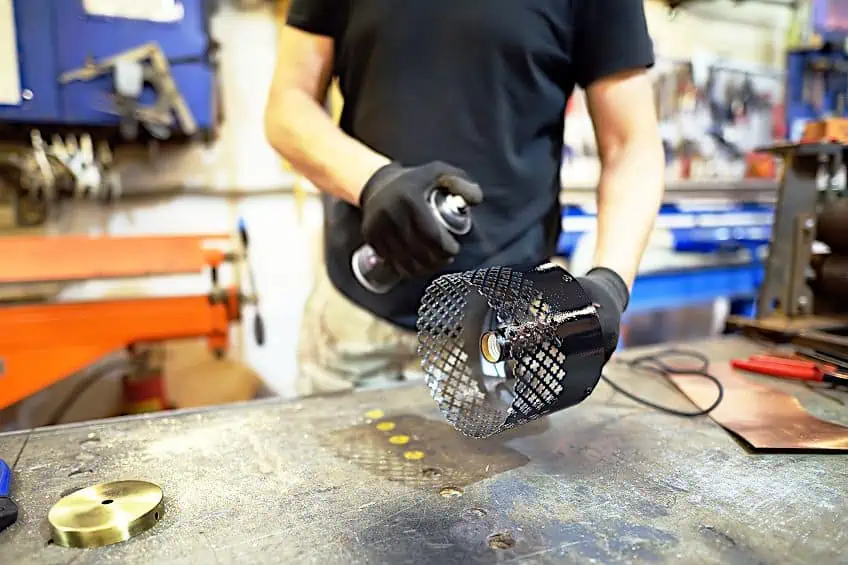
Hand Machine Engraving Using a Dremel
This is a technique of engraving metal with a Dremel, which is a handheld tool that is used for cutting, engraving, polishing, cleaning, and sharpening various types of materials, like wood, leather, and metal. The tool has a motor that rotates a shaft that has different interchangeable bits, whereby you can engrave lines and groves to create a pattern or design. To engrave on a metal surface using a Dremel, you will need the following.
- Dremel engraving tool
- Stencil
- Different engraving bits
- Pencil or marker
- Protective glasses
- Dust mask
- Rubber gloves
Select the Right Engraving Bit
You must select the correct engraving bit for your project, use a carbide or diamond bit for engraving on hard metal surfaces, and use other bits if you are going to work with softer metals like brass or copper.
Transfer Your Design
Take the design you selected and transfer it to the metal surface using a graphite pencil or marker. A graphite pencil is ideal for most metals, but if the metal surface is smooth, then you need to use a marker and wait for the ink to dry. You can also use a stencil and follow the design pattern on the metal surface.
Start Engraving
You can now begin engraving metal with a Dremel. The first thing you need to do is set the speed of the Dremel, which can be anything from 5,000 RPM to 35,000 RPM. It is advisable to first start at a lower speed, and if you need, you can increase the speed later, as running at a higher speed will carve away excessive metal.
Hold the Dremel firmly in your hand, and with a loose wrist follow the lines of your design.
It might take some practice to get the right texture and depth. Now remove the cutting bit and replace it with a polishing bit. Also, remove pieces of debris or waste metal, and your design should be successfully engraved onto the metal surface.

Machine Engraving Techniques
Machine engraving is like hand engraving, but it makes use of pneumatic or electric-powered machines to perform the work instead of manual or hand-held tools. This technique gives you faster execution and more accurate performance, as the machine moves faster and can maintain a more consistent pressure than the hand-held tools.
Machine Engraving Using a Cricut Maker
How to engrave metal with a Cricut maker? The Cricut maker is a cutting machine tool, but the newer model is also able to engrave and has an engraving bit made from carbide steel. All you need to do is set the machine up and you are ready to start engraving letters or even more intricate designs on your metal surface. To engrave on a metal surface using a Cricut marker, you will need the following.

- Cricut marker
- Engraving bit
- Painter’s tape
- Strong grip mat
- Lint roller
Create Your Design
Open the Cricut design space app on your mobile phone or PC, and in the canvas section, create the design you want to etch on the metal. The app also has many templates available for you to download. When you have the design, you can outline the metal item on the canvas, keeping the dimensions very accurate.
Now drag the design onto the metal outline and resize it to fit, then click on the design to alter the operation from the drop-down menu to engrave, and the machine will change from cut lines to engrave lines.
Select Your Material
You need to ensure that you select the right type of material you want to engrave, as the machine automatically determines the force it will apply to the metal surface according to the type of metal you choose. The machine can engrave on brass, aluminum, bronze, steel, stainless steel, copper, and galvanized steel.
If you cannot find the material on the list, determine its hardness and then select the equivalent material from the list.

Align Your Metal Item to the Strong Grip Mat
Move your metal item to the strong grip mat and align it to the center, using the grid lines to locate the central point. Use some painter’s tape to hold the metal item in place, then use the same process to locate the center of the canvas on the Cricut Design Space app and click the “make it” button.
Set Up Your Cricut Maker
Set up your Cricut maker by sliding the strong grip mat inside the machine, and placing the engraving tip into the “B” carrier, you can then move the white star wheels right to the edges. Now just press the flashing button, and the engraving process will begin. This may take a few minutes as metal engraving requires a lot more effort, and after a few minutes, the design is complete.
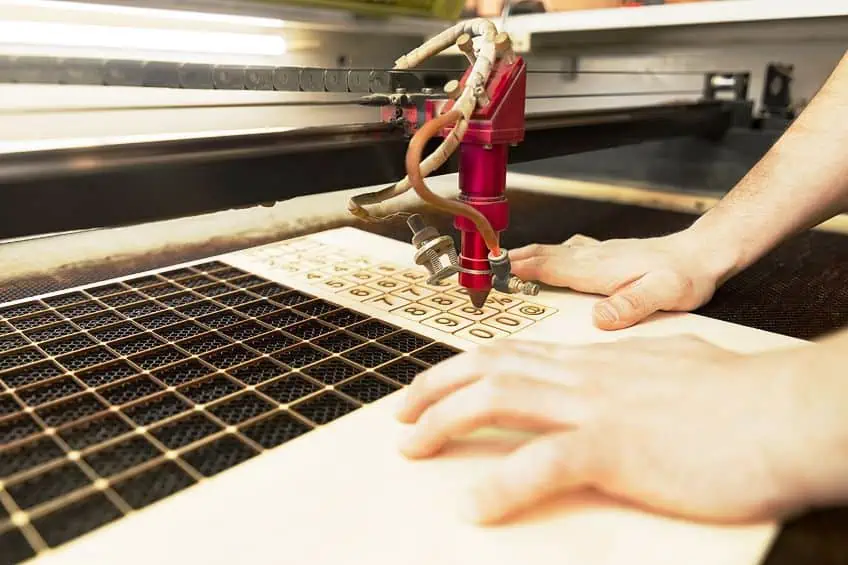
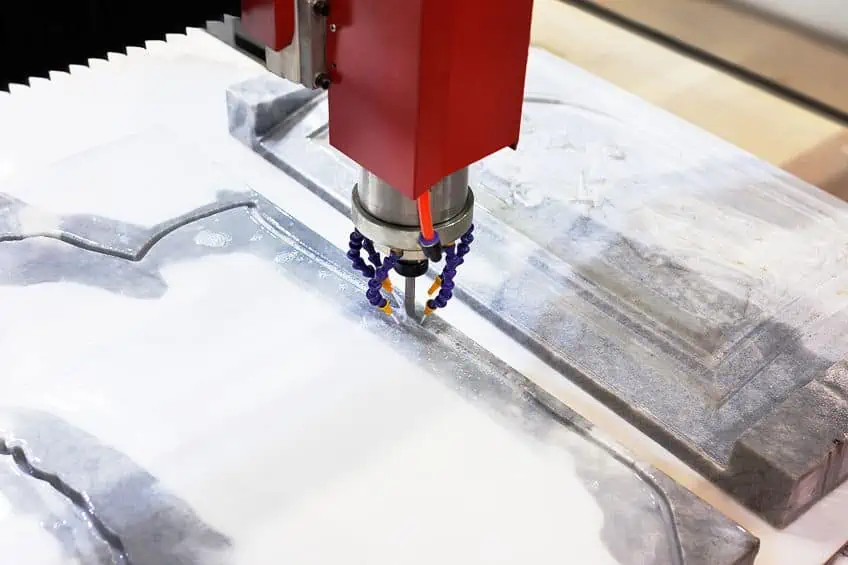
Machine Engraving Using a Laser
The laser engraving process is one of the most reliable and quick processes of metal engraving, enabling you to create marks on various items. The reliability and speed of the process make it ideal for small and large businesses to mark certain items or parts for traceability and identification that will last for a long time. The availability of low-cost laser machines makes engraving metal very popular amongst DIY enthusiasts and hobbyists.
These types of machines are a great deal easier to use than all the other methods and techniques we have already covered above.

Equipment Required
To be able to do laser engraving on metal, you need to invest in a laser machine. However, because there are so many different types of laser machines available, you need to ensure you select the right one. The best option would be a fiber laser engraver that makes use of silica glass to shoot the beam and only requires the energy of a normal toaster to operate. The fiber laser engraver is the best choice for engraving on a metal surface. However, a CO2 laser machine will also do the job, but you will not have the same quality finish.
The harder the metal, the more power is required to cut it, and the power needed is 50W power, and both laser machines have from 25W to 120W laser power.
Choose Your Material
The choice of the material you want to use to engrave is very important, as different projects may require different material types, like stainless steel engraving or aluminum engraving. You need to remember that the depth of the groove, durability, and color, all depend on the type of material you are going to use. If the metal is too soft or thin, the laser beam will pass right through, or if it is too hard the laser beam will not penetrate at all.
Purpose of Your Project
Laser engraving is used for several purposes, from manufacturers that want to engrave barcodes on their items, to hobbyists that want to engrave names, dates, patterns, or designs on different metal items. This information will help with the whole process of laser engraving, from material selection to optimization of the laser machine.
Design and Settings
Laser engraving is computer controlled, which will require you to first install the laser software on your computer to upload your design. You can also create your own designs from computer software like Adobe Illustrator, CorelDraw, Photoshop, or AutoCAD. Laser engraving is an automatic process that will require you to make some necessary settings, and laser software like Grbl is ideal for this purpose, as it comes complete with all the predefined settings. You will have to set the material you selected, the size you require, and the laser mode amongst other settings required.
This is the best way to engrave on your metal, or you will have to refer to the manufacturer’s specifications for the necessary settings.
Engraving or Printing
As soon as you have completed the settings required and uploaded your design, you can then take the next step, which is to start with engraving. This is the process that you will have to follow step by step.

- Using the laser software, connect the computer to the laser engraver.
- Import or upload your design and resize the image to accommodate the material dimensions.
- Insert the metal item or sheet into the workspace and close the chamber securely.
- From the drop-down menu, select the laser engraving on metal setting.
- Push the start button and it should begin the engraving process.
- The laser machine automatically stops when the process is complete.
- Examine the finish and see if it requires a second pass through the machine.
- Clean the metal engraved item or sheet.
Chemical Engraving Techniques
Chemical etching or engraving is one of the most freelanced processes used by the awards and sign industries. This will include nameplates, memorial plaques, awards, medals, jewelry, and much more. It is an engraving technique that makes use of a temperature-regulated, high-pressure chemical spray that dissolves the unprotected area on the material, creating a permanent engraved, or etched, image on the metal surface.
The depth of the etching depends on the speed of the conveyor.
The slower the speed the deeper the etch, and the faster the speed the shallower the etch. The material is then transferred to an etching machine, usually a conveyorized machine, that consists of an etching chamber as well as a rinse chamber.
Selecting the Material
Almost any type of metal can be chemically etched, including stainless steel, steel, aluminum, copper, nickel, titanium, and much more. Metals of various thicknesses and sizes can be chemically etched from 0.010 mm to 1,5 mm, and sheet metal from 600 mm to 1500 mm.
Pre-Cleaning
After selecting the right metal type and size, it needs to be chemically de-greased and cleaned to remove any waxes, oils, or debris, which if not removed will negatively affect the chemical etching process.
Lamination
Apply a light-sensitive photoresist to the metal surface, ensuring good adhesion. If good adhesion to the metal surface is not attained, it will allow the chemicals to come into contact with the protected area of the metal surface, compromising the finished effect.
Printing and Developing
The design is transferred to the photoresist, which will expose the metal sheet or item to the ultraviolet light working through the photo-tool mask. The unexposed photoresist is then removed, revealing the raw material.

Etching or Engraving
Ferric chloride is then sprayed onto the developed item or sheet. The time of the etching process is determined by metal type, size, thickness, and grade, all these parameters will affect the result of the metal finish.
Stripping and Finishing
All the remaining photoresists are then removed from the item or sheet surface, revealing the final etching result. The component is then inspected dimensionally and visually, making sure the etching is correct.

Some Benefits of Chemical Etching
The main advantage of the chemical etching process is that the whole metal surface area of the material can be etched at the same time. This means that it is possible to etch large and complex designs in a matter of minutes. With laser engraving, each area must be done individually. Chemical etching produces a smooth and burr-free finish and does not affect the grain structure of the material.
On the other hand, when doing laser engraving, there can be a slight heat distortion, while with mechanical engraving, there is always wear and tear on the tools used.
Safety Precautions in Metal Engraving
Like any type of process, there are always hazards that may cause some bodily harm to the operator, especially if you are working in your home. It is very important to stick to all the safety precautions that accompany any type of machine. Here are a few of those precautions that need to be adhered to when engraving metal.

- You should learn and know how to use the equipment
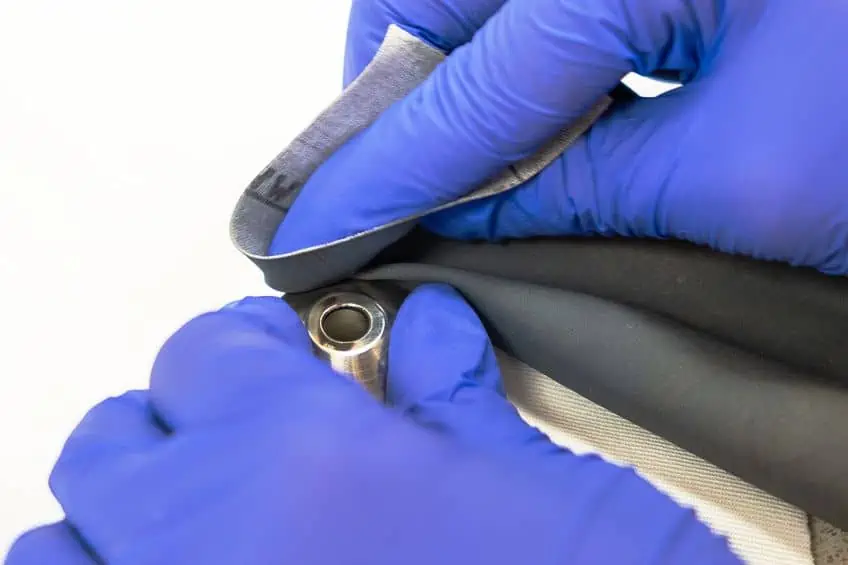
- Always wear protective equipment like safety glasses, masks, and protective gloves.
- Check that you are aware of all the safety features in the manufacturer’s operating manual.
- Be careful when handling hot metal items.
- Always be careful with sharp edges that can cut your hands.
Engraving on metal is a technique that is reliable, easy, and can last for a long time. It is also a process that is used by many manufacturers for marking their products for traceability purposes. However, it is also a method that you can do from your own home in order to personalize your jewelry and other valuable metal items. When learning how to engrave metal at home, you can even turn it into a profitable business.
Frequently Asked Questions
What Is Metal Engraving?
Metal engraving is a process of scoring lines into the surface of a metal object or item to create a symbol, pattern, design, or artwork. So, engraving can be used to mark logos, text, codes, numbers, letters, and so much more.
What Metal Is Best for Engraving?
Aluminum is the best type of metal to use for engraving, as it is soft and easy to control and handle. Other metals that are also suitable for engraving purposes include brass, gold, copper, steel, nickel, and titanium.
How to Engrave Metal With a Cricut Maker?
To make your engraving stand out, the best method is to use a Cricut maker, where you can fill in letters and darken designs. Remember, the engraving process does not add color, so to add some color, you need to apply the process of antiquing or enameling, where a paint-like substance is applied to the engraving, leaving the desired color behind.

In 2005, Charlene completed her wellness degrees in therapeutic aromatherapy and reflexology at the International School of Reflexology and Meridian Therapy. She worked for a company offering corporate wellness programs for several years before opening her own therapy practice. In 2015, she was asked by a digital marketer friend to join her company as a content creator, and it was here that she discovered her enthusiasm for writing. Since entering the world of content creation, she has gained a lot of experience over the years writing about various topics such as beauty, health, wellness, travel, crafting, and much more. Due to various circumstances, she had to give up her therapy practice and now works as a freelance writer. Since she is a very creative person and as a balance to writing likes to be active in various areas of art and crafts, the activity at acrylgiessen.com is perfect for her to contribute their knowledge and experience in various creative topics.
Learn more about Charlene Lewis and about us.