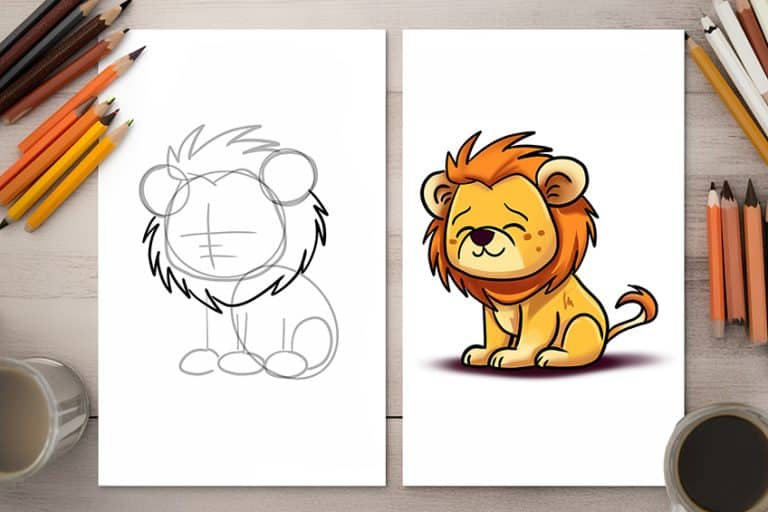
Deer Drawing – 18 Steps to Drawing Gentle Guardians
This post may contain affiliate links. We may earn a small commission from purchases made through them, at no additional cost to you.
Deers are a symbol of the forest, epitomes of grace and agility. With their slender bodies poised, they navigate the woodland with elegance, their sharp senses alert for any sign of danger. Whether you’re fascinated by the delicate patterns of a deer’s fur, or simply determined to enhance your artistic skills, this guide will lead you through 18 essential steps to craft a lifelike portrayal of a deer. This thorough tutorial guarantees that you possess the expertise and methods required to capture the majestic beauty of a deer on your canvas with unmatched detail and finesse!
From Forest to Paper: A Step-by-Step Guide to Drawing a Deer
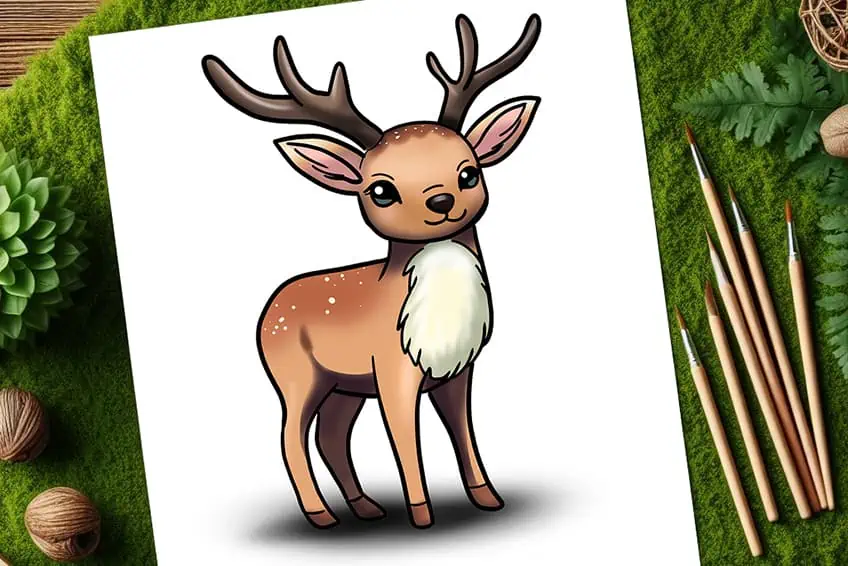
Unveil the mastery of capturing the regal elegance and strength of deer with meticulous detail and finesse in this all-encompassing handbook. Illustrated with precision, this guide meticulously outlines each step necessary to animate a deer on your canvas. Through careful study and practice, you’ll acquire the skills essential to excel in the art of learning how to draw a deer!

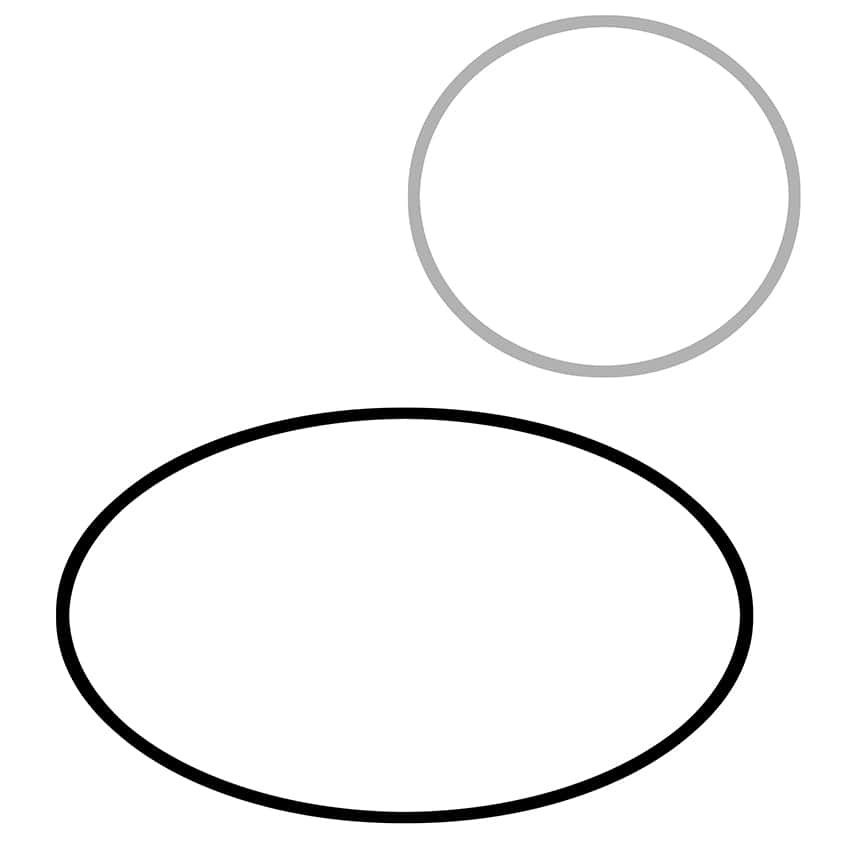
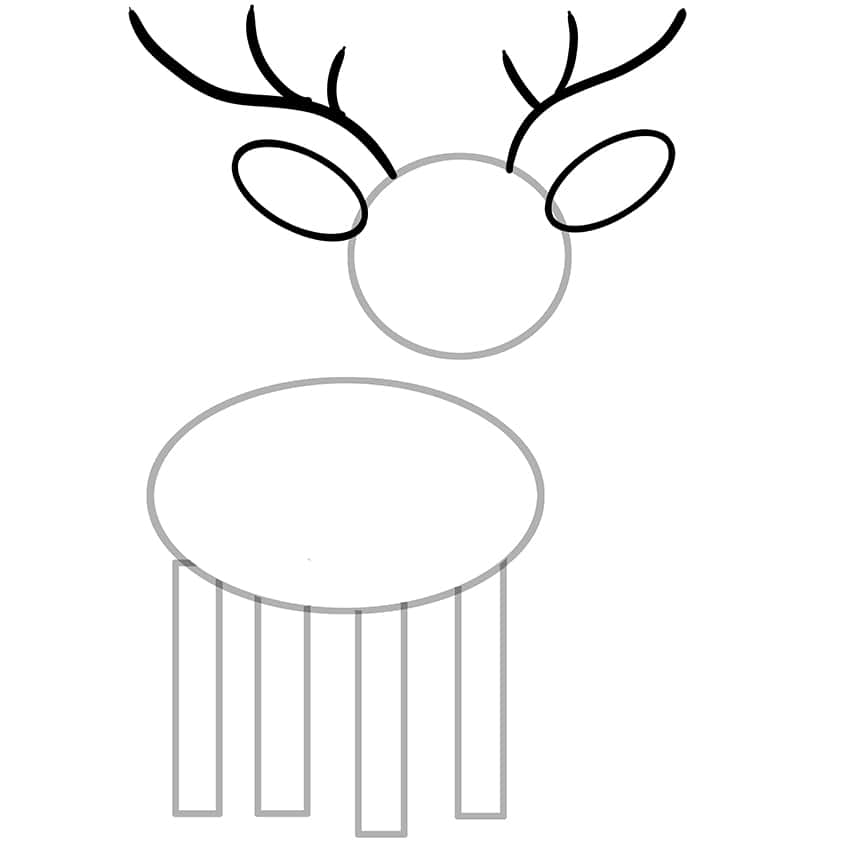
Step 1: Draw the Head on Your Deer Sketch
Begin by drawing an oval shape to represent the head of the deer.

Step 2: Add the Body to Your Realistic Deer Drawing
Beneath your deer drawing head, draw a horizontally laying oval shape to represent the main body of the deer.
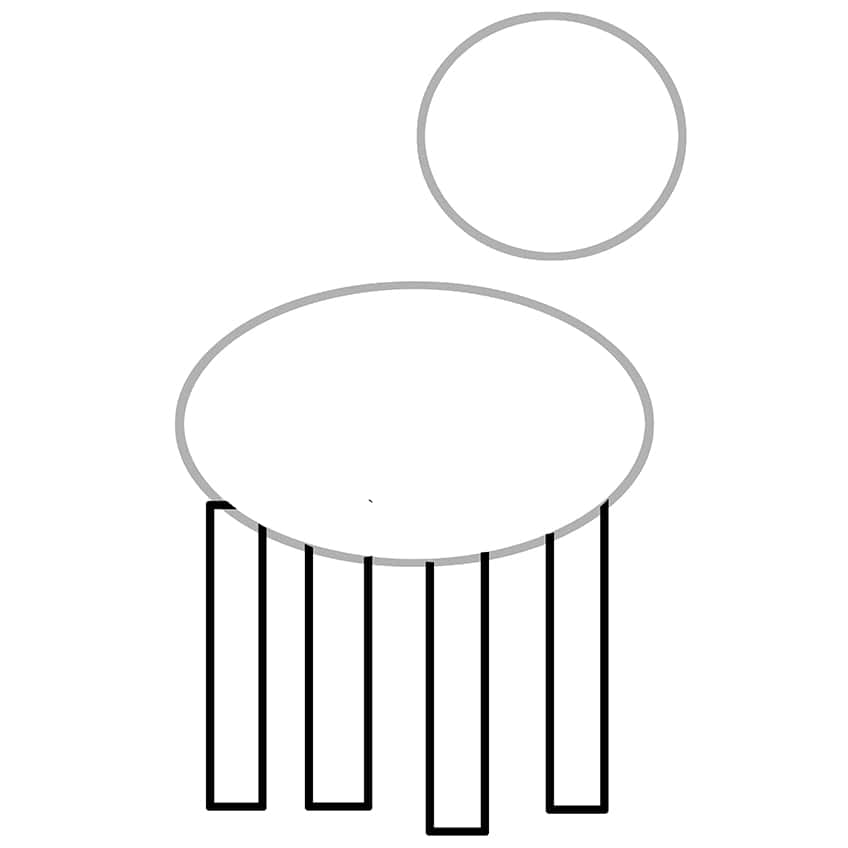
Step 3: Draw the Legs
Attached to the bottom area of the main body, draw four vertical rectangles to represent each of the legs.
Step 4: Add the Ears and Antlers to Your Deer Illustration
Attached to either side of your deer drawing head, draw the oval shapes to represent each of the ears. Complete this by drawing the antler outlines above the head extending outwards.
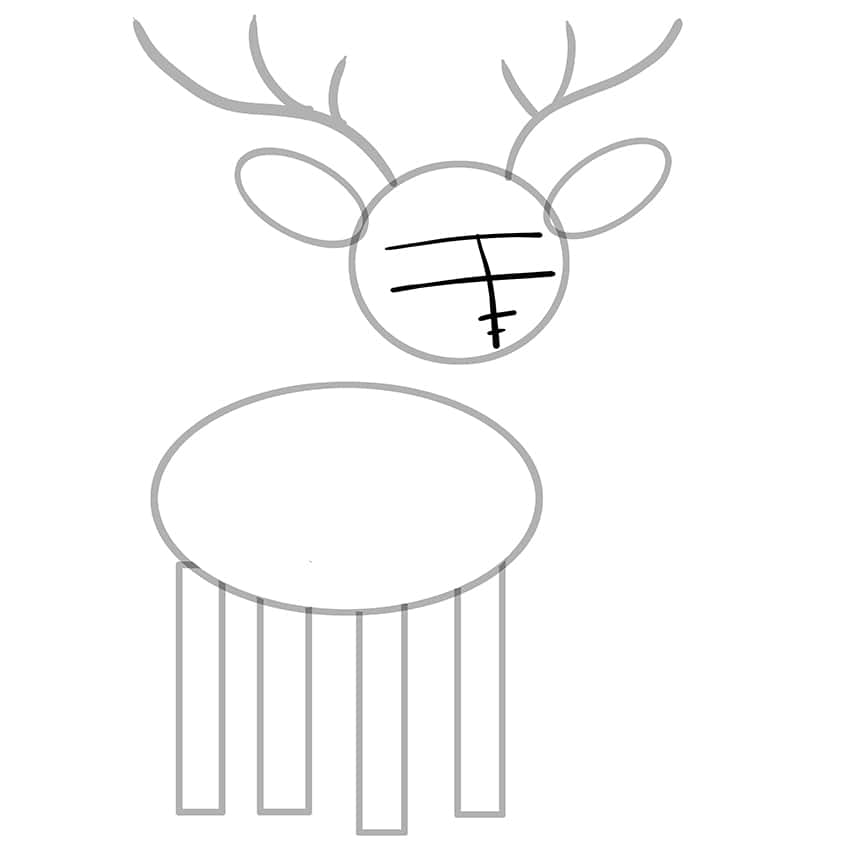
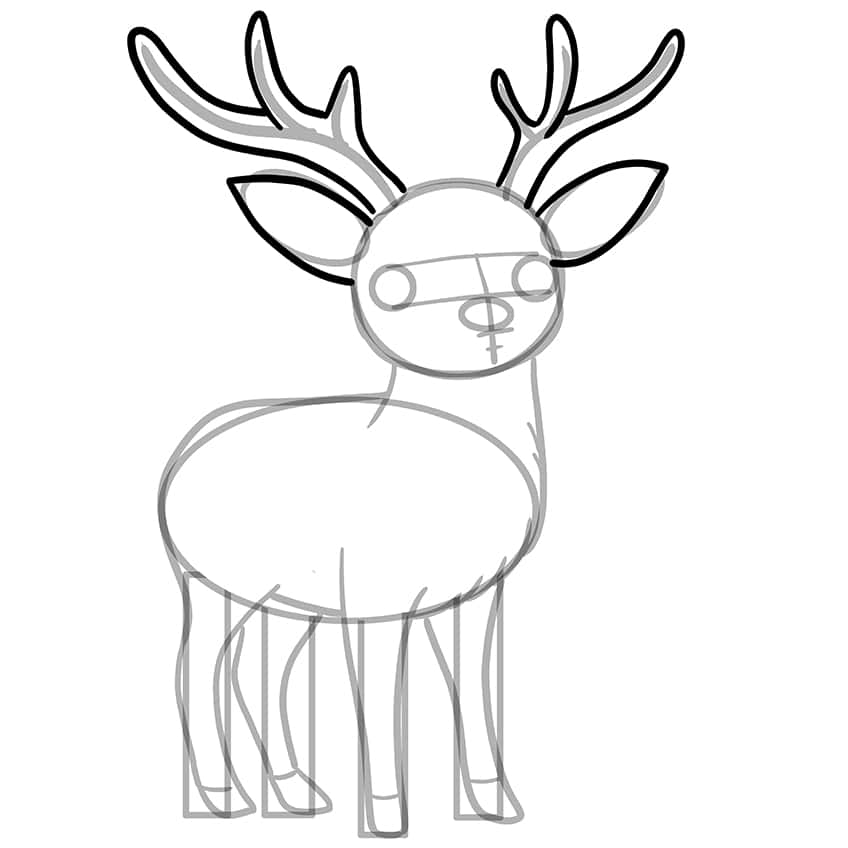
Step 5: Draw the Guidelines
Draw a center line and four horizontal guidelines within the head to guide us in the next step when drawing the facial features.
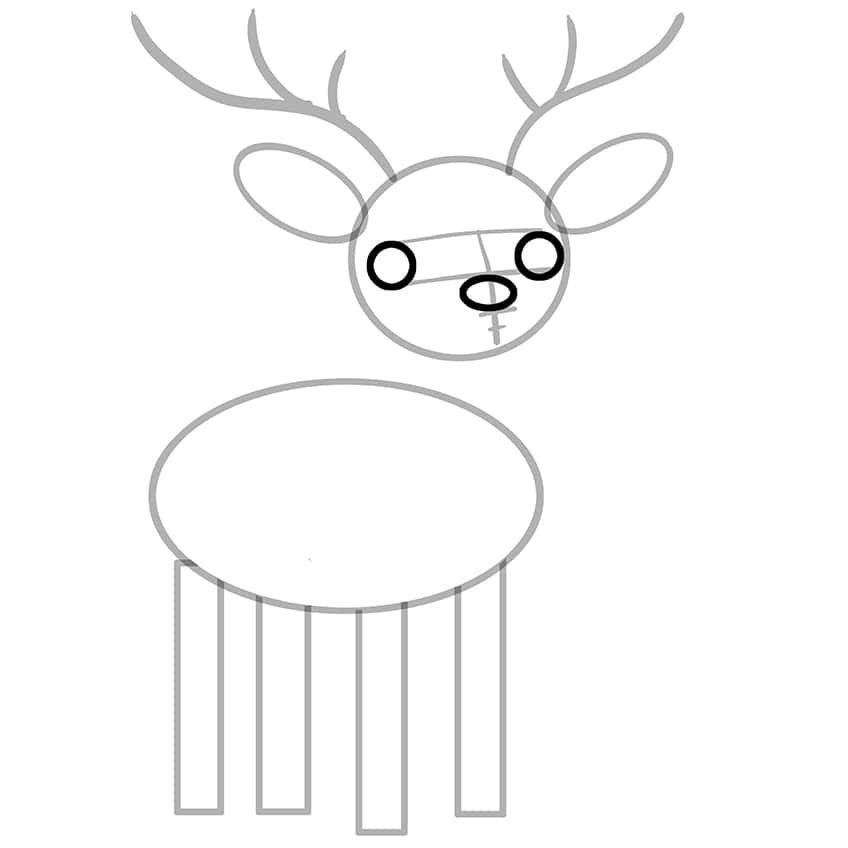
Step 6: Add the Facial Features to Your Deer Sketch
Between the first two horizontal guidelines, draw a single circle on each side to represent the eyes. Between the next two horizontal lines, draw a horizontally laying oval shape to represent the nose area of the deer.
Step 7: Outline the Main Body
In this step, sketch the legs, torso, and head of the deer. Finish this step by delineating the separation line for the hooves at the base of each leg.
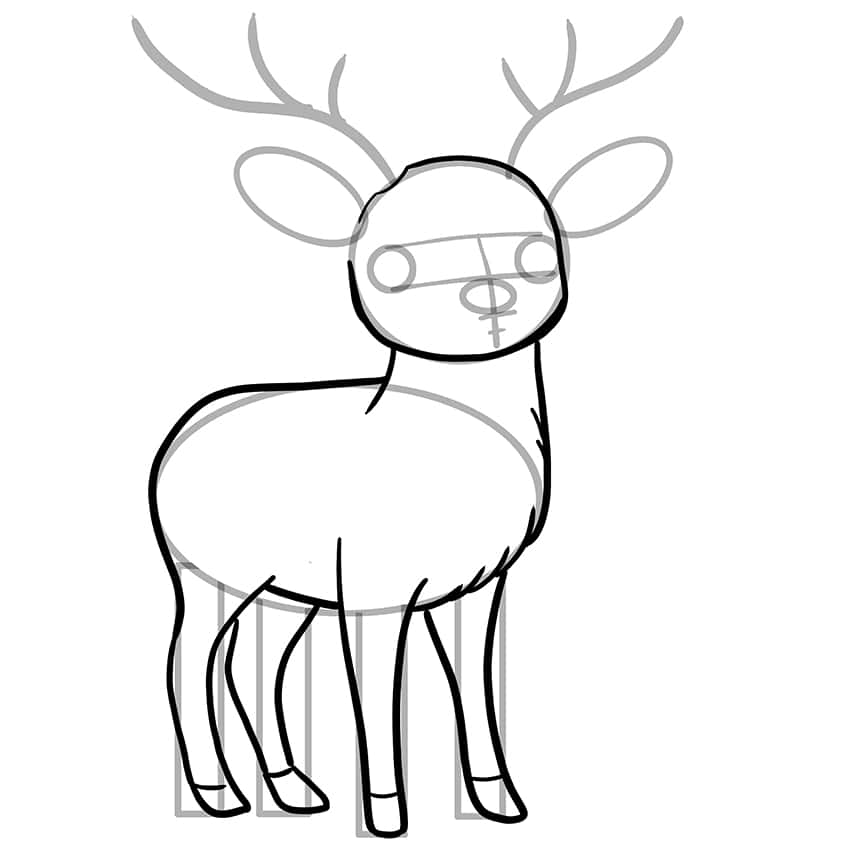
Step 8: Continue Onto the Ears and Antlers
Continue to outline the ears with a slightly pointy end and each of the antlers.
Step 9: Draw the Furry Chest on Your Realistic Deer Drawing
Within the chest area, draw the furry outline wrapping around the main body. Finish off by drawing the inner earlobes.

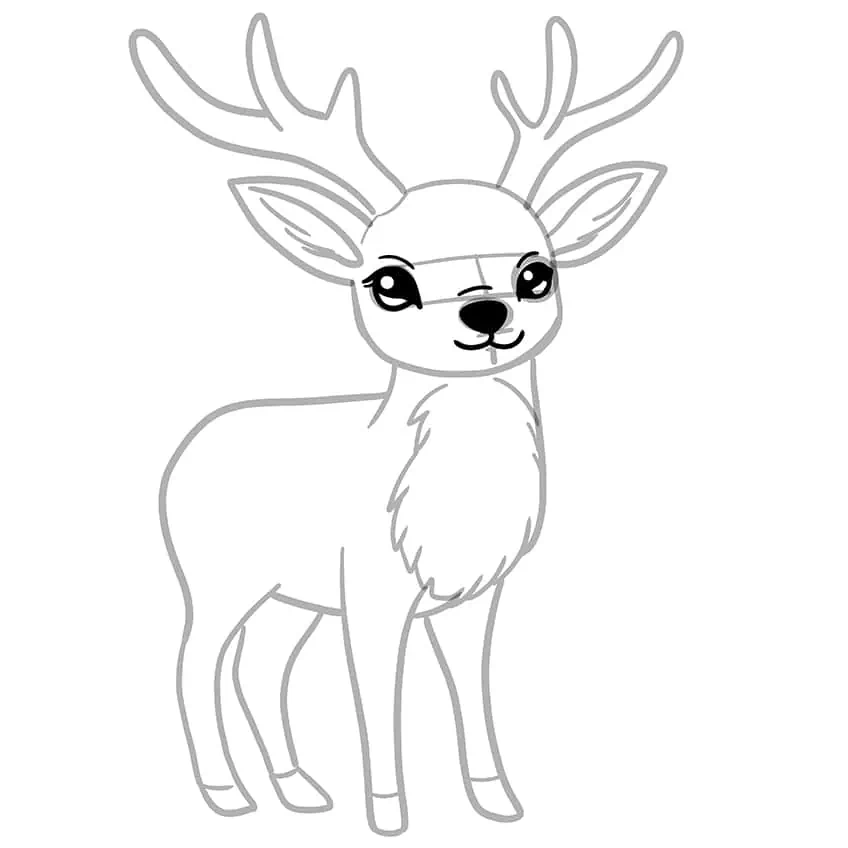
Step 10: Detail the Facial Features
Using a fine, sharp brush and black paint, carefully fill in each eye, leaving the upper and lower areas blank. Draw an eyebrow above each eye. Proceed by filling the nostrils and sketching the mouth line along the bottom guideline. Once finished, erase any remaining visible guidelines.
Step 11: Apply the First Color Coat
Select a sharp brush and brown paint to evenly coat your deer art.

Step 12: Add the Secondary Color Coat to Your Deer Art
Evenly coat the deer’s antlers with a sharp brush and a darker shade of brown paint.
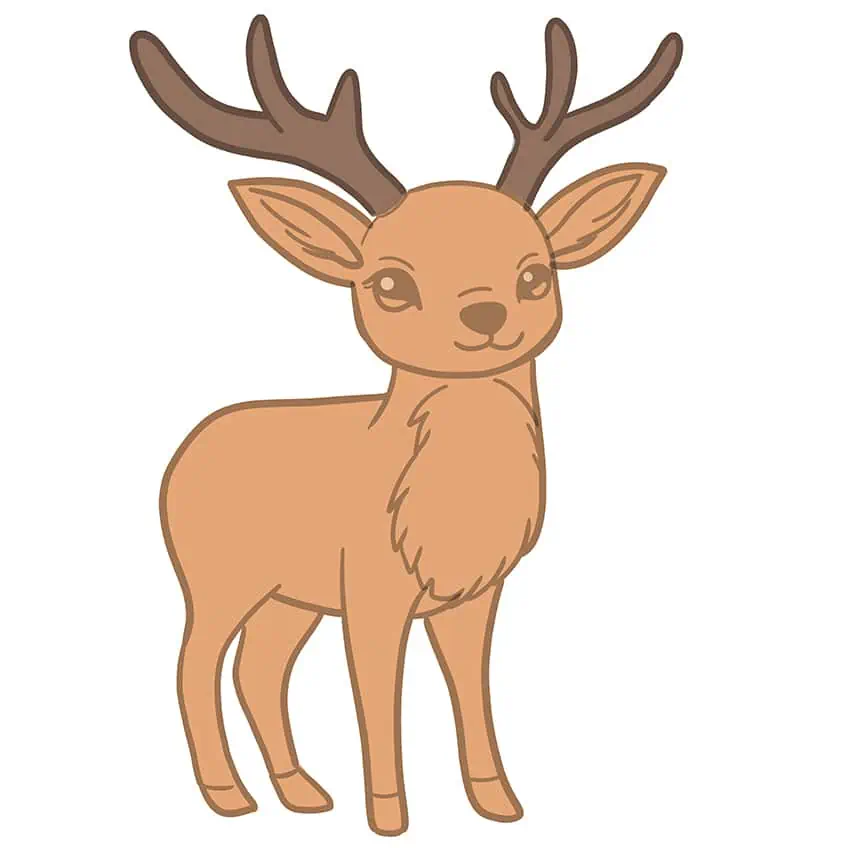
Step 13: Color the Ears and Chest
Using the same brush, switch to light pink paint and evenly coat both earlobes. Continue with light yellow paint and coat the chest area on your deer sketch.

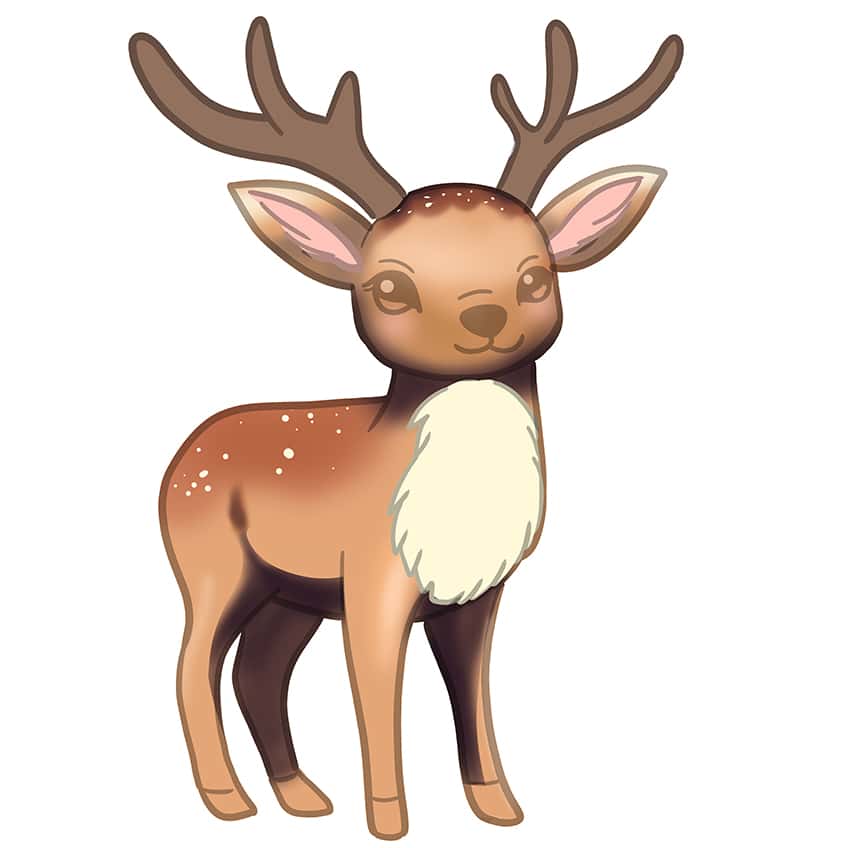
Step 14: Shade and Highlight the Deer’s Body
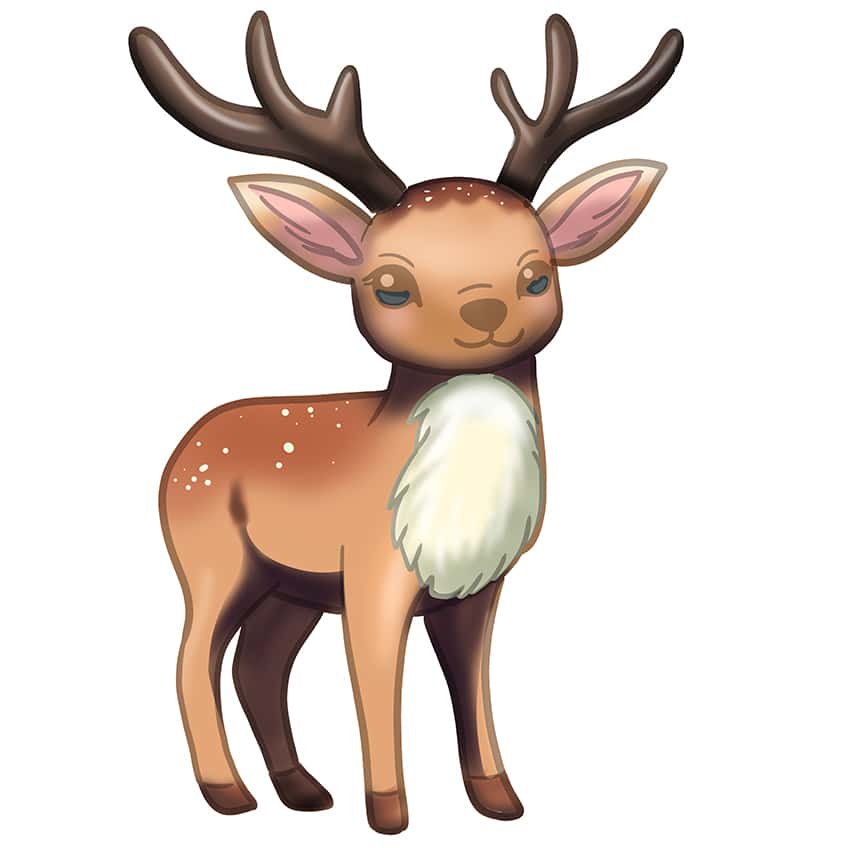
Use a small, soft brush with darker brown paint to darken beneath the neck, legs, and belly, repeating as needed or using black and dark brown paint. Apply this shading to the face and ears, blending with a blending brush. Lightly shade the rear of the body and the top of the head with the same brush. Add dots and spots with a fine, sharp brush and white paint.
Finish with highlights on the legs, head, and ears using a soft brush and white paint.
Step 15: Continue Onto the Ears of Your Realistic Deer Drawing
Use a small, soft brush and light pink paint to blend the ears with the earlobes evenly. Repeat this process with a blending brush to soften and spread the coats. Then, repeat with black paint to add soft shading along the lower ends of the ears. Next, use a fine, sharp brush and green paint to color the lower areas of the eyes. Shade the furry chest using a soft brush and black paint, repeating with white paint for highlights.
Finally, color each of the hooves with a gentle brush and a dark shade of brown paint, repeating with black paint for soft shading.

Step 16: Apply Shading and Highlights to the Antlers
Begin to shade the antlers on your deer illustration with a soft brush and black paint. Switch to a fine, sharp brush and add strokes of highlights with white paint.
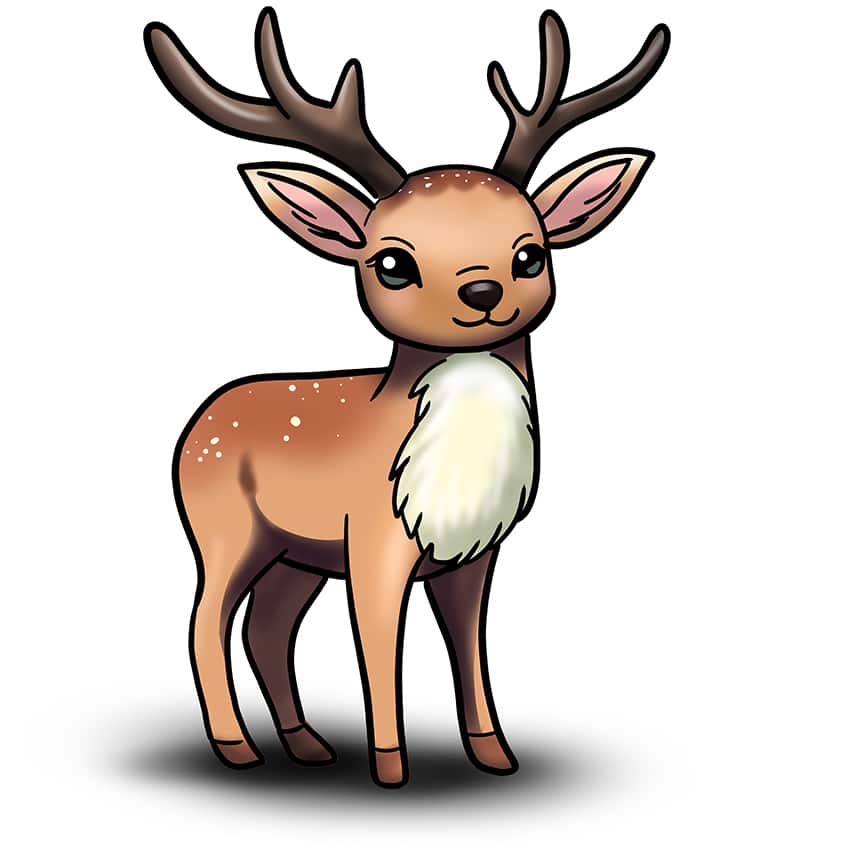
Step 17: Add a Ground Shadow
Employ a small, soft brush and black paint to shade underneath the deer, then use a blending brush to soften the shading sideways.

Step 18: Finalize Your Deer Sketch
Utilize a fine, sharp brush and black paint to refill the eyes. Use white paint to fill the eye shimmer and lightly apply a highlight to the nose. Proceed by using a sharp brush and black paint to evenly trace the detail lines of the deer to finalize the artwork. You have reached the end of our tutorial on how to draw a deer!
Well done on finishing our tutorial on how to draw a deer! By following along diligently, you’ve showcased commendable dedication and skill, successfully crafting a stunning representation of a deer in just 18 steps. Your commitment to mastering the art of drawing is evident, and with continued practice, your expertise will only grow. Keep honing your craft, exploring new techniques, and unleashing your creativity onto the canvas. Well done, and happy drawing!
Frequently Asked Questions
What Are Some Techniques for Creating Realistic Fur Texture in a Deer Drawing?
When it comes to rendering realistic fur texture in my deer drawings, I rely on a variety of techniques to capture the softness and depth of the fur. One approach is to use a fine-tip pencil or a thin brush to create short, overlapping strokes that mimic the direction of the fur growth. By varying the pressure and density of the strokes, I can achieve a sense of texture and volume in the fur. Additionally, I often experiment with different shading techniques, such as cross-hatching or stippling, to add depth and dimension to the fur, paying close attention to areas where light and shadow interact to create highlights and shadows.
How Can I Convey the Graceful Movement and Elegance of a Deer in My Drawing?

IzzyBll is a digital artist and content creator from Israel and currently residing in South Africa. Originally coming from videography, Izzy then turned to digital graphic art. He specialized in using digital drawing software such as Photoshop and Procreate. Drawing and photo editing has always been a sort of second nature for Izzy. In doing so, he can now look back on 5 years of experience in the industry, completing commissions for various well-known brands such as Audi.
Learn more about IzzyBll and about us.