Epoxy Paint for Wood – Epoxy Coating for Wood Floors
This post may contain affiliate links. We may earn a small commission from purchases made through them, at no additional cost to you.
If you are looking for the perfect wood coating that aims to show off the grains of the wood along with a durable finish, then using the best epoxy paint for wood is a no-brainer. However, there are many varieties of epoxy paint and there are particular steps that you will need to take before you can start applying this paint. This includes proper preparation of the surface along with choosing the right paint for the job.
What is Epoxy Paint?
Epoxy paint is a coating that is available in two variations, acrylic, and oil-based, both of which have proven to be extremely durable and chemically resistant. Epoxy paint has also proven to be extremely effective for outdoor use due to how well it can withstand all types of weather and various temperatures.
Oil-Based Epoxy Paint
Oil-based epoxy paint is perfect for coatings smooth and porous surfaces such as plastic, wood, sheet metal, and metal. One of the biggest advantages of using this type of paint is due to it being able to provide you with an even surface that is significantly easier to sand than an absorbent material. This is what makes it a prime choice for painting wood flooring over textured and rough surfaces. This includes hardwood and tile floors.
When it comes to coating surfaces in oil-based epoxy paint, tile over concrete and hardwoods are generally coated with this paint. This is what makes it so popular for commercial and residential uses. Epoxy paint can also be used on roofs and floors to assist in repelling insects that are known to cause damage to the material. Due to the water-based formula that is used in the manufacturing process, oil-based paint does not create any type of vapor when it comes into contact with the surface of the material. This is what makes it an ideal choice when for indoor applications such as factories and a range of enclosed areas.

This is the best epoxy paint for wood as it does not erode over time and this is due to the lack of chemical content that is used in the manufacturing process. This makes it impossible for porous wood to absorb the paint and this essentially makes it a natural repellant to wood floors.
Acrylic-based Epoxy Paint
If your main focus is an aesthetically pleasing finish, then you will likely lean toward acrylic-based epoxy paint. However, despite the smooth finish that can easily be attained with this type of paint, the smooth and absorbent surface of the paint makes it easy for dirt and dust to penetrate it. Acrylic paint is also significantly more prone to staining, which is not what anyone would want. Another disadvantage is that this type of epoxy coating for wood floors is extremely difficult to apply to surfaces that are uneven and it could cause bubbling.
The high amount of gloss in the paint makes it a poor choice for rough surfaces such as wooden floors and tiles. This is not recommended for beginners as it requires high expertise to remove the topcoat of paint. Both acrylic and oil-based wood floor epoxy paints are suited for the surface; however, each one will present a set of pros and cons.
The Best Epoxy Paint for Wood
If you are looking for high-quality epoxy paint for wood floors or wood in general, then the options that we have listed below will provide you with an excellent and durable finish. However, this should be done with the correct technique, as the materials that you use will only be as good as the applicant.
The Best All-Round Epoxy Paint for Wood: RUST-OLEUM Marine Topside Paint
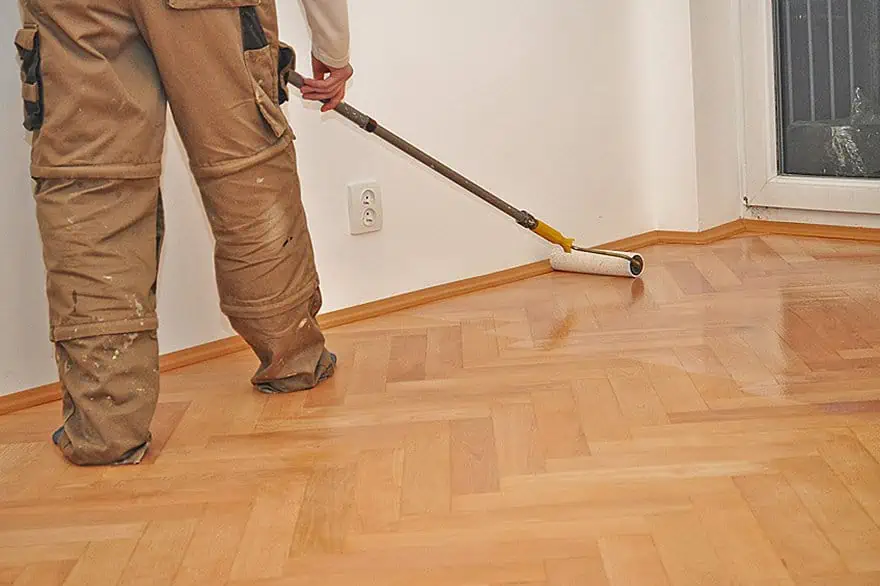
Rust-Oleum Marine Topside Paint is the ideal choice for wood and a range of other surfaces such as metal and fiberglass. This is a flexible epoxy for wood floors and is very easy to apply with great leveling. This oil-based epoxy paint is excellent for sleek surfaces that come into regular contact with moisture, which makes it a great epoxy coating for wood floors. Finding a good wood floor epoxy that is quick-drying and hardens with a glossy and durable finish is not easy to come by, and this is also a perfect epoxy over wood coating as it dries within two hours.
However, this is not a product that appeals to novice DIY warriors due to its relatively high price range. Furthermore, despite how easy it is to apply as a flexible epoxy for wood floors, it has to be applied in thin layers. This is because this is an epoxy paint for wood floors that will bubble if it is applied too thick. Overall, this is one of the best epoxy over wood coatings that money can buy.

- Oil-based formula is flexible and applies easily with excellent leveling
- Dries to the touch in as little as 1 to 2 hours and covers up to 100 sq ft
- Durable coating resists abrasion and extreme weather conditions and provides long-lasting UV protection
PROS
- This product is very easy to apply
- It is a quick-drying epoxy paint
- The finish is glossy and smooth
- It is UV resistant and can withstand extreme weather
CONS
- It must be applied in thin coats
- This product is quite expensive
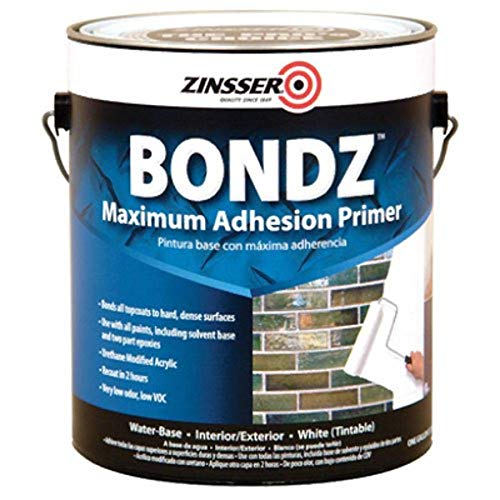
The Best Epoxy Primer: RUST-OLEUM Maximum Adhesion Primer
While it is technically not an epoxy wood floor paint, epoxy primer is one of the most important products to purchase and it is a necessary part of the painting process. This is because epoxy paint cannot adhere to a bare wooden surface or floor and the priming process will allow this to happen. Using an acrylic latex primer allows you to get the desired finish and it must be applied before adding a coat of paint. Epoxy primers are also available in a variety of colors, which is important as you will need to choose the one that complements the color of the wood that you are going to paint.
The Rust-Oleum Maximum Adhesion Primer is one of the best water-based primers and this high-quality product will enhance the adhesion between the paint and the wooden surface. This primer also allows for the paint to adhere to a variety of surfaces in wet and warm environments.
- Water-based primer-sealer for interior and exterior use
- Use with any topcoat, including solvent-based and epoxies
- Outstanding wet adhesion in moist or humid environments
PROS
- This product is easy to use
- It can be used for outdoor and indoor surfaces
- It dries very quickly
- It adheres very well in warm and wet environments
- It can be used with most topcoats
CONS
- This product will not adhere to all types of surfaces
The Best Epoxy Additive: RUST-OLEUM Marine Anti-Slip Additive
One of the biggest concerns when using epoxy paint on a floor is whether it would become slippery. While it might not be as slippery as it looks, this can quickly change when it is exposed to water. To ensure that no one hurts themselves when trying to make their way across the floor, adding a non-slip additive will stop this from happening especially when it comes to an oil-based epoxy wood floor. While most epoxy paint for wood floors is water-based, there are oil-based epoxy wood floors that require a non-slip additive.

- Creates a skid-resistant coating for wood, metal, fiberglass and concrete surfaces
- Unique pumice material adds slight texture to any interior or exterior surface with a uniform coat
- Maintains coverage of applied paint and remains active for lifetime of the coating
PROS
- It creates an anti-slip coating on a variety of surfaces
- Will remain active as long as the coating exists
- It will not change the color of the paint
CONS
- This product cannot be used with a deck stain
The Pros of Epoxy Floors
Like any finishing, there are particular advantages and disadvantages when it comes to epoxy wood floors. Below you will find a variety of factors that you will need to consider before you decide to cover your wooden floor with an epoxy coating. Weigh the pros and cons and decide whether it is worth it.
Below you will find all of the benefits of installing an epoxy coat on your wood floor, but this can also be applied to a variety of materials, which depends on the type of paint that you are using. Also, the finish will depend on the experience of the person that is applying it.
Appearance
One of the most appealing factors of epoxy floors is the appearance. A coat of epoxy paint can create a professional and bright look, especially when the finish is smooth. Furthermore, it is very easy to maintain, as there is no need to polish it, as regular sweeping will do the job.
Cost
When you compare the cost per square foot of epoxy floors to others, it is very difficult to beat. This is due to it being installed over wood and other materials. The cost alone should be enough to entice you to make it your next DIY project.
Resistance
The great thing about epoxy floors is that it is pretty much resistant to everything. This includes strong chemicals such as brake and transmission fluid, gasoline, oil, bleach, and so on. This is why they are generally used on garage floors at home and in the automotive business.
Durability
When it comes to durability, epoxy floors are an excellent choice as it is incredibly strong. The only material that is more durable is concrete, which does not look as good. There are additional steps that you can take to improve the finish of your floor, but this is seldom necessary.
Protection
Epoxy floors will protect whatever is beneath them from stains, cracks, moisture, grease, and more. This means that you will spend less on cleaning and general maintenance. However, there is a catch, as this will only apply to how well it has been installed, so do not try and cheap out on the installation process as it will come around and bite you.
Longevity
This is a long-lasting flooring solution especially if it was installed correctly. Epoxy flooring can go decades without needing to be replaced, and this means that you will rarely see any peeling or cracking. Due to its long lifespan, it is very popular for industrial use.
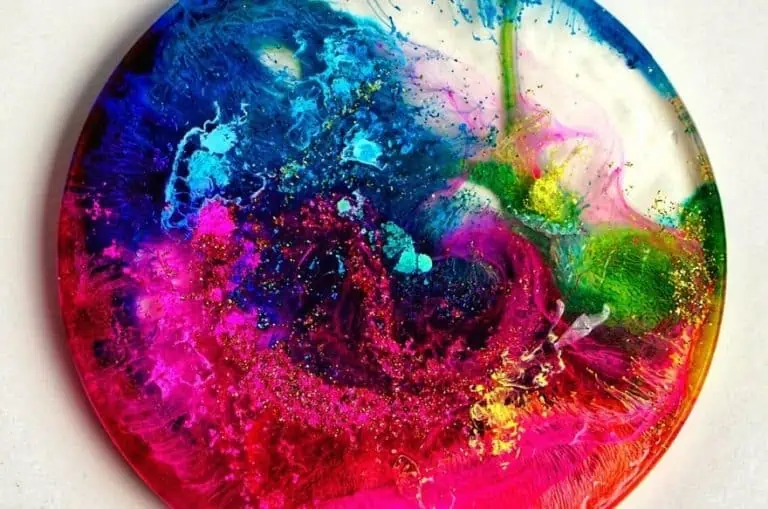
Variety
Epoxy floors are generally very beautiful as it allows you to get creative. Here you will be able to use a variety of colors and patterns to get that elegant or bright finish that you desire. The floor will be able to change the entire look of a home or office space, along with the general ambiance.
The Cons of Epoxy Floors
Like any type of paint, there are a few downsides to using it; however, most of these are due to incorrect application or if it is a product of subpar quality. This has the potential to negate any of the benefits that this finish might bring.
Temporary
When it comes to using epoxy, there is one major disadvantage, and that is that it is not a permanent flooring solution. Despite its durability and high resistance to chemicals and other elements, it will require replacing after a while. Wear and tear will diminish the floor and it will no longer have the same glossy appearance it once did.
Slippery
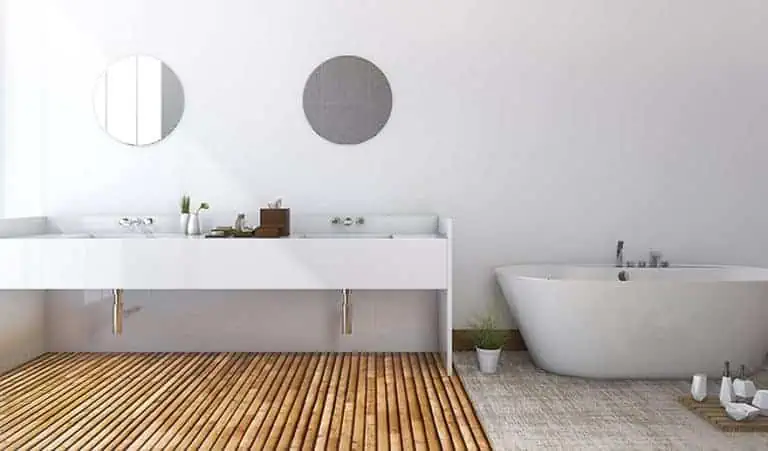
Oil-based epoxy floors are known to become extremely slippery when it is wet, and it can be a very dangerous situation. This is especially bad in areas that are prone to wet floors such as bathrooms and kitchens, and the only way to manage this is to texturize the surface.
Preparation
Preparing a surface for epoxy paint is incredibly tedious and requires a lot of effort. The surface of the wood or concrete has to be completely clean and free of any solvents, oil, or grease. However, there have been plenty of advancements that have been made regarding the materials and it has become easier over time.
Application
Epoxy paint takes a very long time to dry, and this could mean that the area that you are painting might be inaccessible for a few days. The first coat has to be completely dry before you will be able to add another layer, so expect to spend a week doing this.
Smell
Epoxy paint does have a pungent smell due to the large volume of fumes that comes with using wet epoxy. The strong smell of ammonia is more prevalent in darker shades of epoxy due to them having more hardeners, so keep this in mind if you are choosing a darker color.
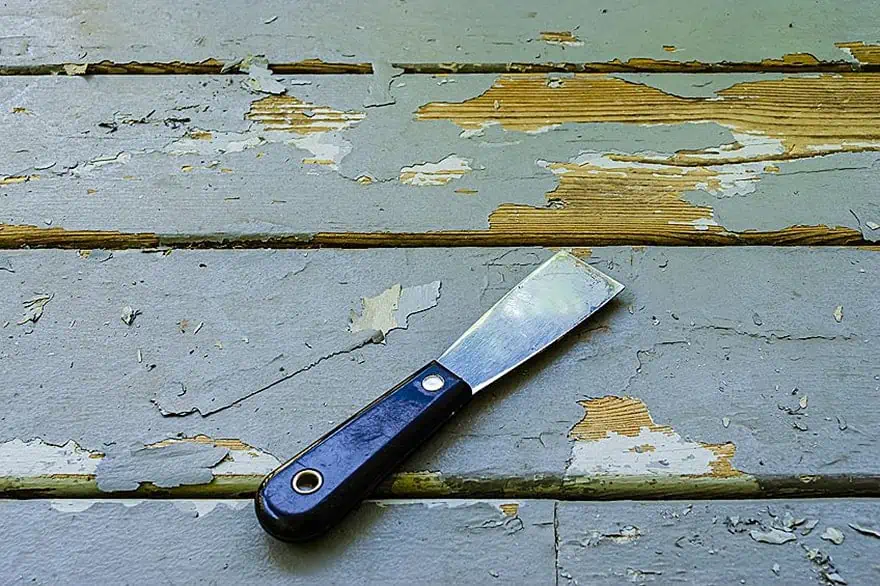
Removal
Applying epoxy can be incredibly expensive as it is a labor-intensive project, and one of the worst parts of using this material is trying to remove it to repair the floor. This is something that you should not attempt on your own as it can be very easy to make a critical error.
How to Apply Epoxy Paint to Wood
The process of applying epoxy paint to wood can be split into three parts and it is important that you do not skip or attempt to take any shortcuts, as you will likely need to redo it. Below you will find the entire process along with a few tips to make it a bit easier.
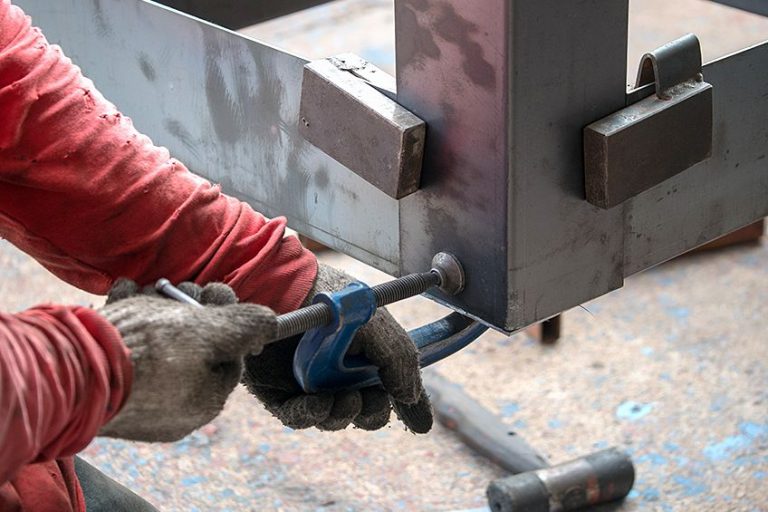
Part 1 – Positioning and Sanding the Wood
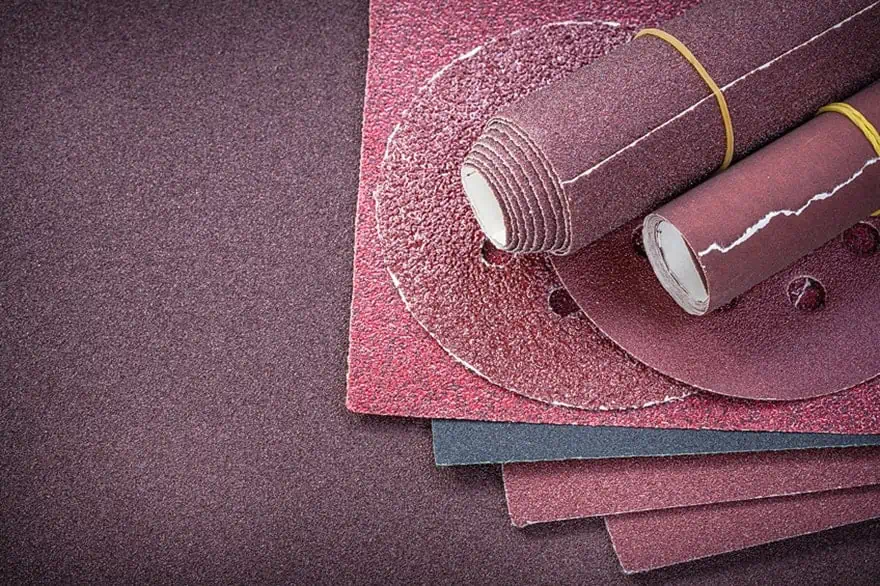
Step 1 – Any uneven piece of wood that you are planning to use must be sanded with sandpaper with a grit between 120 and 220. A smooth and even surface is required for the epoxy to be applied without any issues. A good tip is to sand with the grain to achieve a smooth surface.
Step 2 – The next step might seem tedious, but it is vital to ensure that the wood is completely clean. Using a microfiber cloth yield the best results, especially if it is damp, as this will get rid of all of the dust. To make the process easier, you can also use a brush or a small vacuum to remove any excess dust.
Step 3 – To ensure that you have a handle on the epoxy drips, attach the painter’s tape to the back of the wood. You should then place it on a flat surface and ensure that the surface is flush with the workbench to ensure that no epoxy leaks beneath it. Remember, the tape only needs to be applied to the edges of the wood.
Step 4 – Protect your work surface with plastic or cardboard to ensure that you do not get any epoxy spillage on the table. Epoxy can ruin a table and this is the last thing you need. The best thing to use is a combination of plastic and cardboard.
Step 5 – Elevate the wood with empty cans or old cups to ensure that the wood does not touch the surface. The wood that you are working on should be elevated with the side that you are planning to coat facing towards the ceiling.
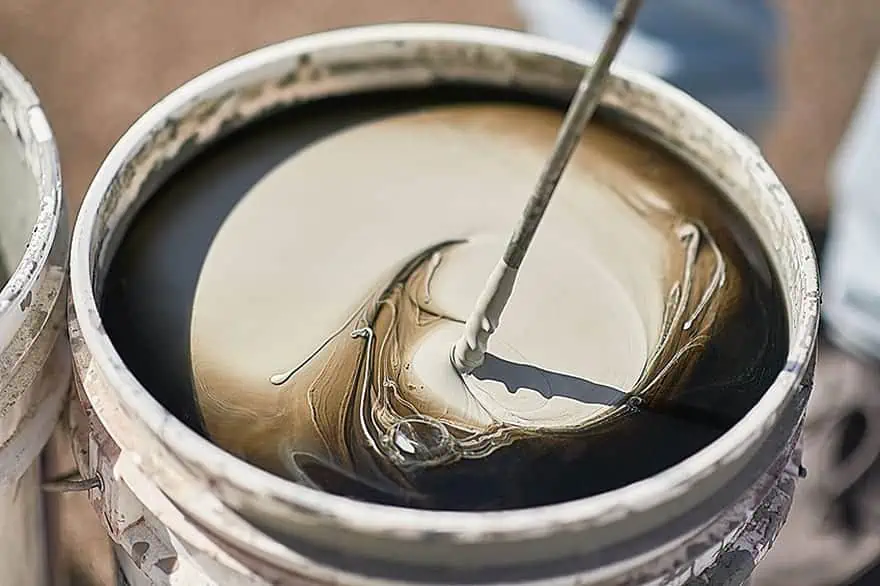
Part 2 – Joining the Epoxy
Step 1 – Join the epoxy in a dust-free and well-ventilated room as the epoxy has a very strong smell that could cause very bad headaches. You should also prevent mixing the epoxy in a room that is below 65 °F, as this could result in a poor mixture.
Step 2 – The hardener and resin should be measured into two disposable containers as both will need to be mixed in a different ratio of hardener to resin. It is best to use a plastic container or cup as the indentations make it much easier to measure.
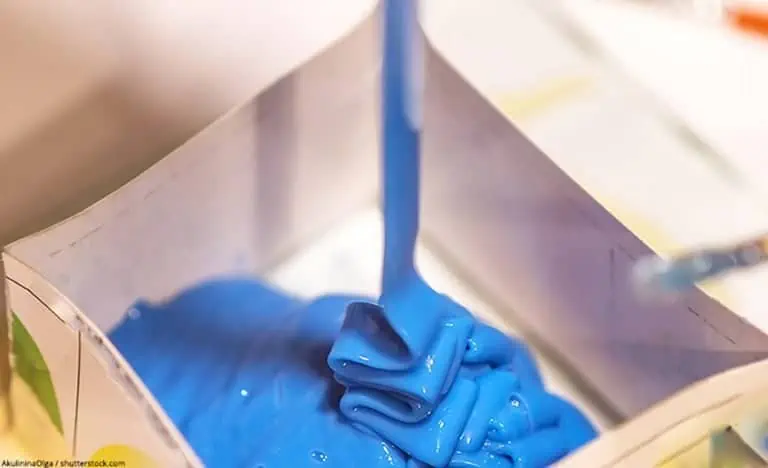
Step 3 – Combine the hardener and the resin once the two have been measured correctly. A piece of wood will work well to get the hardener or resin off the sides of the container. It does not matter if you pour the hardener into the resin or vice versa, just do whatever is easiest.
Step 4 – Stir the mixture for five minutes very slowly with a clean stick or piece of plastic. Stirring too quickly will create bubbles. If you are starting to see bubbles, do not panic, these can be removed at a later stage with heat.
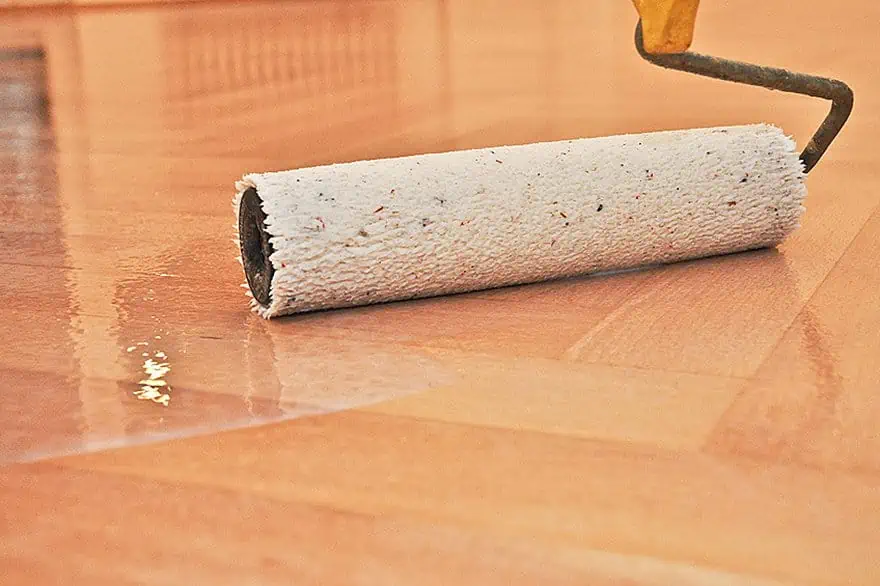
Part 3 – Coating the Wood
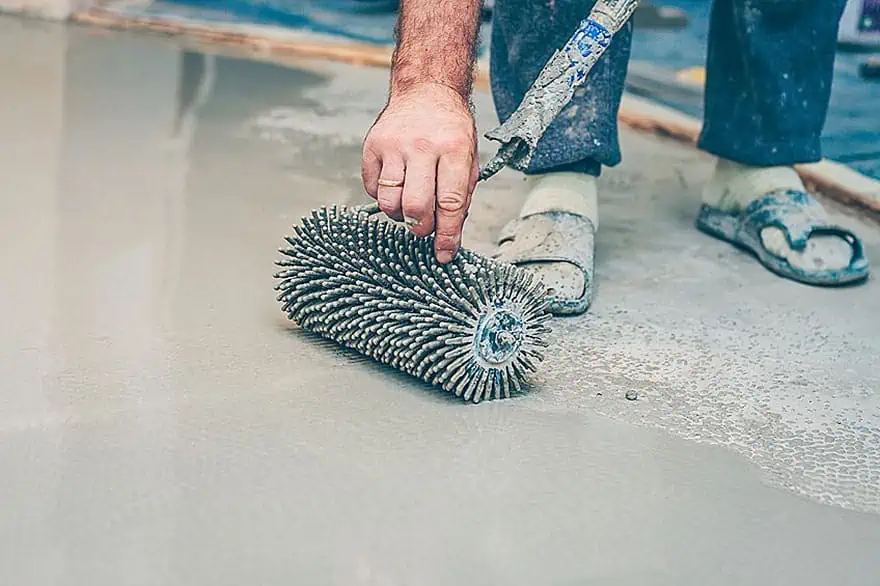
Step 1 – Pour the epoxy mixture on the center of the wood and start to coat the surface with a thin layer. It does not have to be perfect, but you will need to work quickly as it will start to harden as soon as it comes into contact with the surface.
Step 2 – With a foam brush spread the epoxy to the edges of the wooden surface. This is a simple process and all you need to do is ensure that the layer is even and that the edges have been wiped down with the sides of the brush.
Step 3 – If you have any air bubbles, which you likely will use a heat gun to get rid of them. If you do not own a heat gun, a normal hairdryer will be just as useful. Keep the heat source around 10 inches away from the surface to ensure that the bubbles are removed. However, if you keep the heat gun/hairdryer in one spot, it will burn the epoxy, so keep it moving.
Step 4 – The first coat will need around four hours to harden and dry; however, it will feel a bit tacky and this is a good time to add another coat of epoxy. Remember to pay attention to the bubbles as you will see them within 30 minutes after spreading.
Step 5 – Another coat of epoxy should be added for an added layer of protection, and this will have you repeat the mixing process as you did before. Remember to ensure that the next layer is even and you should use a harder surface to spread the next layer, as the foam brush will not produce the results that you would want.
Step 6 – Allow the epoxy to dry for 24 hours and then you can remove the tape that was applied to the back of the wood. However, it is best to wait up to 36 hours just to be safe, as you could ruin the finish if you choose to touch the surface.
Frequently Asked Questions
Will Epoxy Soak into the Surface of the Wood?
Yes, this is why it is important to prime the wood with an epoxy primer, as the wood will be damaged and will likely crack because of the epoxy that has soaked into it.
How do I Clean Off Wet Epoxy?
Wet epoxy can be cleaned off a surface with rubbing alcohol, but this will not work once it hardens.
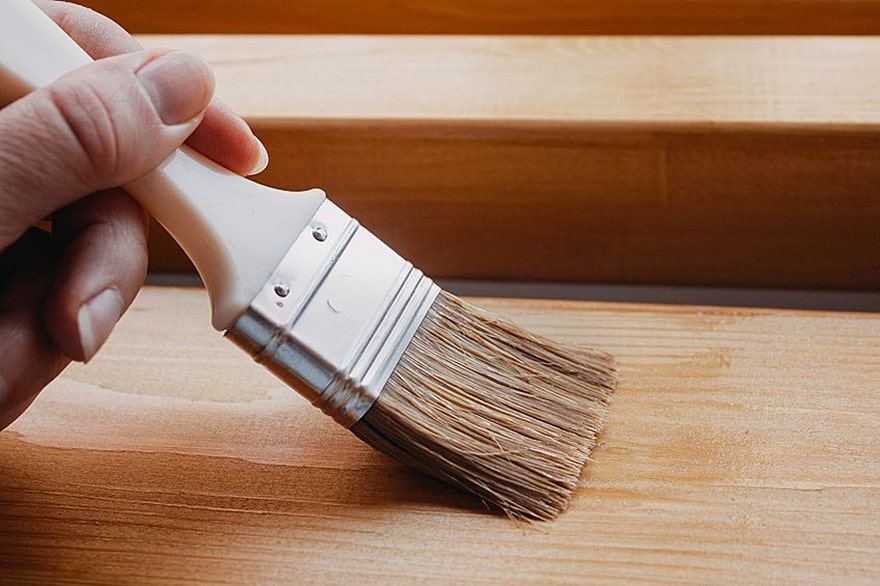
Which Brush Should I use to Smear Epoxy?
Do not use a normal paintbrush, a foam brush is recommended for the first coat, and a harder tool such as a spatula should be used for the last few coats.
Is There a Specific Number of Coats that I need to Apply?
Two to four coats are usually needed, but you can apply as many as you think are necessary.
How do I Achieve a Clear Finish After Applying Epoxy?
Using a range of different sandpaper grits from 100 up to 1200 will produce finer scratches that can be polished once it is completed.

In 2005, Charlene completed her wellness degrees in therapeutic aromatherapy and reflexology at the International School of Reflexology and Meridian Therapy. She worked for a company offering corporate wellness programs for several years before opening her own therapy practice. In 2015, she was asked by a digital marketer friend to join her company as a content creator, and it was here that she discovered her enthusiasm for writing. Since entering the world of content creation, she has gained a lot of experience over the years writing about various topics such as beauty, health, wellness, travel, crafting, and much more. Due to various circumstances, she had to give up her therapy practice and now works as a freelance writer. Since she is a very creative person and as a balance to writing likes to be active in various areas of art and crafts, the activity at acrylgiessen.com is perfect for her to contribute their knowledge and experience in various creative topics.
Learn more about Charlene Lewis and about us.