Glow in the Dark Epoxy – Guide for Glow Powder in Resin
This post may contain affiliate links. We may earn a small commission from purchases made through them, at no additional cost to you.
Surprises and anything shiny are great things to live around. They add unbelievable adventure to life, and glow in the dark epoxy resin is one such way of doing so. By casting it on tables, floors, or any surface, you can transform the experience of any given place. It is extremely easy to formulate, especially when you choose a good glow powder and epoxy resin combination. The result can make you ecstatic and can change the perspective of your work with this discovery. So fasten your seat belts as we learn the art of making glow in the dark epoxy.
Preparing the Mixture
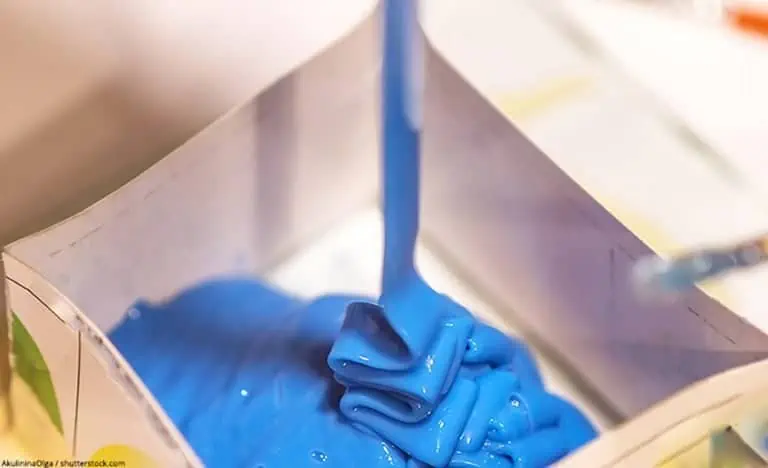
The preparation starts with finding or creating molds made of silicone or plastic, which can assist you in creating the desired outcome. Once you get the perfect base for your material, go ahead with analyzing the volume of the mold with water that can be poured into a measurement that you are sure of. Make sure that this measurement is as accurate it can be. Before pouring the resin, you want to be sure of the volume that the mold can hold. This will help you blend the mixture with ease. If your mold already indicates its volume, then you can skip this step.
Pour the amount of mixture that is required according to the measurement and divide it equally into two parts with the markings X and Y. If the manufacturer’s instructions are different, then you can change the volume and perform it accordingly. Use a mold release spray to secure the mold lining and let it dry according to the particular set of instructions. This step is important to make sure the mold and outcome are perfect by the end of the process.
Decide on the colors for the glow. It can be one or many, depending on the effect you wish to obtain. Using at least two colors would be a good option because of the vantage point over soft spots and also the extra flavor that it can add to your piece.
Get ready with all your material so that you have everything in place as time is a really important factor when it comes to using epoxy resin. This will help you to be quick.
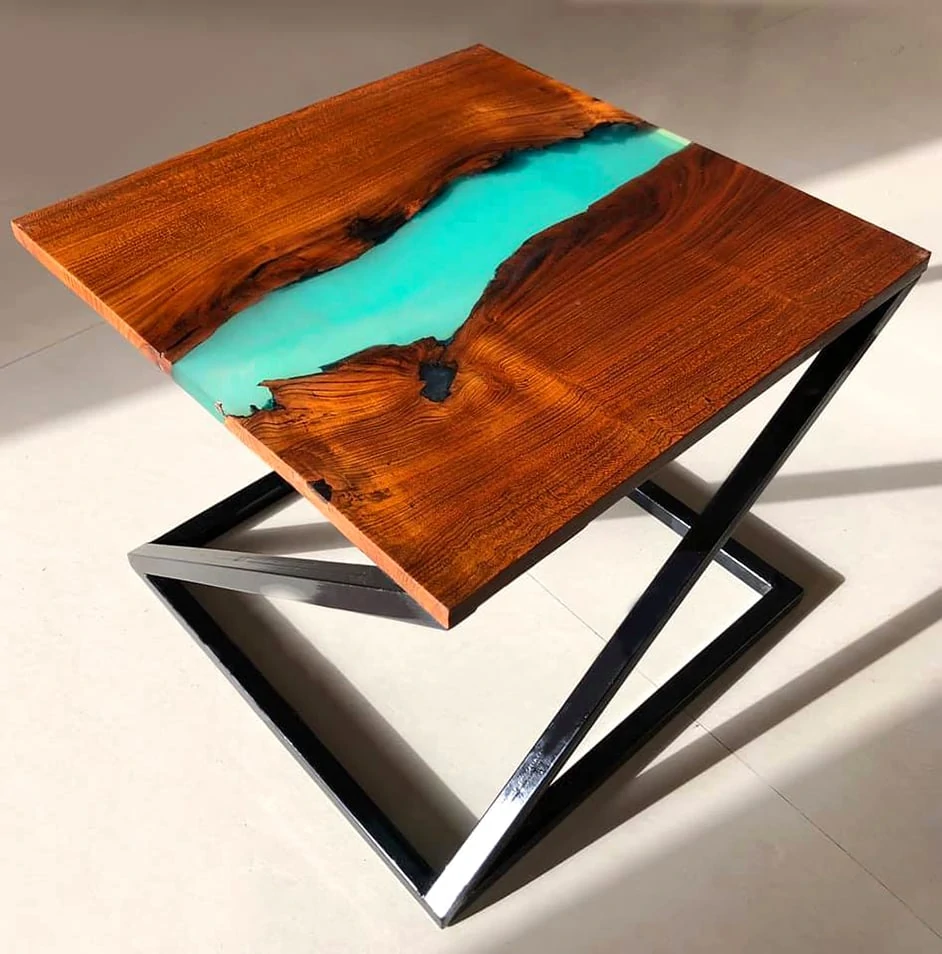
Image: © Studio Grey / www.instagram.com/studiogreypk
Materials Required
- Two plastic measuring cups
- Mixing cups (depending on the number of colors)
- Wooden mixing sticks
- Paper Mixing cup
- Suitable Epoxy Resin
- Glow Powder / Pigments
- Sandpaper
- Toothpick
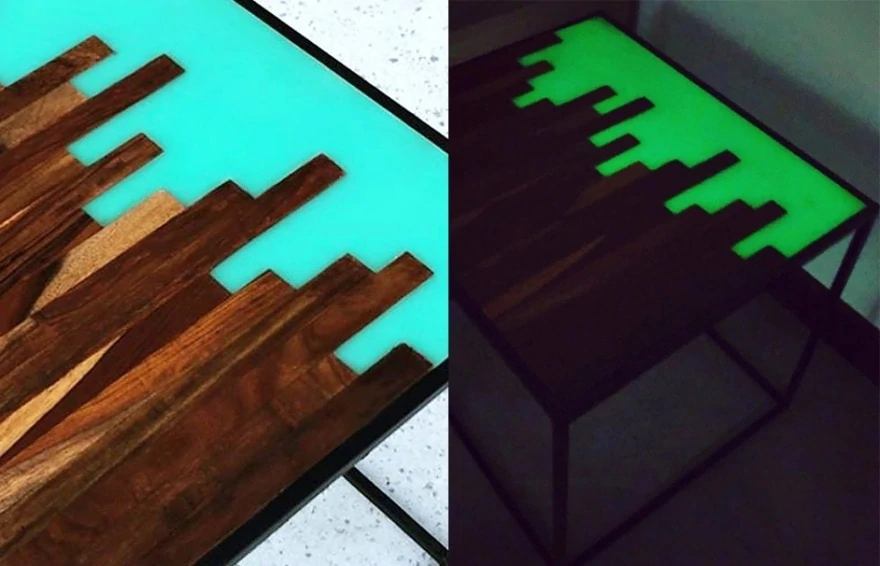
Glow Powder / Glowing Pigments
Cast resin artworks containing small luminous pigments are real eye-catchers. Here you have the choice between fluorescent luminescent particles, which are “charged” by UV light and then glow in the dark, or pigments that begin to glitter under black light.
Best Epoxy Resin for Glow in the Dark Items
We have a separate article about finding the best epoxy resin for your project.
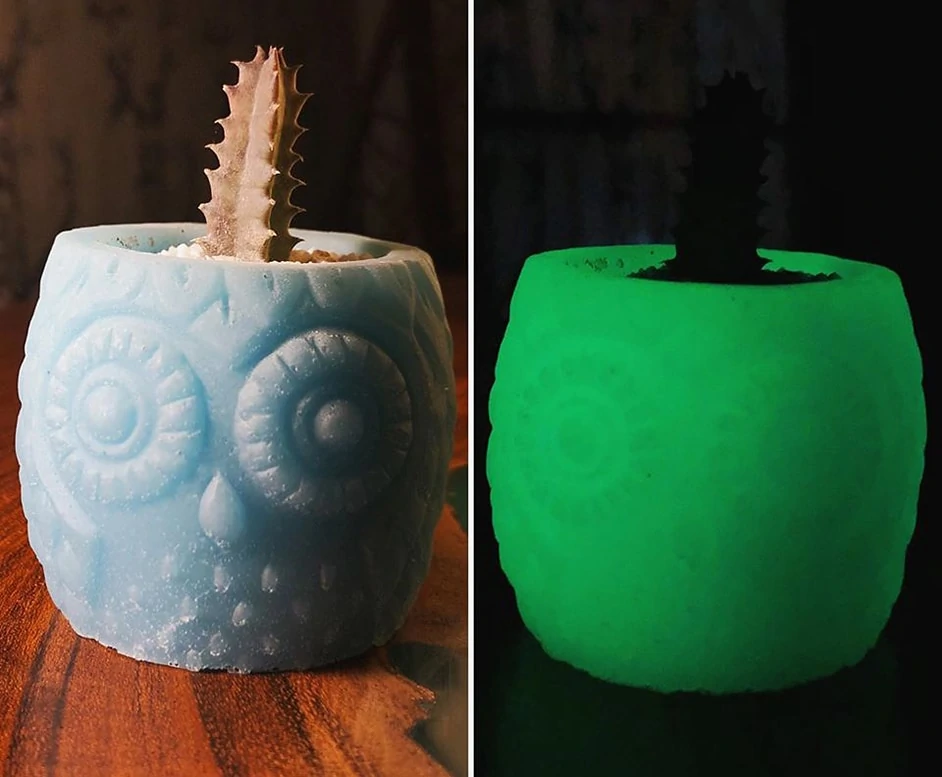
Image: © Studio Grey / www.instagram.com/studiogreypk
How to Create Glow in the Dark Epoxy Castings
Pour the amount of epoxy resin to be used in the measuring cups and then into the paper cups so that they can be thoroughly mixed as per the instructions on the box. Once the mixture is ready, separate them into the number of cups according to the number of colors and also according to their proportion required.
This will depend on the way you want to design your casting. For instance, you are making a glow in the dark epoxy table casting, and you want it to be orange and red in the proportions ¾ and ¼ respectively, then follow the same proportion while dividing the resin.
Check the weight of each cup and assess the accurate weight of the epoxy resin. If the volume is clear, it can also be used for this step as now you have to be sure about the amount of the glow powder that has to be added. Generally, the perfect ratio is 1:5 with one part of glow powder and five parts of epoxy resin. Here the proportion can vary a little, but this would give you perfect results without any wastage.
To calculate the weight or volume of the powder that has to be used, simply divide it by 5. Just take care of the units that are being used to measure. For example, if the weight of the epoxy resin is 20g, then the glow powder to be used would be 20 divided by 5, which is 4g.
The best way to ensure that you have enough time to get through this process is by using a resin that gives you at least 30 minutes to finish this. If you have less time, then measure the amount of resin, as well as glow powder, mathematically and keep the measured units ready for use.
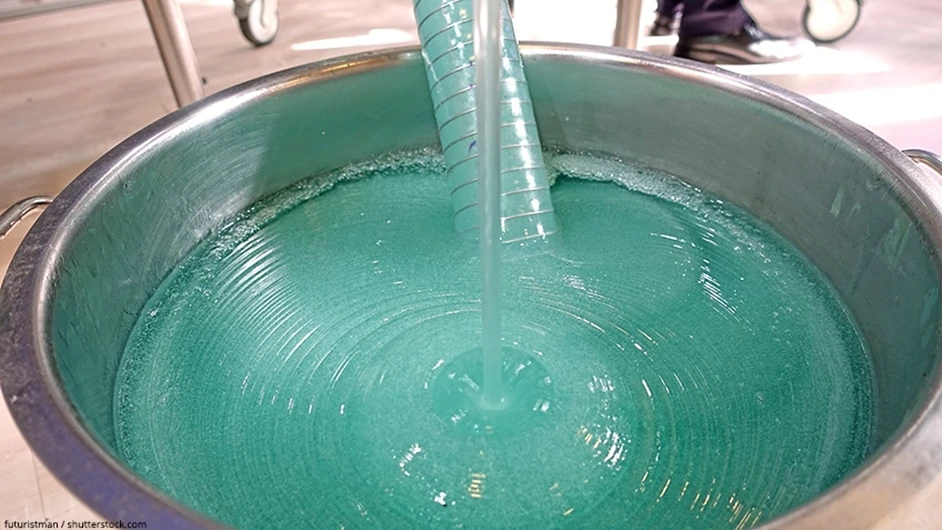
Stir the mixtures that are formed for every color and avoid being overly hasty. A slow and steady approach would save you from air bubbles and will also ensure that the combo is thoroughly blended. A little bit of liberty can be taken while mixing the glow powder as the unpredictable results, in this case, can only be the result of big accidents.
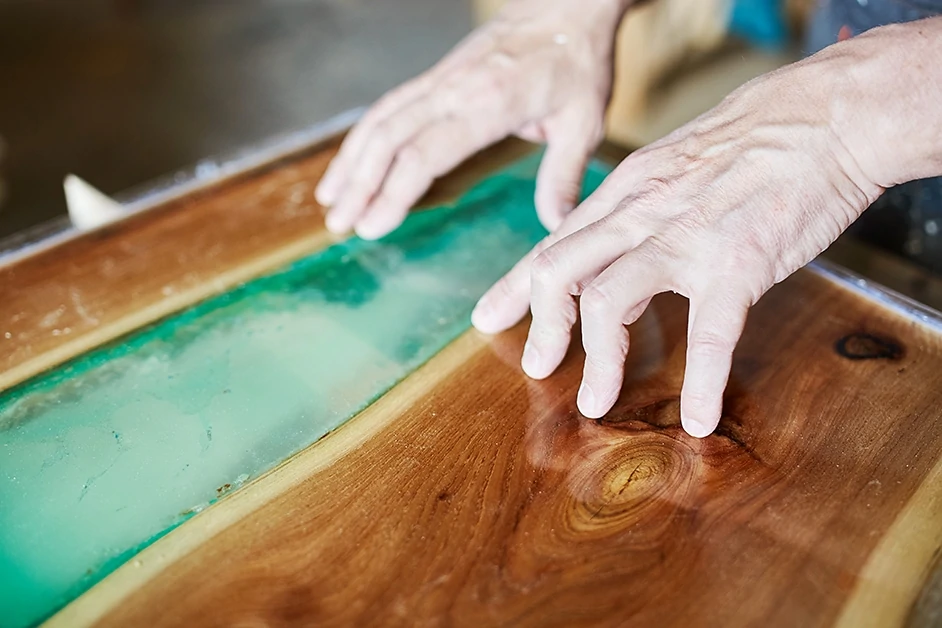
After the mixtures are prepared, they are ready to be poured into the mold. While doing so, if the epoxy has become viscous, it is a good sign for the glow that awaits you as, in this way, the glow powder will be held throughout the mold in suspension without sinking to the bottom.
Let the mold settle itself after this for about 15 minutes and use a toothpick for popping the bubbles which appear on the surface. Cover the molds to shield them from any unwanted additions like dust and insects and let it cure, leaving it for at least 24 hours. Read the instructions again to be sure that you have covered the time of curing completely. If the pieces get stuck to the mold, try keeping them in the freezer for a while.
The Solution to Avoid Air Bubbles
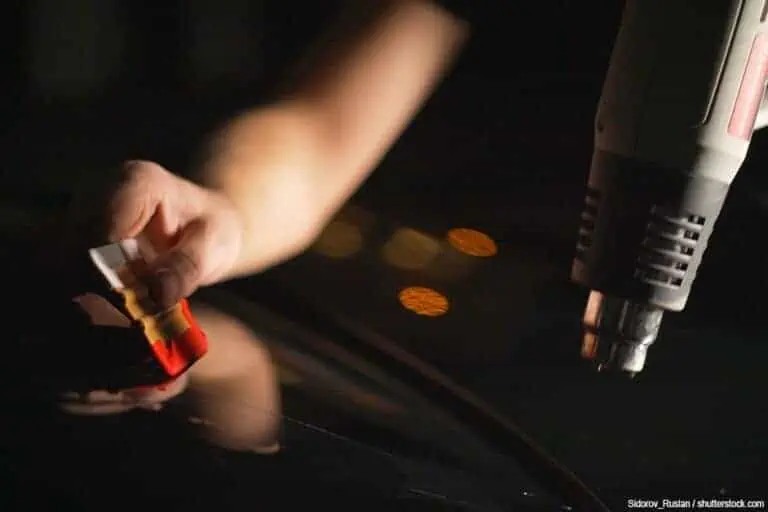
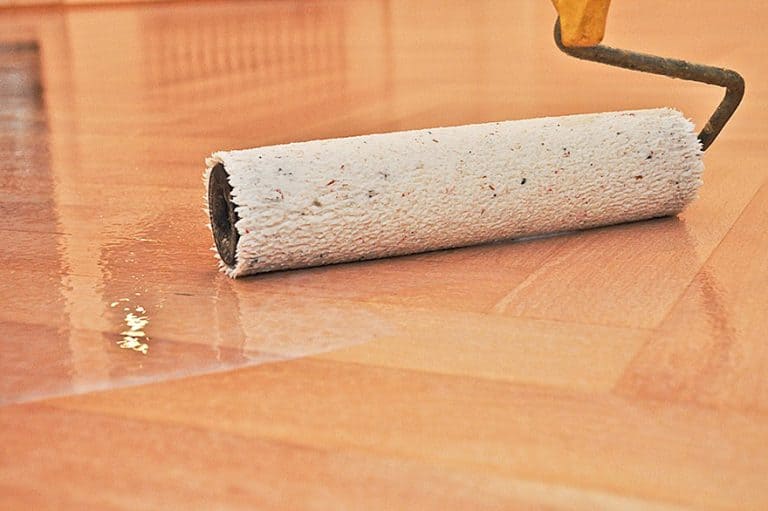
Air bubbles may start appearing on the sides and the surface of the mixture. But don’t worry, this is natural to the chemical reaction of the epoxy resin mixture. Using a hairdryer, lighter, or any other heat source while the resin is curing can relieve you of this problem by adding carbon dioxide to the chemical equation. This will give you a smooth and steady glow in the dark epoxy floor.
Finishing your Glow in the Dark Project
For the desired smooth surface, you can go ahead with sandpaper to get rid of imperfections. Using waterproof sandpaper after dipping it in some water can give you magical results while you sand the glow in the dark epoxy surface. Following the pattern of the number 8 can give you great results. The water will help the dust settle, and the pattern rubbing would help in ensuring the sanding is even.
You can change the grit of the sandpaper by increasing it eventually from 120 to 400. This will help you achieve rounded edges with ease as your hands shape them along. This can be a little challenging as the pressure applied has to be even to have a uniformly sanded surface.
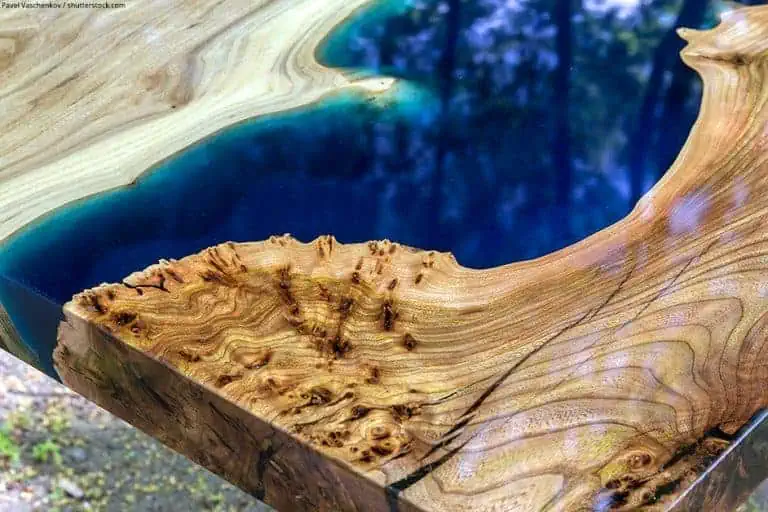
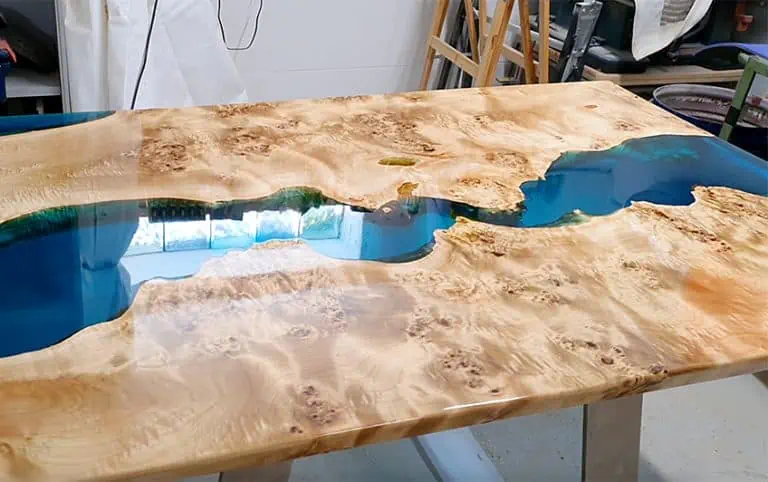
If you wish to polish the resin, do it only after sanding is completed. Your glow in the dark epoxy resin casting, whatever it is applied to, be it a glow in the dark epoxy table or glow in the dark epoxy floor, will give you great effect after being charged by the sun or other lights.
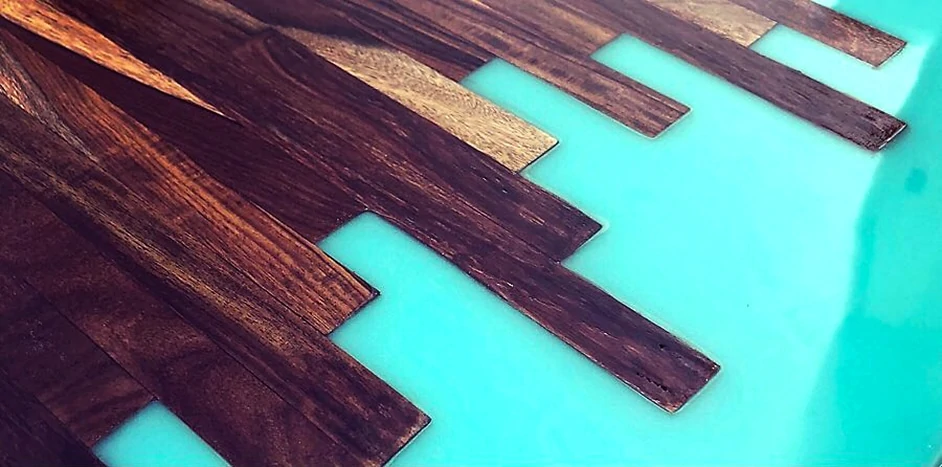
Image: © Studio Grey / www.instagram.com/studiogreypk
Frequently Asked Questions
What is the ideal mixing ratio for the Glow Powder and Resin?
The best ratio is seen to be one part of glow powder and five parts of the epoxy resin mixture measured in weight or volume. It can be mixed even before the two parts of the resin are mixed, but that can be confusing to measure. That is why it is recommended that it is added to the combined resin and hardener. It has to be done before the resin dries out, and that window of opportunity depends on the kind you are using.
Can the glow powder be sprinkled into the epoxy?
Yes. After the epoxy is ready to set in the molds, you would have to ensure that the resin is gelling so that the powder does not sink. If you wish to have the powder on the side, it can also be sprinkled on the mold before resin is poured.
Is it okay if the glow powder settles at the bottom of the mold?
The heaviness of the pigment would lead it to settle at the bottom of the resin, which is not a problem if the aim is a glow in the dark epoxy countertop or bar top as the resin can be sanded and reduced in this case. But if your purpose requires the pigment to remain suspended in the resin mixture, then you should go for a pigment under 15 microns. Also, colors like green and blue have bigger particles, and therefore, they glow more as they can absorb more light.
Does mixing resin color and glow powder help achieve different colors in the daytime and nighttime?
This depends on the experimentation. We would suggest using pearl powder for opaqueness and sturdiness in color but add less of it as the transparency will help the mixture achieve better charging and glow in the dark.
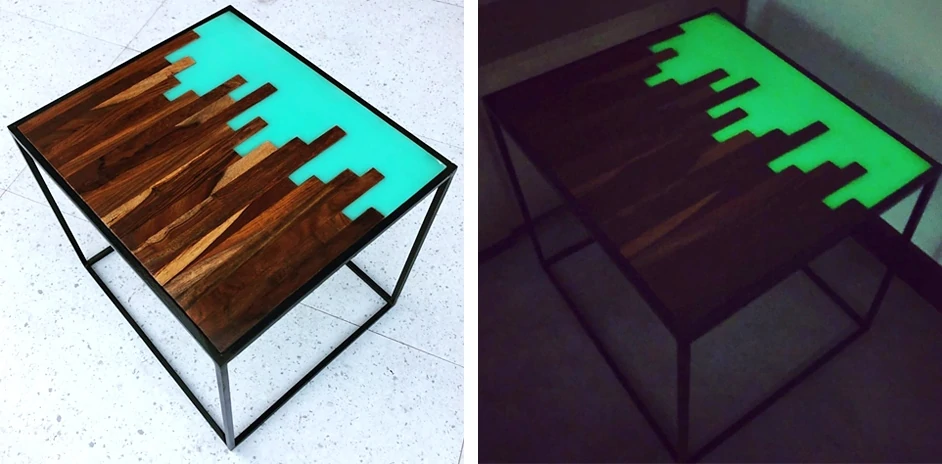
Image: © Studio Grey / www.instagram.com/studiogreypk

In 2005, Charlene completed her wellness degrees in therapeutic aromatherapy and reflexology at the International School of Reflexology and Meridian Therapy. She worked for a company offering corporate wellness programs for several years before opening her own therapy practice. In 2015, she was asked by a digital marketer friend to join her company as a content creator, and it was here that she discovered her enthusiasm for writing. Since entering the world of content creation, she has gained a lot of experience over the years writing about various topics such as beauty, health, wellness, travel, crafting, and much more. Due to various circumstances, she had to give up her therapy practice and now works as a freelance writer. Since she is a very creative person and as a balance to writing likes to be active in various areas of art and crafts, the activity at acrylgiessen.com is perfect for her to contribute their knowledge and experience in various creative topics.
Learn more about Charlene Lewis and about us.