Resin Casting Tutorial: Embedding Flowers in Resin
This post may contain affiliate links. We may earn a small commission from purchases made through them, at no additional cost to you.
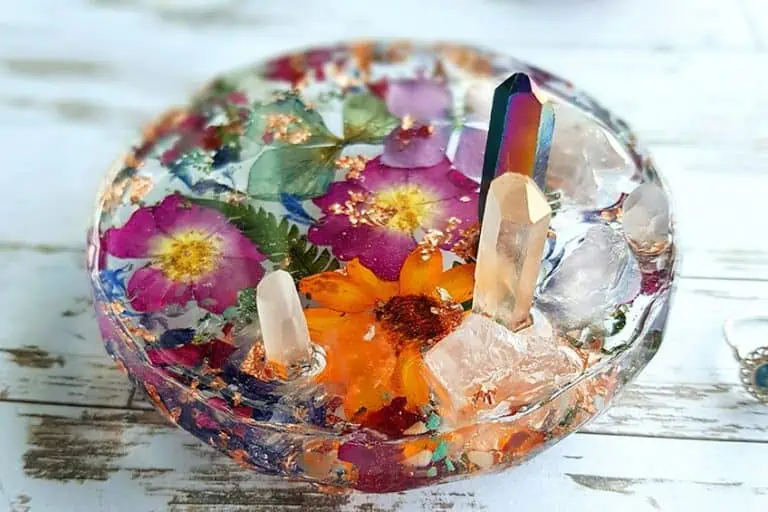
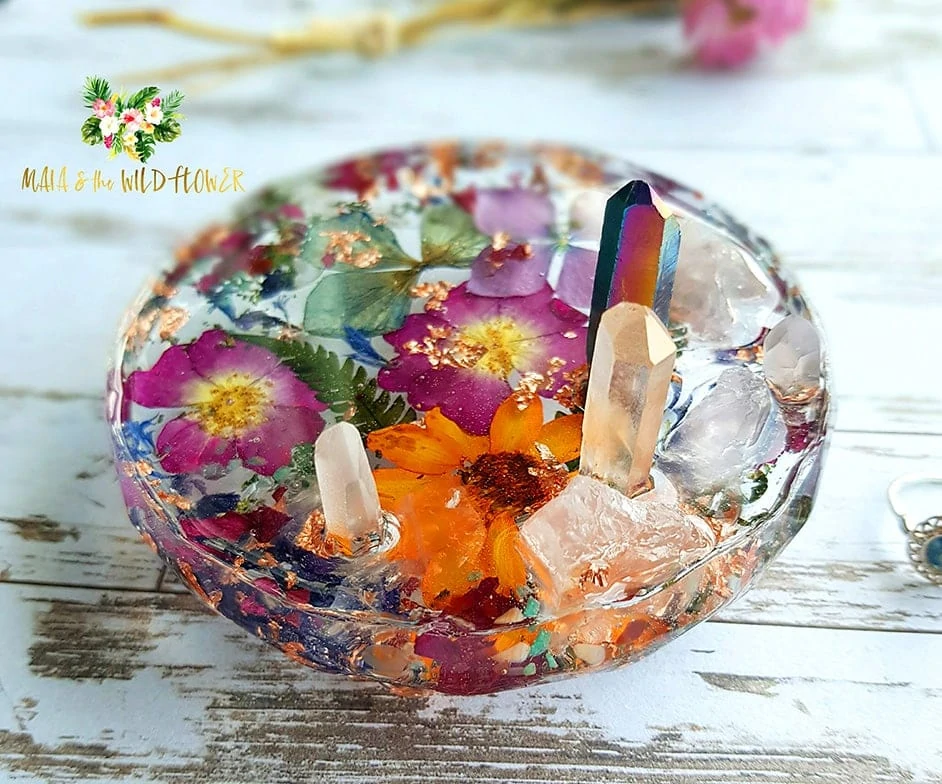
In this article I introduce the resin casting technique. To be more precise, embedding wildflowers and natural materials in epoxy resin. I’ll show you how to create my “botanical pieces” with a video and a detailed illustrated manual. I was really excited when I was asked to write in this blog as a guest author and now I’m very happy to share this tutorial with you.
What is Resin Casting?
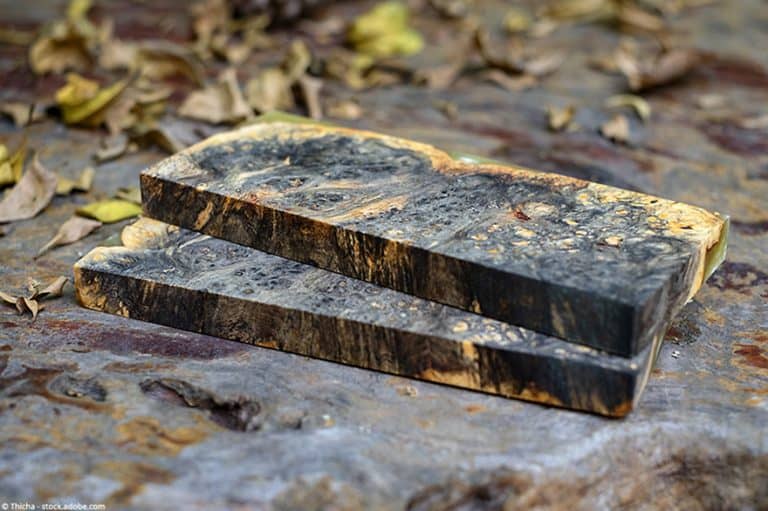
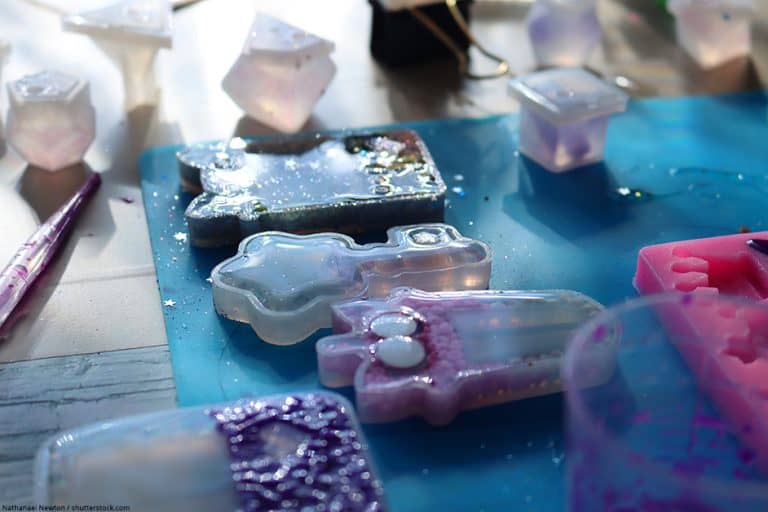
Resin Casting is the casting or embedding of various objects in epoxy resin. Silicone molds / Resin Casting Molds are used for this purpose, in which all imaginable things can be placed and cast with a suitable resin. Theoretically, one can also use molds made of other plastics. However, the molds I use are made exclusively of silicone. In my opinion it is worthwhile to use silicone molds in any case. They are very suitable for this technique because they are very flexible, which makes it much easier to remove the piece from the mold after hardening. Polished resin casting molds made of silicone, which have a shiny and smooth surface on the inside, are best suited for this. Your unique specimen will then also have a beautiful even and shiny surface, and no finishing is necessary.
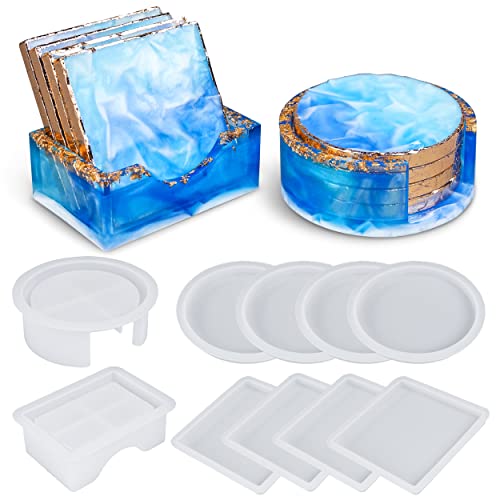
- High-quality 10pcs Coasters Resin Molds Set
- Includes 4 pcs round coaster molds and 4 pcs square silicone molds
- Made of high-quality silicone, very flexible and durable

- Package totally have 18 items
- It includes 1 sphere, 1 cube, 1 diamond, 1 triangular pyramid, 2 measurement cups, 2 different crystal stone molds, 10 wood sticks
- Very flexible, easy to clean and it re-usable, not easily damaged
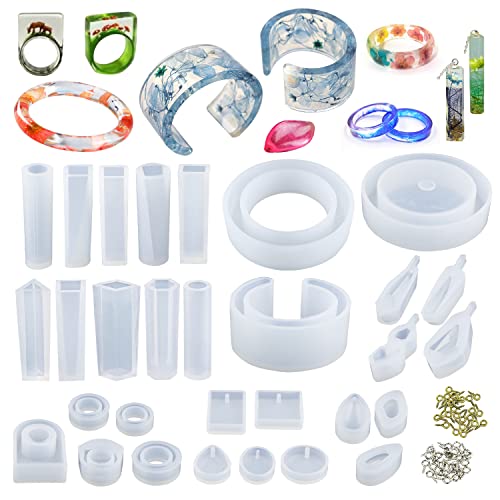
- High quality silicone jewelry mold starter set
- Molds for bracelets, necklace and earring pendants, and rings
- Suitable for casting, and UV resins, but not for coating resin
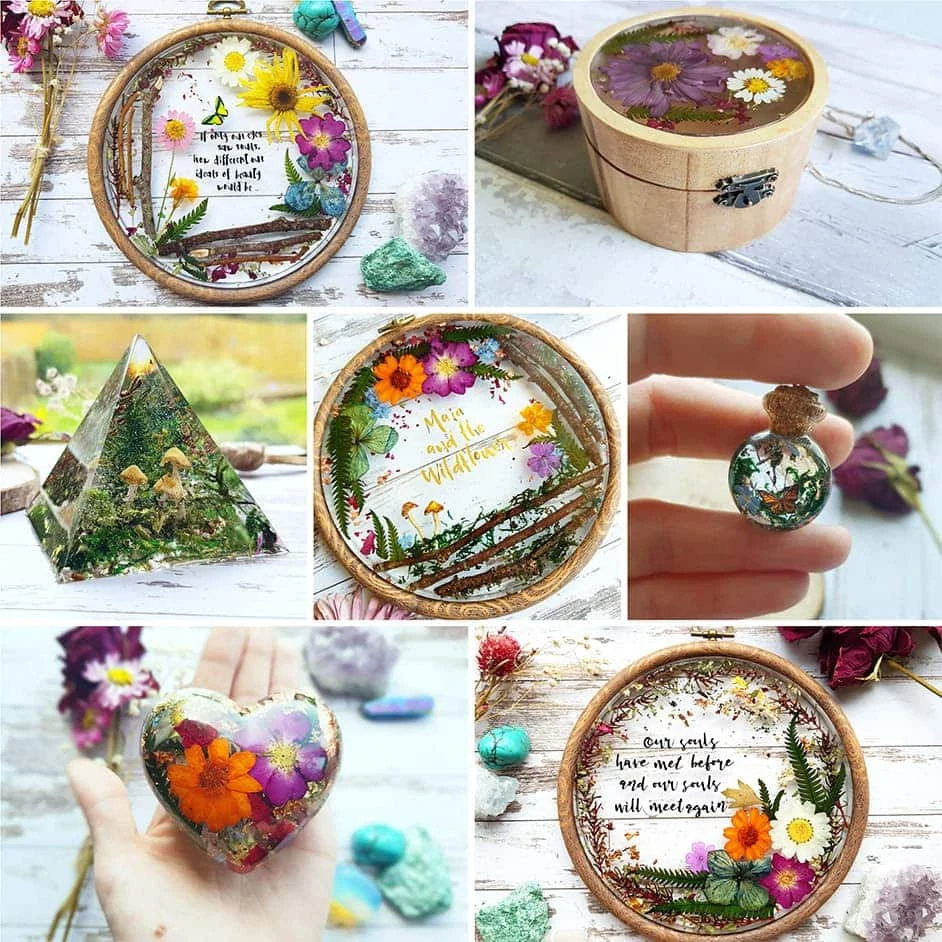
How Did I Come to Resin Casting with Flowers and Natural Materials?
I love to create unique pieces with epoxy resin and real flowers. I have been dedicated to this art form since June 2017, and it all started because of my little daughter Maia. Every morning on the way to the nursery, she picked little flowers for me. Meanwhile, I had these flowers almost everywhere – in my pockets and jackets, on the dashboard in the car, etc. I wish I could keep these flowers forever.
Because children grow up so fast and I knew that of course the time would come when Maia would no longer collect flowers for me. So I had the idea to water these flowers in epoxy resin and make them last forever. So I started to learn everything about the resin casting technique and of course I made a lot of mistakes in the beginning. And between you and me – even some complete disasters!
But I fell in love with this technique in a very short time. Not least because of its (supposed) simplicity. I spent countless hours in the middle of the night looking for new resin casting molds and thinking up new ideas for what to cast next. Attention – this technique is definitely very addictive! 😉
Supplies you Need for Resin Casting with Natural Materials

- Specifically designed for art projects, excellent color stability
- Very easy to use with 1 : 1 mixing ratio, 100% solids, hard-shell finish
- High gloss and crystal clear, your all-seal solution, excellent air release

- Custom formula causes minimal bubbles and avoids craters
- Epoxy when used and cured correctly it is safe with a low odor
- Mixes well with mica pigment powders and cures crystal clear
- Silicone Molds, e.g. heart-shaped
- Mixing Cups
- Heat Gun or Butane Torch
- Craft Sticks
- Toothpicks
- Natural Dried Flowers
- optional Silica Sand or Silica Gel for Flower Drying
- Mica Flakes
- Yute Twine
- Mini Hand Drill
- Sandpaper or Micro Mesh
- Nitrile Gloves
- Respirator Mask
- Safety Glasses
- Plastic Drop Cloth
Drying of Flowers and Blossoms
Silica sand is a favourite of mine to use. Here’s a quick run-through of what I do when drying flowers. You’ll need a container of some sort. I like to use deep trays as they have more space to spread out. I add a 3 cm layer of the silica sand so the bottom of the tray is covered. I then start to place the flowers onto the sand.
Once you have laid out the flowers, being mindful not to overlap any, pour on more sand until the flowers are covered, and leave to dry for approx. 1 – 2 weeks. The timeframe can vary depending on the different flowers you may be using. You can also try hanging bunches upside to dry out, as well as flower and microwave presses. Another great method is to dry flowers with Silica Gel. And of course you can also buy dried flowers online.


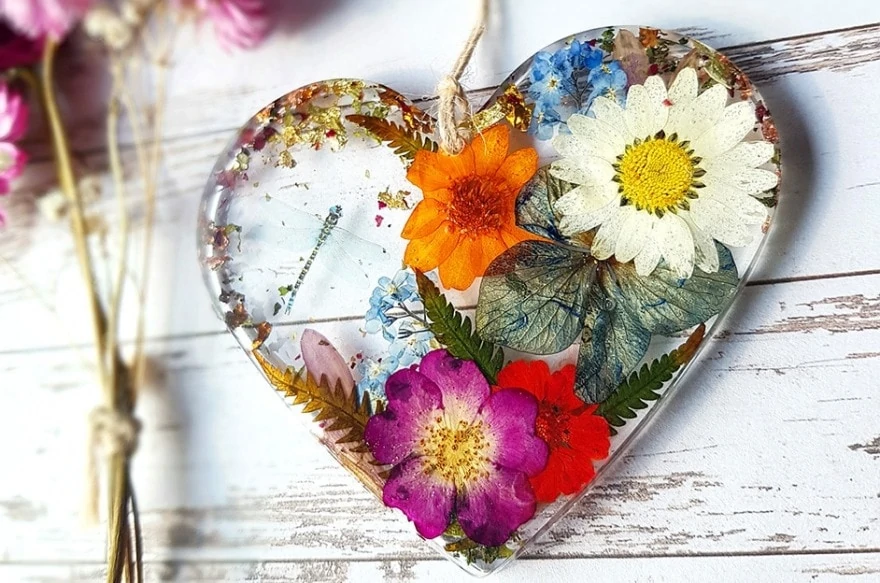
Step-by-Step Tutorial for Resin Heart with Embedded Flowers
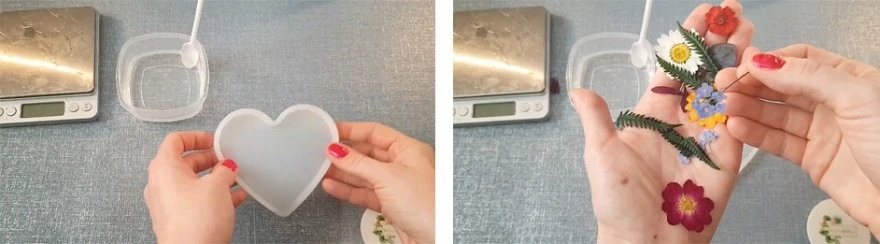
Preparation
Make everything you need ready and within reach. Mix your Clear Casting Resin according to the suppliers instructions. All epoxy resins are supplied with instructions or a safety data sheet. Please read this carefully, especially if you are a resin beginner. There are so many brands with different properties and risks, so be careful and always wear safety equipment such as Nitrile Gloves, Respirator Mask and Safety Glasses. Don’t forget to also protect your working environment and cover it with a Plastic Drop Cloth.
Casting Resin Mixing
The Casting Resin I use is a 2-part low viscosity epoxy resin, which must be mixed in a ratio of 2:1 (this varies depending on the resin brand). I mix thoroughly for at least 3 minutes each time. Then I let it stand for about a minute so that the bubbles disappear. Of course, you can also swivel over it briefly with a heat gun.
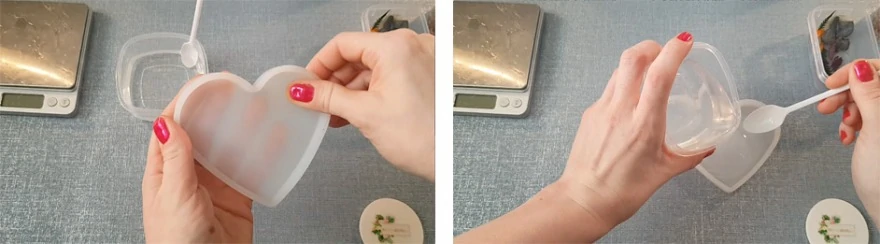
Casting the Base
Clean your Silicone Mold thoroughly. Any foreign objects, dust or stains will otherwise be visible on your cast object later, so make sure everything is clean and then pour a first layer of epoxy resin into the mold. Since the flowers should give the impression of floating in the resin, I like to pour several layers of resin. This heart consists of two layers. If you want to cast a deeper mold, you should cast more than two layers. Depending on the type of resin, different thicknesses of maximum layers can be cast. Please follow the instructions of your resin manufacturer. Pour half of the resin into the mold and remove any bubbles using a Heat Gun.
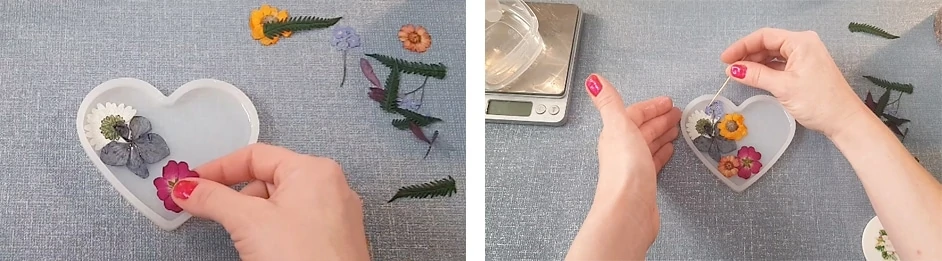
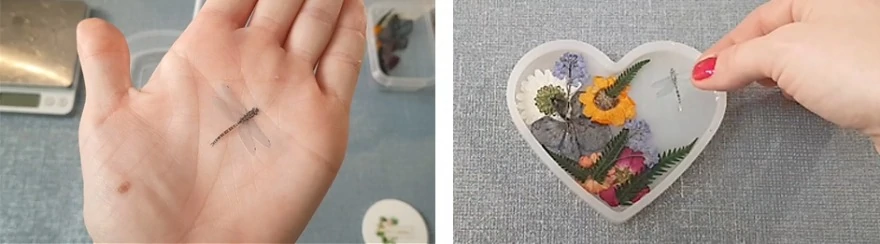
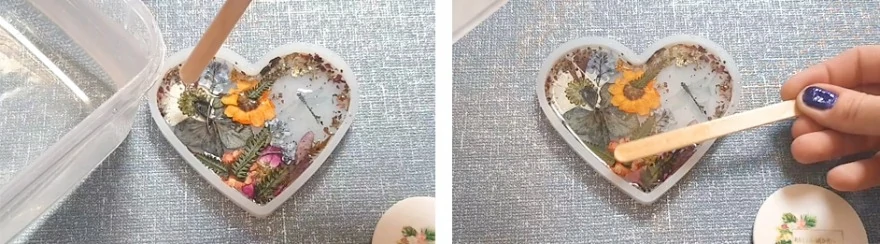
Arranging Flowers and Blossoms
Then start inserting your dried flowers. Sometimes air bubbles can be trapped under the flowers. You can remove the air by gently pushing the flowers down and gently moving them sideways. For this step I usually use a Toothpick. Be extremely careful when positioning the flowers, especially if they are very thin and delicate. Insert the flowers in your desired arrangement. This is my absolute favorite part of the process. I have added a Small Plastic Dragonfly and Mica Flakes to this object. You can let your creativity run wild here. Since the bottom of the mold will later be the front side of my finished piece, I usually place the flowers with the front side or more beautiful side down. So the piece will be perfect on the underside after demolding.
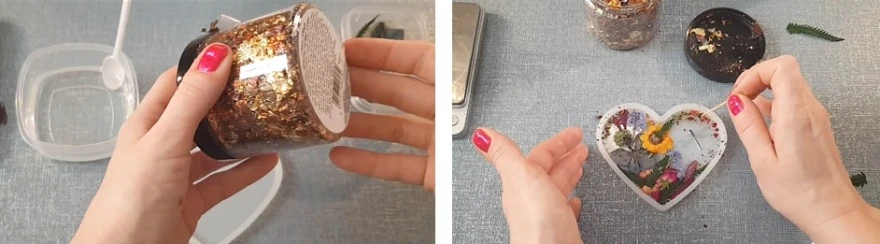
Curing of the First Layer
Now you can cure the first resin layer. Be sure to remove any bubbles that may rise before the epoxy resin is cured. During the drying phase, keep an eye on the flowers, especially at the beginning, and make sure they stay in place. They tend to shift slightly during curing. The harder the resin, the less natural. When hardening the resin, follow the manufacturer’s instructions. For some epoxy resin brands, it is recommended to pour in the second layer in a certain period of time, as long as the resin has not fully hardened. This allows the two resin layers to bond better together.
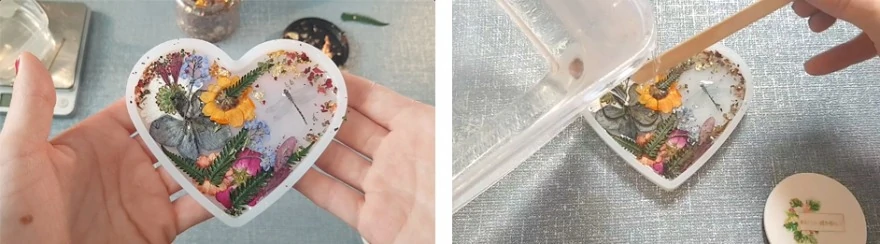
Casting the Second Layer
After the curing or drying of the base layer you can pour the second layer of epoxy resin. Mix it with fresh casting resin according to the suppliers instructions. After mixing, torch the resin briefly so that any bubbles can evaporate now. Then fill the mold completely with resin. Then remove any bubbles with the heat gun. This also prevents potentially badly mixed parts from floating up in the epoxy resin and leaving a sticky layer on your finished object. Also make sure that no hair or dust is deposited on the mold. I recommend that you check the process from time to time during the drying phase in order to prevent the formation of new bubbles.
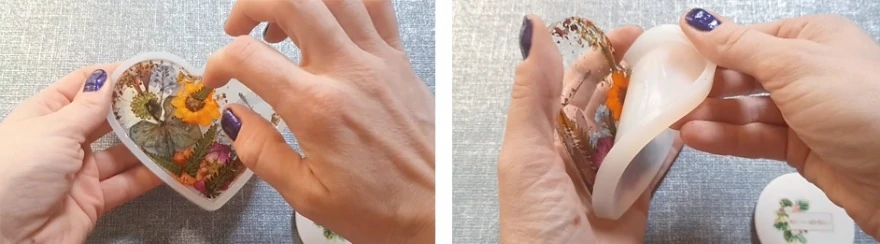
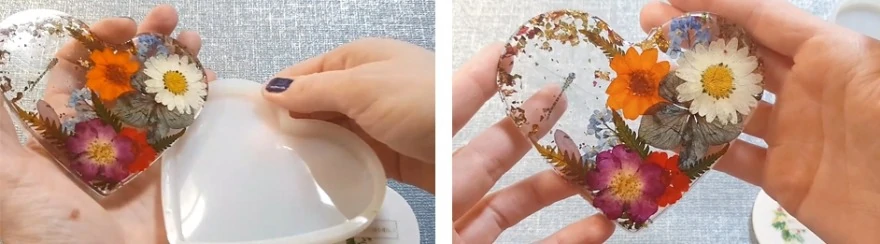
Demoulding
At the end of the drying time, you can check that the resin has dried through and is ready to be removed from the resin casting mold. The resin should no longer be sticky, but not fully cured. Once this degree of hardness is reached, you can carefully remove the heart from the mold. Attention, the piece is still slightly flexible in this state and can easily bend when released from the mold. You should therefore bring it back into a straight position for complete curing. Let the object cure completely on a clean, even and smooth surface.
Finishing
The edges of the mold on the back can be a little rough or sharp-edged. You can now sand these edges with Sandpaper or a fine Micro Mesh.
Sanding the surface is usually unnecessary, as silicone molds are usually already very smooth and shiny and therefore also your hardened object. When sanding the edges, be careful not to accidentally touch the already smooth surfaces. As soon as this is done, you can drill a small hole in the heart shape and decorate it with a jute twine or a bow of your choice.
Tip: Protect your objects made of resin and natural materials from direct sunlight if possible. The sun can bleach the flowers and the colours can lose their luminosity over time.

Video Tutorial: Wildflower Heart made of Epoxy Resin
In the following YouTube video, you can see how I create a resin heart with embedded flowers and blossoms.
How to preserve Flowers in Resin?
The flowers have to bee absolutely dry to preserve them in Resin. For drying, place the pieces into silica sand and wait some days before embedding. You can also buy already dryed flowers to start right away.
Would you like to try out other variations of resin art? Then you might also be interested in the following articles:
Resin Epoxy Art
Beach Art – Resin Art Tutorial with Textures
Resin Geode Art DIY
DIY Resin Petri Dishes
Step-by-Step-Tutorial for Resin Geode Egg

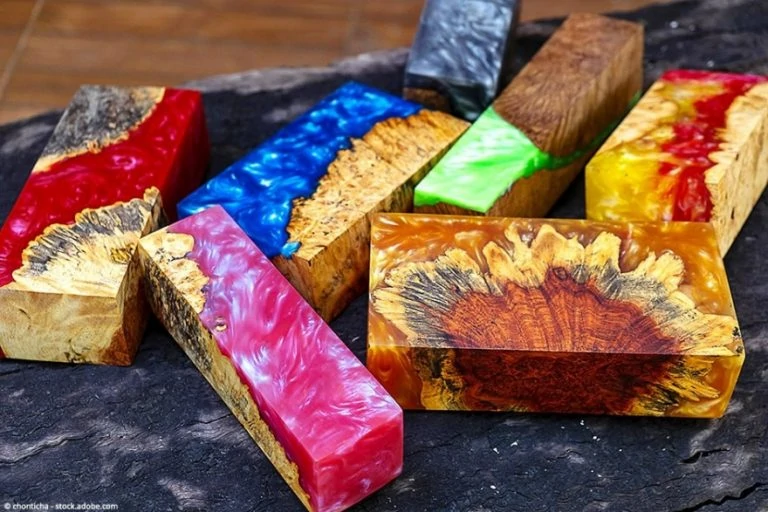
Jane Lenahan is a resin artist and lives together with her daughter and fiancé in Wales, UK. She works as a carer for the elderly, which is challenging but also extremely rewarding. Sometimes it is not easy to reconcile her job, family, and her resin art. Jane describes herself as a daydreamer, who loves quotes, whimsical worlds, and loves being outdoors in nature. Another of her great hobbies is knitting. Jane tries to incorporate all this into her art. Her great passion and trademark are her unmistakable “botanical pieces” made of resin. Jane runs her online shop Maia and the Wildflower, where you can buy her unique objects and jewelry made of resin.
Learn more about Jane Lenahan.