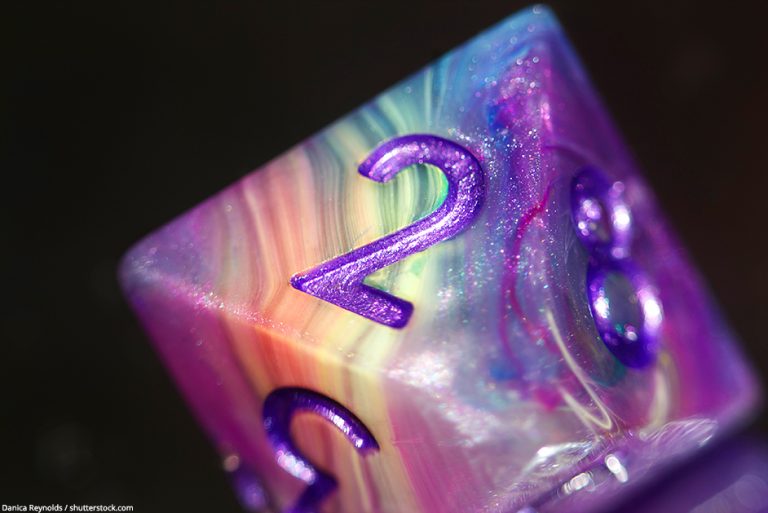
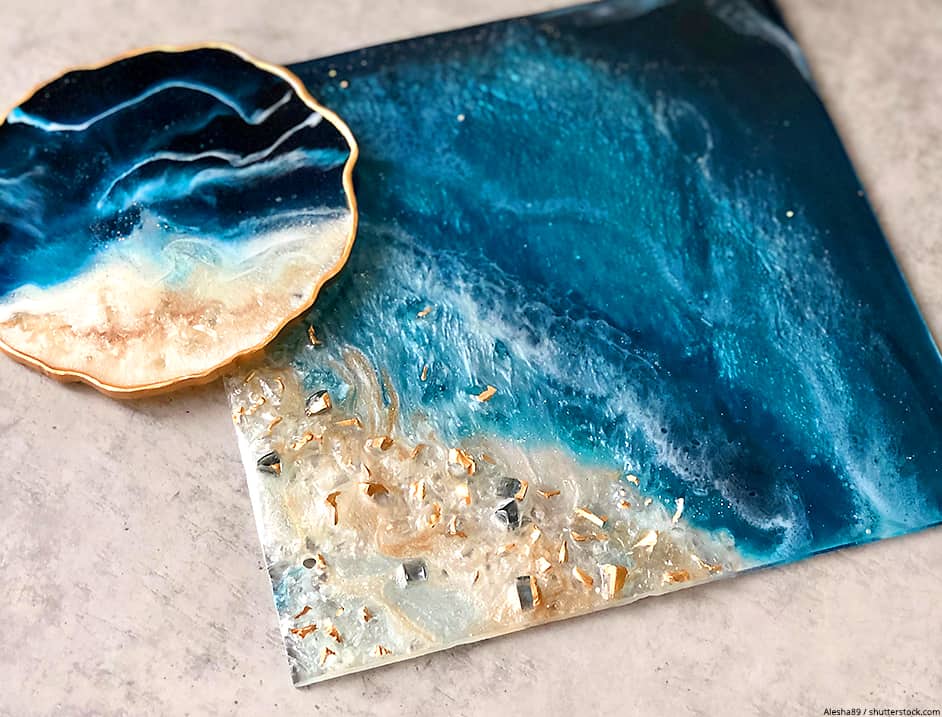
Painting on Resin – Learn how to paint Resin
This post may contain affiliate links. We may earn a small commission from purchases made through them, at no additional cost to you.
Painting on canvas and painting on resin are completely different. You will notice an immediate difference in surface texture, the resin surface is smooth, so the paint won’t adhere as well as it does to a canvas surface. This being the case, can you paint resin? Read on to discover how you can paint resin and tips to help you along the way.
Challenge with Painting on Resin
As mentioned, the resin surface is smooth, which makes it challenging to create an opaque effect on a single stroke of the brush. However, this does help to create semi-transparent effects. There isn’t a problem adding more solid or opaque color effects, you only need to apply a first layer and then wait for this to dry. You can then paint another color over your first layer for a more solid look.
Pros of Painting Resin
When you paint resin, you can simply wipe off the paint as long as it is wet. Even if it dries, you can try and scrape it off. So, even if you make a mistake with the paint, it can easily be removed. Since you paint in layers, if you do scrape the resin by accident, it should smooth out when the next resin layer is added. You can also add perfect straight edges by using masking tape.

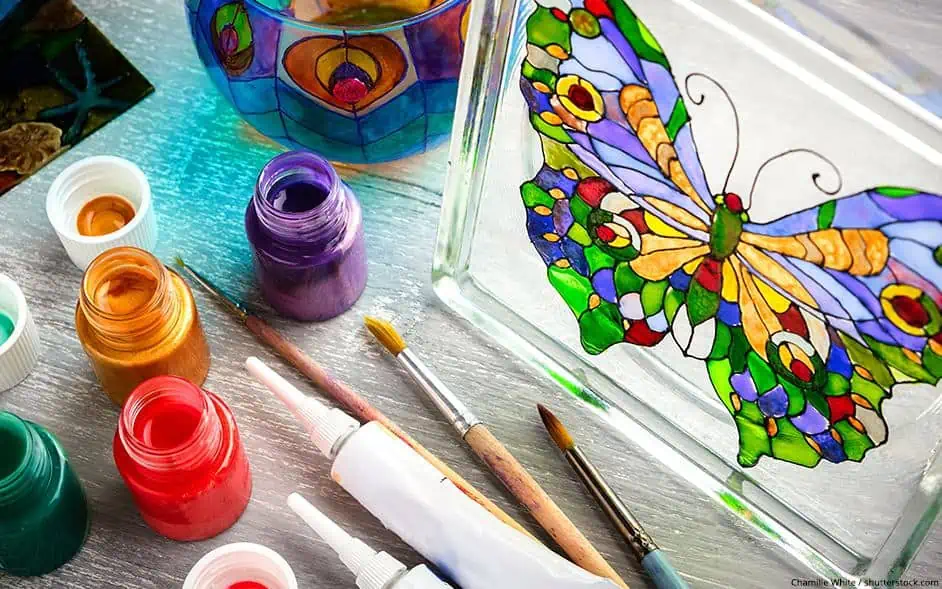
What Kind of Paint to use on Resin
The best paint to use on the resin is acrylic paint. First, make sure to prime the surface, then paint with acrylic paint. The paint for resin will adhere to the surface, you can also spray a finish to make your project last longer.

- Non-toxic and water-based
- Optimum consistency and matt finish
- Excellent pigmentation and coverage
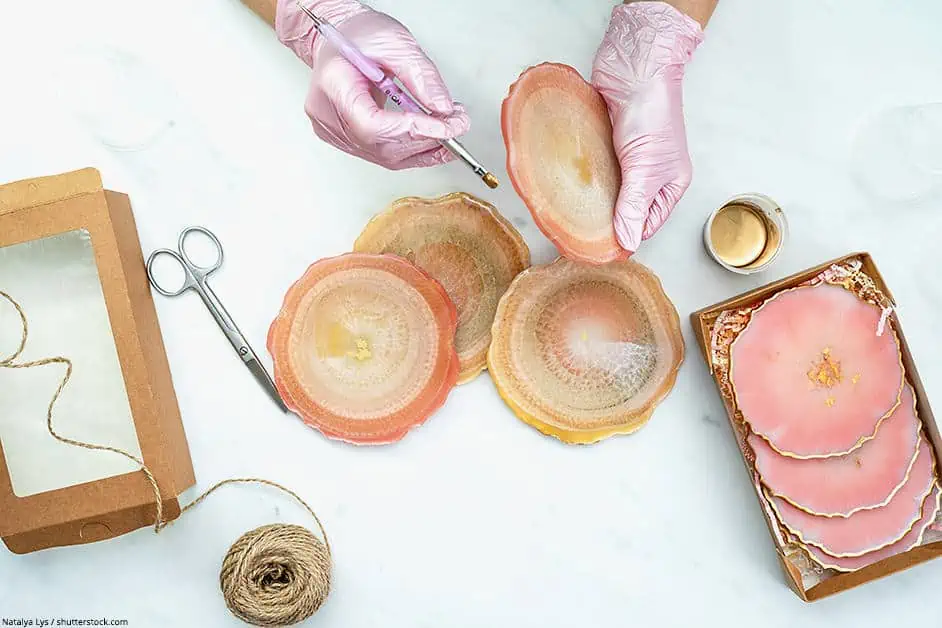
Painting on Resin Tutorial
Step 1: Making sure the Surface is clean
Take some warm soapy water and wipe off the resin surface. To reach any difficult places, such as a scratch where dirt can get into, use a toothbrush. Cleaning the surface also removes anything left behind by the casting process. This will help the paint bind more successfully to the surface.
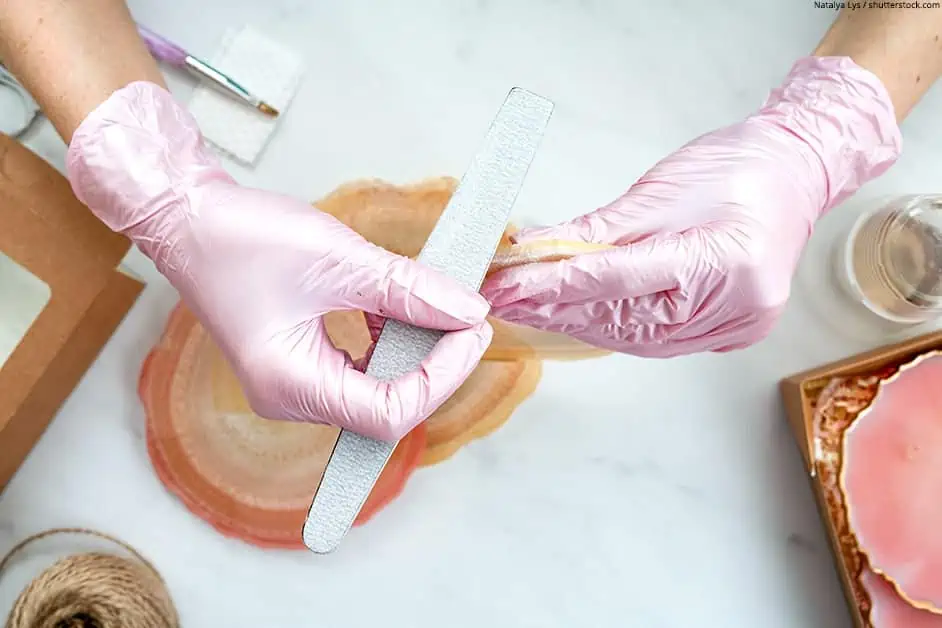
Step 2: Sand the Resin down
If you find any residual flash, make sure to remove this with a knife. This happens when casting, the resin runs into the join that is found between two mold halves. Sometimes, you won’t notice this even after it has set. You will see it when you paint the resin, it will form a noticeable ridge. To smooth the surface out, use 800-grit sandpaper and sand the resin surface.
Step 3: Filling Holes
Check the resin to see if there are any bubbles or other surface problems which could affect the smooth finish after painting. If you find any holes, you will need to fill them with epoxy putty. Allow the putty to dry and then using 600-grit sandpaper smooth the surface over.
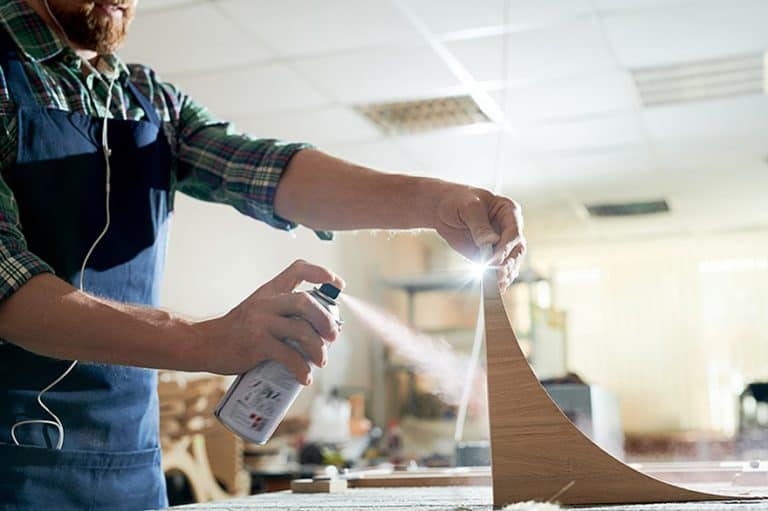
Step 4: Use Gesso or other Spray Primer
Use spry primer on the resin and let dry. Using 400-grit sandpaper smooth the surface lightly and then spay on another layer of primer. Repeat this process and allow the primer to dry. Gesso can also prepare the surface, but it is not as good as a spray primer. We normally use the Krylon Colormaster Spray Primer in white.
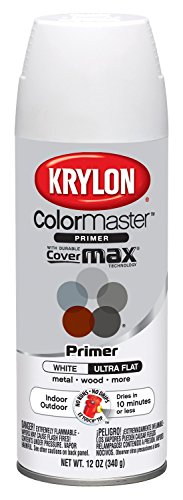
- Dries in 10 minutes, suitable for indoor and outdoor
- Smooths uneven surfaces , increases paint adhesion on Resin
- Ensures true paint color is achieved
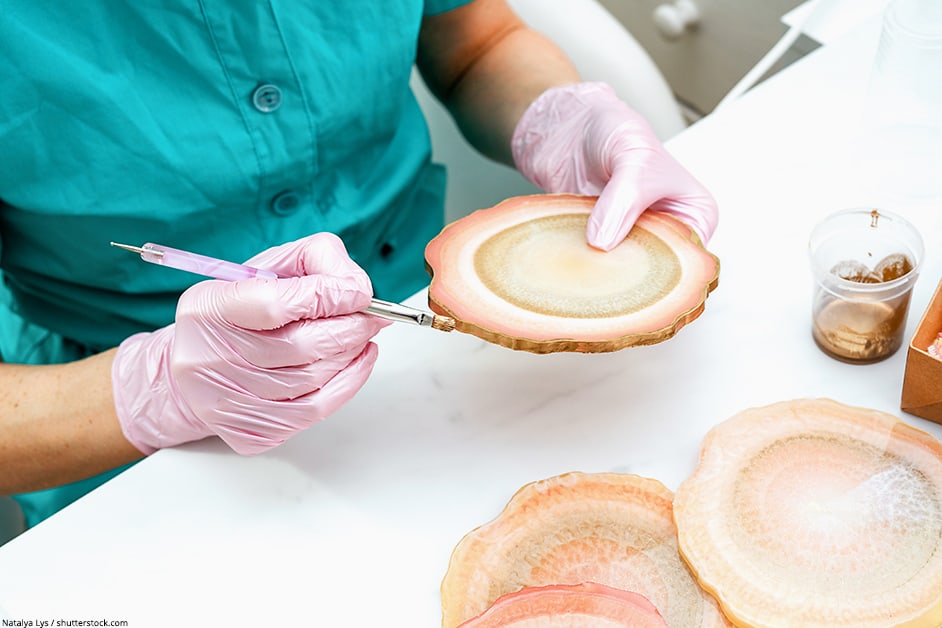
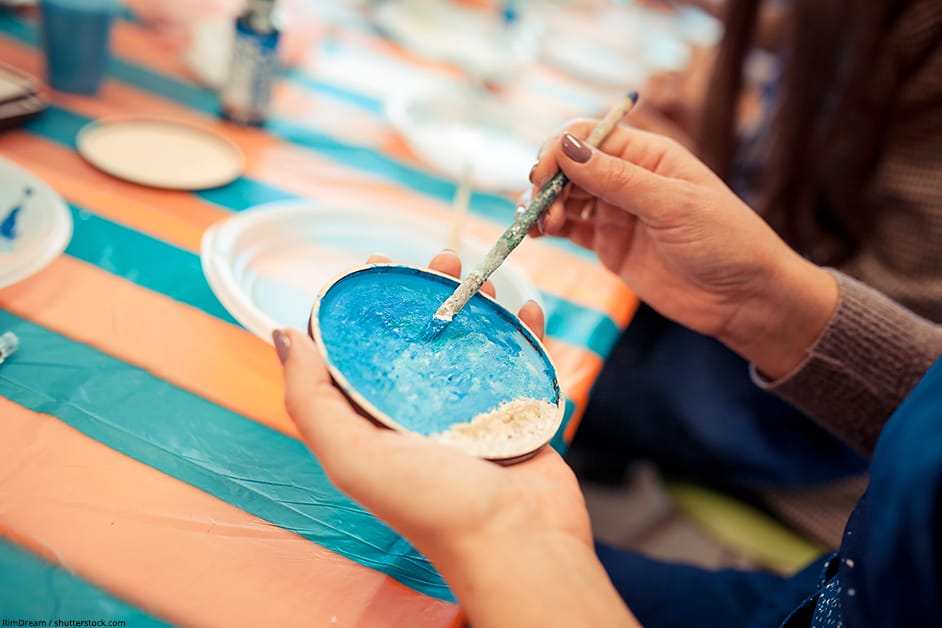
Step 5: How to paint Resin using Acrylic Paint
Simply use the acrylic paint and apply to the resin with a paintbrush. Several layers of paint are required, and you should wait for each coat to dry before doing the next one. This does require a bit of patience, but you will be rewarded with a smooth expert finish.
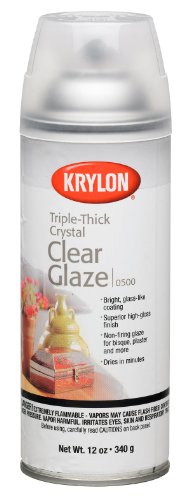
Step 6: Protect your finished piece with a Varnish Spray
Finally, spray over a layer of lacquer sealant and let this dry completely. This will help to stop any chipping from happening and will also protect the acrylic paint from UV light. We made very good experience with the Krylon Varnish.
Painting on Resin Tips
Making use of Primer
Primers usually can be purchased in three colors, the white and black you can find easily, while grey is harder to find. When choosing a primer color, it depends on what color you want to paint over it. When using darker paint, you would then use the black primer. Otherwise, if you use lighter paints, you will use the white primer. If you decide to mix your colors, then the white or grey primer can be used.
Specifically using spray primer helps to keep the resin the way you want it to look. Sometimes too much primer can be used, which then changes the look of the resin. There are also paint-on primers you can use, but many prefer the spray primer.
Tips for primers:
- Use a primer in a well-ventilated space.
- Wear protective gear
- If you use spray cans, use them outside
- Shield the area you are going to spray and allow each coat to dry before the next coat.
- You will need about several coats of primer
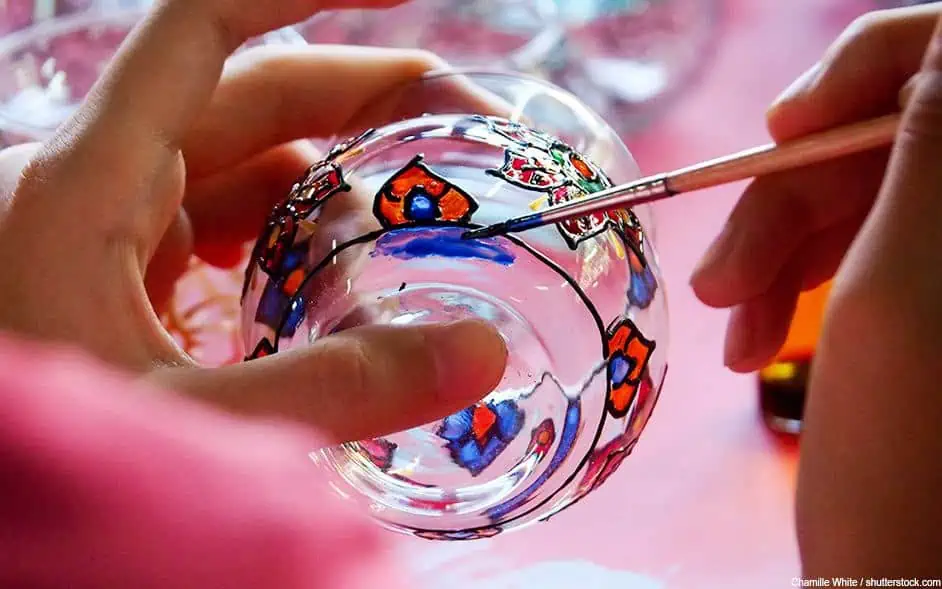
What Paintbrush should you use for Resin Painting?
The correct brushes are synthetic, even the smaller brushes are effective in applying those more delicate strokes.
Resin Painting requires Patience
You cannot rush when it comes to painting resin, it requires patience if you want your project to come out the way you want it to. Begin with your central color you are going to be using and paint your first layer.
Tip: For this layer dab on the paint, as applying strokes with a brush leaves behind streaks. You want an opaque color and dabbing will provide this. Also, do not pile the paint on in one move to try and get an opaque look. A proper finish will require several coats or layers of paint.
Allow the acrylic paint to dry completely, you can then add finer details to your art piece.
Removing Paint that is still wet
Find yourself making a mistake but the paint is still wet. No worries, you can simply take a dampened towel and wipe the paint off.
Painting and layering Resin
When you are painting resin, you will need to make sure the paint is dry before adding another layer of resin. Wait about 20 minutes, but to make sure it is dry, lightly touch the paint to see if it is dry. Try not to smear the paint in the process. If it is still a bit sticky, wait another few minutes.
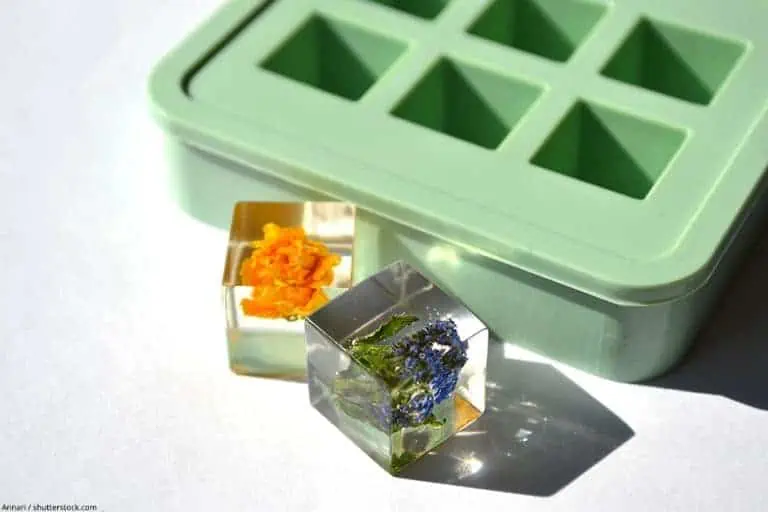
You can use this sticky stage to your advantage, as it is the best time to add effects like glitter or other materials that will stick to the paint. Again, wait for it to dry thoroughly before adding another resin layer.
Create amazing Effects with empty Spaces
In-between your images, these free spaces can be used to create more depth to the piece. Even though it is only layers of even paint, it will create a distinctive deep appearance. This technique is especially useful for those creating more abstract pieces of resin art.
How to paint Resin Models
Do you wish to paint resin models? Resin models can be quite detailed in appearance and require a bit of planning before going ahead and painting them. Most resin model kits do come with instructions, so make sure to read these. Then follow the next basic steps on how to paint resin models:

Step 1: Remove any residual flash and fix any cracks or holes with some modelling putty.
Step 2: Clean your resin model with some warm soapy water
Step 3: Set out the paints you are going to use. Choose a white or grey primer color for lighter and bright colors, as this will affect your model’s final look. Choose a darker or black primer for darker colors.
Step 4: Spray an even coat of your primer over the resin model. You can spray in sections for larger models. Always keep the spray moving and only spray a maximum of two seconds each time, as you want an even spray.
Step 5: Allow the primer to dry thoroughly
Step 6: You can now paint your resin model using various size brushes and techniques.
Step 7: Place in a well-ventilated area to thoroughly dry.
Step 8: Use a paint lacquer or topcoat to help protect the final piece.
Take a look at our resin painting webstory here!

In 2005, Charlene completed her wellness degrees in therapeutic aromatherapy and reflexology at the International School of Reflexology and Meridian Therapy. She worked for a company offering corporate wellness programs for several years before opening her own therapy practice. In 2015, she was asked by a digital marketer friend to join her company as a content creator, and it was here that she discovered her enthusiasm for writing. Since entering the world of content creation, she has gained a lot of experience over the years writing about various topics such as beauty, health, wellness, travel, crafting, and much more. Due to various circumstances, she had to give up her therapy practice and now works as a freelance writer. Since she is a very creative person and as a balance to writing likes to be active in various areas of art and crafts, the activity at acrylgiessen.com is perfect for her to contribute their knowledge and experience in various creative topics.
Learn more about Charlene Lewis and about us.