Sanding Epoxy Resin – Helpful Tutorial on how to Sand Resin
This post may contain affiliate links. We may earn a small commission from purchases made through them, at no additional cost to you.
For the perfect glass-like surface on your epoxy resin work piece, sanding after curing is essential. In the following article we will explain which material you need for epoxy resin sanding and what you should pay attention to. In addition, you will receive step-by-step instructions on how to best proceed when sanding a resin surface.
Difficulties when sanding epoxy resin
Casting resin becomes an extremely hard material during curing. Therefore it can be a real challenge to sand the dried workpiece afterwards. The reason: the abrasive paper becomes dull very quickly due to the hardness of the material. In addition, it often happens that the sandpaper has to be cleaned or even replaced completely after a short time because the hardened resin adds to it relatively quickly. In order to reduce the clogging considerably and thus to be able to use the paper for a longer period of time, we recommend wet sanding.
Tip: The epoxy resin must be really dry before sanding. You should therefore allow a waiting period of at least 48 hours before processing. Follow the manufacturer’s instructions, as there are resins that take even longer to harden completely.
Wet or dry sanding?
In our experience, wet sanding of epoxy resin with waterproof sandpaper has clearly proven to be more effective than dry sanding. And there are several reasons for this. Firstly, the abrasive paper is much less clogged during wet sanding and therefore lasts much longer. Small irregularities are removed directly during the sanding process and you can immediately see the later result. In addition, the amount of dust produced is much lower.
However, there are also cases where dry sanding is more suitable. This is the case, for example, if you want to combine your epoxy resin piece with wood or other materials that are sensitive to moisture. Wet sanding would cause the wood to swell and leave unsightly stains.
But there are also other reasons why wet sanding is generally more suitable than dry sanding. One of these reasons is that dry epoxy resin sanding, whether with a random orbital sander or by hand, generates extremely high heat. This heat may cause the resin to dissolve and the surface to become matt. It is almost impossible to give the surface a beautiful shine again in this case.
Since the temperature point can vary greatly depending on the casting resin used, you should opt for wet sanding in case of doubt to be on the safe side. Because this produces considerably less heat. In addition, dry sanding of epoxy resin produces a lot of dust. If you decide to use this method, you should always make sure to wear a mask, as epoxy resin dust is considered carcinogenic.
Wet sanding of epoxy resin
Pros
- The sanding performance is significantly higher with wet sanding. This is due to the fact that the added water immediately rinses the sanded material from the surface. This means that the sandpaper does not clog so quickly and can be used for longer.
- Wet sanding is practically dust-free. The sanded, wet particles are not released into the air. Since you do not run the risk of breathing in the fine dust, wet sanding is much safer from a health point of view.
Cons
- If the water combines with the epoxy resin dust, it is anything but a clean affair. You should therefore protect your workplace with a tarpaulin or plastic sheeting.
- Wet sanding is not suitable if the casting resin is to be combined with wood or other moisture-sensitive materials. The wood would swell due to the moisture.
Waterproof sandpaper – what is it?
For wet sanding of epoxy resin you need waterproof sandpaper. This consists of a closed layer of silicon carbide. This paper is available in grit sizes from 60 to 1000. However, as too little grain can cause deep scratches in the surface, you should start with a grain of 120 or more for your epoxy resin piece. The damage caused by scratches can only be repaired with great patience and with great difficulty. If you want to achieve a nice shine on the surface of the resin, you should sand your piece of art up to a grain size of 3000. After sanding use polishing compound and a polishing machine for polishing the epoxy resin surface.

- Coarse to very fine sandpaper
- Suitable for dry and wet sanding
- Electro coated silicone carbide grit material

- Simple but effective hand sanding block
- Helps you to get sharp edges
- Easier to sand for longer time

Wet sanding of epoxy resin – Step by step guide
As a rule, wet sanding of cast resin is carried out by hand. For your own safety, do not use an electric sanding machine for this method. Since water is used, the risk of suffering an electric shock is simply too high. However, an air-powered sander is a good alternative if you want to work on a large surface.
To keep the abrasive paper smooth during wet sanding, we recommend a hard rubber sanding block. If the surface is curved, it may be necessary to use a suitable backing. As an alternative to an underlay or block, you can simply place the abrasive paper in your hand and then dip it in water. Unfortunately waterproof sandpaper is relatively rigid and inflexible. This can be a problem if you want to work on structured or very irregular surfaces such as a sculpture. Here the paper does not adapt sufficiently to the existing curves. For these cases we recommend a sanding pad, e.g. the 3M Scotch Brite. This is much more flexible than sandpaper and can also be used wet.
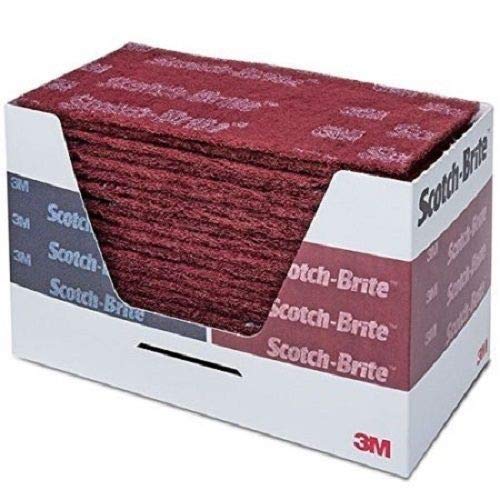
- Hochwertige Schleifpads von Scotch Brite, 25 Stück
- Sehr feine Körnung
- Flexibel für bequemes Schleifen von Hand
- Prepare a slightly larger container of water near your workplace. If the surroundings are very cold, you can of course also use warm water. sand the surface evenly with circular movements and dip the sandpaper into the water again and again. At the end there should be no more sanding marks of the previous grain.
- Instead of constantly wetting the sandpaper again, you can also wet the surface. Use a spray bottle filled with water and spray your work piece again and again.
- During your work, remove the existing sanding residue more often with a cloth. This way you can check the progress of the sanding process from time to time. If you change to a finer grain, the surface must be cleaned beforehand to prevent the coarser grains of sand from causing new sanding marks.
Tip: Remove the existing sanding residues on your workpiece immediately after you have finished sanding. Once they have dried, they are very difficult to get off the surface.
- With a paper towel you prepare the dry surface optimally for further treatment, e.g. painting or another epoxy coating. Use the cloth to remove any remaining deposits and carefully sweep the surface with a small broom. It is important that you really use a paper towel and not a rag. This would contaminate the surface.
- If you want to paint your epoxy resin piece immediately after sanding, you should use an electrostatic dust cloth beforehand. With this you can remove even the smallest dust particle from the surface before it can have a negative effect on the painting result.

Dry sanding of epoxy resin
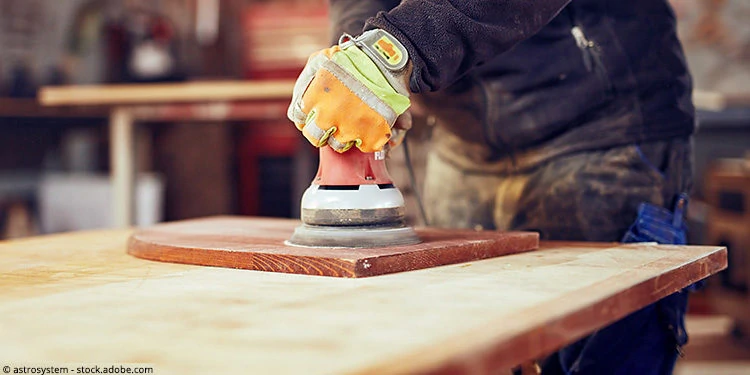
When sanding larger surfaces, dry sanding of the resin is much easier than wet sanding. You should also use this method if you want to process additional wood. For dry sanding we recommend the use of an orbital sander.
- To protect your health, it is essential to wear a respiratory mask during dry sanding. Only then can you be sure not to accidentally inhale the toxic dust. Ideally, you should choose a well ventilated room for your work.
- You should start with a grain size of 120. Then gradually work your way up to a grain size of at least 1000.
- As already mentioned, the sandpaper will clog up very quickly during dry sanding. In this case you can easily remove the resin residues from the surface of the sandpaper with a special rubber stick.
- If you change the grit size, remove the traces of the previous grit size thoroughly.
Tip: You will only get a really nice shiny surface of your epoxy resin piece if you polish the piece with a grain size of up to 1000. With “normal” epoxy resin sanding you will achieve at best only a very slight shine.

- Lightweight two-handed machine including additional handle
- With electronic speed selection and high removal rate
- With brake ring for smooth starting and immediate standstill when switching off
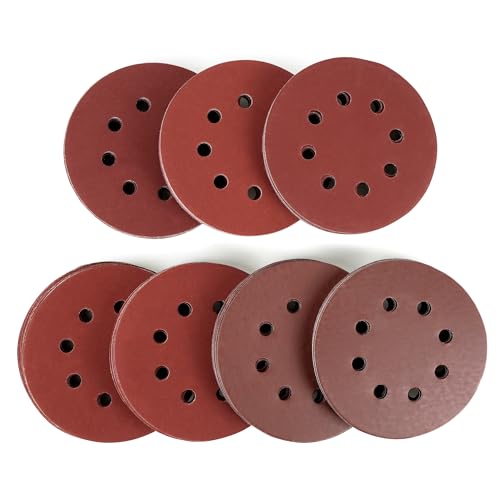
- Ø 5 inch sandpaper made of aluminium oxide granules
- Durable, antistatic and enables long-lasting and efficient sanding
- 6 finde different grit sizes, 60 sanding discs in total from 1000 to 3000 grit
Amine redness – a waxy layer on the resin
You may notice that a waxy, slightly sticky layer forms on the surface of your work piece during the curing process. This so-called amine reddening occurs especially with fluctuating temperatures during the drying process. Since its appearance can change, it is sometimes difficult to see it at all. At cool, humid temperatures it is relatively clear as a thin, greasy or dull layer that can be seen and felt. The casting resin under this layer is usually undamaged. Nevertheless, you should remove the amine blush, as normal sandpaper would immediately clog up due to the waxy, sticky surface.
Here are some tips to remove the amine blush as quickly as possible:
- The simplest method is removal with a sponge, warm water and soapy water.
- If the layer is a bit more stubborn, you can also try it with a cloth and spirit.
- Another possibility is sanding with water and wet sandpaper
Why you should remove amine blush
The amine blush itself does not pose a problem, as it does not damage the casting resin. However, if you want to further process your workpiece, e.g. with an additional epoxy coating or a lacquer, it is essential to clean the surface in advance if amine blush has formed on it. Otherwise, these substances cannot bond effectively with the resin.

In 2005, Charlene completed her wellness degrees in therapeutic aromatherapy and reflexology at the International School of Reflexology and Meridian Therapy. She worked for a company offering corporate wellness programs for several years before opening her own therapy practice. In 2015, she was asked by a digital marketer friend to join her company as a content creator, and it was here that she discovered her enthusiasm for writing. Since entering the world of content creation, she has gained a lot of experience over the years writing about various topics such as beauty, health, wellness, travel, crafting, and much more. Due to various circumstances, she had to give up her therapy practice and now works as a freelance writer. Since she is a very creative person and as a balance to writing likes to be active in various areas of art and crafts, the activity at acrylgiessen.com is perfect for her to contribute their knowledge and experience in various creative topics.
Learn more about Charlene Lewis and about us.