High Temperature Epoxy Guide – Is Epoxy Heat Resistant?
This post may contain affiliate links. We may earn a small commission from purchases made through them, at no additional cost to you.
The use of Epoxy has become quite popular, with a variety of ways you can use it. These include smaller projects from jewelry and various art projects, to larger more industrial applications such as flooring. You also have many different manufacturers as well as a variety of products, so it can be difficult to know what correct product to choose from. This is especially true if you are looking for heat resistant epoxy resin.
Table of Contents
Is Epoxy Heat Resistant?
The answer to this question is yes, but there are certain criteria involved. First, most basic DIY epoxy resins for smaller projects can only withstand a certain amount of heat before it begins to distort.
High heat-resistant epoxy is another type of product entirely, designed to be used in harsher environments that are exposed to higher temperatures than normal. There are also heat-resistant epoxy products available on the market that can be safely used at home for smaller projects like coasters.
How much heat can Epoxy withstand?
Usually, Epoxy can withstand up to 150 degrees / 300° Fahrenheit for a short period of time. Heat-resistant epoxy can withstand extreme heat of up to 600° Fahrenheit depending on the manufacturer and product.
What does High Temperature Epoxy mean?
High heat epoxy resin is a specially formulated product specifically for use in industrial applications or for larger projects such as countertops. This includes being used in various types of mechanical and electrical repairs, such as in aircraft as well as motor vehicle devices.
The epoxy will need to be durable and long-lasting in cases where a sealer, a bonding agent or coating agent is required in these instances.
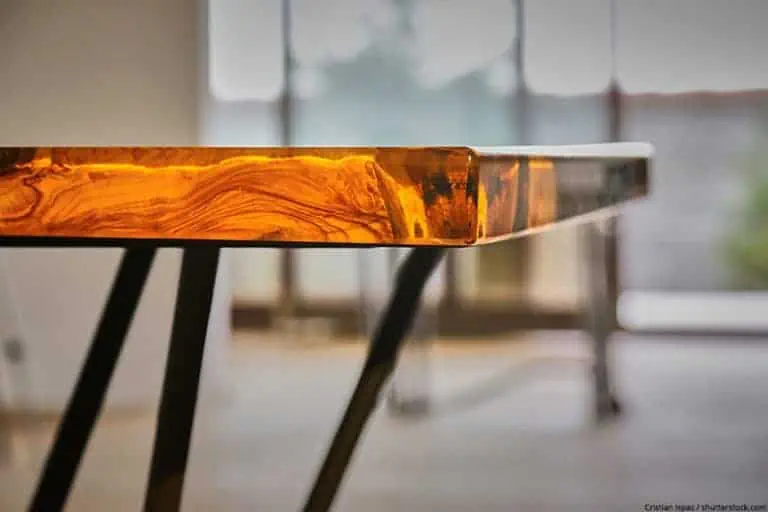
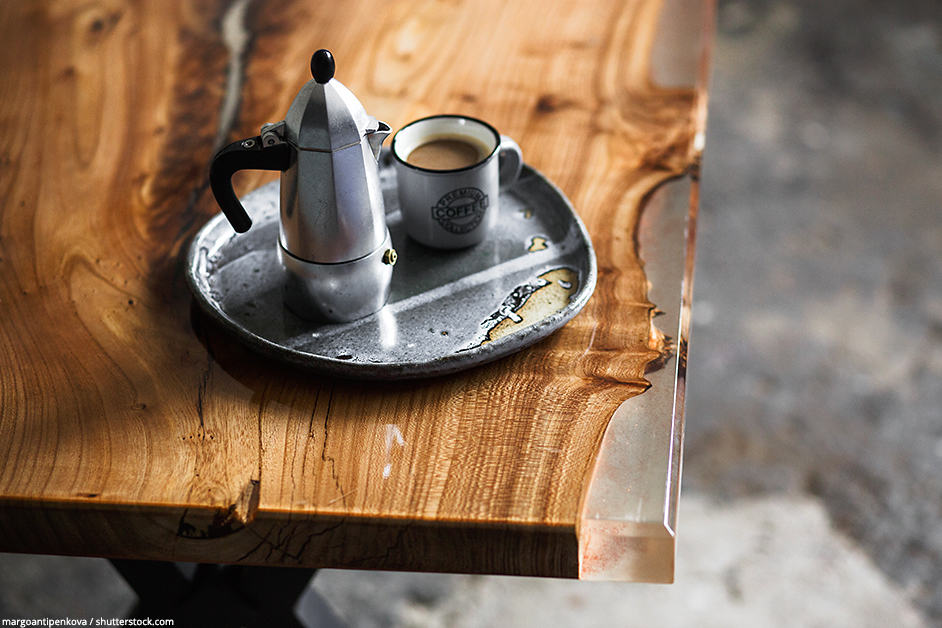
Since hot food and drinks are often set on a table, a heat-resistant epoxy resin is necessary for a final coat.
Epoxy Temperature Limits
Your basic DIY epoxy can withstand low amounts of heat, but anything between 20°C to 90°C (68 -195 Fahrenheit) will begin to cause a change in the molecular structure and the epoxy will soften and cause distortion. This means the epoxy will become something like rubber and lose its hard glass-like texture. For example, it is best to use a potholder on your epoxy surfaces in the kitchen to prohibit this from happening.
High heat epoxy, on the other hand, is specially formulated to withstand temperatures up to 315 °C (600° F), depending on the manufacturer and product. These types of epoxy products have added fillers like quarts or can be reinforced with things like titanium, which enables the epoxy to withstand high temperatures.
Recommendation for High Temp Epoxy: Stone Coat Epoxy
Depending on what surface you will be coating, you may need a product that can withstand heavy use and has a high resistance to heat. The Stone Coat brand is a popular heat resistant epoxy resin.
What is Stone Coat Epoxy?
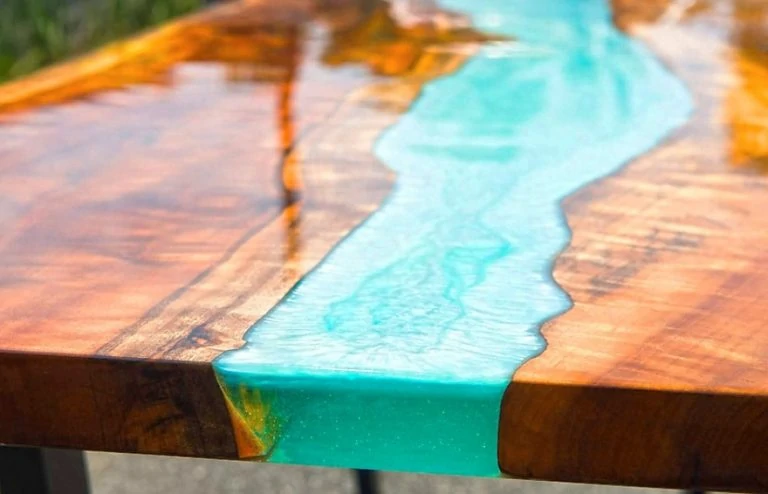
Stone Coat Epoxy is a product that helps to make DIY home projects possible. You can use it to create amazing changes to your tabletops and countertops. The epoxy can be applied to different surfaces in the kitchen, bathroom, or any table you think needs a makeover.
- Cures in 24 hours, self-leveling
- Heat resistant up to 425°F, crystal clear and UV stable
- Scratch-resistant, food-safe, zero VOC's
Pros and Cons of Stone Coat Heat Resistant Epoxy
The following is a list of why you should or should not use Heat resistant Epoxy.
PROS
- The Epoxy is durable, and it offers great strength as well as stability
- The product is flame retardant
- Offers a beautifully polished finish
- Ensures a perfectly flat and even surface
- The Stone Coat Epoxy is modified and provides UV resistance
- The product is also food safe, which makes it a great product to use in the kitchen.
CONS
- Some heat resistant epoxies may cure and form a yellow tint. Not something you want if you need a clear and polished look.
- You may require added heating methods during the curing process, adding more time to the whole process.
- Product may cost more to reach desired results.
How to work with Stone Coat Epoxy
Some easy instructions and videos will take you step-by-step through the entire process. Stone Coat Epoxy is an excellent product to use if you are busy with a do-it-yourself project, but contractors and designers will be equally impressed. Breathe new life into your old countertops and create something that is durable and functional. The maximum pour depth is 1/8″ per coat.
The benefits of working with Stone Coat Epoxy:
- Deciding to remodel your old countertops? You can easily save thousands when using Stone Coat Epoxy. Do-it-yourself.
- Easy to follow video training that takes you through the entire process
- The product is eco-safe
- There are no VOC’s (Volatile Organic Compounds)
- The end product is non-scratch, easy to clean and durable
- Your new countertops will be Heat Resistant up to 500°F
- Forms a crystal-clear finish, non-porous
Six basic steps when using Stone Coat Epoxy
There are six basic steps you need to follow when using Sone Coat Epoxy.
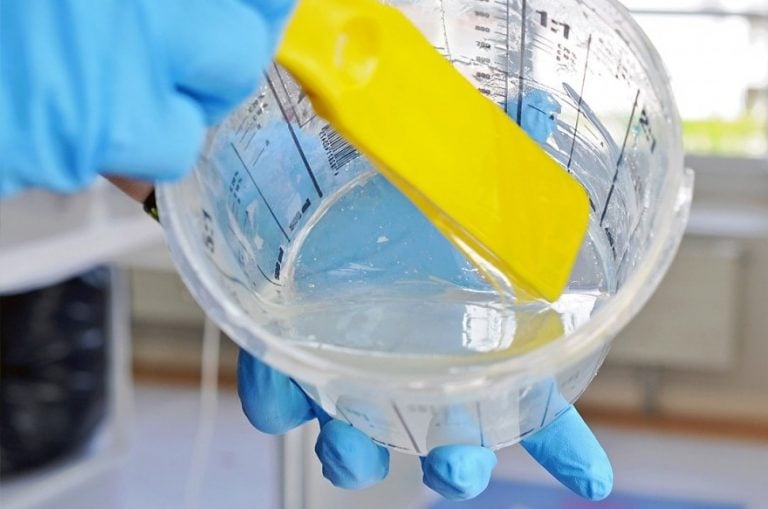
- Accurately measure equal parts of hardener and then resin.
- Mix thoroughly for the required time. Mix in your additives and colors.
- Apply your color coat with a flat leveling tool and use a blowtorch to remove any bubbles.
- Add a clear coat 24 hours after the color coat. Use sandpaper to sand the surface and wipe away dust with a wet cloth.
- Curing time, it should be hard after several days.
- Enjoy your new and improved countertops. Keep clean with regular surface cleaners and try to avoid scrubbing.
Tip: Use our epoxy calculator to calculate the needed amount of resin for your project
What can reduce Temperature Resistance
There are various ways the temperature resistance of epoxy can be reduced. First, it is important to always follow the mixing ratio’s perfectly, any changes may alter the properties of the resin. This includes mixing your products properly for the required time, make sure to follow any provided instructions.
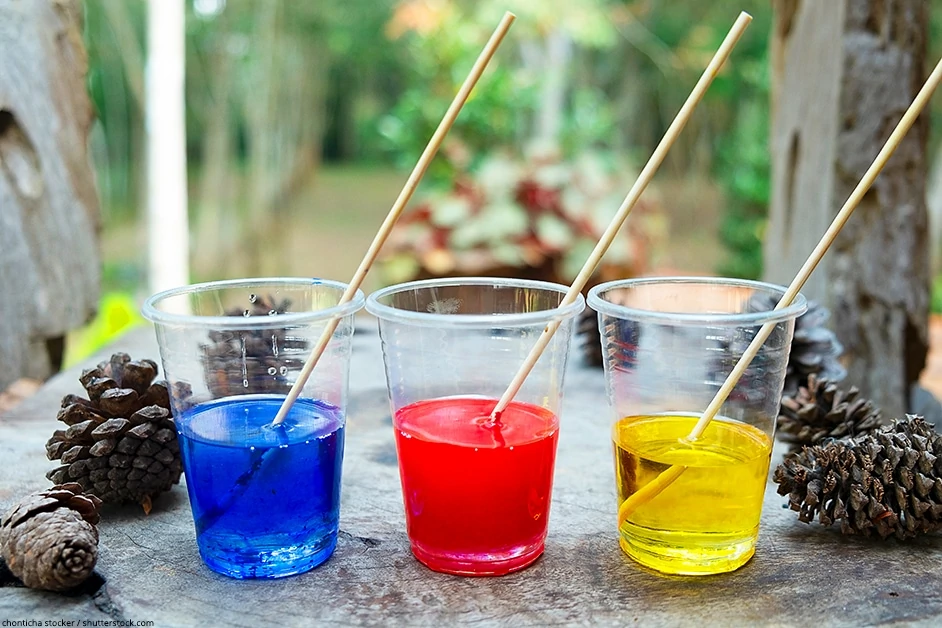
When there are additives involved, such as pigments or inks, this will reduce the temperature resistance. To avoid this, it is advisable to apply another clear topcoat in order to improve the heat resistance properties.
Tips and Tricks for Heat Resistant Epoxy Resin
To get the best results, as mentioned before, always follow the instructions provided, properly. Any deviation will not produce the desired result. Depending on your project, only mix the amount you need, so that you can work effectively in the time required.
- Preparation is key since time can be of the essence during the process.
- Have a worktable that is the proper height to avoid any aching backs.
- Take some isopropyl alcohol on a rag and wipe off dust particles before you begin.
- Use a timer when mixing for accuracy and to reach an even consistency
- Take note of the temperature and humidity in your workroom, as this can have an effect on the product. The epoxy may develop a sticky or waxy appearance. In colder temperatures, you can minimize the chances of this from happening by warming your resin before mixing with the hardener.
- Use a trowel or leveling tool on large flat surfaces to evenly spread the epoxy mix.
- If you do use a paintbrush during the process, make sure it is a good quality one that does not shed its bristles. Try to use a black brush, so if one does fall out, you can easily spot it and remove it from the mixture.

- You can try popping bubbles with a cocktail stick or use a small blow torch for a few seconds. Hold the torch at least 20 cm away in order to avoid any dimpling. Also, if you have added alcohol inks for coloring, it is best not to use a flame. You can also try using a blow dryer on its highest setting, but this will take longer.
- When using a blow torch, start it up away from your project. This ensures that any dust or other particles are blown away from your work and not onto it.
- Cure your resin projects somewhere dust-free
- Take note, by including additives like pigments or powders you change the chemical properties of the epoxy. This reduces its non-toxicity as well as reduces its heat resistance. Add a clear top layer in order to be able to place hot objects onto it.
- You can use acetone to clean up afterward on epoxy that is still wet. If it is dried on the floor, use the blowtorch to heat it and a screwdriver to scrape it off.
Take a look at our resin heat resistance webstory here!
In 2005, Charlene completed her wellness degrees in therapeutic aromatherapy and reflexology at the International School of Reflexology and Meridian Therapy. She worked for a company offering corporate wellness programs for several years before opening her own therapy practice. In 2015, she was asked by a digital marketer friend to join her company as a content creator, and it was here that she discovered her enthusiasm for writing. Since entering the world of content creation, she has gained a lot of experience over the years writing about various topics such as beauty, health, wellness, travel, crafting, and much more. Due to various circumstances, she had to give up her therapy practice and now works as a freelance writer. Since she is a very creative person and as a balance to writing likes to be active in various areas of art and crafts, the activity at acrylgiessen.com is perfect for her to contribute their knowledge and experience in various creative topics.
Learn more about Charlene Lewis and about us.
