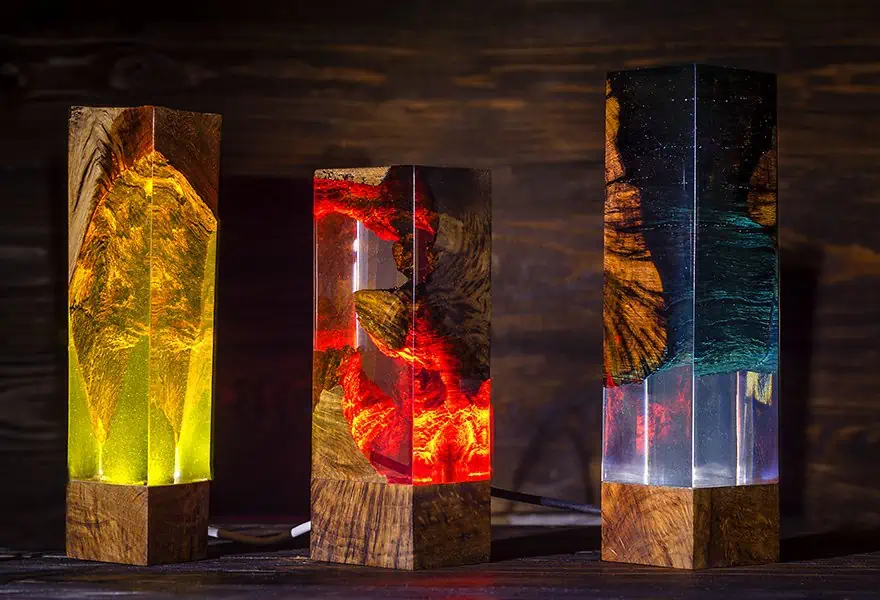
Epoxy Resin Wood Lamp – Step by Step Tutorial
This post may contain affiliate links. We may earn a small commission from purchases made through them, at no additional cost to you.
In this blogpost you get an exclusive tutorial on epoxy resin wood lamps. I’ll show you step by step how you can make these unique pieces with resin and wood and which materials are best suited for this. You will get important insider information and I will tell you what you should pay attention to so that these noble artpieces also succeed.
How Did the Idea of making Epoxy Resin Wood Lamps appear?
Since childhood, my brother and I have dreamed of creating crafts. We tried to make different products: chandeliers from a wooden wheel, wooden handles, pictures, etc. The idea of making epoxy resin wood lamps appeared on Pinterest. Our first attempts were not satisfying but we didn’t stop. After some time, we found our style, but we are still improving on things. After visiting some conference about starting a business, I met a young man who made wooden toys. He showed me the website known as Etsy. All of these circumstances have inspired me to move in this direction and make my dream come true.
Supplies for Making an Epoxy Resin Wood Lamp
- Wood (Oak, Roots)
- Suitable Epoxy Resin
- RGB LED Light
- Module for RGB Light
- Varnish for Wood
- Plexiglas
- Hot-melt Glue
- Sandpaper
- Polishing Paste
- Wax for Wood
- Cable
- Silicone Glue
- Hardener
Suitable Epoxy Resin for Epoxy Resin Wood Lamps

- 2 : 1 mix ratio by volume (100 A to 44 B by weight)
- Thick pours up to 2" per application, low viscosity and long working time
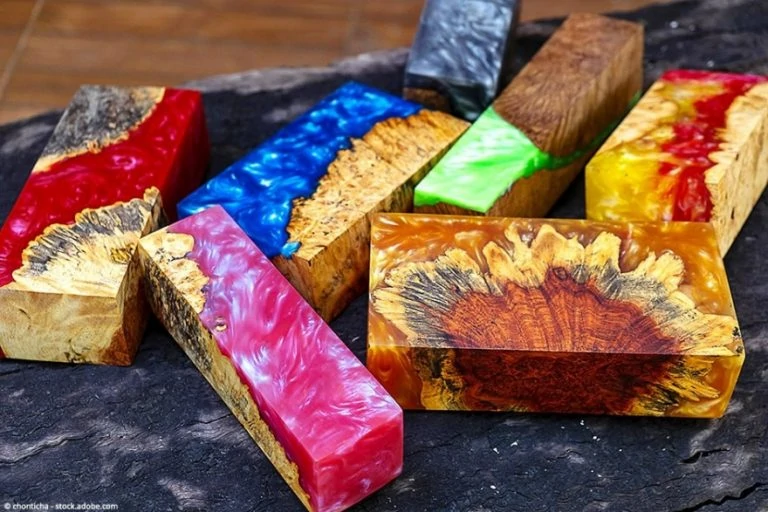
- Super clear results, compatible with pigments and dyes

- Designed for pouring over 3/4'' per pour
- Super clear results, compatible with pigments and dyes
- Ideal for epoxy tables and deep resin molds
Step by Step Tutorial for Epoxy Resin Wood Lamp
Preparation
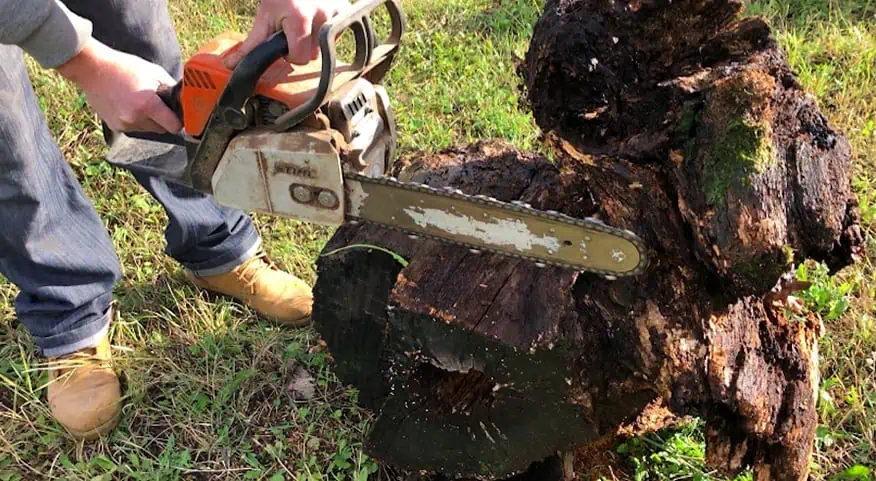
- Our work doesn’t start in the workplace. Let’s take a look at what happens before that. You have to go to the forest or any other place where you can gather old oak stumps. If this is not possible, you can buy wood in the shop or order online. Choose good quality stumps that are not rotten or destroyed.
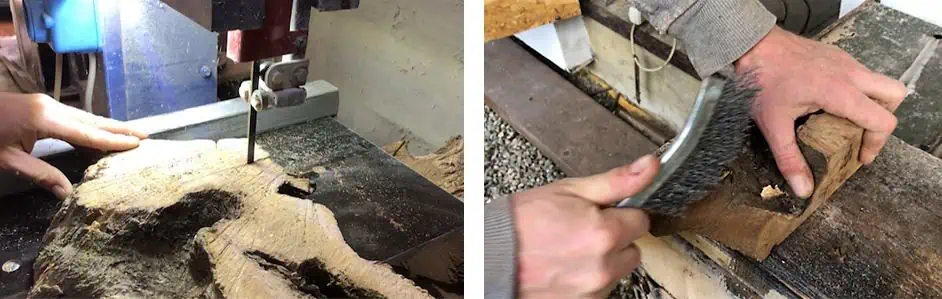
- The next step is to bring them to your workplace and cut them into the pieces you need for your lamp. We use a band-saw to cut off the angles and to shape it. When you are done with that, put all of your wood in a place where it can dry for some time.
Preparation of the Wood Consists of Several Stages
- Rough Cleaning: For this process, use a knife or metal brush to clean the mud and tree bark off of the wood. You’d better do it outside or find a suitable place for such dirty work.
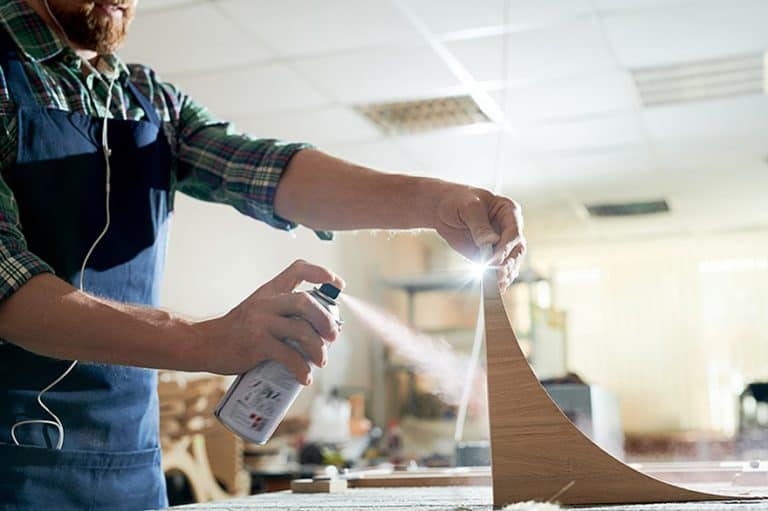
- Deep Cleaning: This stage follows exactly after rough cleaning. Using an airstream compressor, blow small pieces of mud and dust from the wood to make it completely clean.
- Varnishing: At the last stage of preparation, you must cover the wooden pieces with varnish and leave them to dry for 24 hours.
Preparation of the Lamp Work-Piece
While our wood is drying, take some Plexiglas and cut it into pieces. The size of the pieces depends on the size of the lamp that you want to make.
Tip: Choose the size of the lamp according to the room where you or someone else wants to put it. If the room is big, try to make appropriate lamp so that it can lighten the room and create a special atmosphere.
You will then take the clean and varnished wood pieces and glue them to the Plexiglas bottom with hot-melt glue. In the end, the walls of the Plexiglas work-piece must be glued together in such a way that you get an empty box with a wooden bottom.

Pouring the Epoxy Resin
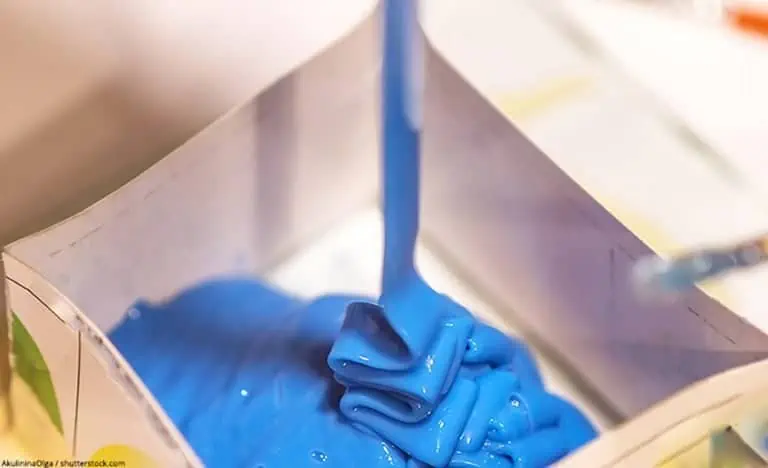
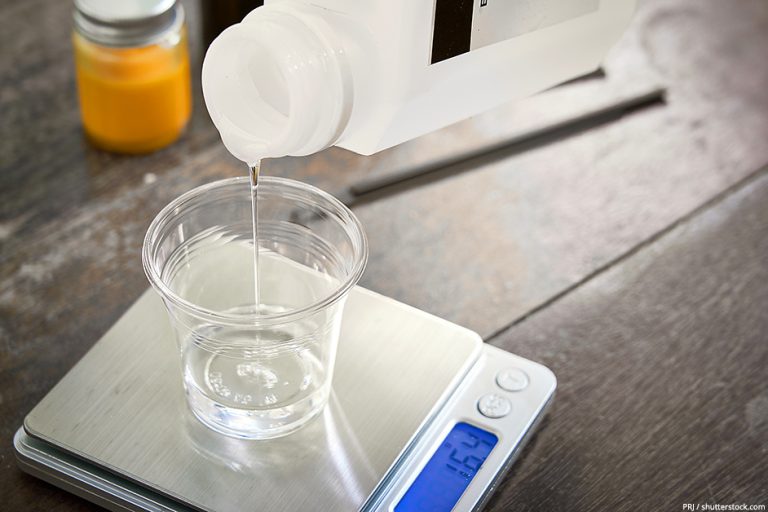
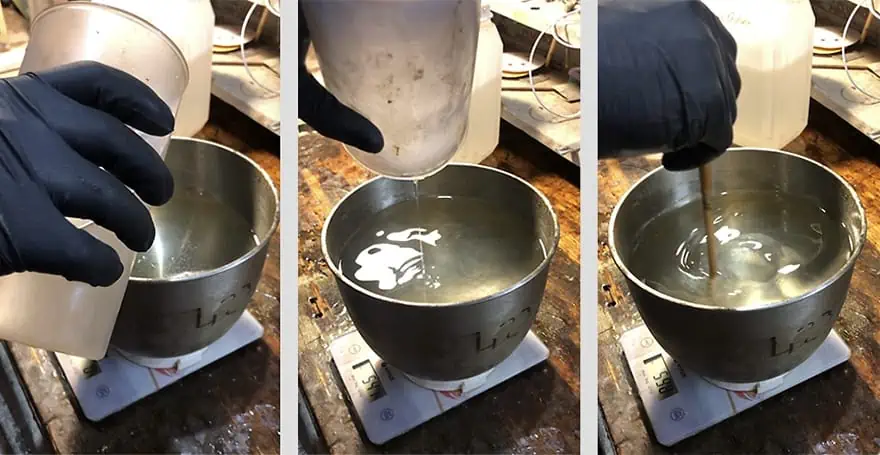
- At this stage, we will work specifically with epoxy resin. Here we use epoxy resin of Ukrainian production which has already tested to make sure that it is perfect. First, weigh the resin and hardener separately – the proportion is 100 to 27.
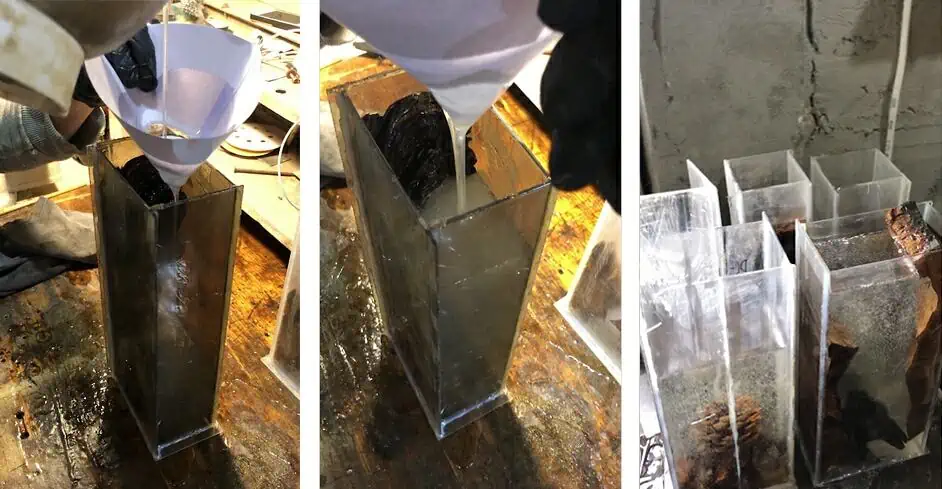
- Put the epoxy resin and hardener in one container and mix everything for 15-20 minutes. To clean the mixture, strain it through a filter that gathers all dust and pour into the ready-made work-piece.
- After that, put the work-piece with epoxy resin mixture in the degasser so as to take away bubbles (for approximately one hour if the room temperature is 20-24 degrees Celsius). After one hour of degassing, leave the product to solidify for two to three days in a place with a room temperature of 18 to 24 degrees Celsius.
Finishing the Work-Piece
- Finally, you are close to completing your epoxy resin wood lamp. After two to three days of drying, take off the Plexiglas from the solid work-piece. You now have your lamp but it is still unfinished.
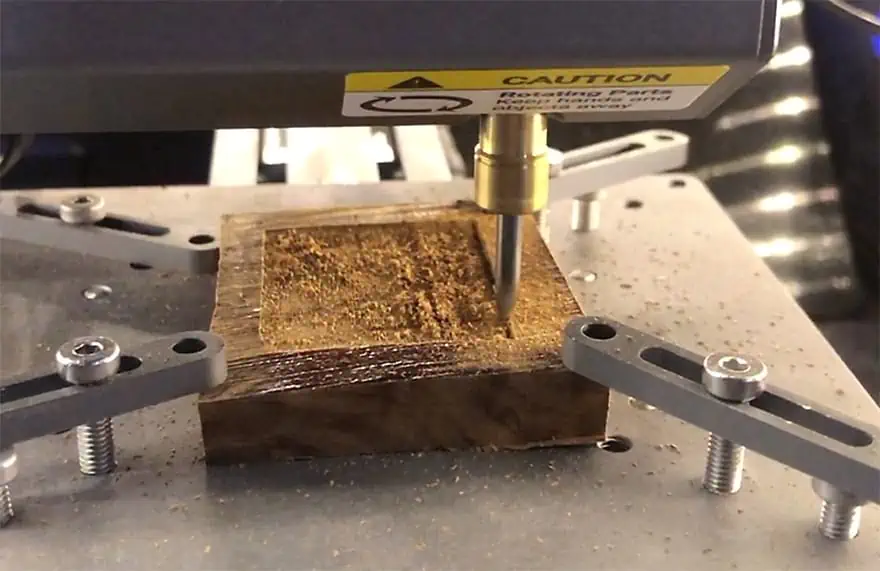
- Then take some wood and cut out the bottom. Inside the bottom, insert an LED light that is the size of the lamp. For this, cut a small concavity in the wooden bottom with a manual milling machine. This concavity is for the LED light. Take your LED light and glue it to the bottom.
- In addition to that, make holes in this wooden bottom for a cable and a soldered cable for the LED light. You now have the light in your lamp. I buy my LED lights from a local shop with a voltage of 100-240 V. An RGB LED light can be controlled with a cell phone programmer using Bluetooth.
- The next step is to join the bottom of the epoxy resin work-piece. To do that, you can use silicone glue. When you are done with that, don’t forget to leave the lamp to dry for one day.
- After drying you will see that the surface of the lamp is rough and uneven. To take that away, grind all sides of the lamp using sandpaper and a grinder machine. You have to be patient and start from grit size 60 and grind for approximately 5 to 10 minutes. You have to change the grit of the sandpaper each time to achieve better results. So you would move from grit size 60 and increase it to size 120, 240, 320, 400, and 600 step-by-step.
- The sanding process doesn’t stop at this stage: as this is a handmade product, you will need to use your hands. Sand the lamp with your hands using sandpaper grit size 1000, followed by 1500 and 2000. When you grind or sand lamps with your hands, you should make the surface of the lamp a little bit wet.
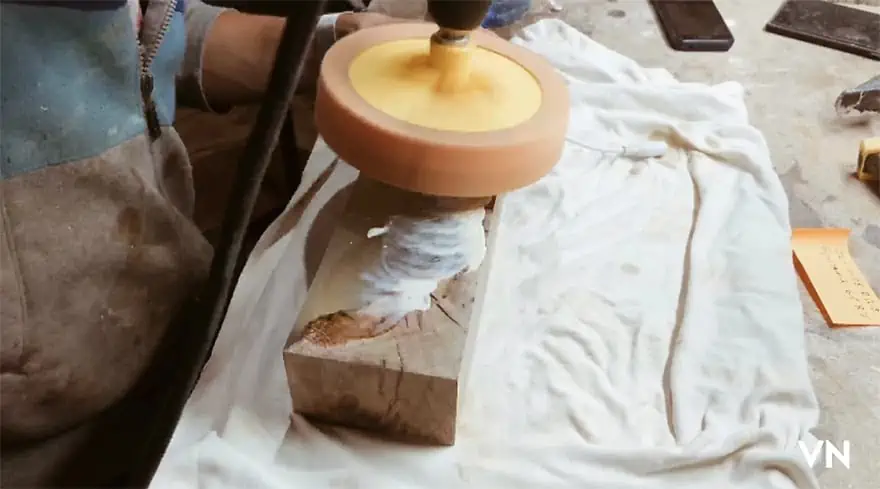
Finishing the Lamp
One of the last steps is polishing the epoxy resin surface of the lamp with polishing paste for car headlights. Finally, chafe the lamp with some wax. Now you can hold your lamp in your hands and feel satisfaction from the result that you can see.
I hope that you can do your best following my tutorial. But don’t forget to express your ideas and your dreams in your creation! Don’t make a copy, make a masterpiece – it is priceless!

Oleksandr Dembitskiy
Oleksandr Dembitskiy was born and still lives in the Ukraine (eastern Europe). He has already graduated from two Universities and got a Master’s degree in economics. For a long time, he worked as a credit specialist at the bank, and it took him almost ten years to find his passion for his real job. Epoxy resin wood crafts became his real challenge that has completely changed his life. It all started as a hobby, where he and his brother would try to spend time together by making masterpieces with their hands. They experimented with different materials and made different things. Oleksandr was always interested in crafts, but his main highlight was to create something unique, special and personal. Now working as an artist, he tries to be in touch with every customer to discuss their desires and wishes. Oleksandr makes wooden epoxy resin lamps to bring comfort and peace to people’s homes. He doesn’t think of this process as just a business, but as his way of freedom and to show the beauty of the world created by God. He always experiments with light colors and likes to discover new modern techniques (such as RGB color). This work helps him to open his imagination and bring it to life, so that every person can enjoy the magic glitter of wooden Korchi lamps.

In 2005, Charlene completed her wellness degrees in therapeutic aromatherapy and reflexology at the International School of Reflexology and Meridian Therapy. She worked for a company offering corporate wellness programs for several years before opening her own therapy practice. In 2015, she was asked by a digital marketer friend to join her company as a content creator, and it was here that she discovered her enthusiasm for writing. Since entering the world of content creation, she has gained a lot of experience over the years writing about various topics such as beauty, health, wellness, travel, crafting, and much more. Due to various circumstances, she had to give up her therapy practice and now works as a freelance writer. Since she is a very creative person and as a balance to writing likes to be active in various areas of art and crafts, the activity at acrylgiessen.com is perfect for her to contribute their knowledge and experience in various creative topics.
Learn more about Charlene Lewis and about us.