Resin Papers – How to Seal Paper for Resin
This post may contain affiliate links. We may earn a small commission from purchases made through them, at no additional cost to you.
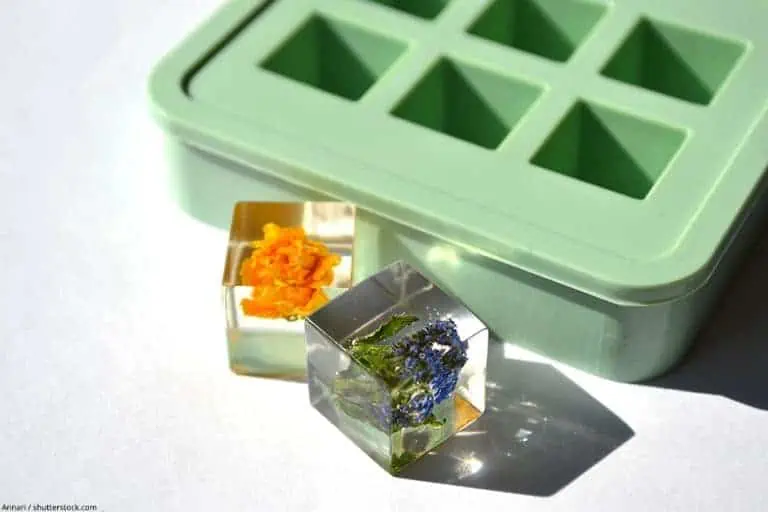
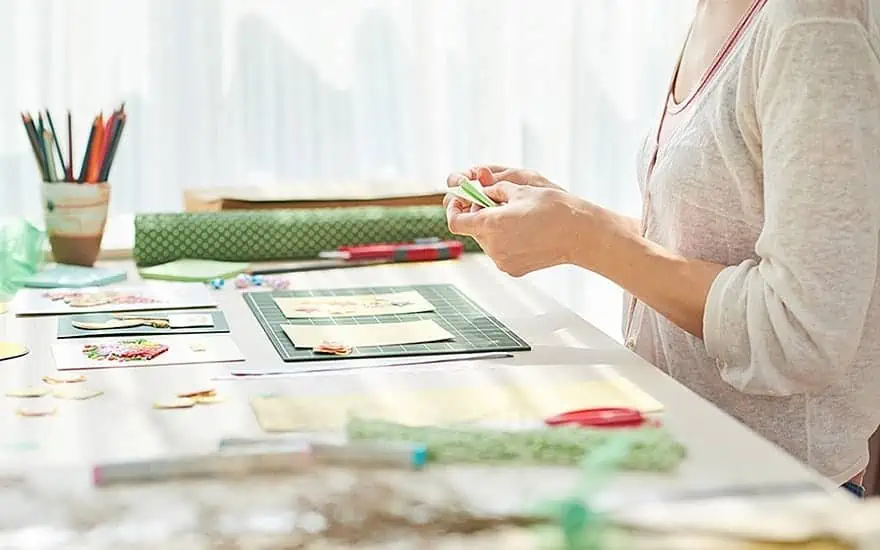
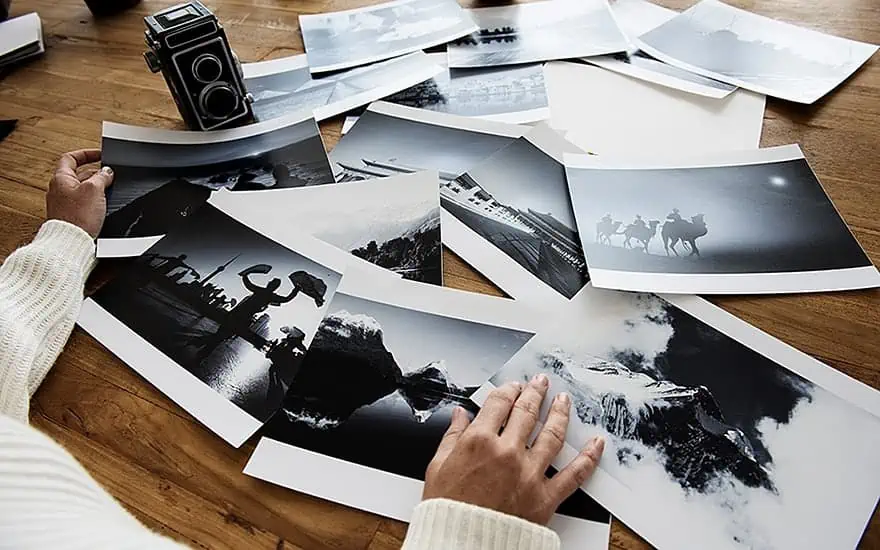
Resin paper offers an alternative means of preserving your paper-based art pieces without having to frame them. You can cast your paper items in resin to create a beautiful piece of artwork that will not only protect your piece, but will last for a long time as well. This article will take you through the ins and outs of creating your own resin-coated paper.
What is Resin Paper?
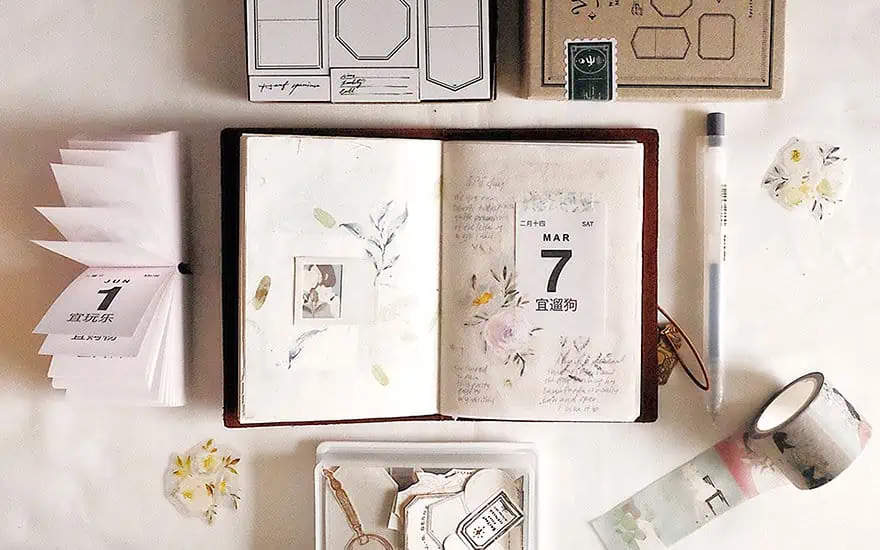
Resin-coated paper is exactly what it sounds like: paper that has been coated in a layer of epoxy resin. There are a number of reasons for doing this. Resin is a highly durable substance that can enhance the look of your artwork whilst providing a great deal of protection. The glossy, crystal-clear surface of art-specific resins is ideal for using paper in creating coasters, jewelry, bookmarks, collages, and more. You can use any kind of paper with resin, provided it has been sealed first. You can use photographs, cardboard, stickers, tissue paper, and even book pages in your resin creations. Using resin over your paper art will give the piece additional depth whilst providing a beautiful finish.

How to Seal Paper for Resin
It is imperative that you learn how to seal paper for resin first in order to prevent the epoxy from soaking into the paper. Like wood, paper is porous. This means that it is highly susceptible to absorbing liquids, and will allow the resin to seep through as though it were water. To avoid the resin from causing dark spots, stains, or uneven patches on the page, it is important to seal the paper before applying any epoxy. There are two ways in which you can learn how to seal paper art: with a sealer spray or with decoupage glue. The sealant you choose is dependent on what kind of paper you are working on.
Tip: After sealing your paper pieces, you may notice that thinner pages may wrinkle or curl. Once the sealer has dried, place the paper pieces in a heavy book over night to flatten them out.
How to Seal Paper Art with a Spray Sealer
Spray sealers come in an aerosol can and are sprayed over both sides of the piece of paper. You will usually require several coats of this sealer type, particularly when working on thicker pieces of paper. However, spray sealers are best for thin, delicate, or printed papers, such as photographs, stamps, and book and magazine pages. This is because the act of brushing on glue would likely wrinkle the page or smear the ink. A spray sealer ensures thin but even coverage over your paper surface.
KRYLON Acrylic Coating Spray
This top-rated spray sealant is ideal for use on your paper projects, as well as on wood, glass, metal, ceramic, and many other surfaces. With a moisture-resistant and smudge-proof formulation, this spray will protect and seal your artwork with a crystal-clear glossy finish. Using this spray will improve the contrast of your photographs and artworks. It will become dry to the touch within just 10 to 15 minutes, and can be handled after 2 hours. The long-lasting gloss coating provided by this product will not yellow over time, making it ideal for your art pieces.

- Moisture-resistant and smudge-proof
- Dries to the touch in 10 to 15 minutes. Dry to handle in 2 hours.
- For use on paper, wood, metal, glass, plaster, ceramic, paper mache, etc.
PROS
- Moisture-resistant
- Will not smudge your art
- Crystal-clear glossy finish
- Improves image contrast
- Quick to dry
- Will not yellow
- Good value for money
- Easy to use
CONS
- Not very durable
How to Seal Paper Art with Decoupage or Clear Glue
Decoupage or art glue is great way to seal thicker papers such as cardstock or sticker paper. Once dry, this sealant will leave behind a thick but clear protective surface over the paper that seals the edges well. This type of sealant is not suitable for thin paper due to its heaviness, and cannot be used on photographs as it will smear the ink.
When learning how to seal paper for resin, you may be concerned about the dried glue bits that can stick off of the edges of your paper. You do not need to worry, however, as these dried edges can be removed easily with some scissors.
MOD PODGE Sealer Glue for Paper
Mod Podge has earned a name for itself as one of the best decoupage glues for paper as well as many other porous materials. This easy-to-use sealer is formulated specifically for paper and offers an all-in-one glue, sealer, and overall finish. This glue is acid-free, non-toxic, and will not yellow. This water-based glue will always dry to a clear, matte finish, no matter how many layers you apply. The glue is quick to dry and easy to clean due to its water-based nature. While this product is easy to use, the need to apply it with a brush means that it can be easy to leave behind brush strokes.

- All-in-one glue, sealer and finish, very easy to use
- Water based-non-toxic, easy clean up with soap and water while wet
- Quick-drying for multiple coats build up and dries clear
PROS
- Easy to use
- Quick-drying
- Non-toxic and acid-free
- All-in-one glue, sealer, and finish
- Yellow-resistant
CONS
- Can show brush strokes
The Best Resin for Paper
Once you have selected a sealant for your paper, you will then need to find the perfect epoxy resin for your resin-coated paper project. Epoxy resin comes in two liquid parts, being the resin and a hardener. Once these parts have been mixed, a chemical reaction will ensue, resulting in the resin curing into a hardened substance. It is best to choose a resin that has been formulated specially for the use of art-related projects, as these will be easy to use and should provide a long-lasting, crystal-clear layer of protection for your pieces. While you can select a resin that is resistant to yellowing, it is important to note that lighter-colored papers can be susceptible to yellowing over time.
PROMARINE SUPPLIES ProArt Resin
This art resin is the perfect choice for any of your artworks or art-related projects. It will provide an intense glossy shine to your pieces, protecting them from any wear and tear. This is a premium-quality resin from a well-known brand that will help your art pieces to stand the test of time. The resin itself is completely safe to use, as it is non-toxic and even food-safe once it has cured. A UV-resistant formula means that this crystal-clear resin will not yellow over time. You will have a generous working time of 35 to 40 minutes, after which time you will notice that the resin levels itself out automatically. Your cured piece will be highly durable and even resistant to relatively high temperatures. With a simple 1:1 mixing ratio by volume, you will have no trouble using this art resin from ProMarine Supplies!

- Specifically designed for art projects, excellent color stability
- Very easy to use with 1 : 1 mixing ratio, 100% solids, hard-shell finish
- High gloss and crystal clear, your all-seal solution, excellent air release
PROS
- UV-resistant and non-yellowing
- Non-toxic
- Simple 1:1 mixing ratio
- Long working time
- Self-leveling
- Non-toxic
- High-gloss finish with intense shine
CONS
- Slight odor
- Difficult to pour due to size of bottles
A Step-by-Step Guide on How to Make Your Own Resin Paper
There are a number of steps involved in creating your own resin-coated paper. This guide will take you through the basics, from selecting and preparing your paper to applying the resin. You will require the following materials to make resin paper:
- Your choice of paper
- Scissors, craft knife, or craft punch for cutting out the paper
- Sealer (spray or decoupage glue, depending on the paper)
- Small container for decanting the glue
- Paintbrush for applying the glue
- Clean, plastic work surface
- Suitable resin
- Mixing cups and tools for measuring and mixing the resin
- Suitable resin mold
- Heat gun and toothpicks for removing bubbles
Preparing the Paper
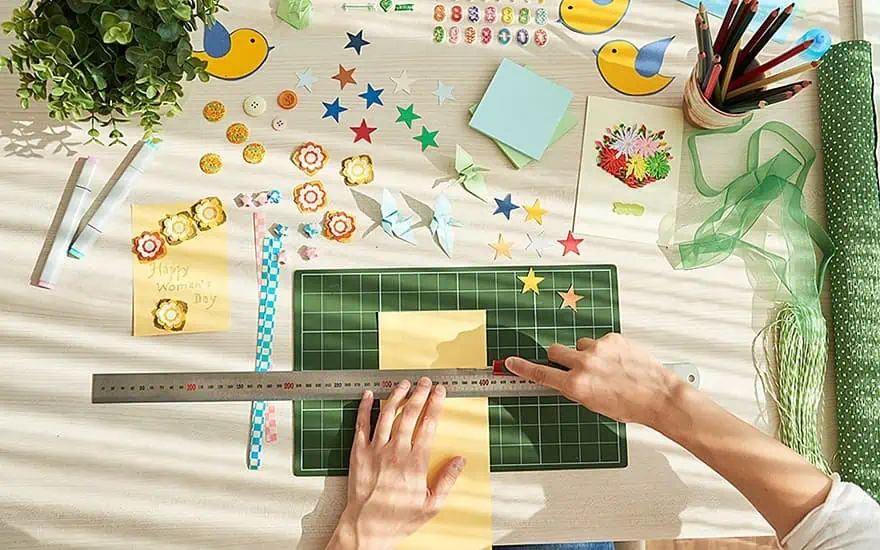
In this step, you can cut out your chosen paper into a variety of shapes, depending on your desired goal. You could create a paper collage or cut out small circles with a craft punch to use as a pendant backing in jewelry.
- You can choose any type of paper for your resin paper project. Good options to try are cardstock, tissue paper, photographs, wrapping paper, and book pages.
- If making jewelry, you may want to trace the size of your resin mold onto the paper. This will allow you to cut it out to the correct size so as to fit into the mold.
- Use scissors or a craft knife to cut out your various shapes. Craft punches are also a great idea for punching out quick shapes, from circles and stars to flowers and trees.
Tip: It is a good idea to cut out a variety of different shapes at once. This way, you can seal them all at the same time and have a good selection of pre-sealed papers from which to choose for any future projects.
Sealing the Paper
This is arguably the most important step, as failing to seal your image before you apply the resin will result in unsightly splotches and uneven marks and dark spots. Always ensure that you take the time to seal your papers properly, leaving no unsealed spots that may get affected by the resin.
- Lay the paper on a plastic surface.
- Begin with just one side of the paper. You will seal this side entirely and allow it to dry before turning the page over.
- If using a spray-on sealer, use a long and steady vertical movement to apply several coats to the paper. Ensure that your coats are even and that the whole page and all of the edges are covered.
- If using a brush-on sealer, pour a small amount into another container for easy access. Take a clean paint brush to apply an even coat of glue over the page.
- To prevent the image from slipping while you apply the first coat of glue, we suggest using a toothpick or popsicle stick to hold the image in place.
- Be sure to get all of the edges, brushing the page from each outer edge towards the center.
- Do not be afraid of applying thicker coats. One or two coats should be sufficient.
- Once the sealant has been applied to the first side of the paper, lift up the paper carefully and place it elsewhere on the plastic surface. This will prevent the page from drying in place and sticking to the surface, which can be difficult to remove.
- It is normal for thinner papers to become warped or curled as a result. You may also notice bits of glue handing off of the edges. Leave these for the time being.
- Once the first side has dried, you can flip the paper over and repeat the process on the other side. Allow the paper to dry thoroughly.
- Once dry, you can trim any glued-over edges with scissors. If the paper is curled at all, simple place it in a heavy book overnight in order to flatten it.

Applying Resin
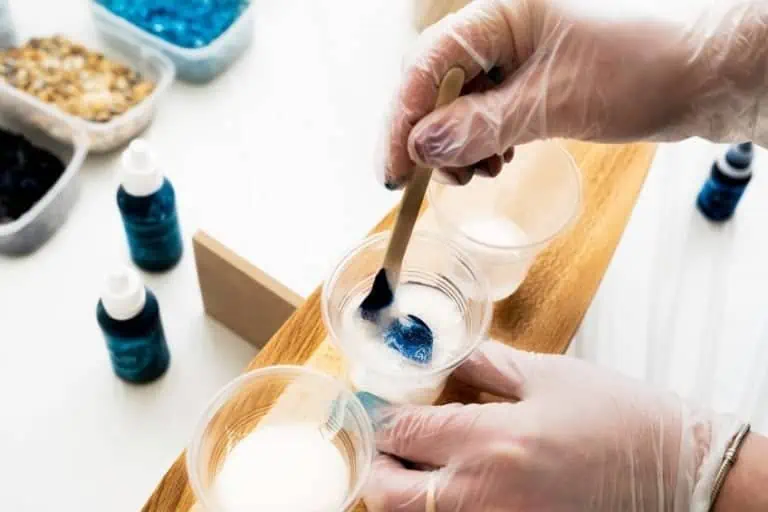
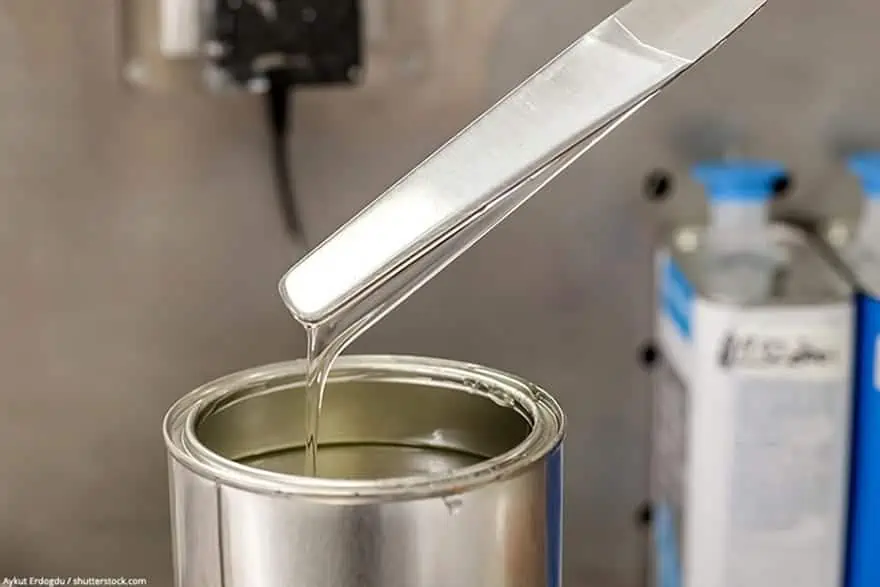
Now that your paper has been sufficiently sealed, you can prepare and apply the resin. Remember that epoxy resin can be a difficult substance to work with if you do not follow the instructions properly, as it requires very precise mixing quantities. Failure to mix the two parts together thoroughly will result in problems with your resin later on.
- Work in a well-ventilated space while wearing protective goggles and nitrile gloves. You may also require a respiratory mask depending on the nature of the fumes. No matter how safe or non-toxic a resin claims to be, you should always take the proper protective measures when working with this substance in its liquid state.
- Use plastic mixing cups to measure your resin exactly and accurately by volume. Always take care to read the manufacturer’s directions for the proper mixing ratio and length of time for which the resin and hardener must be mixed together.
- Mix the resin and hardener together thoroughly for 3 to 5 minutes, ensuring that you scrape the bottom and edges of the container while doing so.
- Pour the resin into the center of the paper or the mold and spread it to the edges with a popsicle stick or plastic spreader. Take note of the working time of the resin here, as you will only have a certain length of time during which you can work with it in its liquid state.
- Use a heat torch or hair dryer to blow hot hair over the resin surface in order to remove bubbles by forcing them to rise to the surface. You can also use a toothpick to pop bubbles.
- Place a box over the piece and allow it to cure for the stipulated length of time.
- You may require multiple layers of resin, depending on the project you are doing. A light coat of resin will provide a thin, laminate-like piece, whereas a thicker coat will result in a stiffer piece.
Ideas for Resin-Coated Paper
There are a number of ways in which you can use resin for paper. Where it is for a functional piece or for something more decorative, you will have endless possibilities when it comes to resin-coated paper ideas. The following includes just a few examples of what you could create with paper and resin:
- Tissue paper collage
- Resin paper bookmarks
- Resin-coated paper coasters or trinket trays
- Backings for jewelry pendants
- Die-cut flowers and paper decorations
- Preserving specials cards, letters, and even wrapping paper
- You can apply resin instead of framing your artwork
Frequently Asked Questions
Can You Use Paper in Resin?
The short answer is yes. However, as paper is porous, pouring the resin over the page as it is will lead to the fibers absorbing the liquid, resulting in stains and dark patches on your paper. You can prevent this from happening by sealing your paper first with a spray sealant or with decoupage glue.
How Do You Seal Paper for Resin?
To seal the paper, place the piece on a protected plastic surface and apply several layers of your chosen sealant to one side of the page. Spray sealers are best for thin paper and photographs and will require several layers, whereas brush-on sealants such as decoupage glue are ideal for thicker paper, and can be applied in just a few layers. Once the front and sides of the front of the paper have been sealed and dried, turn the page over and seal the other side, ensuring that all sides are completely covered. Once dry, any crinkled or curled-up pieces can be placed in a heavy book for the night to flatten them out.
Can I Cover Photographs with Resin?
While you can cover glossy photo paper with resin, the act of doing so can very often end up smudging the photo ink. It is always best to seal the photo first with a few coats of a spray sealer. Once the photo has been sealed, you can apply the resin without any risk of smudging or smearing.

In 2005, Charlene completed her wellness degrees in therapeutic aromatherapy and reflexology at the International School of Reflexology and Meridian Therapy. She worked for a company offering corporate wellness programs for several years before opening her own therapy practice. In 2015, she was asked by a digital marketer friend to join her company as a content creator, and it was here that she discovered her enthusiasm for writing. Since entering the world of content creation, she has gained a lot of experience over the years writing about various topics such as beauty, health, wellness, travel, crafting, and much more. Due to various circumstances, she had to give up her therapy practice and now works as a freelance writer. Since she is a very creative person and as a balance to writing likes to be active in various areas of art and crafts, the activity at acrylgiessen.com is perfect for her to contribute their knowledge and experience in various creative topics.
Learn more about Charlene Lewis and about us.