How to Use Resin – Your Resin Tutorial for DIY Projects
This post may contain affiliate links. We may earn a small commission from purchases made through them, at no additional cost to you.
Using resin to make jewelry or other arts and crafts is fun, but it can be confusing with all the products available on the market today. The entire process of using resin can also be challenging. However, it can be pretty straightforward if you keep to the directions provided. In this article, we will be guiding you step by step on what products you need, where to start, and the correct process to follow, when faced with the question of how to work with resin.
The Epoxy Resin Basics
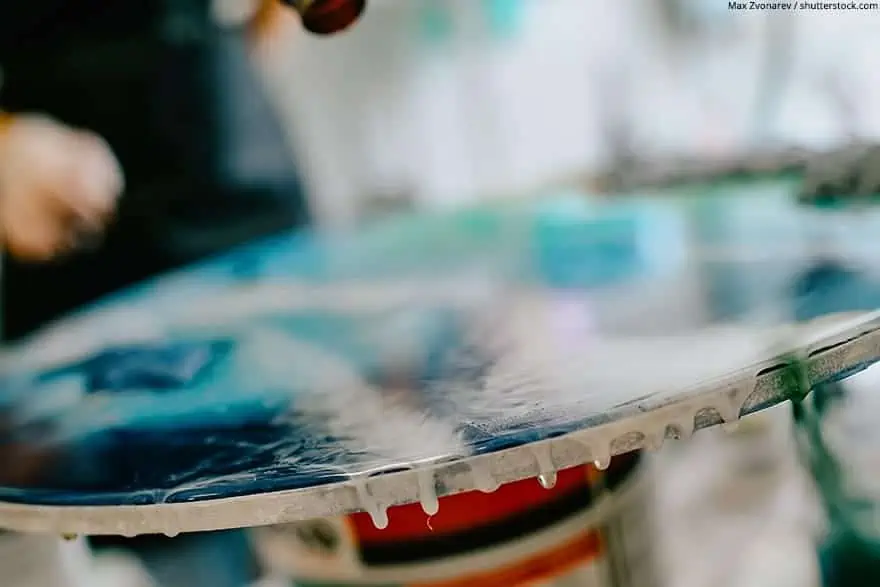
This Resin Tutorial is going to help you learn how to use resin. Before we start working with resin, we must understand the basics of what resin is. Resin or epoxy resin is a two-part component system that is made up of a resin and a hardener. When you combine these two parts a chemical reaction takes place, and your epoxy resin hardens to form a solid, durable, clear, high gloss finish.
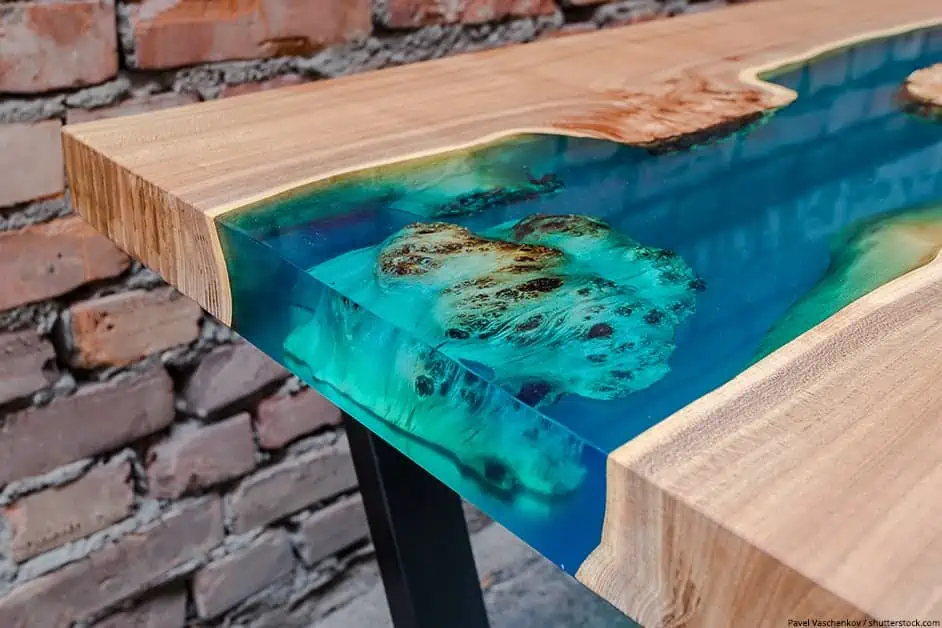
You can use your resin on your floors, tables, counter-tops, for boat building, jewelry, many forms of arts and crafts, and you can even cast it in molds. As there are so many different types of resin available for various projects, we will be concentrating on resin use for arts and crafts or DIY resin.
Purchasing Your DIY Resin
Knowing exactly what you are going to do with the resin or the type of project you have in mind, is a vital aspect for choosing the correct type of resin. If you want to coat a surface with resin, it is not the same type of resin you would use if you wanted to use it in a mold. The coating resin is what we call ‘doming resin’ where you coat the surface, but if you want to use it in a mold you need to use a ‘casting resin’.
Now that you are certain as to what you are going to do with your resin, it is time to go and purchase some materials. Next, we will be discussing not only what type of resin to buy, but also what other tools and equipment you will need to make your project perfect.
DIY Resin Recommendation
We can highly recommend ProMarine ProArt as a product. Why this resin brand? It will give you a glossy, thick topcoat that makes your photos, artwork, or craft project look amazing and you can do it all yourself.
ProMarine ProArt has no fumes, no VOC’s (Volatile Organic Compound), no solvents and is non-flammable. It is considered non-hazardous, but we still suggest you work with it in a well-ventilated area and care about safety by wearing gloves and a respirator. ProArt Resin is also chemically designed to give you, the user, an effective coating that protects against yellowing. With its advanced additives that stabilize the formulation and give you long-term, superior crystal clear finishes.
ProMarine ProArt is extremely easy to use even for beginners, as it has a mixing ratio of 1:1 and is self-leveling. The DIY resin is specially formulated to provide you with a durable, strong, glossy, clear, thick, solid, and hard finish.

- Specifically designed for art projects, excellent color stability
- Very easy to use with 1 : 1 mixing ratio, 100% solids, hard-shell finish
- High gloss and crystal clear, your all-seal solution, excellent air release
Materials You Will Need
Working with resin you need to get yourself properly equipped to do the job properly and to keep yourself from harm.
- You need disposable cups to mix your resin and never use the same cup twice, so buying cheap disposable cups is the answer
- Large Popsicle sticks are better for mixing the resin, you can use one stick per cup that you mix to save constantly cleaning them
- We all know that this can be a slightly messy job, so you need to buy some plastic sheeting or other types of protective material to keep your working surface clean. This will save you time in cleaning up afterward
- To protect your hands from the resin we suggest you buy some latex gloves, but if you do get some resin on your arms or hands just wash it off immediately
- If you encounter some stubborn bubbles in your resin then a heat gun, torch, or hairdryer can be used to pop them and leave your surface clear and smooth
How to use Resin
As we mentioned in the beginning, you must follow instructions when working with resin. DIY resin is relatively easy to work with, so following these few simple steps should help you to learn how to use epoxy and create beautiful resin pieces.
Prepare Your Working Area
- Make sure your working area is dust-free and clean, and even though the resin is non-toxic ensure the room is well ventilated before you start working
- Protect surfaces you do not want the resin to stick to. You can lay plastic sheeting down on the floor or the tabletop
- Prevent the resin from running over the edge of your work area by using painters or masking tape around the edges
- Ensure your working surface is even and your workpiece is level
Measuring the Resin
How to use epoxy resin? Next comes the mixing and pouring of your resin. Remember, your epoxy resin comes in two parts that include your resin and your hardener. These two components when mixed cause a chemical reaction transforming the two liquid components into a hard solid form.
Before you start mixing your resin you first need to determine just how much of the epoxy resin you require for completing your project. This is crucial, as you do not want any extra resin that you cannot use. On the other hand, you do not want to find that you have mixed too little and are not able to complete your project. This is why you should read the manufacturer’s instructions for the type of resin you are using. We have created a resin calculator for you.
So, how do you determine the volume of epoxy resin needed? To help you with this, there is a standard rule that if you mix one gallon of epoxy resin, this means half a gallon of resin and half a gallon of hardener, you will be able to cover an area of twelve square feet with a thickness of 1/8 of an inch. However, there is a far easier way by making use of a resin calculator. Fill in the measurements of your project and the calculator will tell you how much to mix. The resin is calculated in volume.
Mixing the Resin
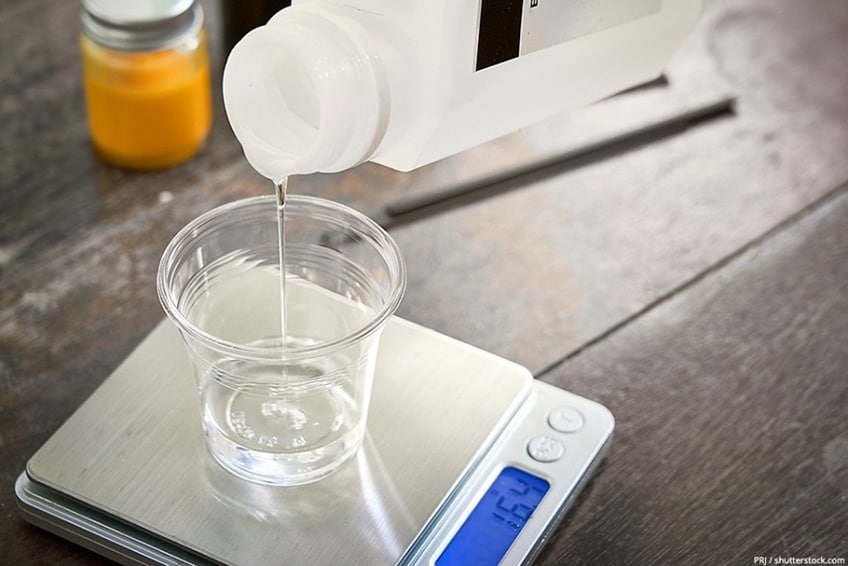
This step is important as you need to be accurate when measuring or else your epoxy resin will not cure properly. ArtResin has a 1:1 mixing ratio, so both the resin and the hardener need to be precisely the same amount.
Pour the resin and your hardener into two separate disposable cups, making sure that there is an exactly equal amount in each cup. Using an ordinary cough syrup cup is perfect for getting the right amount of resin and hardener. Do not try to add a little extra hardener hoping that your epoxy resin will cure faster. This will only cause the resin to heat up too fast and could spoil your whole project. To increase the curing time of your resin, increase the room temperature as the heat will accelerate the curing time.
The next step of using epoxy resin: Take the two separate cups and then mix them. You will see two different kinds of liquid, which when mixed will become crystal clear. Mix them thoroughly for around three minutes using your popsicle sticks. Make sure you scrape the bottom and sides as you continue to stir.
The standard for mixing times is to take ten percent of the pot time and to use this as your mixing time. This means that if the curing time of the resin is thirty minutes, it should be okay to mix it for three minutes. Try to stir slowly in a figure-eight movement and do not rush the process, as this could create air bubbles.
Remember, that temperature plays a vital role in the curing time of your epoxy resin, so the perfect temperature to have is 75 to 85 degrees Fahrenheit. If the temperature is colder than this, then your resin becomes very thick and creates lots of micro-size bubbles. Warming up your resin will have the effect of shortening your curing time.
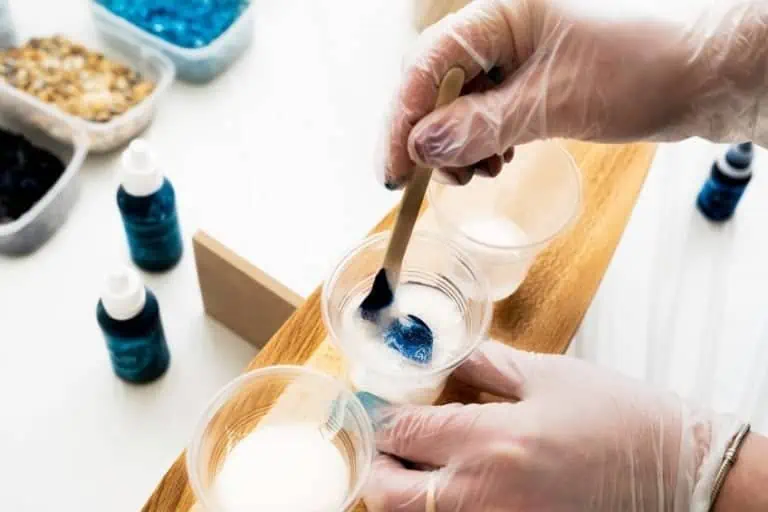
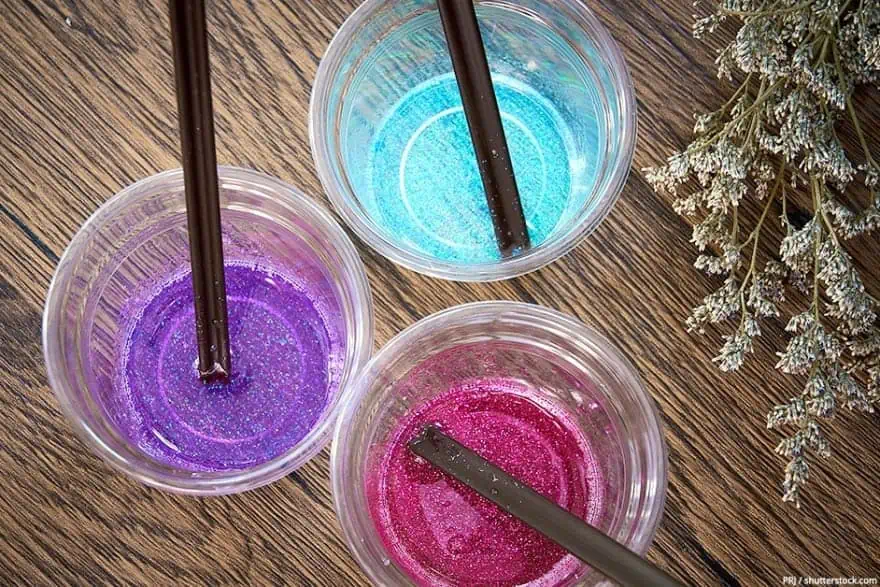
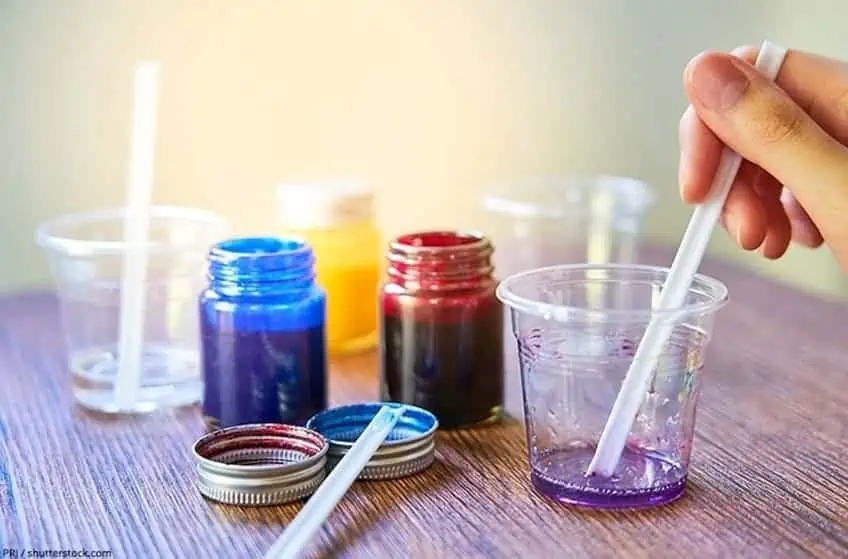
Adding Inclusions
Now is the time to add inclusions to your resin that will make it special and personal. These could include glitter, gold leaves, charms, dried flowers, and much more. You can also add dye, alcohol ink, or resin pigment to change the color of your resin. However, be careful what you add does not affect the curing time.
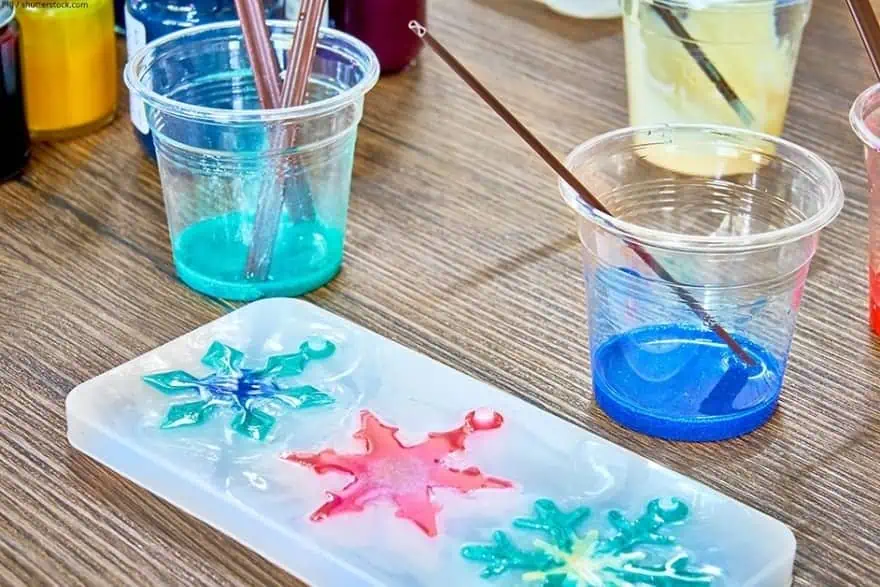
Pouring the Resin
Next, it is now time to cast or pour your resin. An excellent idea is to have a timer nearby and to set it to the working time or time allowed before your resin cures. This will enable you to complete all you have to do before the resin begins to cure.
You may want to pour your resin over a flat surface, for example, over a painting. When working with resin, here is what you need to do:
- Ensure your workpiece is clean
- Work in a well-ventilated area
- Lay plastic sheeting down to protect areas you do not want to cover with resin
- Make sure your workpiece is horizontal and level
- Put on your protective equipment
- Pour the resin onto your workpiece
- If there are any bubbles remove them using a heat gun or hairdryer
- Allow the resin to cure
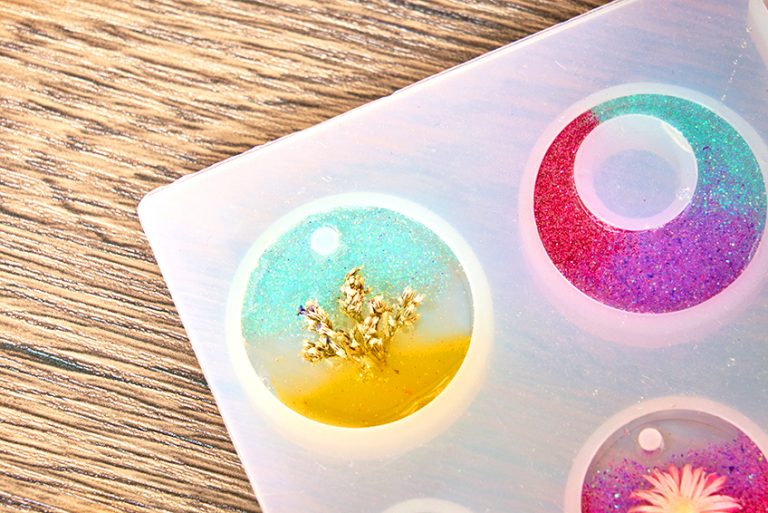
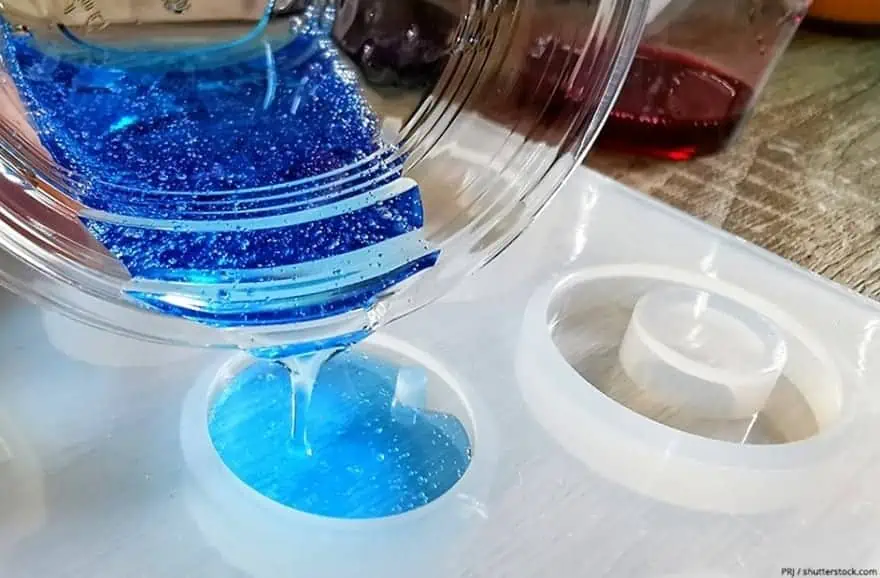
How to work with resin if you are going to pour casting resin into a mold:
- Make sure your mold is clean
- Work in a well-ventilated area
- Put on your protective equipment
- Take a popsicle stick and scrape all the resin into the mold
- You may want to also apply a mold release agent before pouring the resin in
- Allow the resin to cure
- Remove the workpiece from the mold
Safety When Working With Resin
Before you begin working with resin you need to make sure you are aware of the necessary safety precautions. Some of these precautions may seem trivial to you, but we do suggest that you adhere to them for your well-being and safety.
Protective Gloves
Your hands need to be protected from the hardener and resin fluids. Remember, these are harmful chemicals, and you need to protect yourself from them. This is much the same as you protect yourself from other substances like ammonia, bleach, and paint. For this purpose, we suggest you use nitrile gloves, as they will not react with your skin or with the resin.
So, if you by accident spill some resin on your skin what can you do? The easiest way is to take some wipes and wipe the resin off immediately, and then wash your hands with soap and water to remove the rest of the residue. However, if the resin is sticky and you struggle to remove it, use a pumice soap to exfoliate your skin to remove all the sticky residue. Be careful not to use alcohol or acetone, as they tend to aggravate the reaction of the resin.

Well Ventilated Working Space
Even though ArtResin is non-toxic, you still need to work in a well-ventilated room. This means you can open windows that will give you a cross-ventilation effect allowing air to move freely around the room. If you cannot open windows, use the ceiling fan or other type of fan to draw the air away from your workspace.

Protective Clothing
You will inevitably spill some of the resin and it could ruin your clothing, as you might only become aware of it at a later stage when the damage is done. The perfect protection for your clothing is a PVC apron. This will protect your clothing and if you spill on it, the resin is easy to remove by peeling it off after it has cured.
Eye Protection
We sincerely hope that you never have to deal with resin splashing into your eyes, so be sure to use safety goggles. Safety goggles are fairly cheap, and they will offer you the protection you need for your eyes.
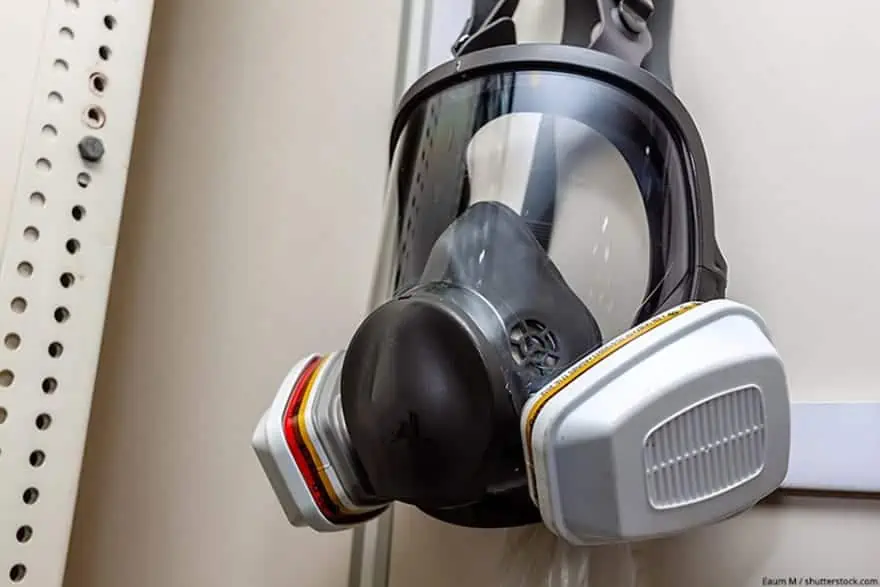
Breathing Protection
Do not be too concerned with this aspect, as when working with many resins you will not need a respirator. Sometimes, a normal facemask will do. How will you know if you need to wear a respirator? The safety data sheet for that brand will give you that information. Keep in mind though that you are working with hazardous chemicals and you need to keep yourself safe. So, we suggest you wear a respirator if you are working on a large project or if you are working for long periods, as some of the chemicals you will not be able to smell.
Only Buy Approved Resins
In the USA people selling resin for DIY resin arts and crafts purposes need to conform to the ASTM D4236 standard. This means that the brand of resin has been tested and found to be safe to use for arts and craft purposes. This does not mean that the resin is food-safe, safe to use on certain surfaces, or non-toxic. If the product you bought does not comply with the ASTM standard, you will not know if it is safe to use and it may cause certain problems.
Frequently Asked Questions
Will My Resin Project Discolor Over Time?
If the color is clear, some discoloring can take place and a slight yellowing might become visible on a light or white surface. Exposure to sunlight might also cause yellowing over time, so using a resin with a UV stabilizer might be the best option for projects that will be exposed to sunlight often.
What Can I do if I Mix too Little Resin?
No problem, you can still pour a new batch of resin over the old one while it is still sticky.
Must I Seal Surfaces Before Using Epoxy?
Surfaces that are porous like fabric, wood, or paper need to have a seal coat, and surfaces that are not porous like glass, metal, or plastic can go without a seal coat. However, if you have any doubts rather seal the surface in any case.
How do I Remove Bubbles in my Resin?
Bubbles form when mixing and usually rise to the surface and break on their own. However, if you still find stubborn bubbles, you may have to use a heat gun or hairdryer, or even a toothpick to remove them before the resin cures.
Is it Necessary to Wear Protective Equipment?
We do recommend that you wear all the necessary safety equipment to ensure you protect yourself from any harm, even if your project is small. That includes gloves, eye protection, a mask, and protective clothing.

In 2005, Charlene completed her wellness degrees in therapeutic aromatherapy and reflexology at the International School of Reflexology and Meridian Therapy. She worked for a company offering corporate wellness programs for several years before opening her own therapy practice. In 2015, she was asked by a digital marketer friend to join her company as a content creator, and it was here that she discovered her enthusiasm for writing. Since entering the world of content creation, she has gained a lot of experience over the years writing about various topics such as beauty, health, wellness, travel, crafting, and much more. Due to various circumstances, she had to give up her therapy practice and now works as a freelance writer. Since she is a very creative person and as a balance to writing likes to be active in various areas of art and crafts, the activity at acrylgiessen.com is perfect for her to contribute their knowledge and experience in various creative topics.
Learn more about Charlene Lewis and about us.