How to Paint a T-Shirt – From Blank Canvas to Fashion Statement
This post may contain affiliate links. We may earn a small commission from purchases made through them, at no additional cost to you.
Welcome to the colorful world of DIY fashion! Have you ever looked at a plain white t-shirt and thought, “I wish I could make this pop”? Well, get ready to unleash your creativity because in this article, we’re diving into the exciting realm of painting t-shirts. Whether you’re a seasoned artist or a beginner looking for a fun project, painting your own t-shirts is a fantastic way to express yourself and add a personal touch to your wardrobe. So grab your paintbrushes, gather your favorite colors, and let’s turn those blank tees into wearable works of art!
Key Takeaways
- Customizing t-shirts with paint requires careful preparation of materials and workspace.
- Detailed design planning and the proper painting techniques are vital for a professional result.
- Post-painting care ensures longevity and preservation of the artwork on the t-shirt.
Preparing Your T-Shirt and Work Area
Transforming a plain t-shirt into a wearable piece of art is a creative and enjoyable process. This activity allows for personal expression and can be a fun project for both beginners and experienced artists alike. With a few simple materials and some careful steps, you can paint a t-shirt that showcases your style and lasts through wear and washes. The key to a successful t-shirt painting project is preparation. Starting with the right kind of fabric paint and gathering all the necessary tools keeps the process smooth.
Before applying any paint, it’s vital to prepare your work area and your t-shirt, to ensure the finished product looks professional and maintains its quality over time. Whether you’re working with stencils or painting freehand, planning your design is just as important as the painting itself. Before diving into the process of painting a t-shirt, it is crucial to select the appropriate fabric and prepare the area to ensure a smooth workflow. This section walks through the steps of choosing the right t-shirt, setting up the work environment, and getting the shirt ready for painting.
Choosing the Right T-Shirt
Selecting a suitable t-shirt is the foundation of fabric painting. 100% cotton t-shirts are ideal as they absorb paint well, but blends can also be used. Opt for plain t-shirts without preexisting designs. White t-shirts are best for showcasing colors vividly, but colored t-shirts can add a unique background to your design.
Remember, the fabric choice will affect the final look, so choose according to the desired outcome.
Setting Up Your Work Area
An organized work area is essential to avoid messes and allow creativity to flow freely. Cover the surface with newspaper or a plastic sheet to protect against paint spills. Ensure the space is well-ventilated; working outdoors or in a room with open windows is advisable. Equip the area with all necessary tools—paints, brushes, cups of water for rinsing brushes, and paper towels for blotting.
Prepping the T-Shirt for Painting
Before applying paint, prewash your t-shirt to remove any residue that may hinder paint adhesion. Dry completely. Then, place a sheet of cardboard or waxed paper inside the shirt to prevent paint from bleeding through to the other side. Ensure it is flat and smooth to create an even painting surface.
Now, with all preparations complete, the t-shirt is ready to transform into your personal canvas.
Designing Your T-Shirt
When designing a t-shirt, an individual must select a captivating design, accurately transfer or create it on the fabric, and masterfully utilize stencils or freehand techniques to bring it to life.
Selecting a Design
The selection process is critical; one should choose a design that resonates with their personal style or the intended message of the t-shirt. Popular choices range from intricate mandala patterns to bold graphic statements. It is important to consider the complexity of the design as it impacts the difficulty level of the painting process.
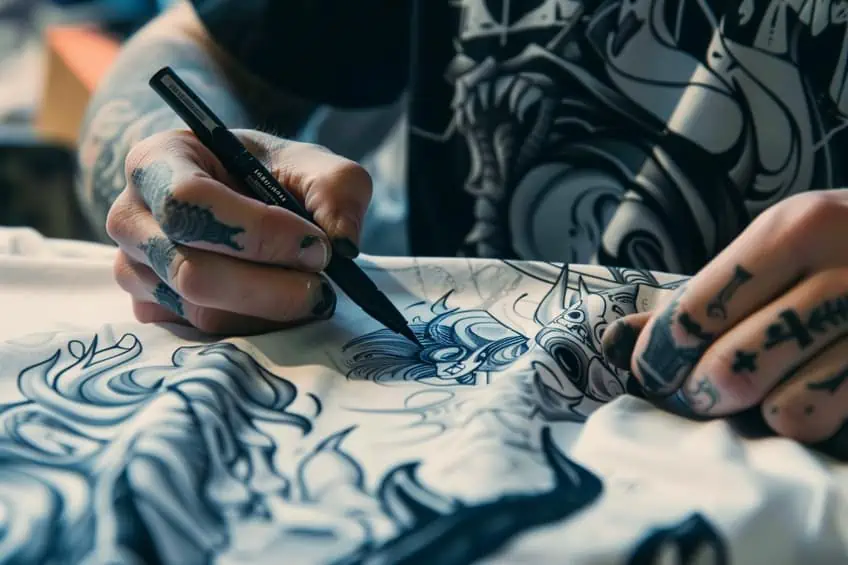
Creating or Transferring the Design
Once the design is chosen, the next step is to transfer it onto the t-shirt. This can be done either by freehand drawing with a pencil or by tracing the outline of the design using a stencil. Fabric markers or a fine pencil can be used to sketch the outline onto the shirt before applying paint, ensuring greater accuracy and detail.
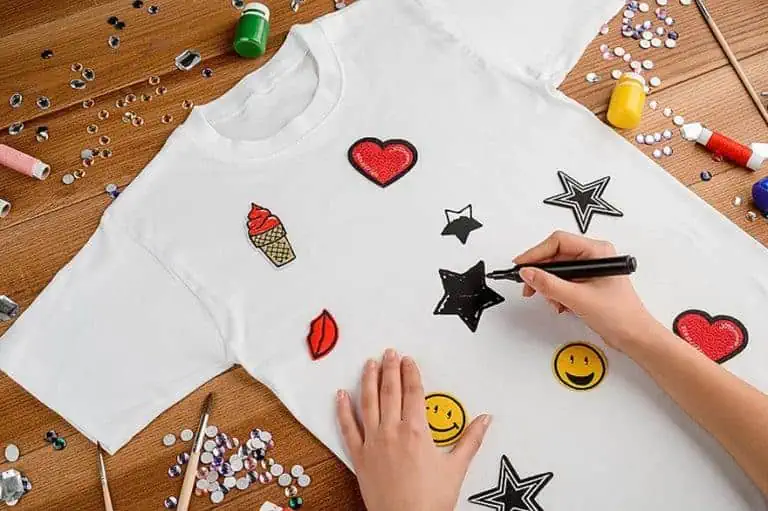
Using Stencils and Techniques
Stencils are a fantastic tool for beginners or those looking to achieve precise, crisp lines and patterns. Whether it is a store-bought mandala stencil or a DIY stencil created from thick paper, it assists in maintaining design integrity. For those confident in their artistic abilities, freehand painting allows for a more expressive and unique creation.
When using either method, it is essential to practice the techniques on a similar fabric before applying them to the final t-shirt design to ensure the desired outcome.
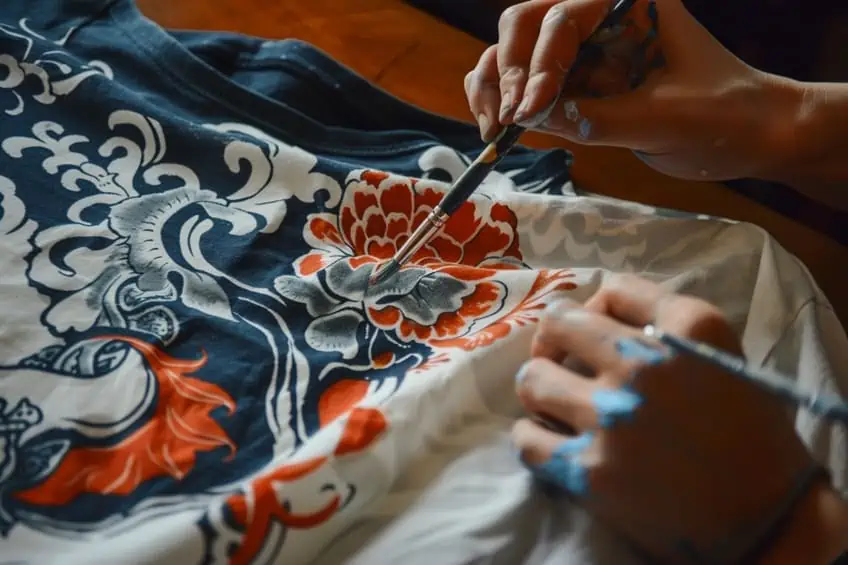
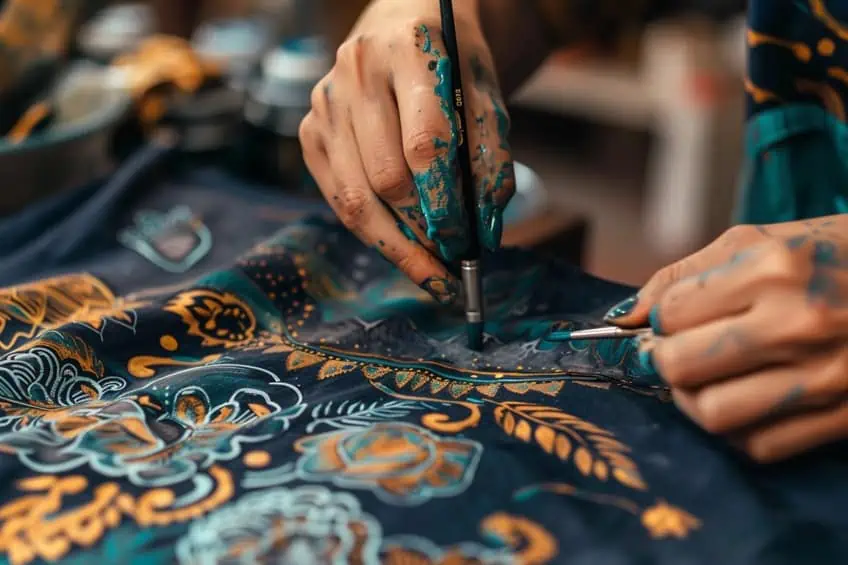
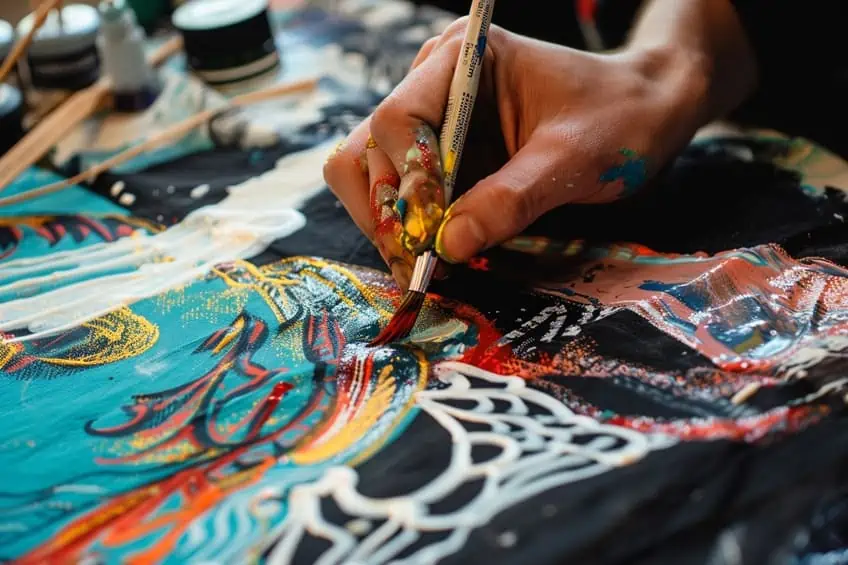
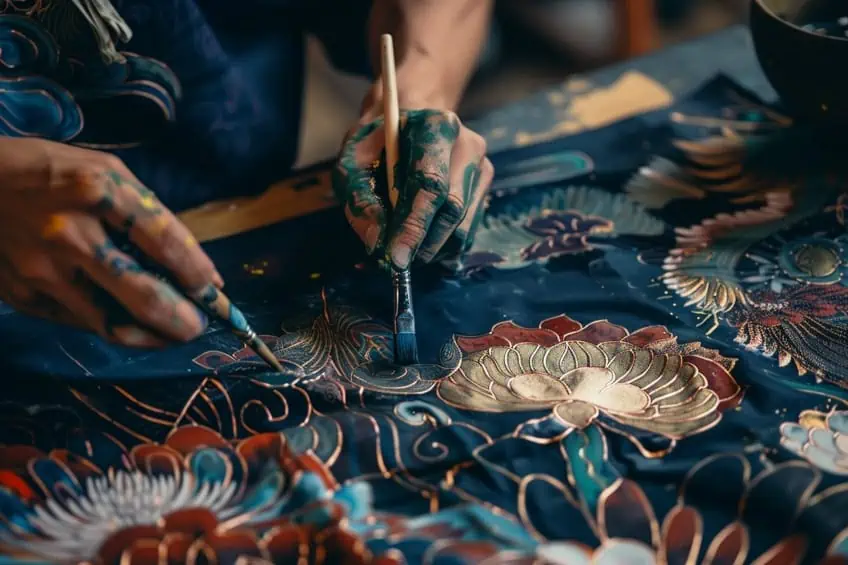
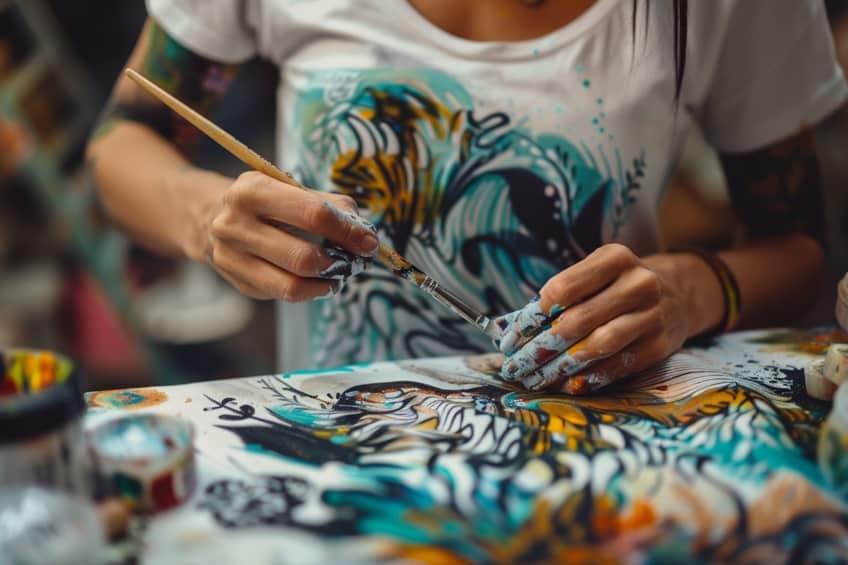
Painting the T-Shirt
When painting a t-shirt, it’s crucial to select the appropriate paints and applicators, apply the paint correctly, and ensure proper setting and drying for a long-lasting design.
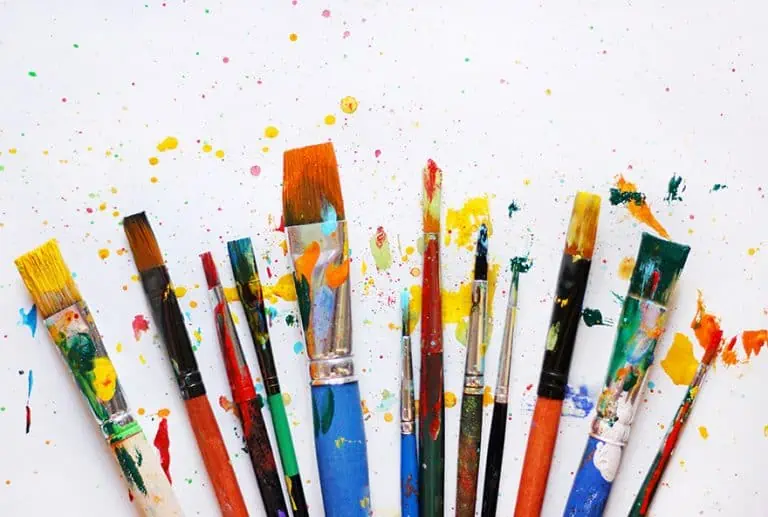
Choosing Paints and Applicators
- Paint selection: The two primary types of paint suitable for fabric are fabric paint and acrylic paint. Fabric paint is specifically designed for textile use and provides a soft feel and lasting durability. Acrylic paint, on the other hand, requires a textile medium or fabric medium to ensure flexibility and prevent cracking, allowing for a more extensive color palette.
- Applicators: Various tools are employed to put paint on fabric, such as brushes for detailed work, sponges for smooth coverage or creating an ombre look, and spray paint for a seamless gradient. Fabric markers or permanent markers can outline designs or add fine details.
Applying the Paint
- Preparation: Insert a barrier, like cardboard, inside the t-shirt to prevent paint from bleeding through.
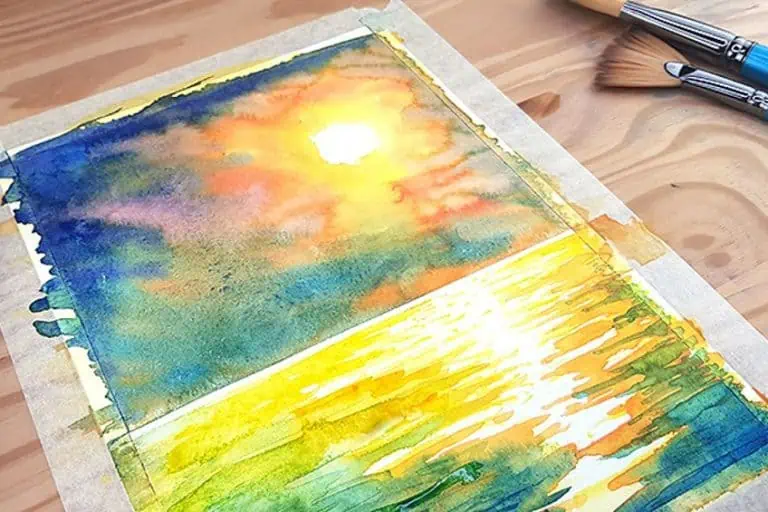
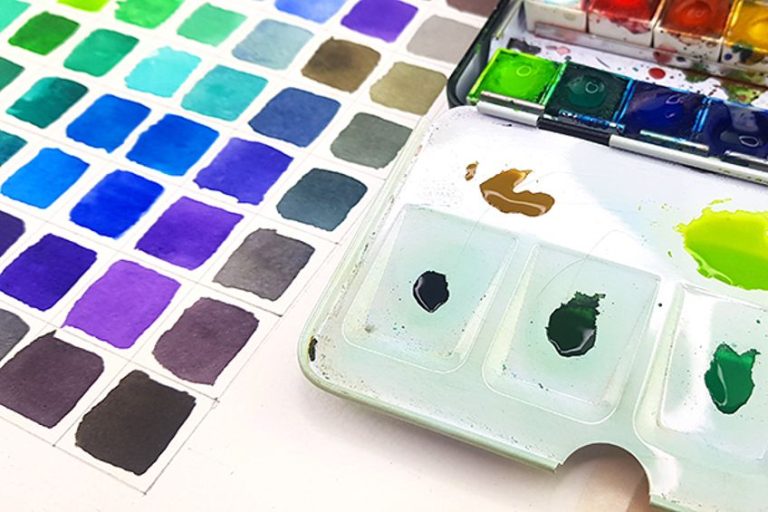
- Techniques: Use a palette for mixing colors to achieve desired hues and effects. For a watercolor effect, wet the fabric before applying diluted paint.
- Method: Apply paint with chosen applicators, either freehand or using stencils for precise designs. For complex patterns, trace with a pencil before painting.
Setting and Drying the Paint
- Heat setting: After the paint dries, it needs to be heat set to endure washing and use. Iron over the painted area with a protective layer such as a cloth or parchment paper for approximately 3-5 minutes, using a low to medium heat setting.
- Drying: Allow the painted t-shirt to dry completely, which can be sped up using a dryer if the paint manufacturer’s instructions permit. This ensures the design is securely fixed to the fabric.
Finishing Touches and Care Instructions
After meticulously designing and painting your t-shirt, finalizing the details and understanding how to care for it are pivotal to preserving your artwork.
Adding Details and Effects
To enhance a painted t-shirt, artists often add details such as glitter paint or utilize techniques like stamping or spray painting. Using a stamp, one can create uniform patterns, while spray painting can give a softer, airbrushed effect. For a more distressed look, bleaching techniques may be applied carefully. It’s crucial to let all layers of paint dry thoroughly to prevent bleeding.
When adding any extra paint or effects, it’s best to do so incrementally, allowing for drying time and observing the color wash to ensure the final outcome meets expectations.
Caring for Your Painted T-Shirt
Once the painting process is completed and the t-shirt is dry, heat setting is necessary. Place a thin cloth or parchment paper over the painted area, and press with an iron on a low to medium setting for about 3-5 minutes. This process will help to set the paint, making it durable and washable.
- Washing instructions: Turn the T-shirt inside out before washing. Use cold water and a gentle cycle. Avoid harsh detergents.
- Drying instructions: Air dry the t-shirt when possible. If using a dryer, opt for a low-heat setting.
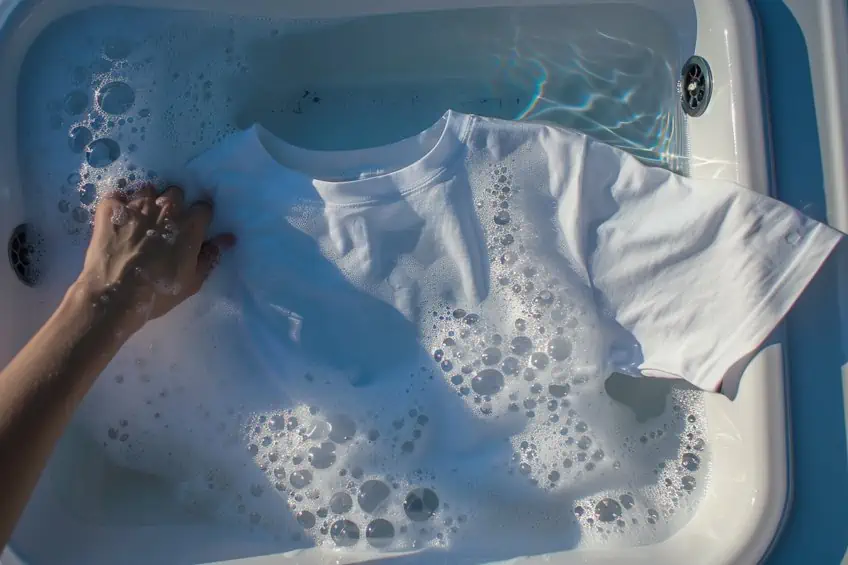
By heat setting the paint with an iron and following the appropriate wash and dry procedures, the painted t-shirt can be kept in optimal condition. It is recommended to wash the t-shirt on its own for the first few washes to monitor any potential bleeding of colors. Regular care will ensure the longevity of the t-shirt’s design.
As you put the finishing touches on your painted t-shirt masterpiece, take a moment to admire the creativity and flair you’ve brought to life. Painting t-shirts isn’t just about creating wearable art; it’s about expressing yourself, unleashing your imagination, and having fun along the way. Whether you’ve experimented with bold designs, intricate patterns, or whimsical motifs, your personalized t-shirts are a reflection of your unique style and artistic vision. So wear your creations proudly, share your skills with others, and keep exploring the endless possibilities of DIY fashion. Happy painting!
Frequently Asked Questions
What Type of Paint Should Be Used for Fabric Painting on T-Shirts?
For fabric painting on t-shirts, it is recommended to use paint specifically formulated for fabric. This type of paint adheres better to the fibers and stays flexible when dry, reducing the likelihood of cracking. Fabric paints are available in a variety of consistencies and can be applied with brushes, sponges, or stamps.
How Can I Make Sure Acrylic Paint Stays on My T-Shirt After Washing It?
To ensure that acrylic paint stays on a t-shirt after washing, one should mix the acrylic paint with a textile medium before application. This combination improves the paint’s resilience and adherence to the fabric. After painting, the t-shirt should be left to dry completely and then heat-set using an iron. This process helps to affix the paint to the fabric, making it withstand multiple washes.
What Are Some Creative Design Ideas for Painting T-Shirts With Fabric Paint?
There are many creative design ideas for painting t-shirts with fabric paint. One can use stencils for crisp, repeatable patterns, or go for freehand painting to create unique, abstract designs. Another technique is to create watercolor effects by applying wet fabric paint and allowing the colors to blend. Using fabric markers for detailed outlines or adding text are other ways for personalization. It’s beneficial to experiment with mixed media or 3D paint for textured effects.

In 2005, Charlene completed her wellness degrees in therapeutic aromatherapy and reflexology at the International School of Reflexology and Meridian Therapy. She worked for a company offering corporate wellness programs for several years before opening her own therapy practice. In 2015, she was asked by a digital marketer friend to join her company as a content creator, and it was here that she discovered her enthusiasm for writing. Since entering the world of content creation, she has gained a lot of experience over the years writing about various topics such as beauty, health, wellness, travel, crafting, and much more. Due to various circumstances, she had to give up her therapy practice and now works as a freelance writer. Since she is a very creative person and as a balance to writing likes to be active in various areas of art and crafts, the activity at acrylgiessen.com is perfect for her to contribute their knowledge and experience in various creative topics.
Learn more about Charlene Lewis and about us.