How to Seal Acrylic Paint on Wood – Exploring Acrylic Paint Sealers
This post may contain affiliate links. We may earn a small commission from purchases made through them, at no additional cost to you.
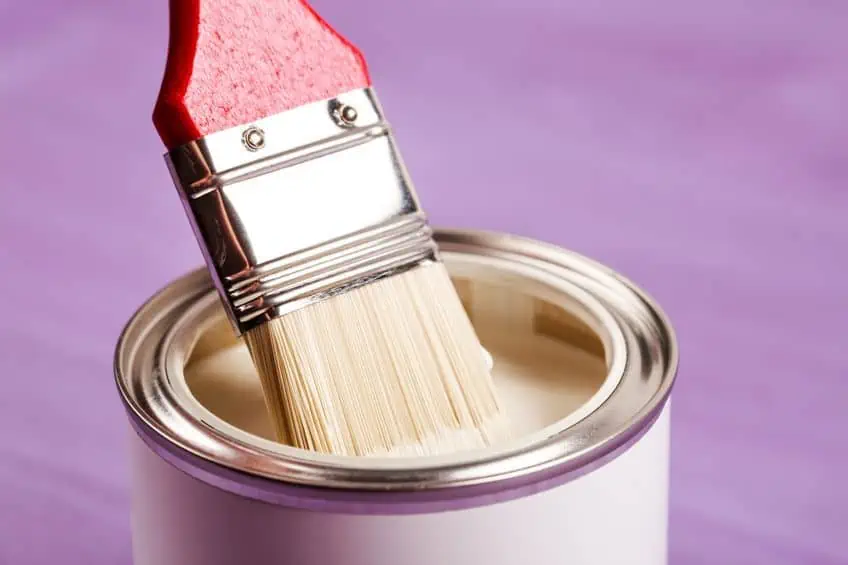
Painting your wood items with acrylic paints is a fairly easy process and is a task that can be done by any do-it-yourself enthusiast. Whether you are renovating a piece of furniture or working on a craft item, you will have to follow a few simple steps. From preparing your wooden surface, and painting, to sealing acrylic paint on wood. Today, we are going to be focusing more on the various types of acrylic paint sealer and learning how to seal acrylic paint on wood.
Is Sealing Painted Wood Necessary?
Wood is an organic, porous, and fibrous substance, and painting wood can become a bit tricky if you do not follow the correct steps for a good painted finish. Sealing painted wood is an important part of the process as it helps to protect the painted surface from water, dirt, peeling, sunlight, and other external damage. However, this would be your topcoat sealer, what about applying a sealer onto the wood surface before painting?
Wood tends to have some impurities, which can cause discoloration and yellowing if the wood is not sealed. Not only that, but we have also already mentioned that wood is porous, which means the wood absorbs a lot of the paint. So, you will be applying more paint layers and using more paint for the job. Also, the increased moisture can warp the wood. This is especially true for certain wood types that are particularly porous. These surfaces require a sealer and primer before you begin to paint. There are, however, single application products that offer a dual purpose of both sealing and priming, which shortens the entire process.

There are various porous levels when it comes to wood, for example, softwoods have large pores and will absorb moisture easily, and will need a sealant if you want to paint. Some examples of softwoods include oak, mahogany, rosewood, teak, and ash. Sometimes with these types of wood, the pores are visible, so you might have to consider first smoothing the surface by applying some wood filler, and then applying a sealant. On the other hand, some woods are quite dense in structure and may not require a sealant. Some hardwoods include ironwood, ebony, and boxwood.
Not all wood surfaces need a topcoat sealer, but it is recommended, especially if the wooden item is outside and exposed to the elements. Wooden items that are handled and moved around a lot would also benefit from a sealant. If you do not seal acrylic paint on your wooden items, the paint may eventually crack and then peel off. By following the entire process of painting a wooden surface, it helps to protect and make sure the wooden item keeps looking great for a long time. In most cases, sealing wood before painting is recommended for the unfinished wood. In other cases, a wood surface might already have wax, varnish, or lacquer sealant, so no additional layers are needed, these are already finished wood surfaces. These wooden surfaces only need to be sanded, wiped clean, primed, and then painted.
Lastly, you can then add an acrylic paint sealer.
Types of Acrylic Paint Sealer
When painting wood, whatever project you intend to tackle, using good quality paint is important. Also, using the correct tools and supplies will make the job that much easier. After you have completed your work, you want to make sure your painted surface does not start peeling and lasts for years to come. So, sealing painted wood is a good idea.
There are quite a few brands and various kinds of sealants or topcoats you can use over acrylic paint on wood. However, the main feature to look for when choosing a sealant is to see if it is compatible with acrylic paints. Also, depending on if your wooden item is going to be exposed to sunlight, properties like water and UV resistance are important.
Polyurethane
This is a durable clear sealant for wood and can be used on stained or painted wood and provides a glossy finish. The coating also protects from scratches and exposure to sunlight. However, you need to choose carefully as there are different types. First, there is the oil-based variety, which does tend to yellow over time, takes a long time to cure thoroughly, and can give off an odor. The benefit is that it forms the most durable coat.
The second type is your water-based variety will not leave any discoloration, dries much faster, and is less toxic than the oil-based option.
The drawback is that it costs more and has a lower resistance to certain chemicals and heat. Applying a coat of polyurethane over acrylic paint on wood should keep dirt and dust away and help to keep the colors underneath bright. Both varieties of polyurethane are water-resistant not waterproof.
How to Seal Acrylic Paint on Wood for Outdoors With Polyurethane
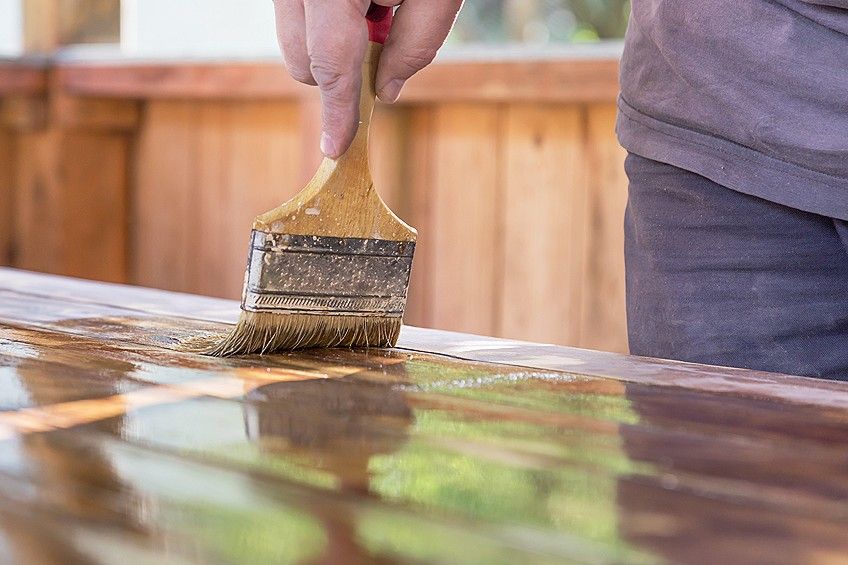
Any wood items that remain outside will need a top coat to protect them from the elements. The water-based polyurethane is a good choice and will protect the painted wood surface from UV rays, abrasions, and moisture. Polyurethane is not only good for outdoor items but can also be considered if the wood items are moved around and touched frequently. Next, we will be dealing with a short tutorial on how to seal acrylic paint on wood outdoors.
The first critical step is to wait until the paint has dried properly before applying your polyurethane. Next, always make sure the surface is clean and clear of any dirt, dust, or grime. Many recommend using some warm water and adding half a cup of trisodium phosphate (TSP). During this whole process, make sure to wear protective eyewear, a mask, and gloves, and work in an area that has enough air circulation. Even better, try to work outside.
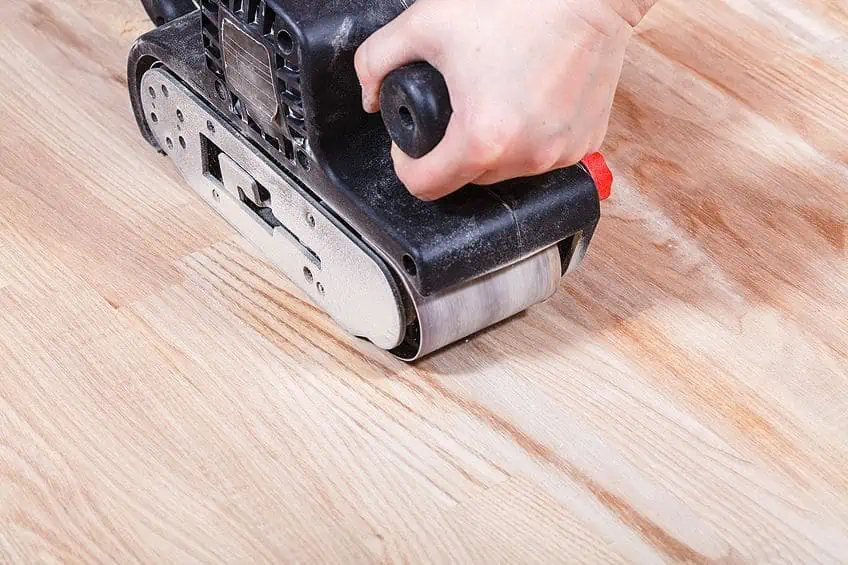
Next, take 120-grit sandpaper and smooth the surface. Once done, clean the surface and remove the dust. The wood surface must be smooth and dry before you use the polyurethane. Always apply thin coats of polyurethane, this can be done by wiping on, using a brush, roller, or spraying it. Leave the first coat to dry, which should take two to four hours with water-based polyurethane.
Once dry, use 220-grit sandpaper on the surface to smooth it out, careful not to do this too vigorously as the polyurethane coat is thin. Clean, then apply another coat. In general, three polyurethane layers are suggested. However, some might even apply several layers for improved protection. For water-based polyurethane to thoroughly cure can take three to 21 days.
Furniture Wax
An easy and natural way to seal acrylic paint on wood would be to use furniture wax. All you need to do is apply a small amount of the wax onto a cloth and then apply it to your wooden surface. Allow it to sit for a short time and then you can buff it with a soft lint-free cloth.
Offers good protection and a soft sheen, but products can be expensive.
Polyacrylic Sealant
Polyacrylic is another durable, water-based, and clear sealant for wood. Once applied, it does not leave any odor, dries fast, is easy to clean, and is affordable. You can get polyacrylic in a variety of finishes including satin as well as high gloss. Polyacrylic will form a protective layer over your painted wood against changing temperatures, sunlight, and water. The product comes in two forms, you can either roll-on or spray-on. When applying polyacrylic, you have to start the same as with polyurethane. So, make sure the surface is smooth, clean, and dry. When sanding and smoothing the painted surface, use very fine-grit sandpaper. Always read the instructions included with the product for the best results.
Again, it is important to wear protective gear and work in a well-ventilated room, especially if you are going to be spraying. When spraying, hold the product about a foot away from the surfaces and spray a thin, even layer. Spraying is a better option when it comes to smaller items. When brushing on, use a good quality synthetic brush and apply a thin layer moving in one direction. After the first layer has dried in about 30 minutes, and the surface feels slightly rough, you can sand it down very gently with 400-grit sandpaper. Clean the area and apply another layer following the same process. Two to three thin layers are a better way to go than a single thick layer.
Clear Sealant for Wood
This usually works as an acrylic paint sealer spray that is easy to apply. It offers good indoor as well as outdoor protection and dries quickly to a clear gloss finish. Protect furniture and other wood items from scratches and moisture. Since you are spraying, it is preferably done outside, using protective gear. Again, read and follow the instruction on the label. Hold the spray at least a foot or 30 centimeters away from the surface, then spray evenly. Two to several thin layers might be okay, however, for a super glossy finish, you can apply more coats.
Make sure you apply thin layers, as it may pool if too much is used. This is a good waterproof acrylic sealer for crafts.
Varnish
Varnish is something most of us recognize as it has been the most popular form of sealant for many years. Varnish can be seen as a general term for a top coat as there are so many varieties. When it comes to acrylic varnish products. The two main types of varnishes in this category include your acrylic resin and your acrylic polymer varnish. Acrylic resin varnish is glossier and more durable than acrylic polymer varnish. However, these tend to be more toxic, and you must work in a well-ventilated space and use protective gear. Acrylic varnishes are safer to work with as they are non-toxic. These can come in various finishes including a gloss, matte, and satin finish. A glossy finish enhances the paint colors, while a matte or satin finish provides a less shiny appearance.
When using a satin finish, you will need to use an isolation coat over the painted wood surface before you use the varnish. The isolation coat is transparent and forms a layer between the paint and varnish. Sometimes a varnish can be diluted in a solvent, and the isolation layer prevents the solvent from damaging the paint. If you do not apply this coat, you can end up with a frosted look. Apply the acrylic polymer varnish over the dry acrylic paint. The wood surface must always be clean, with no dust or dirt. So, only apply the varnish about 48 to 72 hours after it has dried properly. You can apply the varnish with a brush, or you can spray it on.
Glaze
A glaze is a kind of medium that can be applied over stained and painted wood. Once applied, it provides a high-gloss and clear finish that offers some protection. However, it is not for outdoor use and is not resistant to heat. The consistency of glaze is less viscous than paint, and it takes about 30 minutes to dry. You can add a single coat, or improve on protection, several coats can be used.
Simply paint the glaze on with an acrylic brush.
Epoxy Resin
Maybe you have painted onto a wooden panel and now wish to seal and preserve your art piece? Epoxy resin can provide a beautiful gloss finish that makes all your colors stand out. There is a variety of products available, but many of the craft epoxy options are applied as follows. You will need your acrylic painted wooden panel art piece. Your chosen epoxy resin product, some gloves, stick to stir with and a spatula to level the epoxy. Two or more measuring cups, another mixing cup, a heat gun or torch, toothpicks, and something to cover and protect your finished work while it is drying. Also. Some sheeting or plastic covering to cover the floor or area where you are working. Preparation is always important when it comes to painting and sealing the wood. Only start applying your epoxy resin once the paint has completely dried.
You may want to consider pre-sealing the wood surface to help prevent any bubbles from escaping into the resin. The size of your project will determine how much epoxy you will need. You can determine the amount of resin needed, using a resin calculator. You can easily find and use a calculator online. Once you have calculated this, you can begin mixing the two components that come in an epoxy kit. This usually consists of resin as well as a hardener. Again, make sure you wear gloves and work in an area that has enough air circulation.
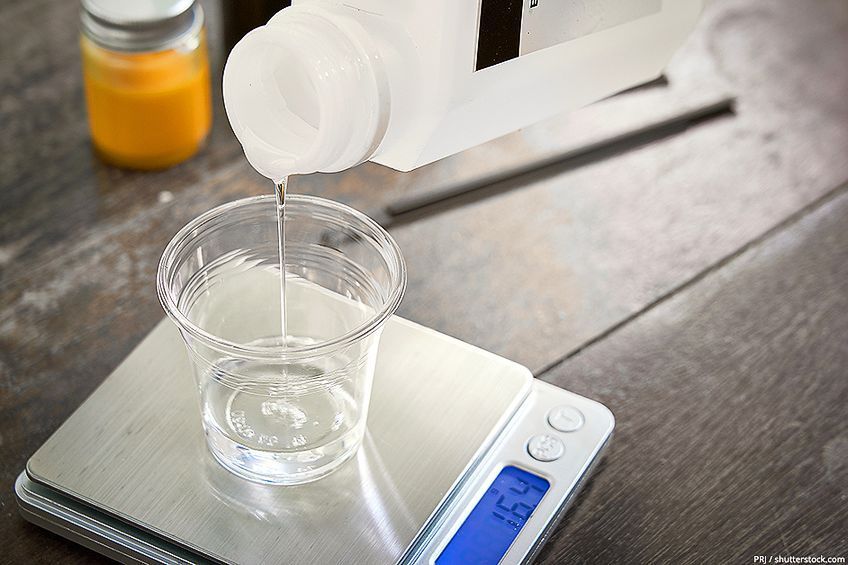
Take your measuring cups and pour equal amounts of resin and hardener into the two separate cups. Pour these into your mixing container and stir for at least three minutes. Make sure you get into all the corners of the container while mixing. Once mixed thoroughly, you can pour the mixture. Before preparing the epoxy, you should tape off areas you do not want the epoxy to go on, like on the edges or bottom of the wood panel. Place the wood panel on some stands if you wish to let the epoxy run over and cover the sides.
Start in the center of your wood panel and pour the epoxy and spread it out so it reaches all the edges and corners. Follow the instructions on the epoxy resin product label to see how long you have to work before it begins to harden. Holding the heat gun a few inches above the resin surface, keep moving it around to pop any bubbles that may arise. Do not linger over a specific area for too long. If you do not want to use the torch, you can also take a toothpick and pop the bubbles yourself. Make sure to check for any hairs or dust and remove them as well. Cover the wood panel and allow it to cure for 24 hours or follow the instructions included.
Gel Medium
The acrylic medium gel is easy to apply and offers fair protection. The product also comes in matte and gloss finishes. Excellent for protecting against fingerprint marks. You can use a brush, roller, or sponge to apply the product.
The gel medium can also be mixed into acrylic paint to increase its durability and adhesion properties.
Mod Podge
This is another popular clear, waterproof acrylic sealer for crafts. Mod podge is easy to use, dries fast and offers good protection, and comes in either a gloss or matte finish. Mod podge is also water-resistant and will not yellow over time. As with any sealant application, the wood surface must be smooth and clean. Simply brush on a thin coat and let this dry, before applying another coat. You can use five or more coats if you wish. Leave for at least 20 minutes, then you can apply another layer, or until the coat becomes clear.

You can also use a roller or sponge to apply the mod podge, this helps to prevent any brush marks. Great for medium to smaller wood crafting ideas that are going to stay indoors. Drying time depends on how many layers are applied and the environment and can take a few weeks to fully cure or dry.
PVA Glue
A PVA (polyvinyl acetate) glue product is a cheap and easy way to seal acrylic paint and some watered-down glue can be used as a pre-sealant as well. Mix one part water and one part glue and stir until it reaches a liquid consistency. Apply this to the wood surface with a brush. Allow this layer to dry and then paint on another coat. You can then apply a primer and then you can paint your wood.
Below is a table representing all the types of acrylic paint sealers and a comparison of different features.
| Type of Acrylic Paint Sealer | Finish | Cost | Application |
| Polyurethane | Dries clear with a high gloss, semi-gloss, satin, and matte finish | The water-based option is expensive | Applying can be difficult |
| Polyacrylic Sealant | Clear sealant for wood that comes in a variety of finishes | Less expensive than polyurethane | Easier and less toxic to work with than polyurethane |
| Furniture Wax | Soft, satin finish | Can be expensive | Easy to apply |
| Clear Sealant for Wood | Gloss and matte finishes | Affordable | Easy application. Usually, an acrylic paint sealer spray |
| Glaze | Clear, high gloss finish | Affordable | Easy to apply |
| Varnish | Gloss, satin, and matte finish | Affordable | Easy application |
| Epoxy | High gloss, clear sealant for wood | Can be expensive | Can be difficult to apply |
| Mod Podge | Gloss, matte, and satin finishes | Affordable | Easy to apply |
| Gel Medium | Satin finish | Affordable | Easy to apply |
| PVA Glue | Clear sealant for wood | Cheap | Easy to Apply |
A Tutorial on How to Seal Acrylic Paint on Wood
When sealing acrylic paint on wood, many different types of sealant can do the job. In most cases, the same process is similar and includes four main processes of sanding, sealing, priming, and painting. Following this course of action will ensure that your sealed acrylic wood item is protected, becomes more durable, and can even help to make the colors seem brighter.

Sealing Wood Before Painting
Many would leave this part out and go directly to priming the surface. However, sealing not only increases the durability of the wooden surface but also helps to prevent, discoloration, rotting, warping and provides a better surface for the application of paint. Also, if you are painting over a wood stain, it will prevent it from seeping through to the paint. Sometimes, you can make use of the same sealer that you are going to be using for the topcoat.
This process is especially helpful for acrylic painters who paint on wood support.
Sealers Versus Primers
When a sealer is applied before painting, it protects the wood underneath, while the primer is used more as a foundation coat so that the paint can adhere to the surface better. Generally, two coats of sealer can be applied to the bare wood.
After this, the primer can be applied, which not only helps with paint adhesion but also provides a surface that will bring out the acrylic paint colors more. Before you select a sealant, it is a good idea to understand its purpose. Some things to consider include:
- Can the sealant you want to use be applied as a base coat and top coat? The base coat covers the porous wood, while the topcoat is more for protection and durability.
- Consider the size of the wood you want to paint.
- Is the wood item going to be handled and moved around a lot?
- Will the wood item be staying inside or outside?
Painting and Applying the Acrylic Paint Sealer
Now let us go into the process in a little more detail. First things first, get your work area ready. Find a space that is big enough to work in and is well-ventilated. Otherwise, if possible, work outside. Protect your workspace surface with some plastic sheeting and gather all the necessary tools and supplies, which include the following:
- One or two rags and a tack cloth
- Paintbrush, roller, or sponges
- 220-grit sandpaper
- Wood primer
- Acrylic paint
- Sealant of choice
- Protective gear, especially if using spray forms
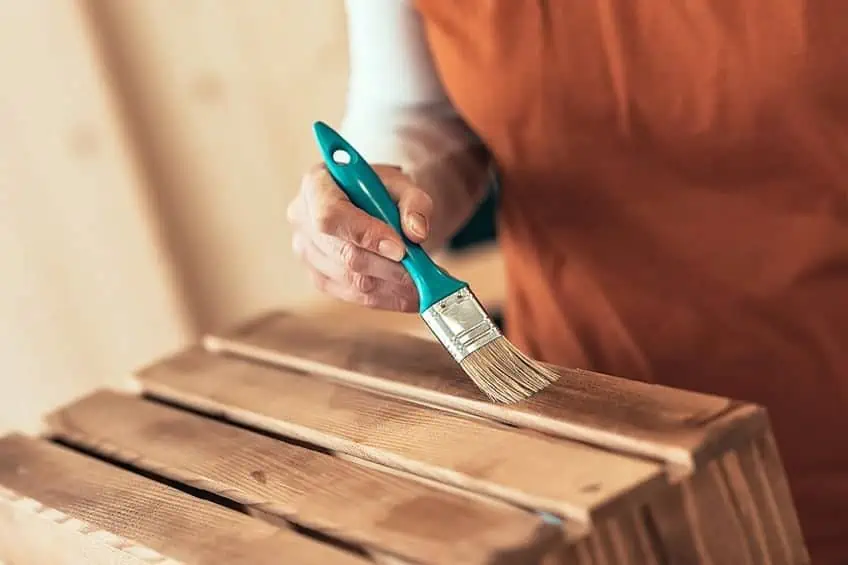
Clean your wood surface with a tack cloth or a damp cloth. The tack cloth is ideal as it removes dust and grime. Wood panels for painting will not usually have any gouges or bad rough spots, so sanding or filling any holes is not necessary before applying the sealant. Take your brush and apply the sealant, for example, a glossy acrylic medium. Let this dry, the time you should wait should be on the product instructions. Once dry, apply a second layer and let it dry as well. Then sand the surface with some 220-grit paper and wipe the surface clean. When applying, a sponge can work nicely on a surface with grooves, a brush is better suited to a flat, even surface. Next, apply your primer. You should use a good quality acrylic gesso for this purpose, which will provide better results.
Allow to dry, if the surface does not seem smooth enough, take some fine-grit sandpaper and lightly sand the surface.
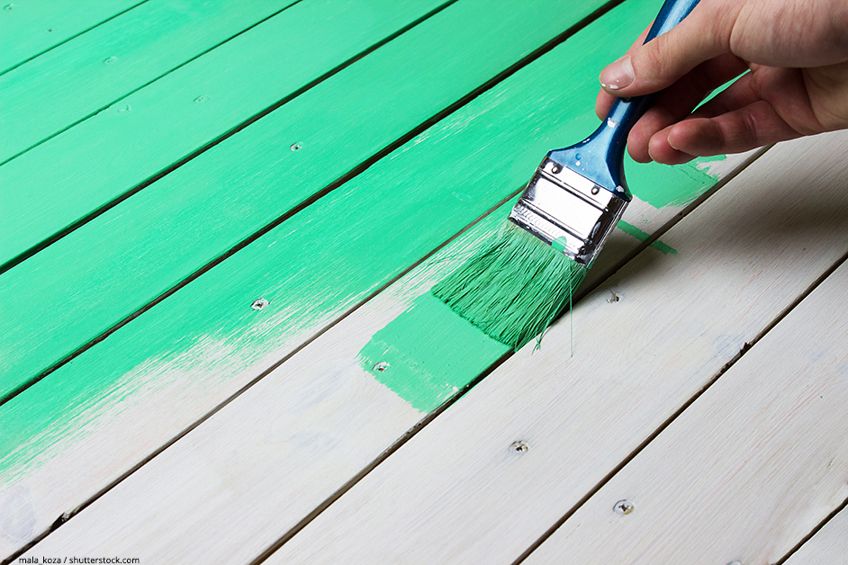
Apply a second coat. Leave to dry thoroughly, this can take as long as several hours. You can then gently sand the surface again and clean it before you paint. You can now use your acrylic paints to paint on the wood surface. Once done, you can finally use your acrylic paint sealer. Sealants can be wiped on, brushed on, you can use a sponge, or you can spray the sealant on. If you are simply using furniture wax, a cloth should be sufficient. Sealants are best applied in thin coats, which should be left to dry. You can then apply a second coat and depending on how durable you want the wood item to be, several layers can be added. Let the sealant dry thoroughly for at least two to three weeks. The time it takes to fully cure will also depend on your local weather conditions.
Tips for Sealing Painted Wood
Now that you have a general understanding of how to seal acrylic paint on wood, let us highlight a few of the main issues that can be done to ensure the best outcome when sealing painted wood. Here are a few easy tips to make things easier.
- Remember to apply sealant in thin layers. Applying more thin layers is better than a few thick coats.
- When choosing a sealant, most high gloss products offer excellent durability. However, it is your choice.
- Always have patience, it can sometimes take weeks for some sealants to fully cure before you can handle the items.
- When using an acrylic sealant spray regularly, check the nozzle often so they do not clog.
- Shake spray products as recommended, the better you shake, the better the finish.
- If applying resin, it might be a good idea to test out the sealants, paint, and resin on a scrap piece before finally applying it to your art piece.
- Spray some water in the air in your workspace before applying a sealant to help reduce the dust particles floating about.
- Some wood items do not require a sealant topcoat. Sometimes, the paint being used has a high gloss finish and is durable enough. Other items that remain indoors and are never usually handled also do not require a sealant.
In many cases, sealing acrylic paint on wood is recommended, but it might seem like a lot of effort. However, the sealant not only protects the painted wood from water, heat, and scratches, it helps to preserve the wood piece so you can enjoy it for a long time to come.
Take a look at our sealing acrylic paint on wood webstory here!
Frequently Asked Questions
How to Seal Acrylic Paint on Wood for Outdoors?
When sealing acrylic paint on wood for outdoors, you need something that is tougher and can handle the exposed environment. The best options for acrylic paint include water-based polyurethane and polyacrylics.
What Steps are Necessary for Sealing Painted Wood?
When painting and sealing acrylic paint on wood, the main steps to follow are sanding the wood, sealing the wood, priming, applying the acrylic paint, and then finally sealing the acrylic paint on the wood. Sealing can be done using a brush, however, there are also acrylic sealant spray products available.
Does Mod Podge Dry Quickly?
When using mod podge, it can take about an hour to dry so you can touch it. However, do not handle the item you have painted for at least 24 to 72 hours.
Should you Pre-Seal Your Wood Surface Before Painting?
Before painting on wood, you can pre-seal the wood to prevent future discoloration, rotting, or a wood stain from seeping through to affect the paint. Generally, applying a pre-sealer also helps to provide the best surface to paint on.

Megan is a writer and researcher who graduated from the University of Cape Town with a degree in Social Sciences, specializing in Psychology and Environmental Science. Her passion for knowledge and leaving a positive impact has fueled her current work in conscious and sustainable growth in Southern Africa. Megan’s love of nature has also led her to train as an animal behaviorist. She works part-time training and rehabilitating dogs. Megan is interested in the physical and psychological effects of colors in our environment on our mood and well-being. In addition, she is concerned with how art and creativity have been an integral part of human society. Megan van Schoor has been writing blog posts on the topics of painting, drawing, and color theory for acrylgiessen since 2021.
Learn more about Megan van Schoor and about us.