Mixing Epoxy Resin – 12 Ultimate Tips on How to Mix Epoxy
This post may contain affiliate links. We may earn a small commission from purchases made through them, at no additional cost to you.
The correct procedure for mixing resin determines success or failure in processing the resin. To help you get the best results, we have compiled the 12 best tips on mixing epoxy resin for you in this article.
Tip #1: The correct Mixing Ratio
First of all, when mixing epoxy resin, you should be aware that the resin can have different mixing ratios depending on the manufacturer. In addition to the usual specifications of resin and hardener in a ratio of 1 : 1 or even 2 : 1, the manufacturer’s specifications sometimes also include much more complicated variants such as 100 : 45.
For this reason, you should read the manufacturer’s instructions on the packaging carefully before you start mixing. If you do not follow these instructions, the resin may not work as desired or may not cure in the end. Our epoxy resin calculator will help you determine the optimum mixing ratio.

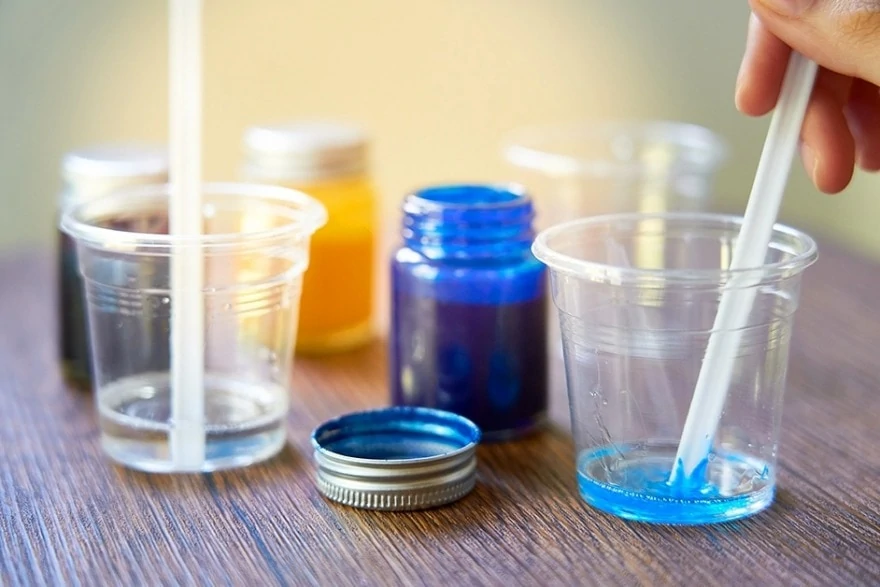
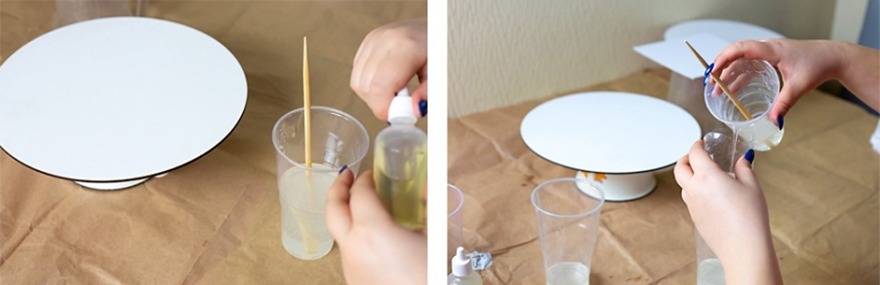
Tip #2: Mixing by Volume instead of by Weight
Depending on the manufacturer, it is possible that the resin and hardener differ in density. This means that they do not necessarily have the same weight. If the two components are now measured by weight using a scale and mixed in a ratio of 1:1, it is possible that the mixing ratio is actually incorrect because they have different weights. This problem increases the more volume you mix.
Tip: Use a measuring cup to measure the resin and hardener by volume when mixing the components. In this case the density of the corresponding material is irrelevant.
The scale of the measuring cup used should have the smallest usable increments possible to enable accurate measurement. First, put the resin into the measuring cup and wait a short moment. This allows the surface of the material to level out. Then you can add the exact same amount of hardener.

Tip #3: Observe Ambient Temperature
Casting resin is a very heat-sensitive material. Therefore you should also keep an eye on the ambient temperature when mixing the resin.
- At ambient temperatures below 20° C., the resin cures much slower. In addition, a waxy layer, the so-called amine reddening, can form on the surface. This must first be removed before the epoxy resin can be further processed. And this removal can be extremely laborious. If the temperature drops significantly below 20° C, it is also possible that the resin begins to crystallize.
- At ambient temperatures above 20 ° C., the reaction time of the resin increases significantly. And this applies not only to the time of curing, but also to the time in which the material is to be further processed. At very high temperatures it is, therefore, advisable to opt for a product with a longer processing time.
If you use epoxy resin outdoors, you should keep in mind that the curing time can also be considerably longer if the temperature drops during the night. In addition, the dew caused by the temperature differences can negatively influence the quality of the surface of the material.
Tip #4: The Role of Humidity in Processing
Just as sensitive as the resin is to temperatures, the hardener also reacts to contact with air. Therefore, if the humidity in the air is above 65% you should leave the bottle containing the hardener closed. If you do not use the material immediately, the quality will suffer.
This effect also occurs when the bottle is opened and closed again and again, as oxygen enters the bottle each time and reacts with the hardener. For the same reason, the two components, resin and hardener, should only be handled with absolutely clean tools. Only in this way can a reaction within the container be prevented.
Tip: As undesirable side effects can occur at a humidity above 70 %, epoxy resin should not be used in this case.
If the application is to be carried out on a substrate with a moisture content of more than 6 % (e.g. concrete floor), this substrate should be primed in advance.
To ensure that epoxy resin can be processed optimally, it should first be stored for approx. 12 hours at an ambient temperature of 20 to a maximum of 25° C. If this long storage period is not possible, the material can also be brought to the correct temperature by means of a water bath. This step is extremely important for a satisfactory result, as unsightly milky streaks or bubbles can form when casting resin that is too cold is processed. These are very difficult to remove later.
The flow properties are significantly improved by heating the material. As mentioned above, however, higher temperatures also have an influence on the processing time. Basically, you should keep in mind that the processing and curing time is halved for each 10° C increase in the temperature of the mixture.
Tip: Not only the temperature of the synthetic resin, but also that of the surface on which the mixture is to be poured must be taken into account. If this is significantly lower than the temperature of the resin, which is tempered to the point, the curing can be negatively influenced. Temperature and humidity should be kept constant if possible to achieve optimum results.
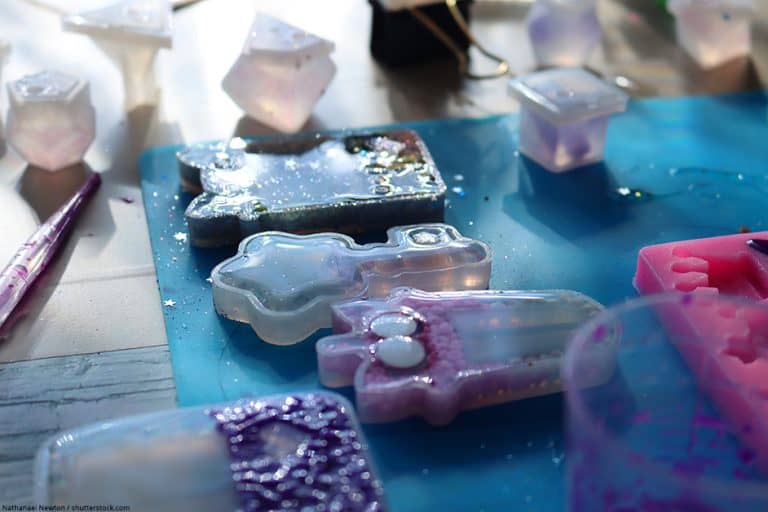
Tip #5: Careful Mixing the Components
The thorough mixing of the resin and hardener is essential to obtain an attractive, useful result later on. If you do not work carefully enough, there is a risk that incompletely cured, sticky spots may appear in the resin or that the hardness levels within a workpiece may vary.
When mixing the components, note that often a lot of resin sticks to the edge of the mixing container. Since this can affect the mixing ratio, you should not mix very small amounts of resin and hardener in order to have enough material available.
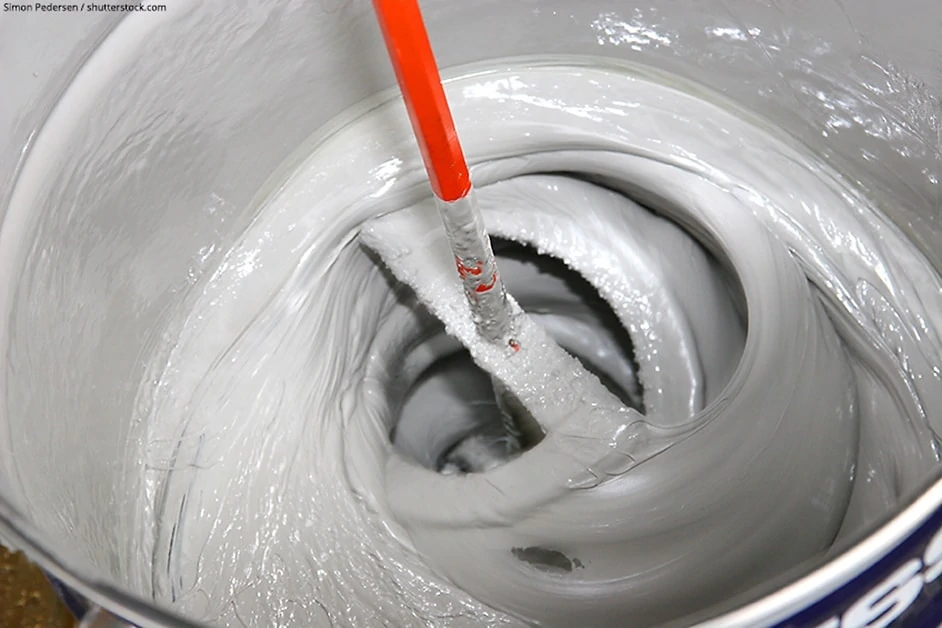
Tip #6: The right Tool for Mixing the Components
The optimal tool for mixing resin and hardener must have straight sides. This will enable you to thoroughly mix even the material that sticks to the bottom and sides of the mixing container. For small quantities of epoxy resin, a flat spatula has proved to be a good choice.
This works similar to a stirring rod. For very small quantities you can use a cheap wooden spatula. Special epoxy resin mixing sticks have the advantage that they can be used several times. They are also designed to prevent too much air from being stirred in. However, these mixing sticks are only advisable for mixing medium quantities of resin.
Tip: If you want to mix a large amount of epoxy resin, you should use a bucket with a spout. In this bucket, the two components can be easily mixed with a drill with a mixer attached.
Tip #7: Only use high-quality Epoxy Resins
When purchasing epoxy resin, it is always worth investing in a high-quality product, even if you are very tempted to fall back on a cheap product. In retrospect, you would regret this purchase, as cheap products are often discolored yellowish or do not cure before processing. So when buying epoxy resin, the following principle applies: If you buy cheap, you buy twice.
Tip #8: Use only compatible Resins
Resin and hardener from the same manufacturer are usually optimally matched to each other. When mixing different products – both from one and from different manufacturers – unexpected chemical reactions such as extreme heat development can occur. Therefore, when working with synthetic resin, you should only use the products from one manufacturer or brand that are intended for each other.

- Specifically designed for art projects, excellent color stability
- Very easy to use with 1 : 1 mixing ratio, 100% solids, hard-shell finish
- High gloss and crystal clear, your all-seal solution, excellent air release
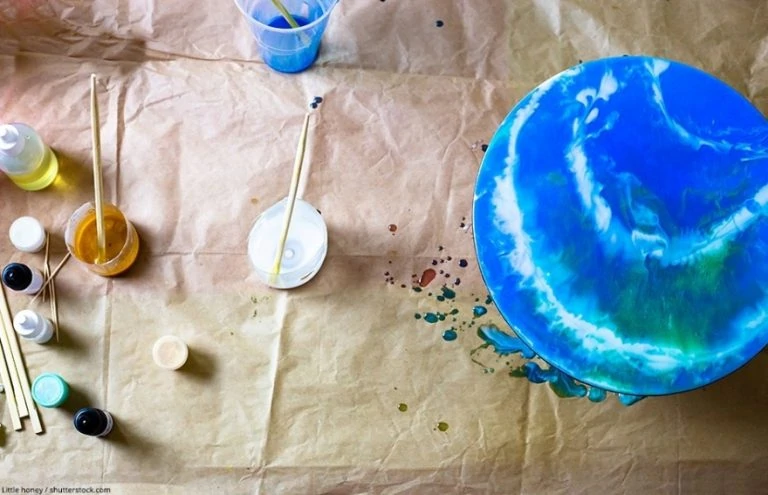
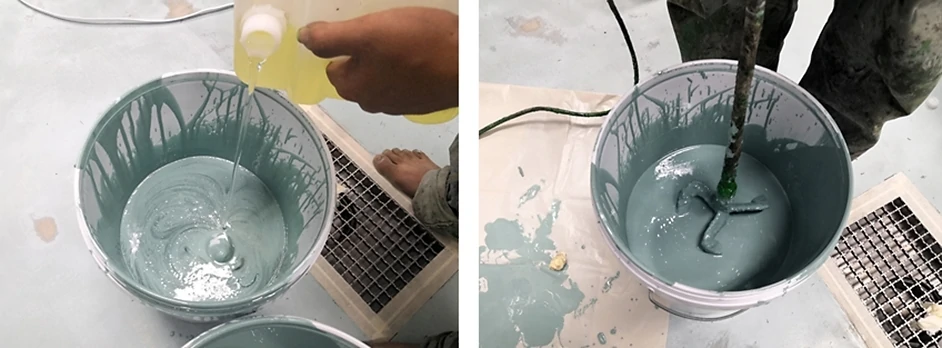
Tip #9: Use only compatible Colorants
Not all colorants are compatible with epoxy or other resins. When coloring epoxy resin, it is therefore extremely important to use only suitable color pastes, coloring agents, and pigments. You can find detailed information about this in our extra article Epoxy resin color.
Tip #10: Observe the recommended Mixing Ratio
If you change the ratio of resin to hardener arbitrarily, you cannot expect an optimal result. If you add more hardener to the mixture than the manufacturer has recommended, the material is often less hard and robust after curing. If you add too much resin, the surface may become sticky or the material may not cure at all.
Tip #11: Never add Water to the Epoxy Resin
As long as the resin is still liquid it should not come into contact with moisture. This could have a negative effect on the quality of the finished product, even in small quantities. Therefore, before mixing, it must be ensured that both the mixing container and the stirrers used are absolutely clean and dry.
Tip #12: Use sufficiently large Containers for Mixing
Chemical reactions generate heat when mixing epoxy resin. This is due to a so-called exothermic reaction. The extent of this reaction depends on the resin, the quantity mixed, and not least on the height of the mixing container. Therefore, here are a few things to consider.
- There is a limit for the mixed amount of resin and hardener. This should not be exceeded. If in doubt, mix a smaller amount of resin twice instead of once, or ask the manufacturer how much resin you can mix at once without problems.
- Heat generation during mixing is significantly reduced if you select a sufficiently large mixing container for this process. This should be wider rather than higher.
- Low reactive casting resins generate less heat during mixing. If you want to mix large quantities of resin, you should opt for these for your project.
Our Conclusion on mixing Epoxy Resin
Mixing epoxy resin is much more than just mixing two components. Some factors such as the ambient temperature, humidity or the choice of products have to be considered. As epoxy resin is relatively expensive, the material should not be wasted unnecessarily by careless handling during processing. And last but not least, following our listed points will bring you a lot closer to a perfect result.

In 2005, Charlene completed her wellness degrees in therapeutic aromatherapy and reflexology at the International School of Reflexology and Meridian Therapy. She worked for a company offering corporate wellness programs for several years before opening her own therapy practice. In 2015, she was asked by a digital marketer friend to join her company as a content creator, and it was here that she discovered her enthusiasm for writing. Since entering the world of content creation, she has gained a lot of experience over the years writing about various topics such as beauty, health, wellness, travel, crafting, and much more. Due to various circumstances, she had to give up her therapy practice and now works as a freelance writer. Since she is a very creative person and as a balance to writing likes to be active in various areas of art and crafts, the activity at acrylgiessen.com is perfect for her to contribute their knowledge and experience in various creative topics.
Learn more about Charlene Lewis and about us.