Sea Turtle Drawing – Draw a Magnificent Sea Turtle Sketch
This post may contain affiliate links. We may earn a small commission from purchases made through them, at no additional cost to you.
Sea turtles are fascinating creatures that have been around for over 100 million years, making them some of the oldest living creatures on Earth! These magnificent reptiles can be found in all of the world’s oceans and play a vital role in marine ecosystems. From their incredible migratory patterns to their unique shell designs, sea turtles are a sight to behold. Unfortunately, many species of sea turtles are currently endangered due to human activities such as pollution, poaching, and climate change. Conservation efforts are underway to protect these ancient creatures and ensure their survival for generations to come. With that in mind, grab your drawing kit and get ready for a thrilling tutorial on how to draw a sea turtle! We will take you step-by-step to draw these magnificent creatures.
Learn How to Draw a Sea Turtle Illustration
Drawing a sea turtle can seem like a daunting task, but with a little bit of practice and patience, you can create a stunning and realistic portrayal of this magnificent creature! To start, it’s important to observe the unique characteristics of a sea turtle, such as its streamlined body shape, flippers, and distinctive shell pattern. You can study photographs or watch videos to get a better sense of their movements and physical features. When it comes to drawing, it’s helpful to sketch out the basic shapes and proportions first before adding in details. Pay attention to the curvature of the shell and the placement of the eyes and flippers. Finally, adding texture and shading can bring your sea turtle to life and create a sense of depth and realism.
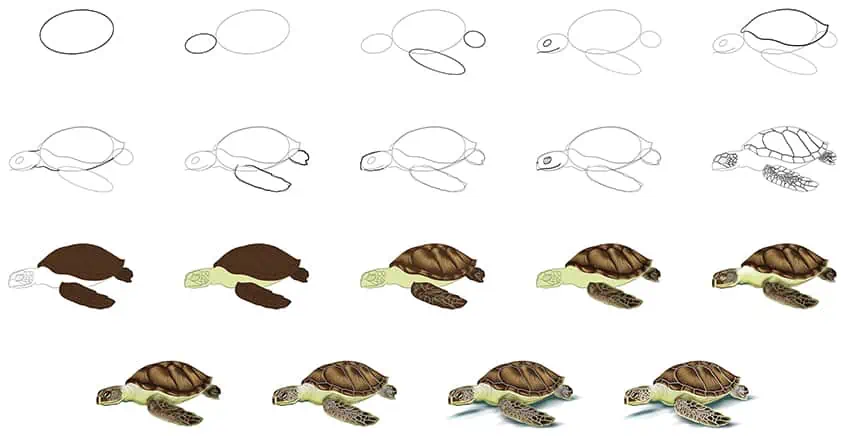
Remember, practice makes perfect, so don’t be afraid to experiment and have fun with your drawing! Follow the below collage which demonstrates each step you will take to reach your final sea turtle drawing.
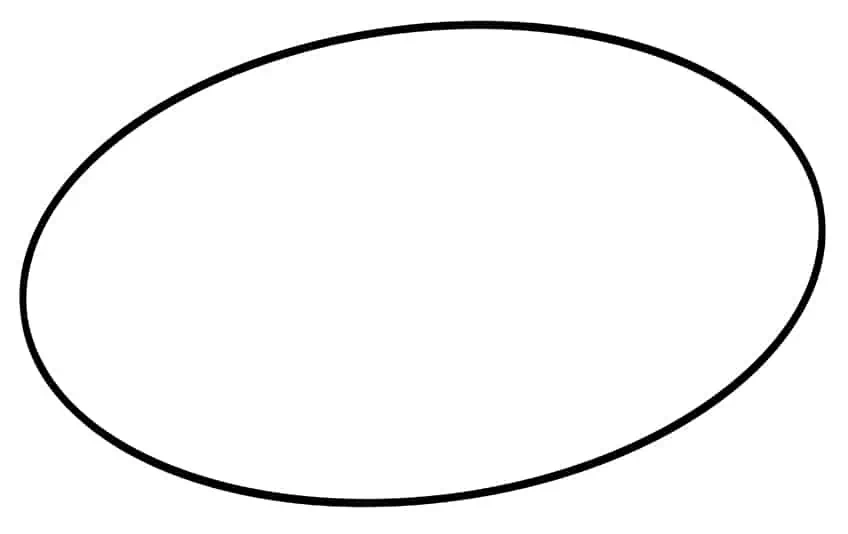
Step 1: Draw the Main Body
To begin your drawing of a sea turtle, start by drawing a slightly angled, horizontal oval shape to represent the main body of the sea turtle.
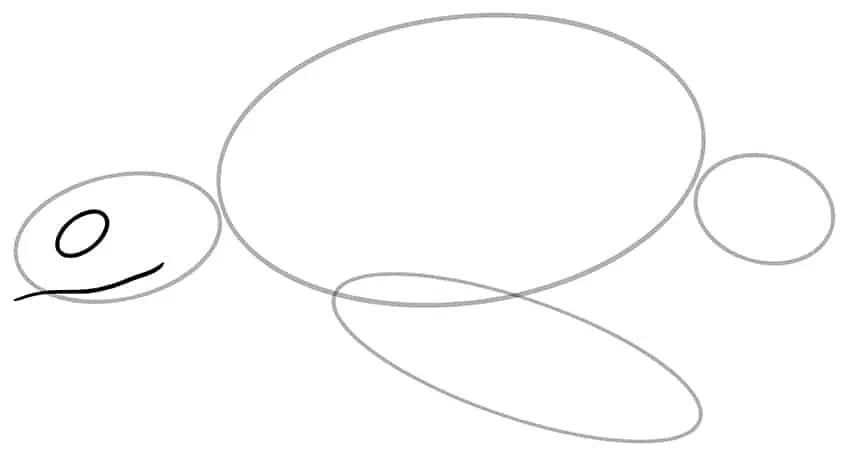
Step 2: Draw the Head of Your Sea Turtle Sketch
To the left end, draw a smaller oval shape to represent the head of the sea turtle.
Note! This circle should be close but not attached to the body of your sea turtle drawing.

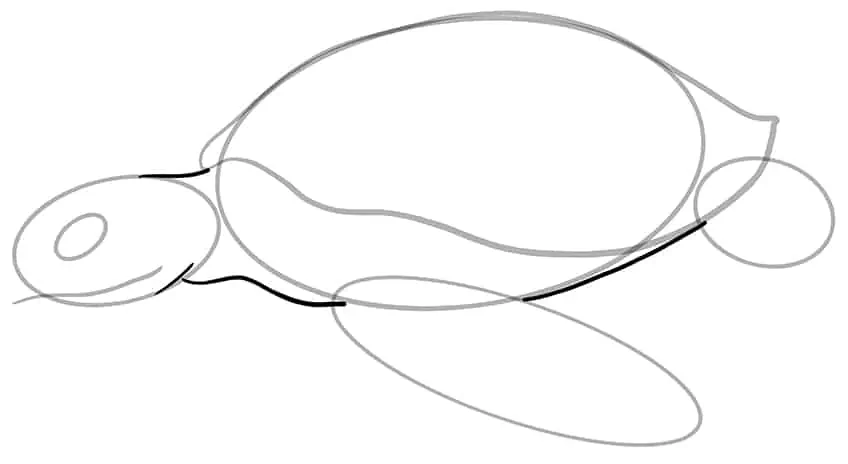
Step 3: Add the Flippers
Overlapping the main body, draw a narrow oval shape to represent the front flipper. Continue on the right side of the sea turtle’s body, and draw a second small oval shape to represent the rear flipper.

Step 4: Draw the Facial Features
Within the head shape, draw a second, angled oval shape to represent the eye. And a lengthy curved line to represent the mouth line.
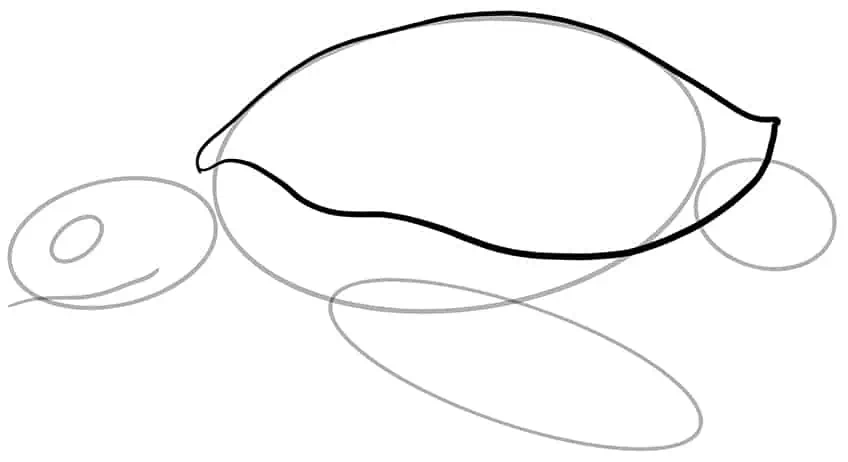
Step 5: Outline the Shell on Your Sea Turtle Sketch
Use the main body’s construction lines to aid you in outlining a more realistic shell that covers the sea turtle’s main body.
Step 6: Draw the Necklines
Attach the head to the main body by drawing the top and bottom necklines. Continue by drawing the lower body lines.
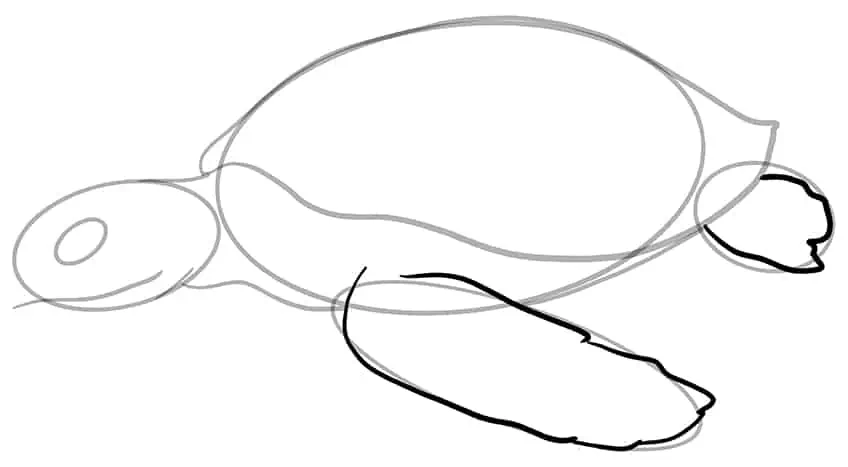
Step 7: Outline the Flippers
Continue your drawing of a sea turtle, by outlining both the front and rear flippers. Use the previously drawn construction lines to aid you.
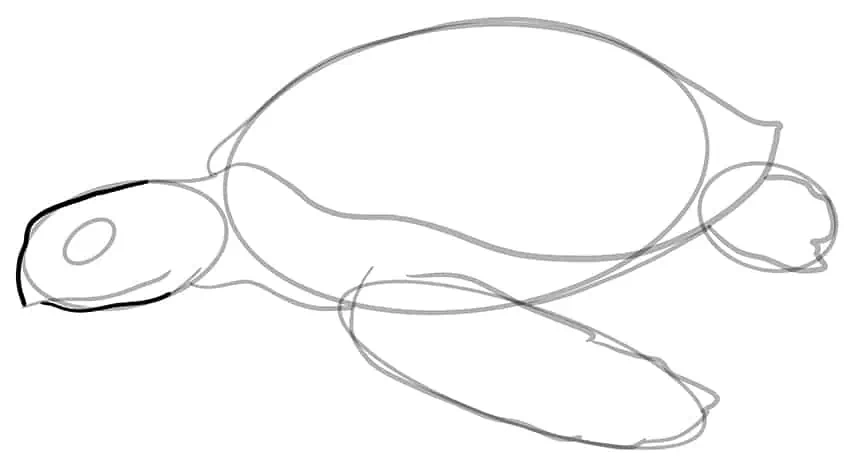
Step 8: Continue to Outline Your Drawing
In this step, the sea turtle head should have a curved, sharp beak end. To do this, use the previously drawn construction lines to aid you in outlining a more realistic head shape of your sea turtle illustration.
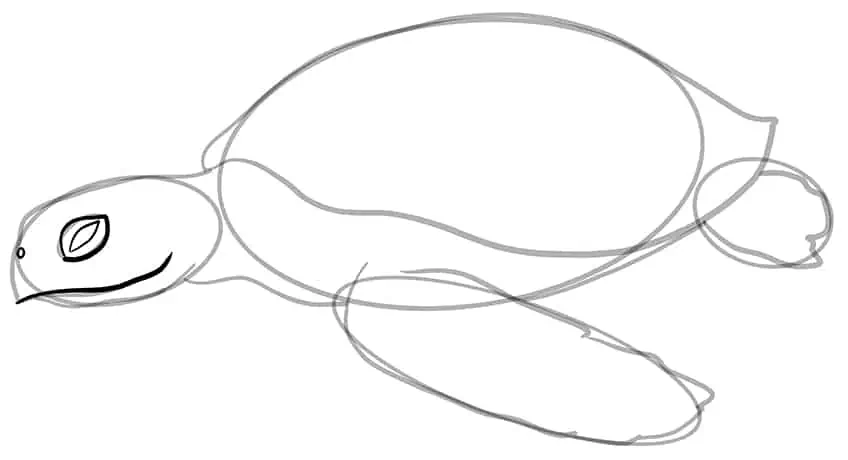
Step 9: Outline the Facial Features
Continue to outline the eye, mouthline, and nostrils of your sea turtle drawing. The eye should have a second, narrow oval within the larger oval.
Complete the step by erasing any construction or overlapping lines that are still visible.
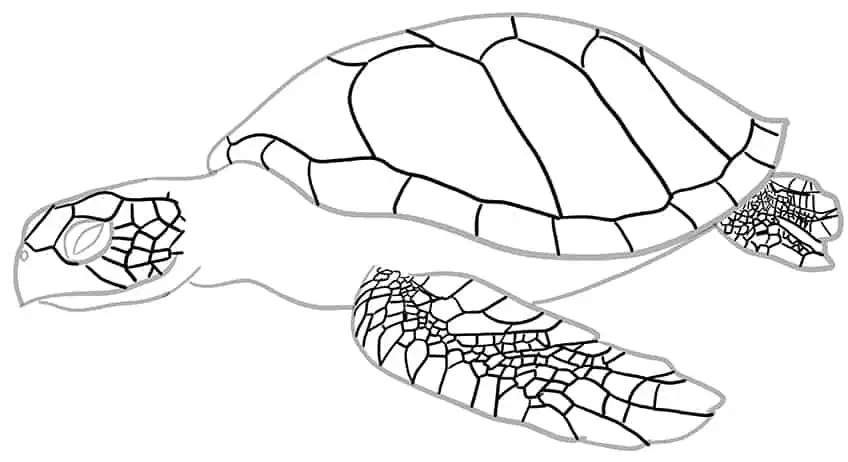
Step 10: Pattern and Texture Your Sea Turtle
Draw the fine-scale pattern and texture lines within the head, flippers, and shell. These pattern lines should wrap around the curvature of the head, flippers, and shell. The shell pattern should have the largest cuts within the main area of the shell, and the lower area having smaller cuts.
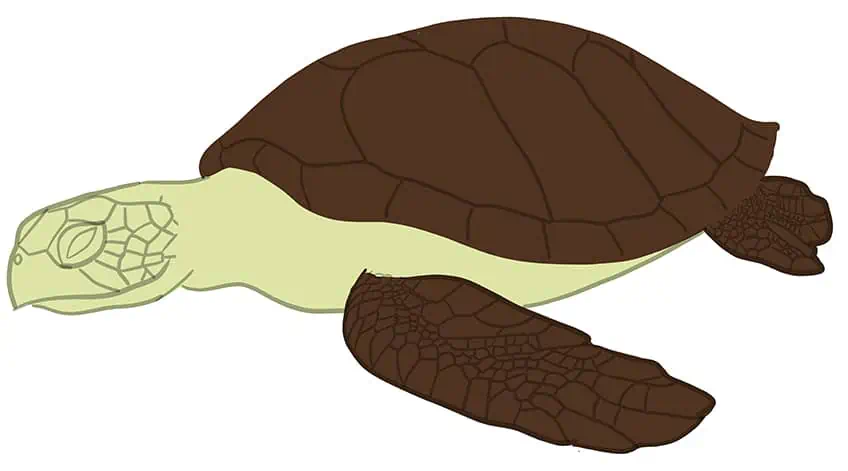
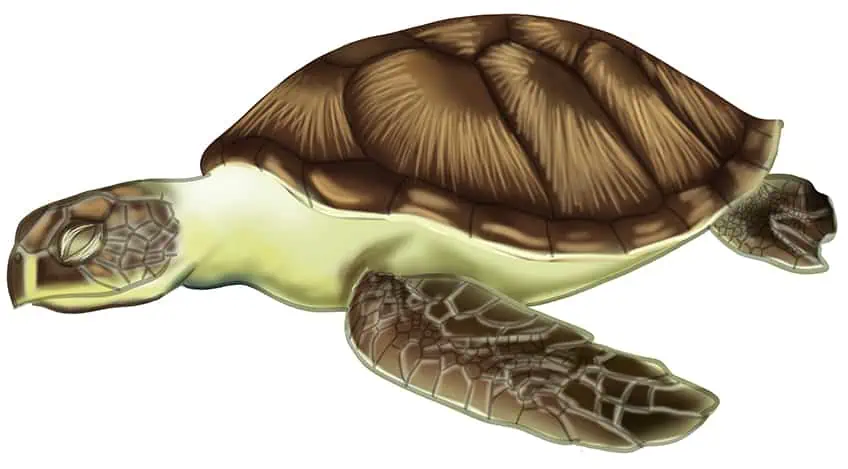
Step 11: Apply the First Color Coat
Select a fine, sharp brush and brown paint, and evenly coat the shell and both flippers on your drawing of a sea turtle.

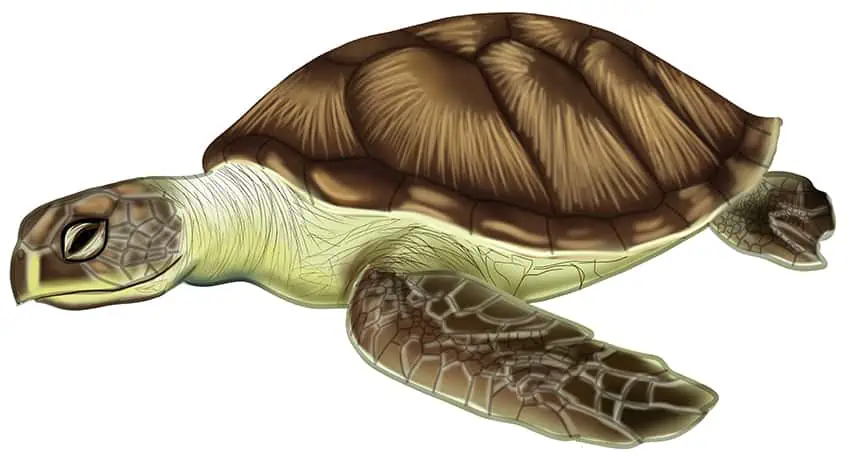
Step 12: Continue to Color Your Sea Turtle Sketch
Use the same brush as previously and switch to lime green paint, and evenly coat the lower body and head.
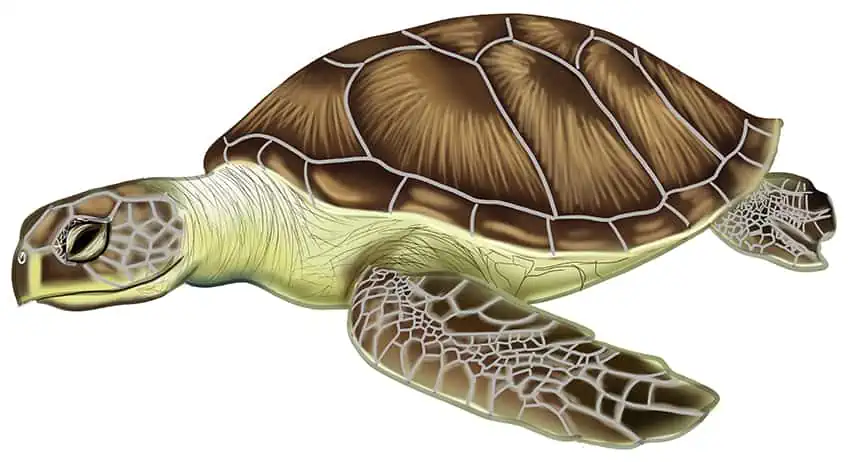
Step 13: Highlight Your Sea Turtle Drawing
In this step, add fine, brushstrokes within each of the patterns on the shell, using a thin brush and a shade of tan paint. Spread and soften the coats outwards using a blending brush. Repeat onto the side walls of the shell.
Continue by using a fine, sharp brush and white paint, and trace the outlines of the patterns of both flippers.
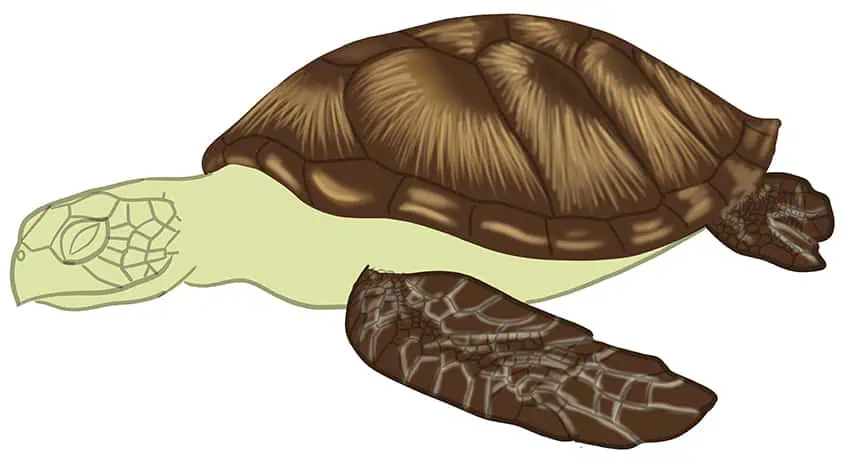
Step 14: Shade the Sea Turtle
Begin by using a small, soft brush and black paint, and add soft shading between the pattern lines of the shell, within each of the flippers. Continue using lime green paint and add a highlight surrounding each of the flippers. Repeat using a blending brush.
Step 15: Color the Head
In this step, color several pattern spots within the head using a soft brush and brown paint. Repeat this step using tan paint, then use a blending brush to spread and soften the color coats. Continue to add soft shading and structuring along the lower body, and between the flippers. Finish off using a blending brush to further spread and soften this shading.
Step 16: Add Additional Texture
Add fine texture lines surrounding the neck and lower body areas using a fine, sharp brush and brown paint. Complete the step using black paint to trace the eye outline. Continue using dark brown paint to fill the eye, and trace the mouthline.
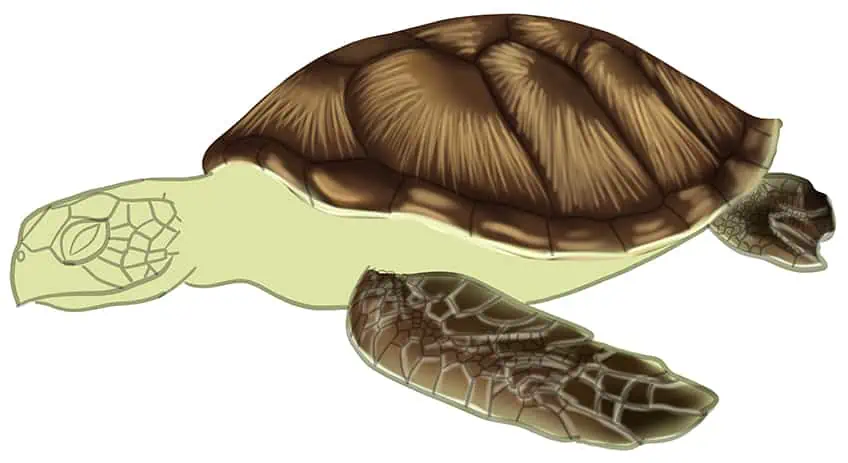
Step 17: Trace the Patterns and Textures
Begin by selecting a thin brush and gray paint, and enhance and trace the pattern lines including any texture lines within the shell, head, and flippers. Complete the step by using white paint, and add fine pattern lines between the eye and the pattern cuts.
Step 18: Add a Ground Shadow
With a small, soft brush and a combination of navy blue and gray paint, add shading between the sea turtle and the surface. Use a blending brush to soften and spread this shading.
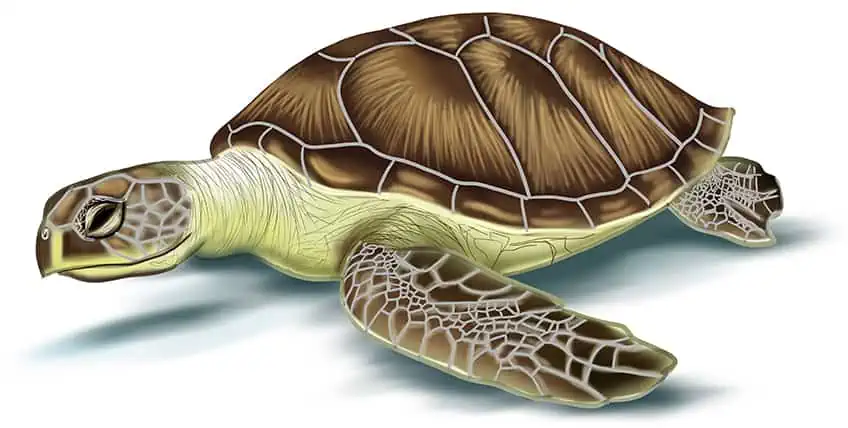
Step 19: Finalize Your Drawing of a Sea Turtle
You have reached the final step of your sea turtle drawing tutorial! To complete this, erase any harsh outlines that are still visible. Where not possible, simply make use of a fine, sharp brush and trace these outlines with the corresponding colors.
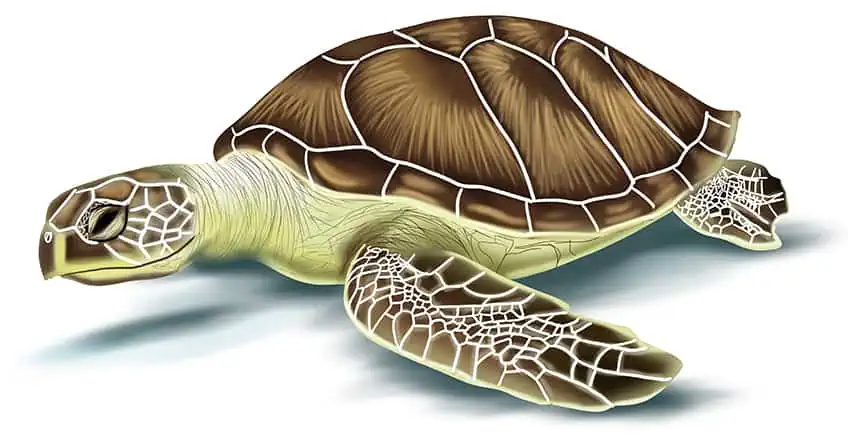
Congratulations on finishing your sea turtle drawing! You should feel proud of yourself for creating a beautiful and unique work of art. Take a moment to admire your creation and notice all the small details you’ve included, such as the texture of the shell and the placement of the flippers. It’s important to celebrate your achievements and acknowledge the hard work you put into this drawing. You may also want to take some time to reflect on the techniques you used and how you can continue to improve your skills in future drawings. Remember, art is a journey and every piece you create is an opportunity to learn and grow. Keep practicing and experimenting with different techniques, and you’ll be amazed at the progress you can make!
Take a look at our how to draw a sea turtle webstory here!
Frequently Asked Questions
How to Draw the Unique Pattern on a Sea Turtle’s Shell?
The pattern on a sea turtle’s shell is one of its most distinctive features and can be challenging to recreate in a drawing. To start, it’s important to study the specific species of sea turtle you are drawing and the patterns on its shell. The patterns can vary from species to species, so make sure you have a reference image to guide you. You can start by sketching the basic shape of the shell and then adding in the intricate details of the pattern. One helpful technique is to draw the pattern in layers, starting with the larger shapes and working your way toward the smaller details. Finally, adding shading and texture can help bring the shell to life and create a more realistic depiction.
How to Draw the Sea Turtle’s Flippers and Head Accurately?
Drawing the flippers and head of a sea turtle accurately can be tricky, but some techniques can help. First, it’s important to pay attention to the proportions of the body and the placement of the flippers and head in relation to the shell. You can use basic shapes to sketch out the flippers and head before adding in the details. Pay attention to the shape of the flippers and the number of digits, as well as the curvature of the head and placement of the eyes. You can also observe real-life sea turtles or reference images to help you get a better sense of the anatomy and movement of the flippers and head. Finally, adding texture and shading can help bring the flippers and head to life and create a more realistic and dynamic drawing.

IzzyBll is a digital artist and content creator from Israel and currently residing in South Africa. Originally coming from videography, Izzy then turned to digital graphic art. He specialized in using digital drawing software such as Photoshop and Procreate. Drawing and photo editing has always been a sort of second nature for Izzy. In doing so, he can now look back on 5 years of experience in the industry, completing commissions for various well-known brands such as Audi.
Learn more about IzzyBll and about us.