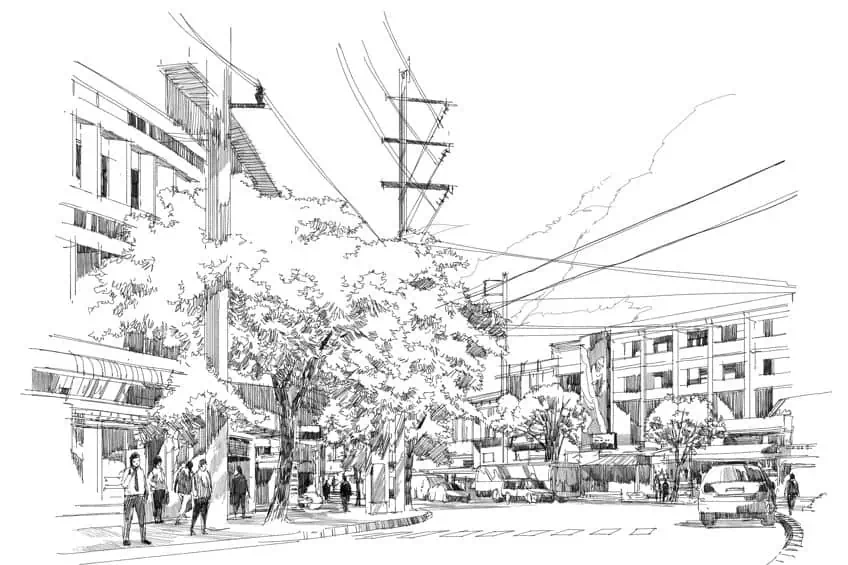
Tracing Pictures – How to Trace a Picture With Different Methods
This post may contain affiliate links. We may earn a small commission from purchases made through them, at no additional cost to you.
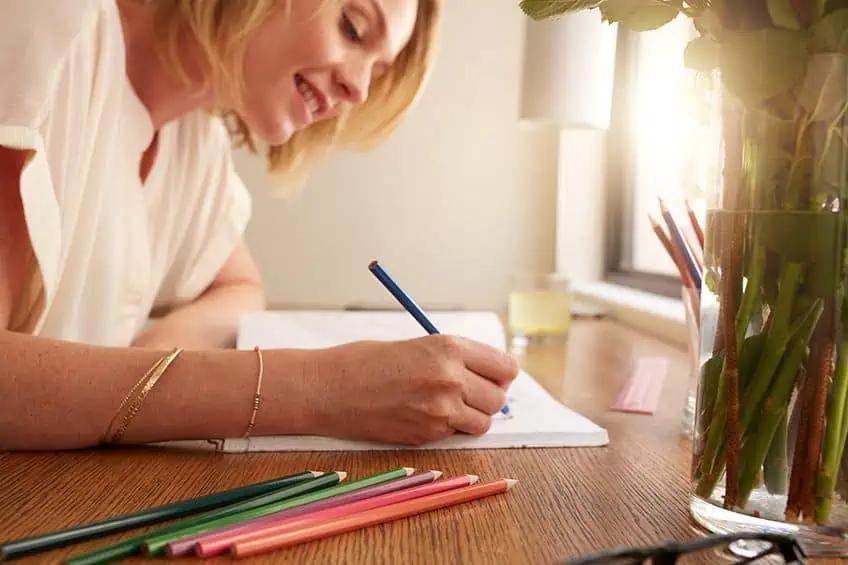
Drawing can be such a fun activity to pass the time and exercise that artistic muscle in your brain. But just like any other muscle, drawing is a craft that takes years to master no matter the discipline. So, what do we do when we want to draw something that requires a degree of talent beyond our capabilities? We trace! If you want to know more about the fun of tracing, keep reading.
What Is Tracing?
Tracing is a fantastic drawing tool that artists can make use of in order to make drawing a whole lot easier. Tracing typically involves superimposing a blank page over a reference image in order to make an accurate copy. As opposed to free-hand drawing, tracing requires very little skill to replicate an image in its precise proportions. Tracing can be a fun and easy way to replicate complex images that are out of your skill range or simply to speed up the drawing process.
If you are interested in learning more about tracing pictures and some of the ways it can be done, you are in the place! We are going to run you through the art of tracing as well as discuss a few of the most popular methods of tracing.
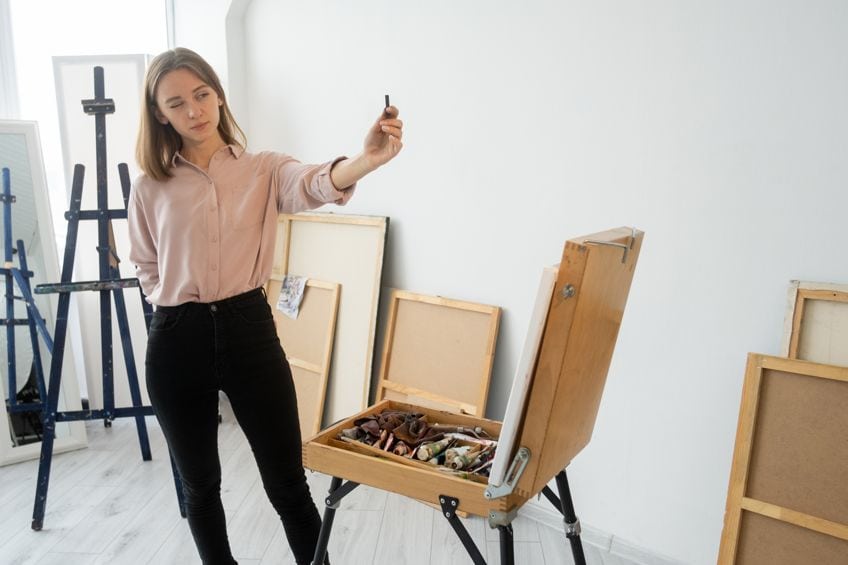
How to Trace a Picture
Making easy trace drawings instead of relying on your free-hand skills makes the job of copying an image much simpler and can seriously expedite your workflow. You are also not limited by your skills when choosing cool drawings to trace over. Better yet, one could argue that tracing actually improves your overall drawing skills. By directly copying pre-existing images, you can actually develop a sense of proportions and improve your ability to draw references without the need for tracing.
While some Negative Nancy’s might argue that tracing is “cheating”, it is actually a great thing that artists stand to benefit from. So, if you want to know about the best ways to trace then stick around. We are going to cover some prime tracing techniques ranging from simple and easy to slightly more complex.
Easy Trace Drawings
If you are new to tracing or just want to have fun with it in ways that require the least amount of effort, you will want to use one of the simpler methods such as the light and paper method, and the tracing paper method. Let us cover these and some other uncomplicated methods of making easy trace drawings before delving into the harder methods that require different kinds of tools and materials.
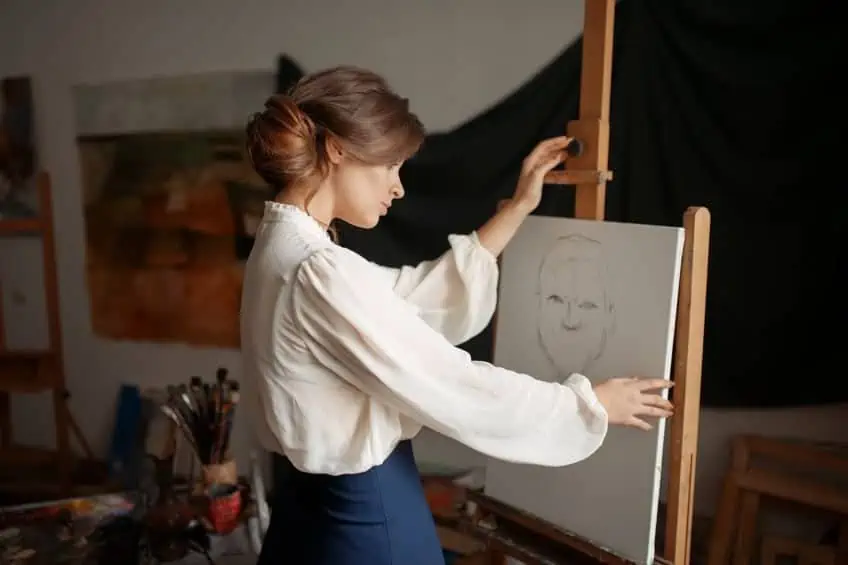
The Light-and-Paper Method of Tracing Drawings
This particular method is arguably the easiest means through which an artist can trace an image. For starters, there is absolutely no need for any additional materials besides the image you want to trace and a piece of paper. All you need to do is place a blank piece of paper over the image you want and put them against an outside-facing window. The sunlight coming from outside will filter through both pieces of paper and make the image visible through the blank piece of paper. From this point, all you would need to do is draw over the lines coming through onto the paper until you have replicated the image underneath.
Of course, this method is less effective at night since it requires sun but artificial light works just as well. You will also need to use tracing paper with a low GSM; the lower the GSM, the sharper the image will appear when tracing. It also makes it easier to trace an image with strong, dark lines. Details in lighter colors may struggle to filter through onto the paper you are tracing with. This is the cheapest method of tracing because you are using materials that you most likely already have on hand. The only major drawback with this style of tracing is the fact that you have to trace the image vertically, which can lead to your arm muscles getting tired as they fight gravity. For this reason, we recommend that you choose a relatively simple image to trace when using this method. If you have a glass table, however, you can replicate this method horizontally by simply placing a light source underneath the table and tracing from there.
A pro tip for anybody using this tracing method is to stick your image and your tracing paper together to prevent them from slipping and jostling around while you are tracing. Tape works super well for this but so does a rubber-based putty adhesive such as Prestik.
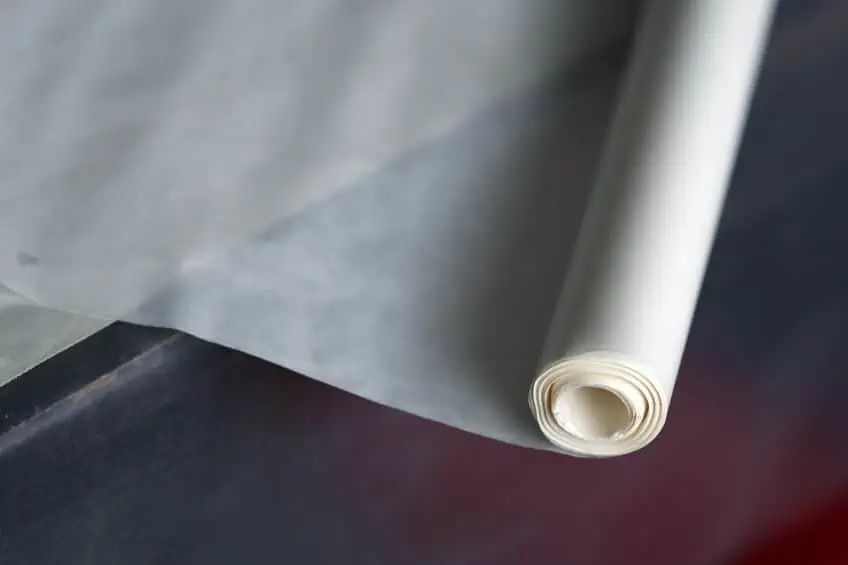
Tracing Drawings Using Tracing Paper
Tracing paper, as the name suggests, is a form of extremely thin paper designed specifically for the purpose of tracing. You will of course first need to purchase tracing paper before using this method. Fortunately, tracing paper is not only incredibly abundant but super cost-effective as well.
Between tracing paper and the light and paper method, the former is a much more suitable option for people looking to trace complex images with a lot of detail.
Better yet, tracing paper is transparent enough for the image below to be perfectly visible on a horizontal surface without the need for backlighting. Tracings made using tracing paper can also be transposed onto other mediums. Tracing paper shares a similarity with transfer paper, in this regard. We are going to explain both how to trace an image using tracing paper and how to transfer them to new canvases.
How to Trace With Tracing Paper
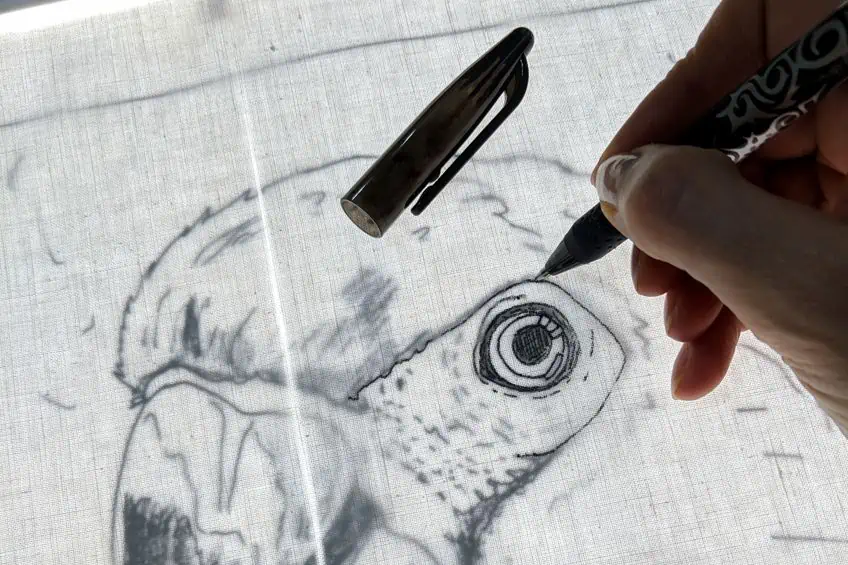
Tracing paper is incredibly thin so you are encouraged to use softer graphite pencils as opposed to pens and markers so as to not tear the paper. You are also better off using pencils with softer graphite cores so that they move easier across the surface of the tracing paper. Harder graphite pencils like 2H can tear through the paper and be difficult to erase. When preparing your workspace before tracing, make sure that your tracing paper covers the entire image you plan on copying. To prevent either page from slipping during tracing, you can use some sticky tape to fasten them in place.
As you begin tracing, be sure to focus on copying all the details of the linework. If shading is necessary, you should try to do this free-hand while using the image as a reference.
If you need to erase a mistake, apply a softer rubber in brisk, gentle strokes to prevent the paper from tearing. After you have fully traced all the necessary details from the image below, you can carefully remove the tape and compare. Use this as an opportunity to make sure you have not missed any details. You can place the tracing paper back over the image to correct any mistakes before moving on
How to Transfer Drawings From Tracing Paper
Once you have traced your image, you can then use your tracing paper to transpose the image onto another surface using this one simple method. The best surfaces to use are canvas and paper. Make sure that your surface is of a lighter color; this will make it much easier to see the tracing after it has been transposed. White is the optimal color you want to choose but you are encouraged to experiment.
To transpose your tracing, you must first lay it face-down onto your surface.
To prevent the pages from shifting, you can tape down the edges just as you will have done while tracing the reference image. Once the tracing is nicely secured, all you need to do now is to rub the back of the tracing paper. Apply firm but gentle strokes at a moderate pace. Just make sure not to apply too much force or speed to avoid tearing the paper. Ensure that you have not missed any spots before removing the tracing paper.
You will find your drawing neatly transferred onto the surface below. This is because the graphite on the tracing paper has stamped onto the surface from the friction caused by the rubbing. One thing to note is that similarly to linocuts, the drawing will be invertedly transposed onto the surface. For the finishing touches, you can darken the lines on the surface and add color and shading if you wish.
Transferring Printed Images
Since tracing allows us to create works of art that transcend our free-hand capabilities, your options for cool drawings to trace over are limitless. If you want to know how to trace a picture from your phone or the internet, here is another very simple method of doing so. First things first, you will need to print out the image you want to transfer. If you want to copy an image from a book or drawing, you can scan the page before printing. Just make sure that your image remains sharp even if you have to scale it up before printing otherwise it will be harder to trace.
The printed image will now become your template. Turn the image around and begin to trace it on the backside using a graphite pencil. Using a hatching pattern on larger shapes will help during transferring.
The next step is to then flip the image around and place it onto a clean sheet of paper with the printed side facing you. You can now begin tracing the printed side of the image, just like with the last method, this will cause the graphite on the underside to transpose onto the blank sheet below. Once done, you can remove the printed image to reveal the blank sheet beneath, which should now have your traced image imprinted on it.
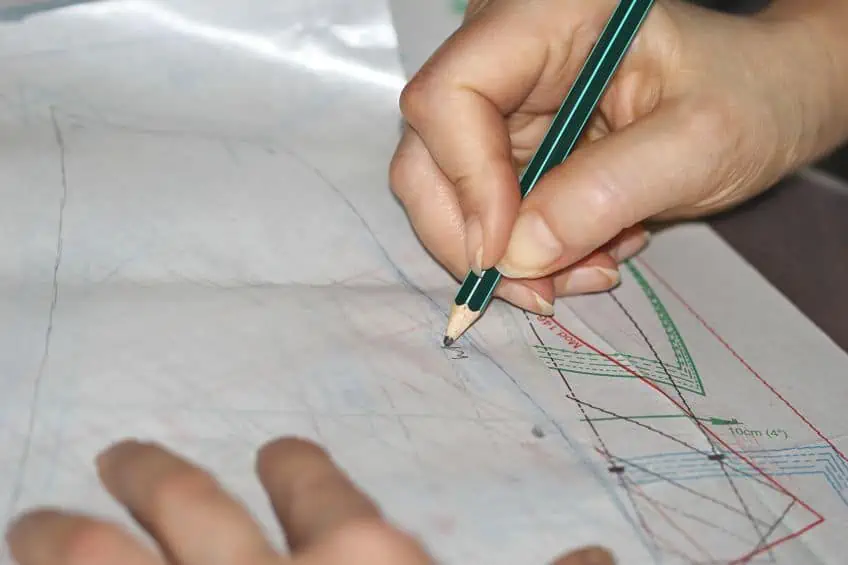
How to Trace a Picture Using the Pencil Rubbing Method
This is a fun tracing drawing technique you might have been taught in school. It involves making use of the texture, contours, and indentations of real objects. By placing a blank page over an object with detailed texture and shading over the spot on the page where the two meet, you can create a very detailed tracing of the object. This works really well with some abundantly available objects such as leaves and coins.
You can even trace over text written on paper since the words themselves will leave indentations on the page.
If a page containing written text is in a book or pad with blank pages underneath it, the page below should also have the same indentations. This means that you can put a piece of paper over the next page and trace it the same way you would with the page containing the text. That being said, though, the effectiveness of using this tracing method on text depends on the thickness and depth of the impressions. But for things like leaves, you can actually get quite a lot of detail. The more texture, the better.
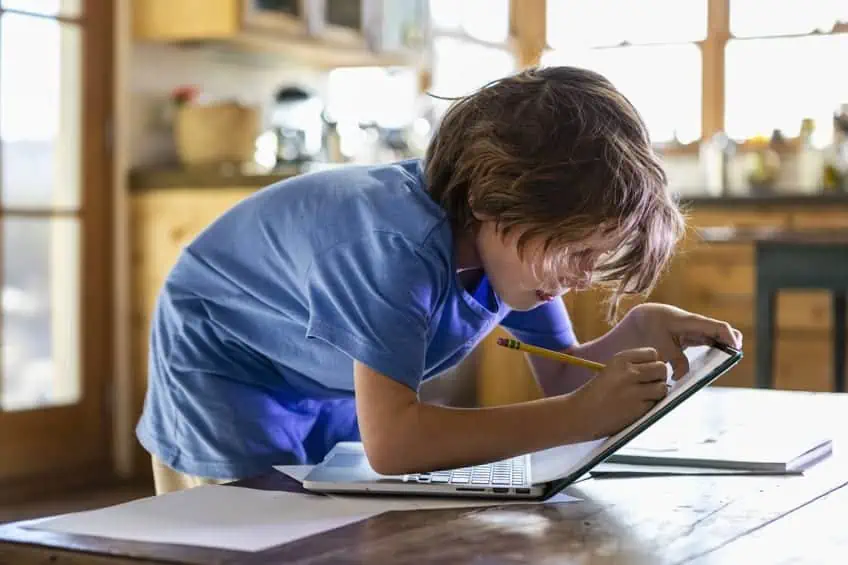
How to Trace a Picture From Your Phone
If you are reading this, then you probably own a digital device with a screen. And if you own that, then you probably own a smartphone, which is great news if you are looking for an easy tracing method! Cell phone screens are essentially just panels of lights, which means you can use these devices to replicate the light and paper method of tracing. Simply set the image you want to trace as your phone’s lock-screen background and then lock your phone.
You can then put a piece of thin paper over your phone and trace the image that filters through.
How to Trace a Picture Using Transfer Paper
Here is another quick and simple method for creating easy trace drawings. It is made using transfer paper, which is a thin pigment- and wax-coated sheet commonly used by tattooists as a blueprint to trace over with a tattoo gun. Transfer bares a likeness to carbon paper but the former is less messy to work with. Unlike carbon paper, transfer paper does not contain grease, which makes it easier to erase mistakes without causing smudges. Transfer paper is also available in a wider variety of colors. If you want to know how to trace a picture onto a canvas easily, this is the method you should use.
To use transfer paper, you must apply a sheet of it to your chosen surface medium, making sure that they are the same size. You can then place your reference image (of the same size) on top of the transfer paper. Once you have done so, you can begin tracing directly onto the reference image.
Afterward, you can carefully remove the reference photo and the transfer paper to reveal the traced image, which is now imprinted in graphite onto your canvas.
Tracing Methods That Necessitate the Use of Special Tools
Now that we have gone over the easy trace drawing methods, we can begin to explore the harder styles. However, the term “hard” can be a bit misleading. These techniques are not necessarily difficult per se; they just require additional equipment that could potentially be a bit pricier or harder to track down.
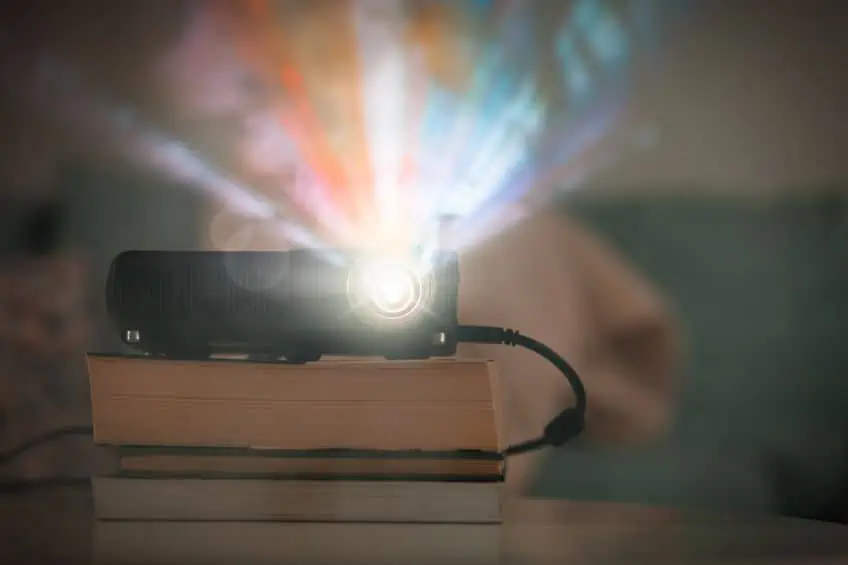
Using a Projector for Tracing Pictures
Projectors are among the best tools for tracing pictures money can buy and can easily prove to be worth the dollars spent if you are serious about tracing art. One of the biggest benefits afforded to artists who use projectors for tracing is the fact that images can be scaled to any size, from super tiny to massive. If you want to know how to trace a picture onto a canvas, a wall, or any other large surface, you should strongly consider using a projector. To trace with a projector, all you need to do is face the device towards the surface you are working on and adjust the distance and height until the projected image sits perfectly within your frame.
If you hope to complete craft projects where you need paint that will work well for any number of surfaces, then craft paint is your go-to! The consistency is smooth, creamy, and easy to use.
One of the great things about using a projector to trace is the fact that you are not limited to working in the daylight. The light from the projector is more than enough to completely illuminate your workspace at night. However, the sun might dilute the projected image if you are working outside in the daylight. You will also cast a shadow onto your workspace when standing in front of the projector, which can be a bit jarring for beginners.
Using a Lightbox for Tracing Pictures
For artists whose work involves a lot of tracing, it makes sense to invest in an instrument that simplifies the process as much as possible. This is where the lightbox comes in; also referred to as light pads and light boards, these tools have a glass surface with lights shining from underneath.
Lightboxes are essentially the product of fully optimizing the light and paper tracing method.
All you have to do is place your reference image onto the glass panel and place another thin piece of paper above the image. When you switch the lightbox on, you will see the image through your blank sheet of paper on top. You may then trace your image in the exact same way as with the light and paper tracing method. To check if you have forgotten any details, you can switch the lightbox off and on just like with the projector method.
The best things to trace using a lightbox are images printed onto white paper with a lower GSM to allow for optimal translucency between the layers of paper. Lightboxes are typically available in A4 and A3 sizes and often feature a control switch that allows you to configure brightness settings. If you are thinking of buying a lightbox for your children, you will be happy to know that there are versions of this product that are specifically designed to be more durable.
Tracing Drawings With a Camera Lucida
This is one of the most professional instruments that artists can use to trace things. The Camera Lucida is an ancient yet highly sophisticated drawing tool invented by the British physician William Wollaston in 1807. Despite what the name may suggest the Camera Lucida actually predates the invention of the camera and was an optical tool used to study and trace the dimensions and proportions of real-life subjects before photography was a thing.
Through the manipulation of mirrors and light refraction, the Camera Lucida creates an optical illusion that allows the user to trace a subject simply by looking at it. This all sounds so remarkable, but how exactly does it work?
Inside the Camera Lucida’s eyepiece is a small prism of glass and mirrors that superimposes a projection of your hand and your work surface over the subject you are tracing, and vice versa. This allows you to look down at your page or canvas and see an impression of the subject. You can then simply trace the subject directly onto the page.
Although the technology behind the Camera Lucida is a bit antiquated, this has not stopped modern businesses from patenting contemporary versions of the device. The LUCIDart device is a modern version of the device that can be purchased online. This particular modern interpretation of William Wollaston’s famous device actually made its way onto the show Shark Tank where it managed to impress all the hosts.
If you have made it this far, congratulations! You now know all of the best tracing methods out there. Use this article as a reference for what sort of tracing best fits the needs of your art project. And lastly, good luck in your future artistic endeavors!
Take a look at our trace pictures webstory here!
Frequently Asked Questions
What Is the Best Pencil for Tracing Drawing?
You should use a medium-hardness graphite pencil for tracing. Harder pencils like 2H can tear through tracing paper and be difficult to erase while softer pencils can cause smudging. Your trusty HB pencil should do just fine.
What Are Some Good Things to Trace?
If you want to improve your free-hand drawing skills, you are encouraged to practice by tracing a self-portrait of yourself. If you just want to have a bit of fun, you should choose any image you like because your free-hand skills do not have to be that good.
Is Tracing a Form of Cheating in Art?
This is a hotly debated topic. In most cases, however, tracing can only really be considered “cheating” if the artist is genuinely trying to deceive their audience into believing that their traced drawings were done free-hand.

Megan is a writer and researcher who graduated from the University of Cape Town with a degree in Social Sciences, specializing in Psychology and Environmental Science. Her passion for knowledge and leaving a positive impact has fueled her current work in conscious and sustainable growth in Southern Africa. Megan’s love of nature has also led her to train as an animal behaviorist. She works part-time training and rehabilitating dogs. Megan is interested in the physical and psychological effects of colors in our environment on our mood and well-being. In addition, she is concerned with how art and creativity have been an integral part of human society. Megan van Schoor has been writing blog posts on the topics of painting, drawing, and color theory for acrylgiessen since 2021.
Learn more about Megan van Schoor and about us.