Watercolor Flowers – Guide how to paint Watercolor Flowers
This post may contain affiliate links. We may earn a small commission from purchases made through them, at no additional cost to you.
Most of us have attempted water coloring some time in our lives, be it at school or in our later years. Painting watercolors, you can create beautiful art, but it is also a wonderful way to relieve stress and anxiety. Maybe painting seems difficult for you, but many things appear complicated until you try, learn and practice. Before you know it, you will be creating pieces of art you can feel proud of. You just have to take the first step and try. We are here to help you through your first steps by providing a guide on how to paint watercolor flowers.
Table of Contents
Let us begin by learning to paint Watercolor Roses
You will want to begin with easy watercolor flowers. One of the most well-liked and popular flowers known today is the rose. These flowers are a great way to begin learning the art of watercolor flowers. This is because the rose has a clear-cut structure and you can experiment with different colors and test out various water consistencies.
You will need:
- Watercolor Paper
- Watercolor Paints
- Round Paint Brush – size 6
- Palette
- A cup of water for cleaning the brush
- Optional: photo or image of the rose you wish to paint
Watercolor Flowers – How to paint Watercolor Roses
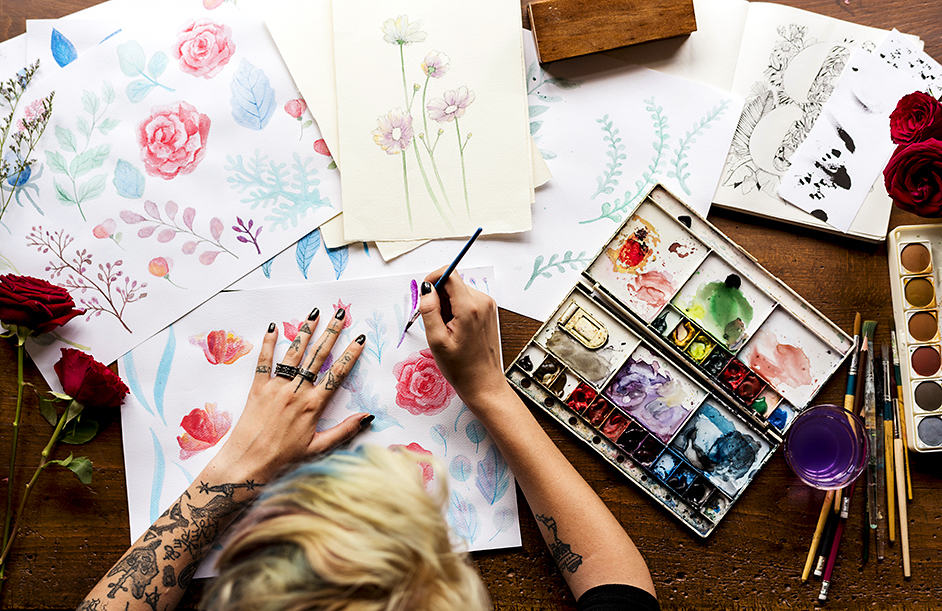
Roses are a great starting point as they are easy watercolor flowers.
Step 1: Achieving the Color you desire
The watercolor pigments, you will notice, are quite thick. To get the color you want, you will have to add a little water. This is where your palette comes in handy. Place your chosen color into a section of your palette, many prefer the middle to mix colors.
For example, use some red paint and mix with white paint to create pink. In another section, you can place the same color red, but this time add a little water to create lighter shades of red. You can do the same with the color green. To get a darker color green, simply add a little black color. Experiment with different colors until you are satisfied with the results.
Step 2: Where to begin painting?
Begin painting by starting at the center of the rose. You will need to create thin strokes by holding the paintbrush upright or vertical to the paper. Proceed by painting “C” shapes lightly onto the paper, following a circular pattern. Layering is an important technique, so begin by using a lighter pigment and then later you can add darker colors.
Step 3: Creating larger Petals
In step 1, you began forming smaller petals, now from the center work your way out paining larger petals as you go. Forming the larger petals is fairly simple, you follow the same “C” shape as before, but instead of lighter strokes, you need to push the brush down harder while forming your shape. This will create a thicker stroke and petal. You can do about two layers of medium-sized petals.

Step 4: Forming and ending with thicker Petals
To create thicker petals, you will need to add more pressure to the brush. Form the same shape as your medium and small petals, but as you press down all the way, hold the brush at about a 45-degree angle.
Step 5: Flowers Watercolor – Adding darker Colors
It is simple to add in hints of darker colors, as the color will blend and spread with the water. The colors will blend naturally, so you can create touches of color where you think it is needed. This will create more depth and contrast to the final image of the rose. If you notice any white spaces remaining, you can paint in a few darker petals.
Step 6: Painting the Leaves
Take your brush and use medium pressure to create two corresponding strokes next to your painted rose. You can add a second layer if you wish, and you can use a darker color to create a shading effect.
Step 7: Flowers Watercolor – Allow drying
After you have allowed the paint to dry, you can then use your art piece. Since you made the painting yourself, it will add an extra touch to a greeting card. Place your unique greeting card with some flowers and you have a wonderful gift to give someone. Framing your artwork is another way to keep and admire your work or give away as a gift.
Tutorial: How to Watercolor Flowers?
Watercolor Flowers – Layering
Artists understand you need to create an effective watercolor painting, you have to add multiple layers. This is true for both the more abstract as well as the more realistic watercolor paintings. Watercolor flowers should follow the same principals, you must paint a couple of layers over your paper.
When painting with colors, the one thing you learn is that the paint does not dry to the color you expected it to. You might paint a darker color, but it will dry to a lighter shade. This is also why you will need to add a few passes over the paper to get the desired result.
Using the correct Paper
To get the proper effect, you need to make sure you purchase watercolor paper. You will notice the difference when it comes to painting, the water paper is thicker and will absorb the paint. Normal printing paper, the paints do not readily sink in and can form on top.
The watercolor paper also has a special texture, which aids in paint absorption. If you do work with another type of paper, you might find that it begins to tear apart, also known as pilling. This makes it difficult to create those layers on the paper.
Controlled Color Palette
When you paint with a certain controlled number of paints, it creates a certain balance and fluidity to the piece. In the art world, some may stick to a certain number of colors and will similarly instruct others. But art should not be contained in boxes, otherwise, it creates pressure to things in a certain way. Painting should be fun, stick to certain colors if you want but also add something if you feel the need to.
An example of using a certain number of colors: Pick 3 to 5 paint colors and use these for your entire piece. Mix the colors to create lighter or darker shades. Just remember, you can choose what you want to do. Experiment and discover your best method for painting with watercolors.
Painting from light to dark
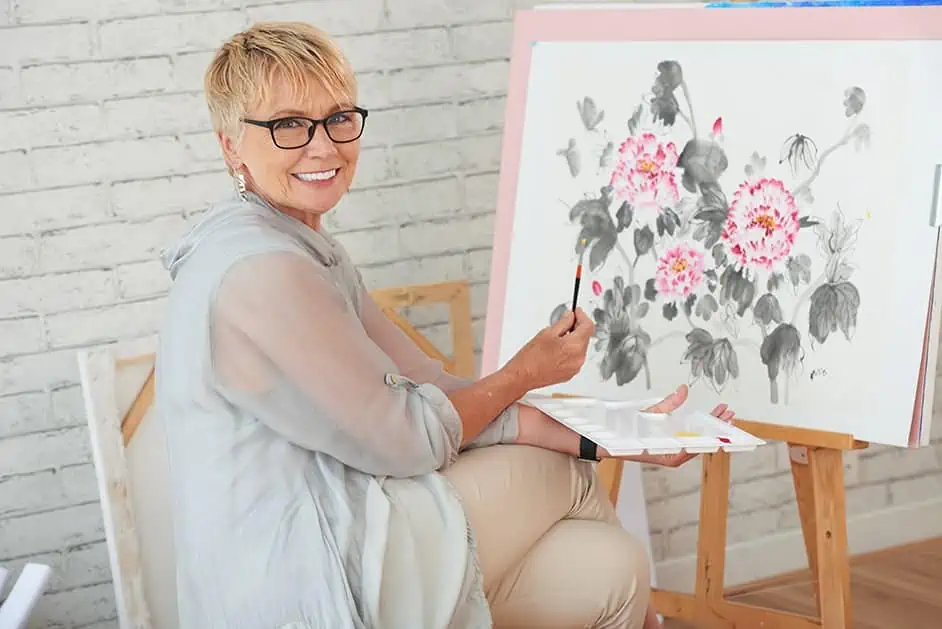
Working from lighter colors to darker is the correct way to paint. You will begin your painting with colors that are more watered down and as you proceed, you add less and less water. When watercolor painting, and you begin to add deeper colors, you cannot go back if you want to lighten it again.
Planning is important, begin with a light wash over your piece, this gives you a place to start and is still at a stage where things can be changed. It is easy to add more paint, but you cannot go back if there is too much color pigment.
Try out different Things
Do not expect to create a masterpiece the first time you paint with watercolors. There is also no reason to stress either, take your time and have fun. You will discover different methods and styles, all of which will get you to where you want to go.
Experiment with different types of watercolor paper, the amount of water you use when painting, different strokes, and pressure. You will discover a lot through trying new things. You might spend a bit of money this way, but in the end, you will come out with your own unique style of painting.
Take a Step back
As mentioned, planning is a good thing but don’t try to get everything done to perfection at once. Since watercolors do tend to dry lighter or change in color, you might want to take a step back and let things settle overnight before the final finish.
Why take a step back?
- You might be tired, taking a step away from your work, you will come back with new eyes. After leaving your work and coming back to it, you might notice something that needs adjustment.
- Again, paint dries and will appear different than when first applied. You might have to add more color to faded areas or strengthen the shadows.
Have a Collection of Brushes available
Painting requires you to create images that are different in size and shape. To get these effects, you will need more than one type of brush. Each type of brush will provide a different effect, so you will need a variety of brushes to create your painted image.
Some brush types:
- Wash Brush: wider and is the brush you want when applying lots of color.
- Detail Brush: small brushes, capable of applying the finer details.
- Flat Brush: These are used similar to the wash brush (creating a more translucent layer), but it also creates clear linear brush strokes.
- Round Brush: Can be used for more than one technique, used for broader strokes, and can be used for finer work.
Try out different brands when it comes to the brushes to find ones that work the best for you. If you do go the cheaper route, you might be happy with the brush. Cheaper brushes tend to shed their bristles, which are difficult to remove and can cause streaking.
Test out the Amount of water needed
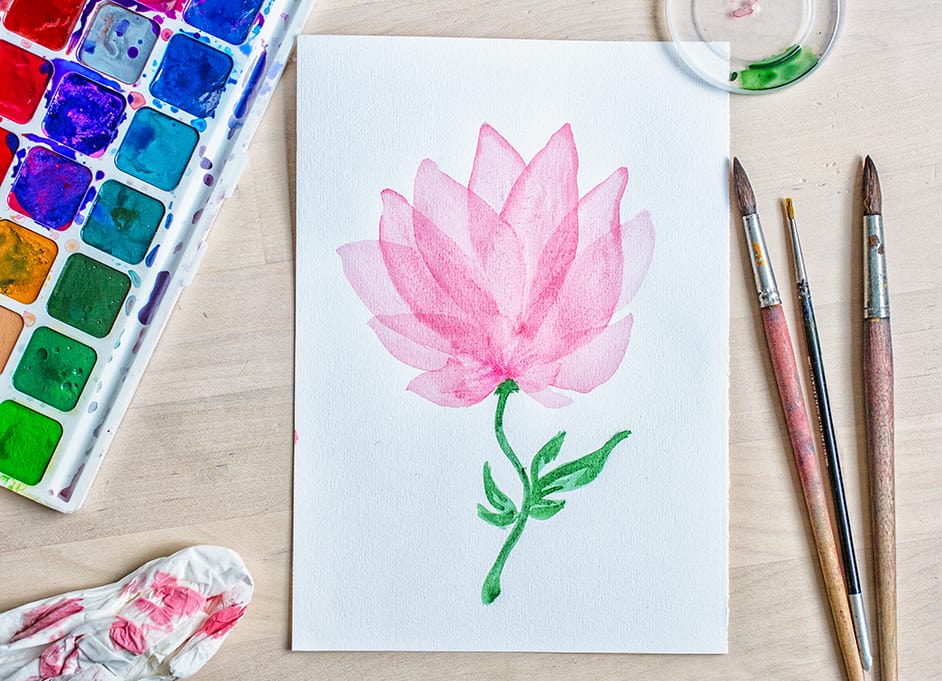
Watercolor does say it all, water being a major part of the painting method. The amount of water will determine the thickness and shade of your chosen pigment color. Experiment with how much water you add to see what happens.
Practice makes perfect
As with anything, you will need to practice in order to create what you want. Practicing brush strokes will help you to regulate the thickness, which once perfected will make painting more of a pleasure. Thicker strokes require more pressure and thinner strokes need a lighter touch or pressure. Also, the amount of water and the size of your brush will determine the thickness of your strokes.
Matthew Matthysen is a multidisciplinary artist. He completed his fine art degree, majoring in History of Art and Contemporary Drawing Practice at the University of Witwatersrand, South Africa. Before joining acrylgiessen In 2020, Matthew worked part-time as an art teacher at Reddford Blue Hills High school. Matthew creates drawing and painting tutorials for acrylgiessen and captures them not only photographically and in written form. He also records the creation of his works in his own creative studio as in video format, from which later with a voiceover and a video editor also drawing tutorials for the Youtube channel of acrylgiessen are created.
Learn more about Matthew Matthysen and about acrylgiessen.


