Watercolor Painting for Beginners – How to Use Watercolor Paint
This post may contain affiliate links. We may earn a small commission from purchases made through them, at no additional cost to you.
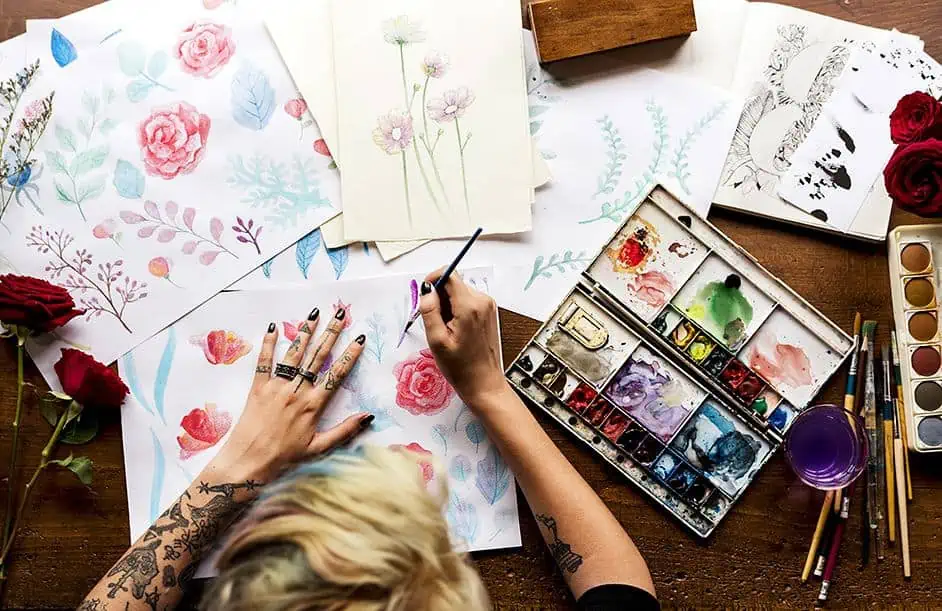
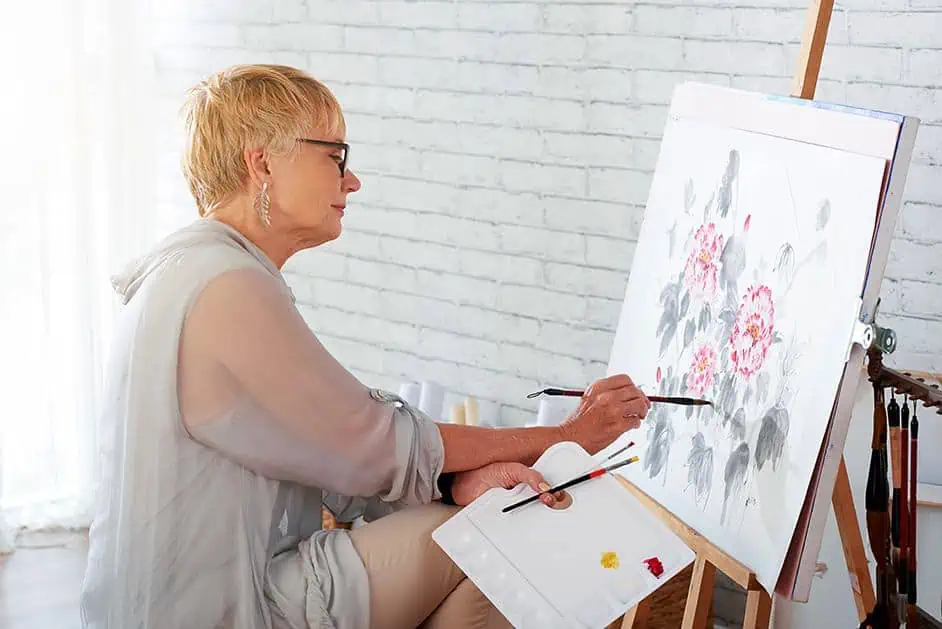
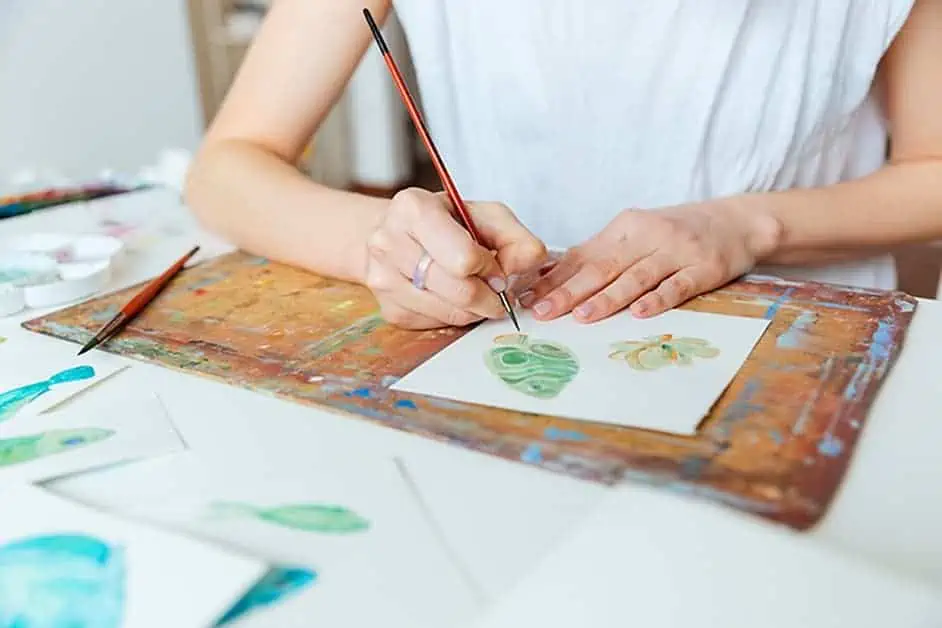
Since watercolor paintings can be painted relatively quickly compared to many other art forms, watercolor painting is particularly suitable for impatient people. After all, it is usually extremely motivating when impressive results become visible after a relatively short time. With watercolor painting for beginners, you can start painting immediately without extensive previous knowledge and with only a few materials and accessories. In addition, the finished paintings dry pleasantly fast when painting watercolors. Let us start our
What Is Watercolor Painting?
The term watercolor is derived from the Latin word Aqua, which means water. Watercolor paints are made with fine color pigments and a binder. To use them, you simply activate the paint with a little water, creating wonderful effects. The degree to which you dilute your paint with water will determine the intensity and transparency of the paint. More water will create a very light and transparent wash, while less water can create a very concentrated pigmentation. You can then apply the watercolor paint to your surface, with a wide range of differently shaped and sized brushes. While acrylic and oil paints tend to completely cover their surfaces, watercolor tends to leave the surface at least partially visible.
In terms of the painting surfaces, watercolor paints are best suited to proper watercolor paper. Watercolor paper is designed to withstand high levels of moisture. If you want to learn how to paint with watercolor, you will soon discover that interesting effects can be achieved by playing with the contrasts between the painting ground and different color shades next to and on top of each other.
Special Characteristics and Properties of Watercolors
Watercolors consist of color pigments that are mixed with one or sometimes several different binders. Gum arabic is very often used as a binding agent, as this material is water-soluble and is itself almost transparent. Since watercolors are not stretched but used in their pure form, they unfold on the painting surface with a special luminosity that is considered typical for watercolor painting. Since watercolors can be mixed with each other in an uncomplicated way, you can mix all imaginable colors even from the three basic colors red, yellow, and blue. But of course, it saves a lot of time and effort if you buy a larger paint box with a certain range of already mixed colors.
In contrast to other painting techniques there is no white color in watercolor painting. So it requires a special painting technique if you want to realize white areas in your paintings. With the so-called “negative technique” it will become increasingly easier with a little practice to realize white areas by cutting out certain spots on the white paper.
The particularly advantageous properties of watercolors are their special color intensity and luminosity. In addition, many artists also appreciate the fact that watercolor paintings have a comparatively short drying time. Since the necessary painting technique can be learned relatively easily, watercolor painting is well suited for beginners. You will probably already have the basics if you have painted with watercolors at some point during your school days. However, it is important to know that after applying watercolors, corrections are almost impossible. This makes it all the more important that each brush stroke is done carefully and in the right place.
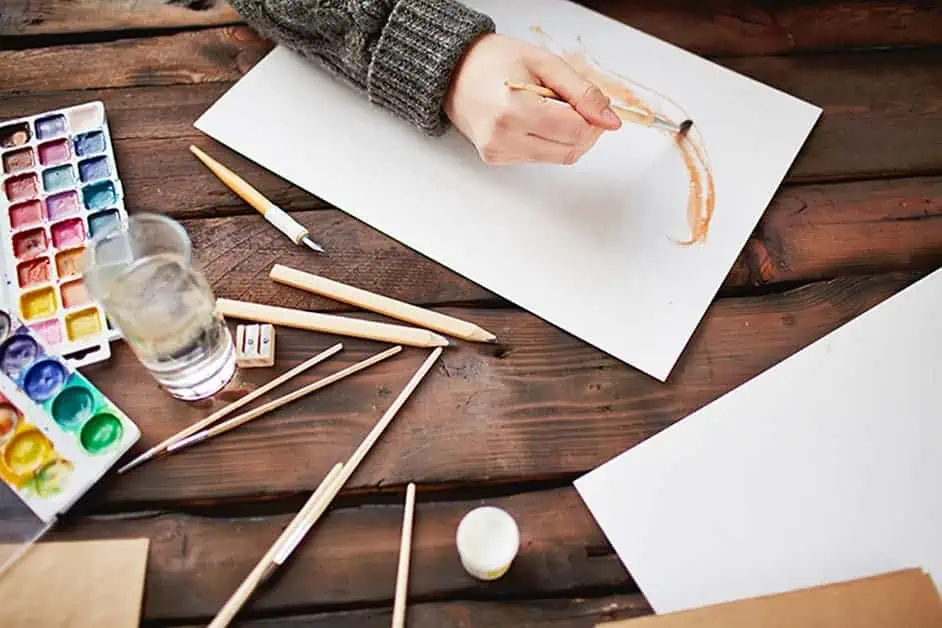
Required Materials for Basic Watercolor Painting
If you want to start watercolor painting, you do not need very many materials for it. However, it makes sense to use the highest quality products possible when choosing accessories. This is especially true for the brushes used. You can save yourself a lot of frustration and make sure that your creativity can flow undisturbed during the painting process. Here are our tips and tricks for collecting the best watercolor basics.
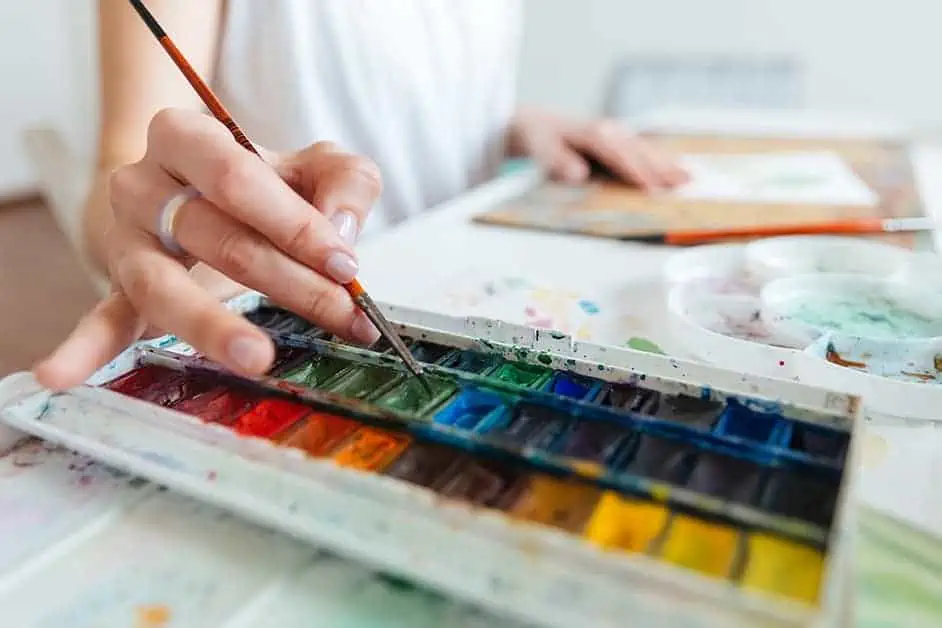
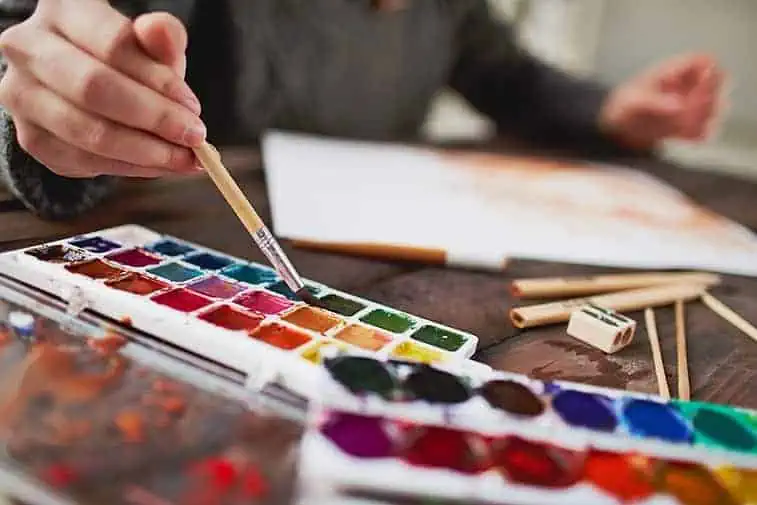
How to Choose the Best Watercolor Paints
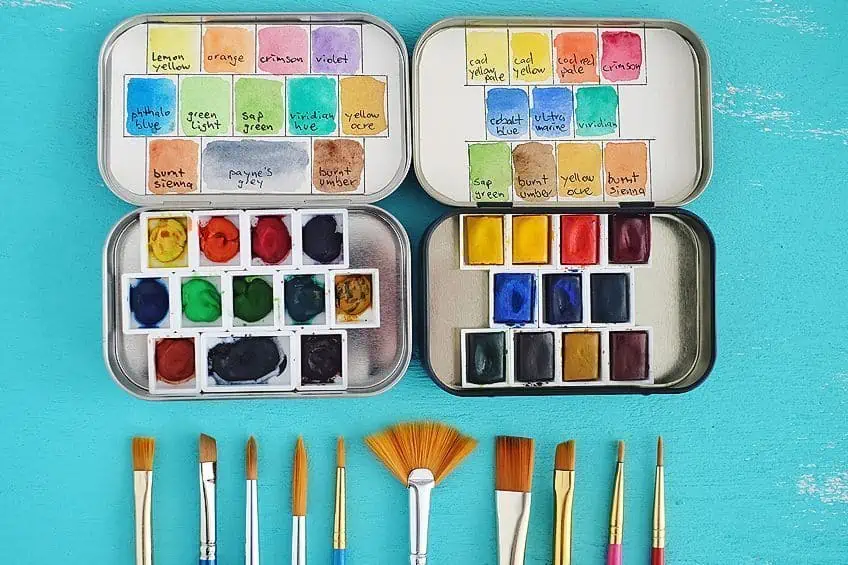
In the specialized trade for artists’ supplies, there is now an almost unmanageable selection of different watercolors. We recommend the use of a watercolor paint box, in which the colors can be stored all together for easy transport and storage. When painting watercolors for beginners, you can also use relatively cheap watercolors for the time being, as they usually offer a good color density at a more affordable price. However, if you are already a bit further along in learning to paint with watercolor, you should also use high-quality watercolors if possible.
Professional quality watercolors can make your watercolor paintings shine in really bright colors with intense expressiveness.
Of course, it is entirely up to you whether you prefer to work with a watercolor box or rather with watercolor paints from a tube. Building your own collection of watercolor paint tubes allows you to pick and choose your very own color spectrum according to your preferences. You can also purchase block watercolors separately, and create your own box palette. As with all paints, tubes, blocks, and palette boxes can be purchased in all grades, from student-grade paints to professional grades. The colors recommended for artists who are already somewhat advanced in their craft usually not only have a slightly higher pigmentation but are also usually available in a wider color spectrum. On the other hand, the beginner colors, which are also frequently used by students, have a higher binder content, as the binder is cheaper for the manufacturer than the pigment content.
The Best Professional Watercolor Paints: Schmincke Akademie Watercolors
If you want to believe the statements of many experienced users, the Schmincke Academy Watercolor Colors are probably one of the best watercolor colors produced in Germany. These extremely high-quality paints have been produced “made in Germany” for many years and have been able to achieve an unchallenged status as an absolute premium product over the years. The excellent reputation of the watercolors is based not least on the impressive quality of workmanship and pigmentation, as well as the luminosity that is ultimately possible on the painting ground. In the Schmincke sets, half and whole cups are brought into position on special rails.
This unique selling point allows you to keep two half cups instead of one whole one in your watercolor box. This allows you to adjust the paint box to your individual needs over time. If you use some colors very often, you should put a whole cup of them in the box.

- High-quality watercolor paints with superior pigmentation
- The set can be adjusted and personalized for your unique needs
- The bright colors have fantastic luminosity and vibrancy
Less frequently used colors can be added to your personal selection in the reduced quantity of half a bowl. All in all, more different colors will find their place in a single watercolor box. The Schmincke Academy watercolor colors allow you to fill your paint box with the optimal amount of colors. For the beginning, it might be a good idea to use a Schmincke paintbox with half a cup for watercolor painting. This way you have a wide range of different colors to choose from. Later on, with growing experience, you can refill the cups individually according to your respective paint consumption. In order to enable you to take a more individual approach, the Schmincke company also offers paintboxes with an empty bar next to the full bar. You can fill the empty bar directly with the colors you have personally chosen and thus express your creative preferences when choosing the colors.
Since the Schmincke Academy watercolors meet high-quality standards, their price is also rather in the upper segment. However, we would still recommend these watercolor colors produced in Germany if you have been painting watercolors for a while. You will then quickly find out for yourself that you can exploit the creative and artistic possibilities of watercolor painting even better with colors of this quality level.
- High-quality watercolor paints
- Bright and vibrant colors
- Paint set can be personalized
- High luminosity
- At the upper end of the price spectrum
Choosing the Best Watercolor Pencils
Watercolor pencils are a fantastic form of watercolor paint, allowing you to combine the artistic result of fine brush strokes with the accuracy and comfort of a traditional coloring pencil. You can use watercolor pencils in a variety of different ways.
You can begin by drawing with the watercolor pencils, and then add water to blend the colors together, or you can dip the watercolor pencils in water to create a more vibrant pencil. Finally, you can use watercolor pencils to add fine details on top of a traditional watercolor painting base. You can find all of the necessary tips and tricks for using watercolor pencils in our watercolor pencil tutorial.


Finding the Best Watercolor Pen Brush
Watercolor brush pens are another fantastic tool to have in your watercolor painting kit. Watercolor pen brushes give you the accuracy and vibrancy of a felt tip pen, allowing you to quickly and accurately apply the watercolors to your paper. Brush pens are easy to use, and you can adjust the marks with additional water after the easy application. Watercolor brush pens use water-based ink, which can be diluted by dipping the tip in a jar of water as you work. The longer that you dip the brush tip in water, the more translucent the color will be.

Our recommendation for the best watercolor brush pen is the Royal Talens Ecoline Liquid watercolor brush pen set. These brush pens are bright and vibrant in their color, and they come in a firm plastic case for easy storage and transportation. The formula of water-based dyes and gum arabic makes these pens very mixable and re-wettable, even after they have mostly dried.

- Ecoline liquid watercolors are beloved for their bright and brillliant color
- The popular line of inks now available in easily transported brush pens
- Perfect for everything from coloring digital designs to sketching on the go
- Pure formula of dyes and gum arabic is mixable and rewettable
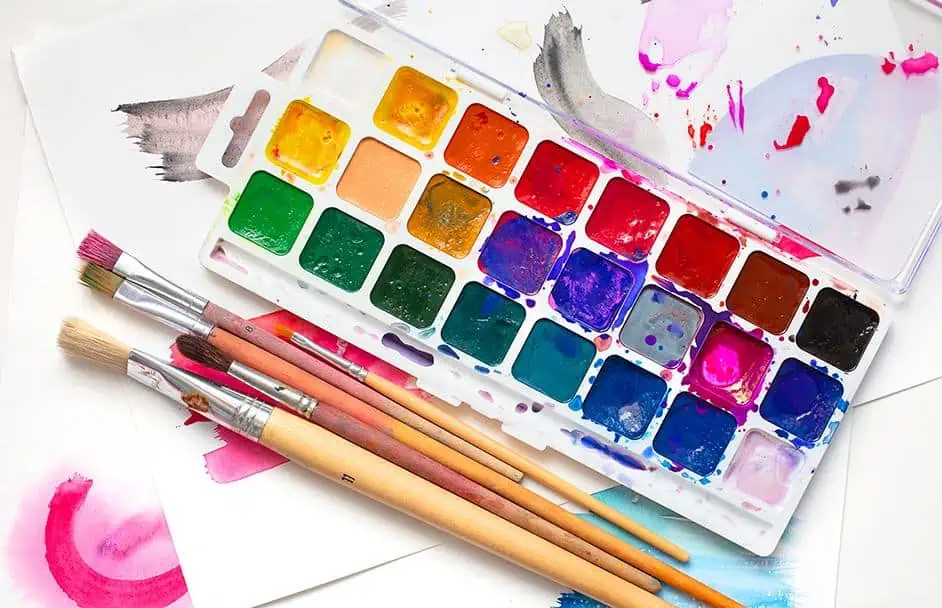
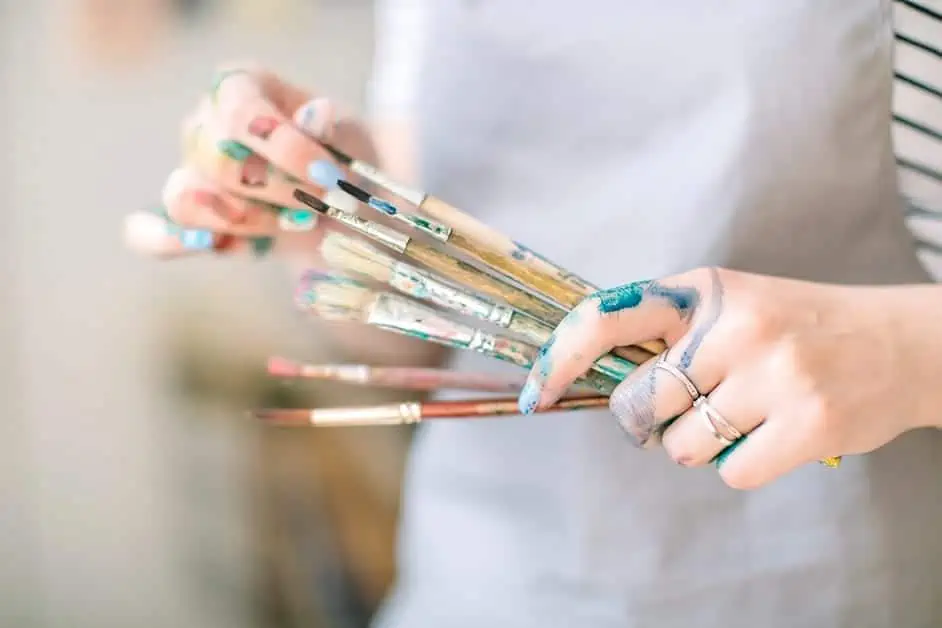
Choosing the Right Brushes for Watercolor Painting
Since the brushes are the main tool for painting your watercolors, you should use the highest quality brushes possible when painting high-quality watercolor paintings. Choosing the right brushes is not only crucial for the quality of the final result, but also for the fun and motivation of painting. Red sable brushes have proven themselves absolutely for this purpose because their fineness allows very precise painting. In addition, these high-quality brushes can also absorb a lot of paint and water. For painting professional watercolors we recommend the following basic equipment of suitable brushes:
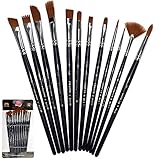
- With a small round brush, you can put small details in the scene
- A medium round brush is suitable for setting sharp lines, points, and outlines and for drawing wider strokes
- With a medium-sized flat brush, you can draw strong lines and apply even washes
- With a washing brush (sometimes also called a flat washing brush) color areas can be washed out and corrections can be made due to the high absorbency of the brush hair
Of course, high-quality brushes should also last for a correspondingly long time. But to ensure this, your brushes also need the right care. To keep the brushes as clean as possible, they are first rinsed promptly with lukewarm water after each use. As a rule, this can lead to the formation of foam. Then the brushes are rinsed again with clean, clear water, which must not be too hot. For drying, high-quality brushes are ideally placed upside down in a cup or glass. This prevents the fine brush hairs from breaking.


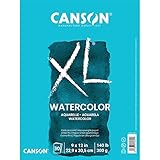
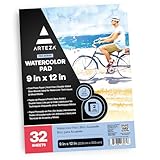
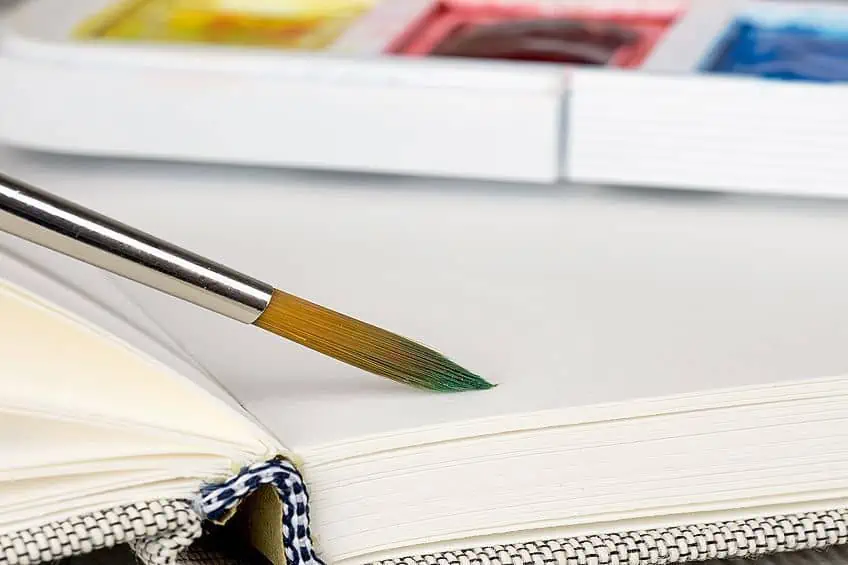
Tips for Selecting Watercolor Paper
It can have quite a big impact on the result of your watercolor painting, which paper you use for painting the watercolors. Since thin paper, unfortunately, makes waves very quickly due to the water content of the colors, you should use strong watercolor paper. The waves of thin paper can be partly smoothed out again later, but they first cause a puddle of color and thus an uneven color intensity. We recommend paper with a thickness of at least 200 to 300 grams weight per square meter if you want to paint a watercolor. There are also watercolor blocks specially glued all around in specialist shops, in which the following sheets are protected against accidental application of paint. The advantage of these blocks is also that the paper cannot slip easily when you paint demanding watercolors.
If you are new to watercolor painting for beginners, you can also use relatively inexpensive types of paper with reasonably acceptable quality. It might be a waste if you use the most expensive paper brands for your first attempts. But as soon as you have gained your first experience with watercolor paintings, it can be exciting to experiment with different backgrounds and finally with high-quality paper.

If you are planning to create a particularly time-consuming work of art, you should definitely use a paper of exceptional quality for your project. In order to meet this special category, the paper used must have a net weight of about 300 g/m², be acid-free, and be made of cotton. The surface of the paper used depends on the painting style and the motif you want to create. For particularly important watercolor paintings, you should not use painting blocks, as the individual sheets are sometimes relatively difficult to remove from later.
You can improve your technique for painting professional watercolors most by experimenting with different painting surfaces and gaining practical experience. Slowly you can develop a better and better feeling for your individual painting style and its demands on the paper you use. This way you will be able to buy the perfect watercolor paper for your watercolor paintings.
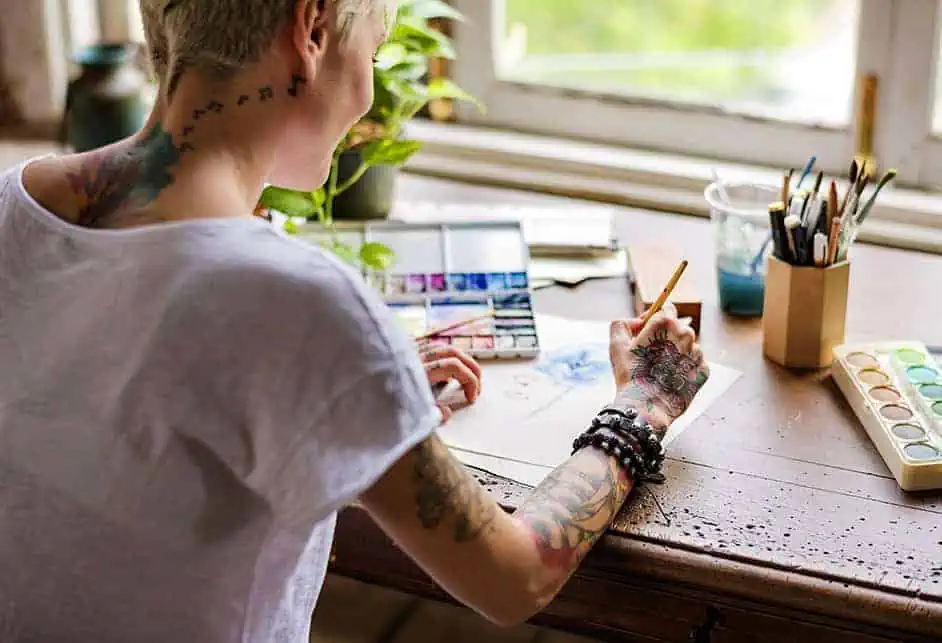
Accessories and Useful Tools for Watercolor Painting
In addition to the most basic tools for beginner watercolor painting, there are a few additional accessories that can really ramp up your watercolor painting experience. From color palettes for mixing, to unique and interesting materials like sponges and fabric, the world of watercolor basics has so much to offer.
Create fascinating Effects with a Toothbrush or a Natural Sponge
With a little creative inspiration, many a household item can easily be transformed into a creative tool for painting effective watercolors. For example, an old toothbrush can be used to apply fine splashes of paint to the painting surface.
A natural sponge, on the other hand, can be used to quickly and impressively conjure up the foliage of bushes and tree crowns on the painting surface in a natural way.
The Advantages of Using a Color Palette
A color palette with individual wells allows you to mix different shades and dilute them with water to create more translucent colors. You do not necessarily need to have a specialist painter’s palette, in fact, you can use a white plate or a ceramic tile. A professional color palette does, however, offer fantastic advantages. The indentations hold your colors after they have been diluted, and allow you to keep your colors pure and separated. There is also usually a flat area for you to mix your colors together. When painting with oil and acrylic paints, a cardboard strip can also be used as a substitute for a high-quality color palette. However, this is somewhat problematic in watercolor painting, as the water-based paint can quickly penetrate the cardboard material. In case of doubt, you should therefore invest a few euros in the purchase of a professional color palette in order to be able to work with it professionally.
Dabbing Material: Paper and cloth Cloths
It is always a good idea to have a soft cotton cloth nearby, with which you can remove excess paint or water from a brush. Kitchen towels made of paper also have an impressive absorption capacity. After all, even larger amounts of liquid can be dabbed off a watercolor painting relatively quickly and easily with paper kitchen towels if necessary.
You can use paper or cloth kitchen towels not only for corrections but also for creating conscious effects.
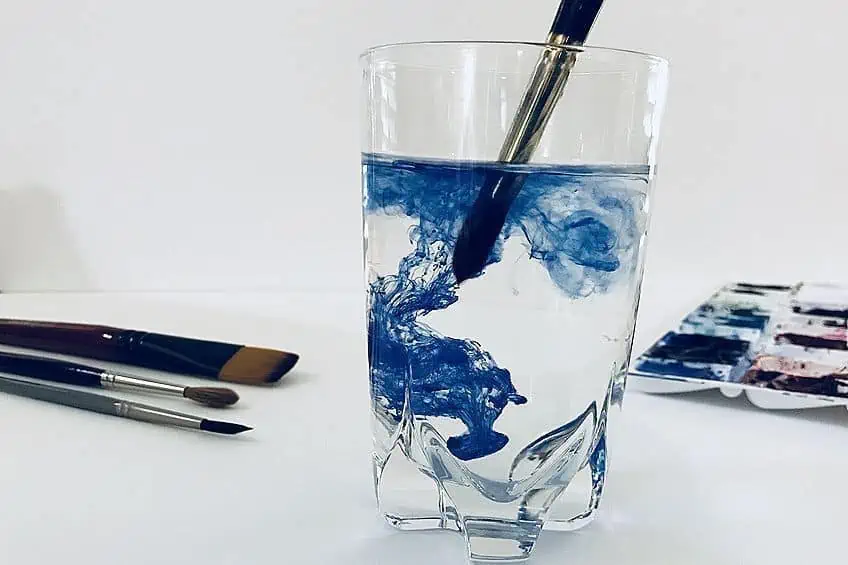
Several Water Glasses Should Be available at the Workplace
For watercolor painting, there should always be several filled water glasses at your workplace. One of them serves as a reservoir for clean, clear water, which is used for wetting the painting surface and for mixing the colors. But you need at least one more glass to clean your different brushes in it.
Step-by-Step Basic Watercolor Painting Tutorial
Since you are only just starting out on your basic watercolor painting journey, we have put together an easy-to-follow tutorial to help you in the process. From setting up your supplies, preparing your paper, and adding interesting effects with novel materials, we cover everything that you need to know to begin creating a painting of watercolors.
Preparing Your Necessary Materials
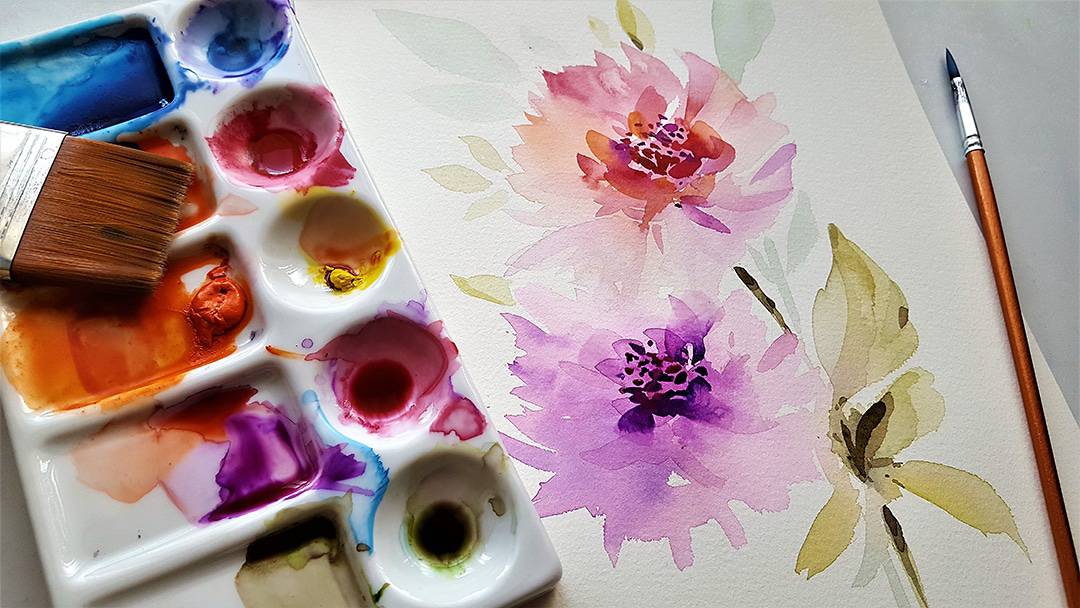
First of all, you should mix different shades of the colors you use, for example, the usual basic colors and additionally pink. Remember that the more you dilute the color with water, the more translucent and pale it becomes. Before you start, however, you should test the consistency of your colors in terms of thinning and brush application on the paper you use for the project.
You will need two glasses of clean water and absorbent cloth, such as a kitchen roll, to clean the brush and wet the painting surface.
Preparing the Painting Surface
Painting great watercolor paintings will be much easier if you first sketch the planned motif on the watercolor paper. You should discreetly mark where exactly certain areas of color and also recesses should be placed. You can then take a flat brush to wet the paper as evenly as possible with clean water. The next step is to apply the three main colors of the painting to the wet surface with a relatively large brush in very liquid mixtures. This step is also called lavender paint application. It ensures comparatively soft transitions between the individual colors. This first layer of paint usually dries relatively quickly.
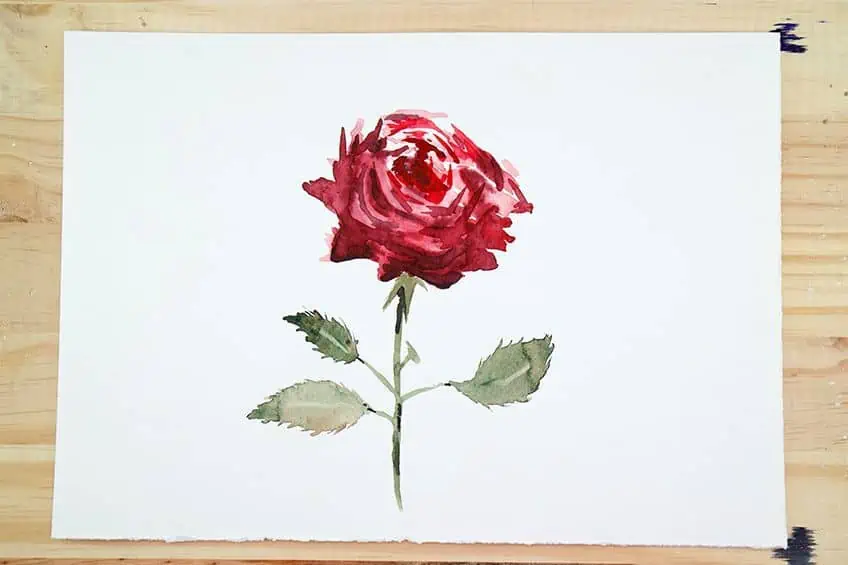
Mixing and Overlapping Different Colors and Shades
Once the first layer of paint has dried, somewhat darker and more opaque layers of paint (with lower water content) can be applied directly to the existing paint areas in places, in accordance with the planned image motif. You will notice that the colors appear particularly strong in those areas where different colors are superimposed or concentrated in a very small space. Theoretically, you can repeat this step as often as you like, for example, to paint detailed petals. You will get particularly soft transitions if you apply the new paint while the previously applied paint is still slightly moist.
But you can also let the paint dry in between to get sharp edges between the single paint areas.
Accentuating Your Painting with Contours and Coloring Effects
To complete a watercolor painting, the color pigment can be removed with a little water. You can simply dab off excess paint with an absorbent paper kitchen towel. When the paper has dried sufficiently, you can use the appropriate tools to insert deliberate lines into the motif and use the edges of leaves or watercolor flower hearts to create special accents that stand out from the overall painting.
Different Basic Watercolor Painting Techniques
We would like to introduce you here to the two main painting techniques that are used when painting professional watercolor paintings: These are known as washing and glazing. In a way, both techniques are equally concerned with using the special properties of water for creative image creation. The watercolor technique is called washing, in which colors are applied “wet in wet” despite the relatively short drying time. In contrast, in the so-called glazing, the next layer of paint is only applied when the previous layer has already dried relatively well.
A third possible painting technique for watercolor painting would be granulation, but we would like to introduce this later.
Glazing in Watercolor Basics
As already described, it is necessary to wait until a layer of paint has dried on the surface to be painted. In most cases, this is the case after a few minutes anyway. With a single layer of paint, it is possible to create radiant colors. However, by glazing, you can add another layer of paint to your painting and also another design dimension. Different light and dark color gradations can be created very effectively with this technique. We do suggest that you take care to apply the additional layer of color as quickly as possible when glazing. If you do not work quickly, the lower layer of paint will peel off again due to the moisture of the new layer of paint. Glazing is one of the basic and formative techniques of all watercolor painting.
Washing Watercolor for Beginners
While you need to wait some time when glazing, you need to use the wet paint for the washing technique. Once a layer of watercolor paint diluted with water has been applied to the paper, a drying time of usually only a few minutes begins. But while the paint is still wet, you can simply paint into the still-wet paint, using the technique of washing. The different shades mix with each other, creating unique and interesting blends. The mixing of the different colors takes place more evenly the more liquid the colors are when applied. But it is also essential that you always stay within the previously painted and thus already moistened paper area with the second layer of paint. This painting technique is used to create areas and structures of flowing interlocking colors.

The direction of flow of the still-wet paint can be influenced during washing not only with a brush but also with creatively used tools such as a hole blower or a straw. Washing can also be used as a painting technique for watercolors to create a color gradient from opaque to transparent in one and the same shade. However, the so-called gradient technique is quite demanding and requires some practice. The selected area is wetted with water before applying some watercolor paint on one side. Then the paint is drawn with a fan brush from one side to the other across the moistened area of the painting surface. If excess paint is produced, it can be easily absorbed with a piece of kitchen paper.
The Granulation Technique
The painting technique of so-called granulation is a special technique of watercolor painting, which is only used to achieve very specific effects and accentuations. The special thing about this painting technique is that the surface structure of the paper used is used for color design purposes. The color must not penetrate into the depressions of the structured paper surface during granulation. As a result, all the depressions remain as color-free as possible during granulation, while the raised areas of the paper surface are painted with color.

The optical effect of granulation is particularly attractive when it is used to highlight walls. So you use the structure of the paper to aesthetically accentuate the wall look. But granulation is also suitable for designing water surfaces with hinted light reflections. As a basic requirement for successful granulation, you must use paper whose surface is sufficiently strongly structured. To granulate, you soak a round brush with paint and draw it very flat over the paper. Make sure that you exert very little pressure. With a little practice, you should be able to keep the deeper areas of the paper surface white, while the higher areas are soaked with paint.
Wet on Wet Watercolor Techniques
Probably the most used technique for watercolor painting is the wet-on-wet painting. The control of the color gradient is a very big challenge because the colors can run into each other quickly in unintentional ways. But it is exactly this creative uncontrollability that makes painting watercolor paintings such an interesting and creative activity. Spontaneously developing color gradients stimulate the creative imagination of many artists in a pleasant way. With a little practice, you can take up unplanned forms and work them out of the overall structure of colors and forms as accentuated perceptible painting elements. With every increase in experience in the field of watercolor painting, you will also learn how to influence and control the color gradient in a way that is as predictable as possible. However, the path to this mastery of watercolor technique is long and rocky.
If you want to paint watercolors with the wet-on-wet method, you first have to moisten the designated area with a brush or sponge. But the surface must not get too wet, so there should be no puddles of water. It is completely sufficient if the surface is so wet everywhere that it shines in the light. If you do get too much water, you can simply dab off excess water with a piece of kitchen paper.
How much the colors run depends not least on how long you wait with the application of the paint in each case. In addition, the wetter the paper, the more the pigment will run. You can influence the direction of flow to a certain extent by swaying the paper back and forth at certain angles and in certain directions. You can either dilute your pigments with water or take them directly from the tube or bowl in their original state. Diluted colors have a naturally softer and less intense effect than undiluted colors. With a large brush, the colors are dabbed or spread on the moistened surface. However, there is also the possibility to mix colors in a small bowl and then pour them directly onto the watercolor paper. It is quite interesting to see what strange and relatively unpredictable shapes can be created when different colors run into each other. The colors run into each other very fluently and unstructured, especially if the surface has been moistened a lot.

Another design method is to add a layer of wet paint on dry paper and let the additional color flow into it as color contrast. However, with this method, you have to be aware that some pigments have a certain physical dominance and can therefore sometimes displace other colors surprisingly strongly. With increasing experience in practical watercolor painting, you will be able to estimate in advance how the colors you use will relate to each other.
To practice this technique in watercolor painting for beginners, you simply let the color flow into different wet surfaces in a relaxed manner. This way, you will quickly develop a good feeling for how weak or strong you need to moisten the paper for certain effects.
Prepare a clean sheet of watercolor paper and moisten it a little. Then let it dry for about half a minute. Then you can let a few drops of your paint drip directly into the wet surface and paint some lines with a brush. Now pay close attention to how the paint runs on your sheet and flows in certain directions. While experimenting you can now vary the time span in which you apply the paint on the wet paper. In this way, you will gradually find the optimal method for your working method with ever greater predictability.
Using the Dab Watercolor Technique
If you want to paint a watercolor depicting natural landscapes with trees or bushes, you should definitely familiarise yourself with the correct procedure for the so-called dabbing technique. For this, you should first mix some light green color on your color palette. It is better to use a little more paint and relatively little water to achieve a relatively viscous color mixture. Now take a dry sponge, a natural sponge with a rather coarse-pored structure is particularly suitable for this. With this, you first dab into the paint and then with great sensitivity onto the previously prepared watercolor paper. This way you can quickly and easily create the typical structures of realistic-looking treetops. Once you have dabbed the light green color onto your watercolor, you use the drying time to change the light green color on the palette to a darker green by adding blue color. Then you pick up this color with your sponge and dab it onto the paper in some places in the treetops you have designed. You can repeat this color gradation as often as you like. Gradually, a treetop structure is created which, due to the different levels of brightness, is particularly vivid and realistic as a means of depicting shady areas and areas illuminated by light. With each additional color gradation, your tree can visually gain perceivable depth on paper.
Only when the treetops themselves are finished are branches and trunks painted into their structures. You can achieve this especially close to nature if you don’t paint the trunk absolutely continuous like in a child’s painting. After all, a tree trunk is rarely completely visible in nature, but rather partially covered by branches with leaf green. In order to find the best way of doing this, a walk-in nature or in the garden is recommended. If you take a close look at the trees in nature with the appropriate awareness of their structure, the arrangement of the trunk, the branches, and the shady areas will be much easier for you when painting in watercolor. Of course, the thing about the hidden trunk parts only applies to trees with summer foliage. If, on the other hand, you want to learn to paint winter motifs, all areas of the trunk, branches, and twigs can be visible.
As an alternative to a natural sponge, you can also try out the dabbing technique with a relatively hard bristle brush, which is perhaps already quite worn out and whose bristles do not fit so tightly together. In any case, make sure to mix the paint for the dabbing technique as thickly as possible with only a little water or to use it in its pure form.
The Negative Space Technique
Behind the concept of the so-called negative technique hides the procedure of leaving certain areas of the basic white watercolor paper-free as bright painting areas. Usually, this is done in such a way that the bright areas serve as contours for an object drawn with a pencil or even just imagined. Most watercolor artists first create a color surface using the technique wet on wet in relatively delicate colors. When this is dry, a selected motif can be highlighted separately using the technique wet on dry.
It is called a negative technique if an object is perceived as lighter because the color areas around the object are designed in darker shades. Sometimes it happens quite by chance when painting watercolors that negative objects are created and provide an extraordinary optical effect. As your skill in watercolor painting increases, you can also create several negative layers on top of each other, creating a visual effect in the direction of a 3D effect. But because you always have to think “the other way round”, the technique requires some skill and practice from a watercolor artist.
Exploring the Wash-Out Technique
If you want to use the so-called wash-out technique for your own watercolors, you first create an area in a color of your choice. Then you take a dry and clean brush to lift the paint from the paper in some places. If the paint is still very wet now, it will probably sometimes run from the adjacent areas of the image in the areas you are working on. Then you have to repeat the process of lifting the paint with the brush a few times.

Alternatively, you can let the paint dry on the paper first and then wash it out. However, this procedure requires much more skill than lifting off the still-wet paint. You will need a wet brush with which the paint is loosened in the desired places. While some types of watercolor paper such as cold-pressed and rather fine-grained paper are quite suitable for the wash-out technique, their application on other types of paper (for example those with satin finish or handmade paper without surface sizing) is almost impossible.
In any case, you should be aware that the original white tone of the paper used can only be approximately restored to its original brightness by removing ink with the wash-out technique, and never to its original brightness. In addition, some pigments are easier to remove and some are harder to remove, you should find this out through your own experiments.
Structure Paste Techniques
Structure Paste is a perfectly suitable aid if you want to provide your watercolors with particularly effective, three-dimensional structure elevations. Usually, structure paste is available in the trade in the two types of coarse grain and fine grain. Relatively smooth structures such as plastically formed petals can easily be created from fine grain. The coarse grain is ideal for the representation of beach scenes. But you can also use it to make tree bark painted by you look much more realistic. The application is relatively uncomplicated: You simply apply the structure paste with a suitable artist’s spatula at the chosen spot on the watercolor paper or canvas. Then you have to let it dry first. In some cases, however, the three-dimensional look can be further enhanced by sprinkling materials such as small shells or grains of sand into the surface of the structure paste before it dries. Small glass beads in matching colors are also well suited for this purpose.
Once the structure paste is completely dry, it can be painted over with watercolor paint. With a relatively thick application, drying can take a whole night. One difficulty in painting the structure paste is that the paint on it does not hold perfectly and can be partially removed just by touching it with wet hands. You should therefore cover your finished watercolor with a so-called watercolor fixing spray, especially when using structure paste. Also, the framing of watercolors with structure paste behind glass is quite problematic. Consequently, watercolor paper is not necessarily suitable as a painting ground for paintings with a proportion of structure paste. Instead, we rather recommend that you prime a canvas with a special aqua primer. But you can also use aqua boards or wooden pallets for your watercolors with structure paste. Another possibility would be to glue the watercolor paper you use on a canvas to hang it up.
This is also called laminating. However, watercolors not stored behind glass should always be treated with a fixative, so that their colors are permanently protected.
The Spraying Technique
For the spraying technique, you should mix larger quantities of the paint of your choice with relatively high water content. Then you take an old toothbrush and dip it in this color. By stroking over the bristles with your thumb, you let the paint splash onto the paper. Instead of an old toothbrush, you can also use a relatively thick bristle brush. If you do not want your thumb to come into contact with the paint, you can also soak a brush in paint and then tap its handle with your fingers. The latter technique produces somewhat more uneven and coarser splashes of paint, but these are in any case visually very effective.
It depends quite a lot on the consistency of the paint you use, and how exactly the splashes look on the painting surface. The use of certain bristle brushes, other brushes, or a toothbrush also influences the size and shape of the splashes. You should be especially careful when choosing the colors if you want to apply the splashes of paint to an area of the painting that has already been colored. To be able to distinguish the splashes from the background, their color should be either darker than the surrounding color or at least opaque.
The Ruthless Scratch Out Technique
For the application of the so-called scratch-out technique, you need pointed or sharp objects as aids. These are used to insert certain details into the finished painted and dried watercolors. Razors or scalpels, for example, can be used to carve the contours of branches into a colorfully finished painting. But with this technique, one has to be always very careful, as in case of too much pressure, some areas of the painting can be cut or small paper scraps can be torn out. With the scratching technique, the scratching is always only started after the painting itself is already painted and dried.
Once scratched, it is not possible to glaze the areas normally without creating unattractive effects.
Using the Salt Technique
When designing a structure with salt, a certain area is first painted wet in wet. You can use one or more different colors for this. Then you sprinkle coarse sea salt or fine rock salt on a part of this painted surface and wait for a few minutes. The rest of the area, where the paint has already dried a little, is now also covered with salt. Then you let the painting dry well. When the paper is finally completely dry, the grains of salt can be removed either carefully by hand or simply with a bristle brush.
This will reveal special color structures. These differ according to whether the paper was wetter at a certain point at the time the salt was applied than at other points. The effect is based on the fact that salt can bind moisture and can therefore also attract the water bound in the paint. Around each individual grain of salt, interestingly frayed color structures, therefore, develop the size of which depends on the degree of moisture of the paper and the size of the grains of salt used. If you work with the salt on a relatively dry painting surface, small structures will form due to the lower water content.
Painting Impressive Landscapes as Watercolor Paintings
With watercolor painting, you can create absolutely impressive landscapes. However, it can be very helpful if you first make an approximate sketch of your planned landscape. This way you can creatively develop the plan of your pictorial composition and, if necessary, erase it and correct possible mistakes. However, the watercolor paper with its rough surface structure is not very well suited for creating a pencil sketch. In addition, perhaps unsightly traces of the sketch would remain visible on it later. Therefore, it is better to first create the sketch on a separate sheet of normal drawing paper. When you are finally satisfied with your sketch, you can use a grid to trace the basic structure of the sketch on your watercolor paper.
E-books and Textbooks on Watercolor Painting Techniques
Books and e-books can be a great help when starting out in watercolor painting or for consistent further training. After all, in contrast to a painting course with a physical presence, you decide for yourself when and how long you want to devote yourself to watercolor painting. In many cases, you can obtain literature with extensive tips and tricks for relatively little money and look up certain painting techniques at any time later if necessary. We can recommend the following learning books about watercolor painting:
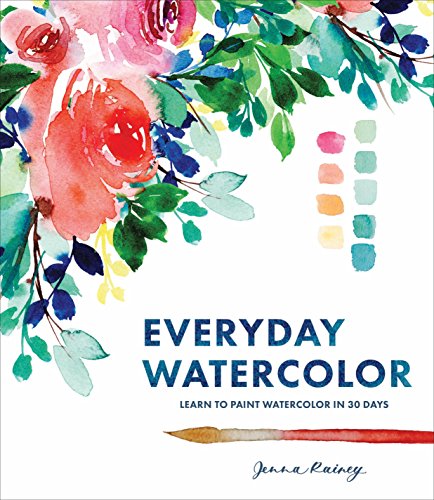
- This beautifully illustrated and inspiring guided watercolor-a-day book is perfect for beginning watercolor artists
- From strokes to shapes, this book covers the basics and helps painters gain confidence in themselves along with inspiration to develop their own style over the course of 30 days.
- Featuring colorful contemporary art from Mon Voir design agency founder and Instagram trendsetter Jenna Rainey, this book's fresh perspective paints watercolor in a whole new light.
From this article, you can start to appreciate the beautiful and varied techniques that watercolor painting can offer. Watercolor for beginners is actually very easy, as the medium is very forgiving. From choosing the right paints, brushes, and paper, to creating exciting effects with novel basic watercolor painting techniques, this tutorial provides you with everything that you need to succeed in learning how to use watercolor paint.
Frequently Asked Questions and Answers
How Has Watercolor Painting Developed as an Art Form in Its Own Right?
According to historical research, watercolor painting goes back to painters like Albrecht Dürer, who experimented with painting techniques of this kind for the first time around 1500. At that time, however, watercolors were initially only the simpler and quicker designs, on the basis of which important oil paintings were then to be created. In the 18th century, the recognition for watercolor painting increased considerably and important artists such as Emil Nolde, Christian Modersohn, William Turner and Paul Cézanne created important works of art with the watercolor technique. Since this time, watercolor painting has been an integral part of the art world.
How to learn to Paint Watercolor?
More than with some other painting techniques it is important for watercolor painting to have a relatively good eye for forms and proportions. Therefore it does absolutely no harm to get some practice in drawing before you start. Comparable to many other painting techniques, the principle is also correct for watercolor painting that this art form can only be perfected with a certain amount of discipline and patience. The more you practice, the faster you will develop your own style of watercolor painting and enjoy significant progress. On the Internet, you will find not only various learning books about watercolor painting for beginners but also various online courses and e-books, which can be very helpful both for the introduction to this hobby, as well as for the further education of advanced students.
Which Watercolors Should Be Used for Watercolor Painting for Beginners?
If you would like to try out watercolor painting first, you can also use cheap watercolors. These are usually sufficient for the beginning, as they usually offer a good color density anyway. However, if you have already had your first successes in watercolor painting for beginners and have gained some experience, the investment in higher-quality watercolors can be worthwhile. These give your works of art a special radiance and can improve the aesthetic expression of the motives quite considerably.

Matthew Matthysen is a multidisciplinary artist. He completed his fine art degree, majoring in History of Art and Contemporary Drawing Practice at the University of Witwatersrand, South Africa. Before joining acrylgiessen In 2020, Matthew worked part-time as an art teacher at Reddford Blue Hills High school. Matthew creates drawing and painting tutorials for acrylgiessen and captures them not only photographically and in written form. He also records the creation of his works in his own creative studio as in video format, from which later with a voiceover and a video editor also drawing tutorials for the Youtube channel of acrylgiessen are created.
Learn more about Matthew Matthysen and about acrylgiessen.