Wet-on-Wet Watercolor – Exploring the Best Watercolor Tips and Tricks
This post may contain affiliate links. We may earn a small commission from purchases made through them, at no additional cost to you.
Wet-on-wet watercolor is probably the most common technique of using watercolor paint. Wet-on-wet painting is an essential technique to learn for watercolor. With wet-on-wet watercolor, you can achieve a variety of beautiful gradients as well as different kinds of color combinations and effects. The wet-on-wet technique is also a great way to make seamless backgrounds. In this tutorial, we will go through some watercolor tips and tricks that help you develop your wet-on-wet watercolor skills.
An Easy Guide to the Wet-on-Wet Watercolor Technique
Wet-on-wet watercolor is quite an easy technique to understand. The quality of the wet-on-wet watercolor technique is what makes the watercolor painting look the way it does. It is a unique quality that is specifically associated with the watercolor medium. Learning the wet-on-wet watercolor technique will help enhance your paintings overall. As we go through this tutorial that teaches you a few watercolor tips and tricks, we will find that there are one or two other techniques that we can use as well, such as wet-on-wet dry techniques.

Necessary Materials
For this tutorial, you will need a few simple materials. Firstly, we want to make sure that we have good paper. A good paper goes a long way, so perhaps consider 300GSM in thickness for the best results. We then want to make sure we have good paints, perhaps a set of watercolor pan paints. We will need some watercolor brushes as well as some scotch tape to secure our paper onto the surface that we will be painting on.
A Guide to Developing Your Wet-on-Wet Watercolor Technique
In this wet-on-wet watercolor tutorial, we will go through three different ways of using wet-on-wet watercolor techniques. Firstly, we want to understand the essentials of the technique by going through more basic methods of using wet-on-wet watercolor. We will make two different types of gradients, one with a single color and another with two colors that fade seamlessly into each other. We will then apply our knowledge of how to paint wet-on-wet watercolor into a landscape painting. Wet-on-wet watercolor is great for backgrounds and can be used to make beautiful clouds. In this wet-on-wet watercolor tutorial, we will make some clouds that you can use as a background to paint scenery on top of. With that said, let us go through the general guide of how to paint wet-on-wet watercolor.
Preparation
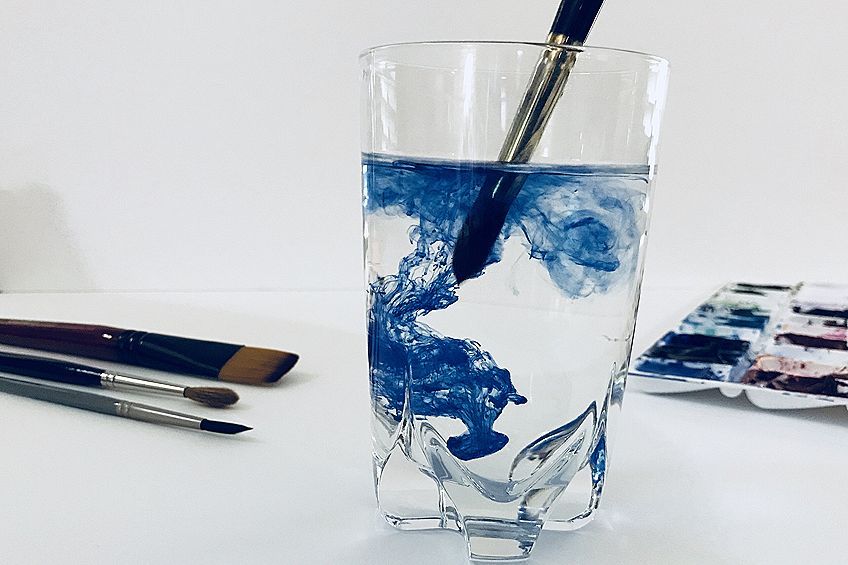
Before we begin let us make sure that all our materials are ready and in place for our tutorial. As we go through this wet-on-wet watercolor tutorial we will want to place ourselves in a quiet space so that we can engage with the steps. WIth wet-on-wet watercolor, you will need some water of course. Make sure you have two jars of water nearby for rinsing your brushes. Lastly, make sure you have fun with it.
Learning a new skill always requires a little focus but painting is a task that can be relaxing and fun to learn.
Painting Gradients
Wet-on-wet is a really nice technique for creating gradients. In this first part of the tutorial, we will go through some watercolor tips and tricks that can help us understand how to create beautiful and seamless gradients.
Creating a Single Color Gradient
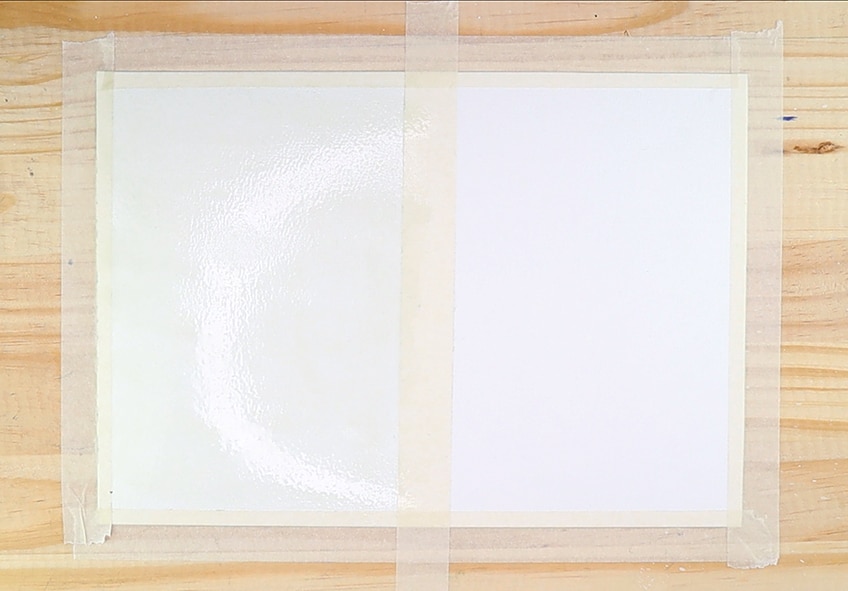
When learning wet-on-wet painting, the most common and useful task to learn first is how to make a simple gradient. We do this by first dividing our page into two with our scotch tape.
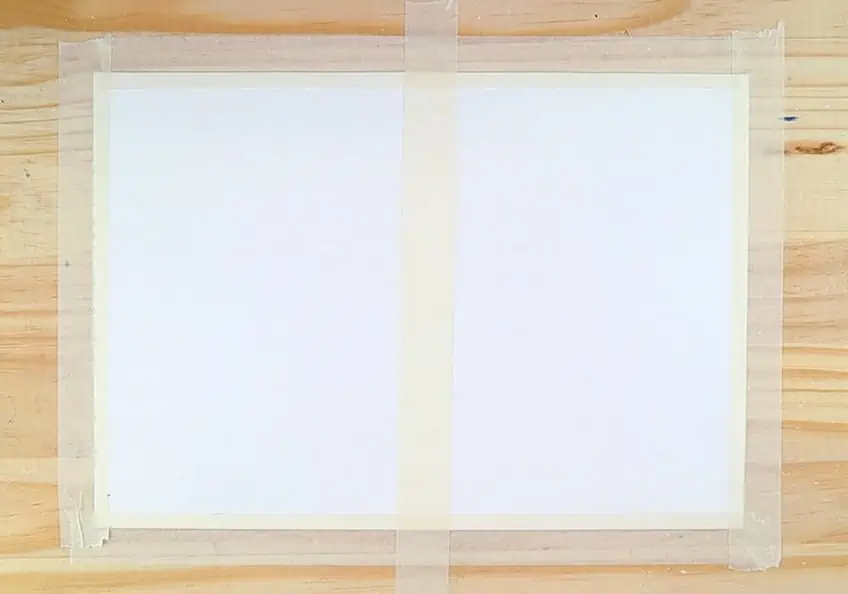
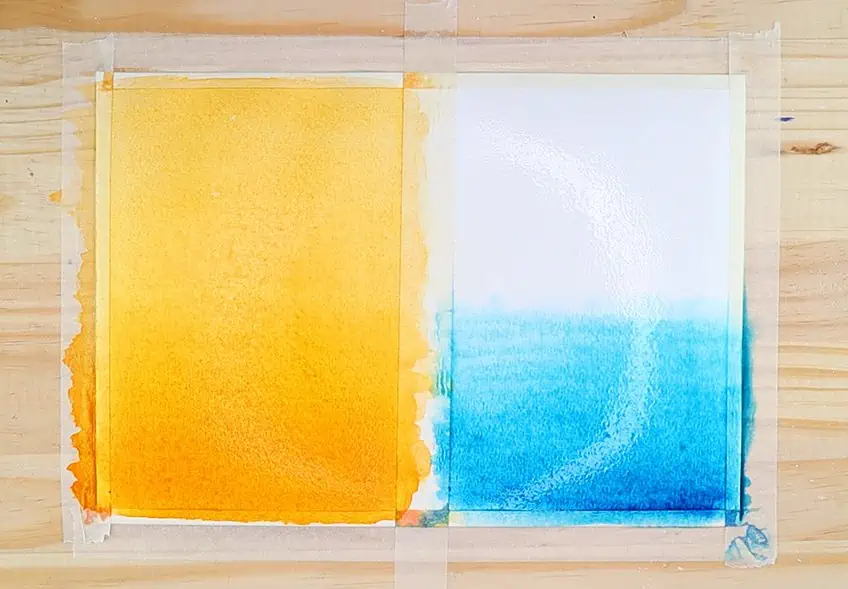
Once we have our page divided into two we will then proceed to coat one side of our page with water. We do this by taking a clean brush which we then load with water and proceed to give a thin coat of water over the surface area covering the whole section.
We will then proceed to mix a color, you can use any color or you may use the color in this orange tutorial. We want to just work with a single color for this first gradient. We will then proceed to make strokes at the bottom of our sectioned-off area of the paper.

The aim here is to work full strokes into the page, moving from left to right. The strokes should move along the whole page that is wet. As we make these strokes we want to slowly work these marks up the page. As we do this we will notice how the paint naturally fades as we move up the page.
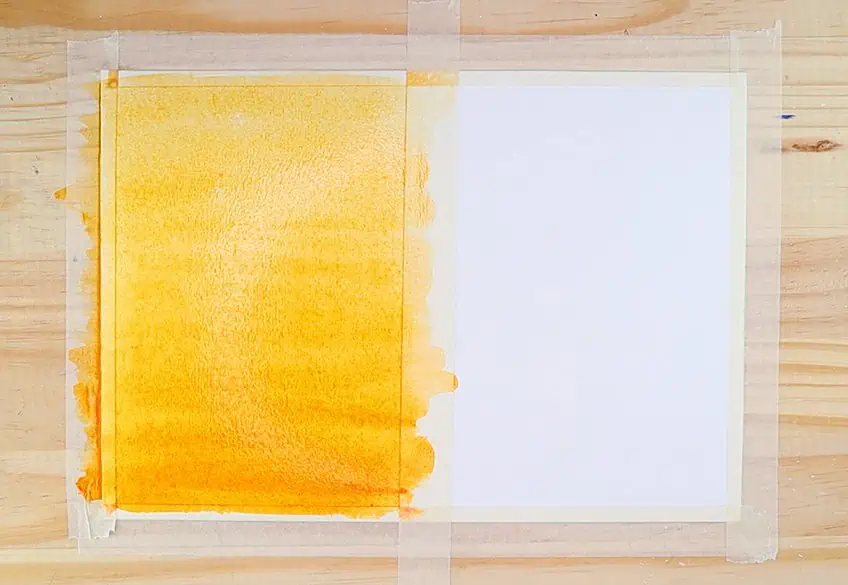
We want to work our way up the whole wet section off-page. We do this by making strokes from side to side up the page until we reach the top. Naturally, the water will allow for the paint to dry evenly leaving no distinct marks between the lightest and most saturated areas of the color.
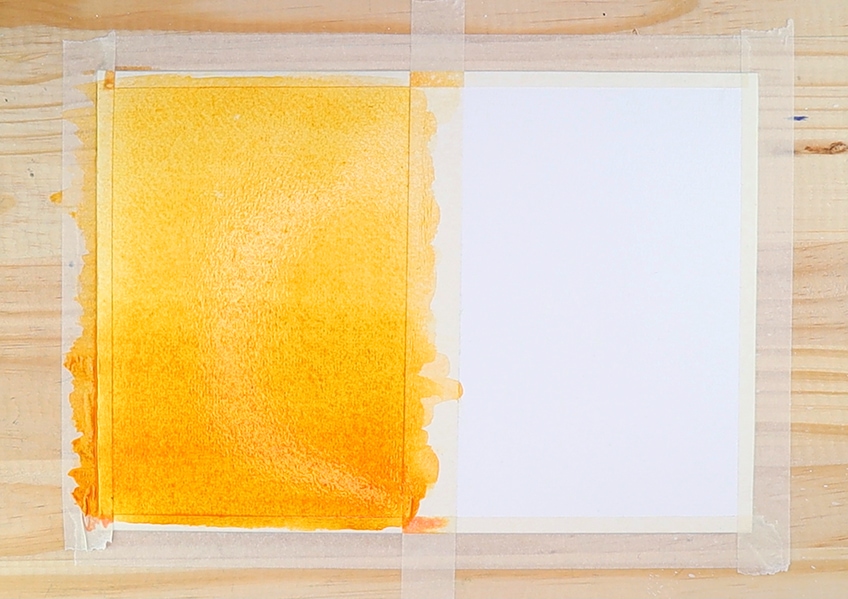
If we want to make the color more vivid, we don’t start in the middle of the page, we start at the bottom again. We want to make sure that we are painting a gradient that moves from dark to light. To do this as seamlessly as possible, we add paint at the bottom of the page and work it up to the top of the page.
Creating a Dual Color Gradient
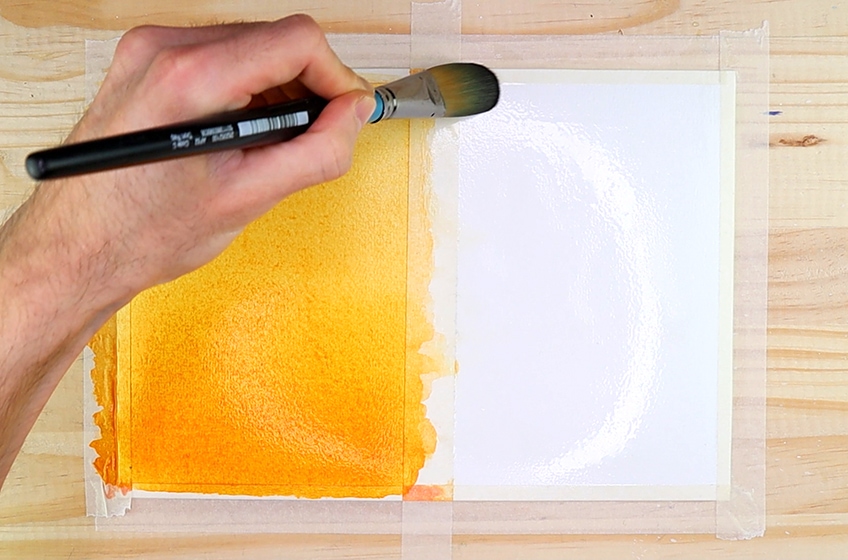
We will now proceed to wet the other section of our page whilst our first painting dries. We do this, again, by loading a clean brush with water which we then proceed to apply evenly on the surface of the entire section. We want the entire section to be coated with a layer of water.
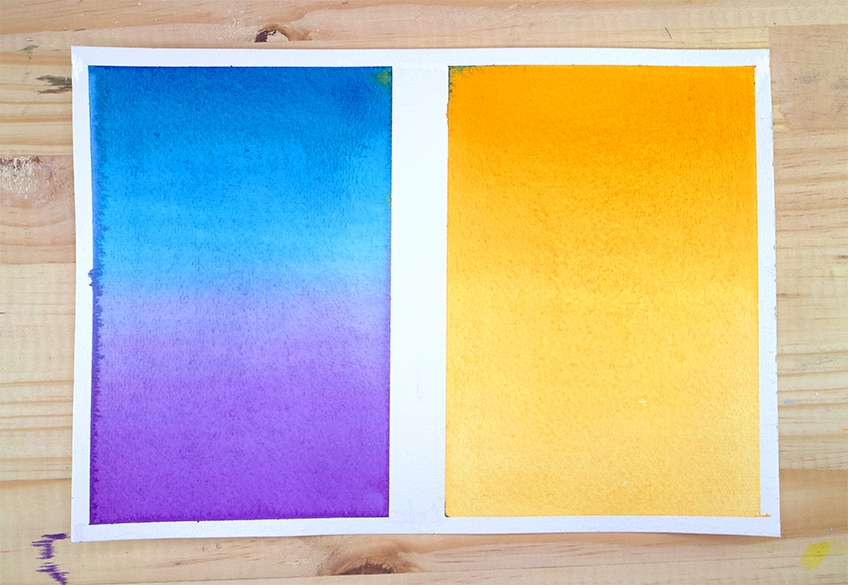
We will now make a gradient with two colors that will merge into each other. Let us use blue and purple. We begin by adding blue at the bottom of the sectioned-off page. Similar to the first gradient, we will make strokes moving the color up the page, allowing it to naturally fade.
We will now proceed to do the same thing with another color which we apply to the top of the page. Similar to the last step we will make strokes from side to side moving the paint downward this time. We want the colors to merge into one another. Try to be swift with this as we want the page to remain wet whilst doing it.
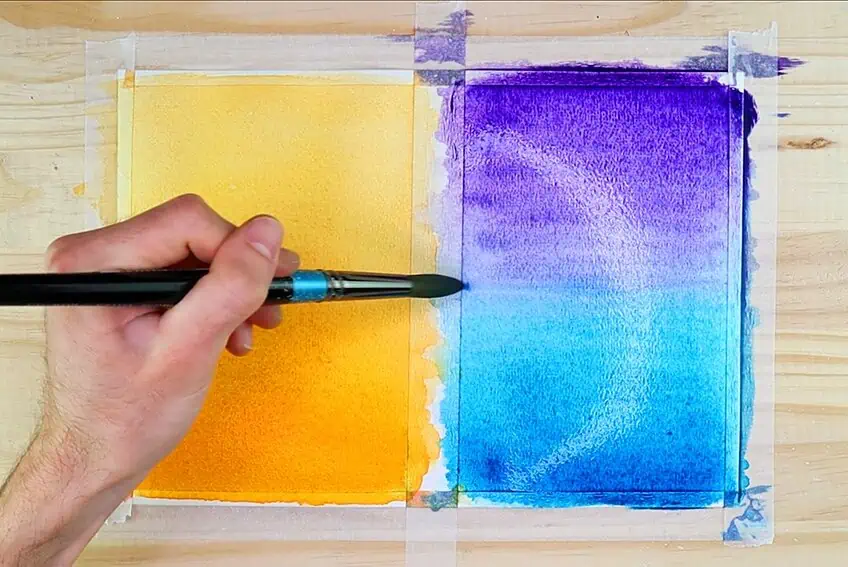
Another good tip is, as you load your brush with more color to give the gradients more saturation, try keeping it very wet. With both colors you want to paint them from the top or the bottom of the page, slowly painting the colors into one another. For instance, if you want to make the blue more saturated, start from the bottom and paint strokes along with the page into purple. As it dries there should be a seamless integration between the two colors.
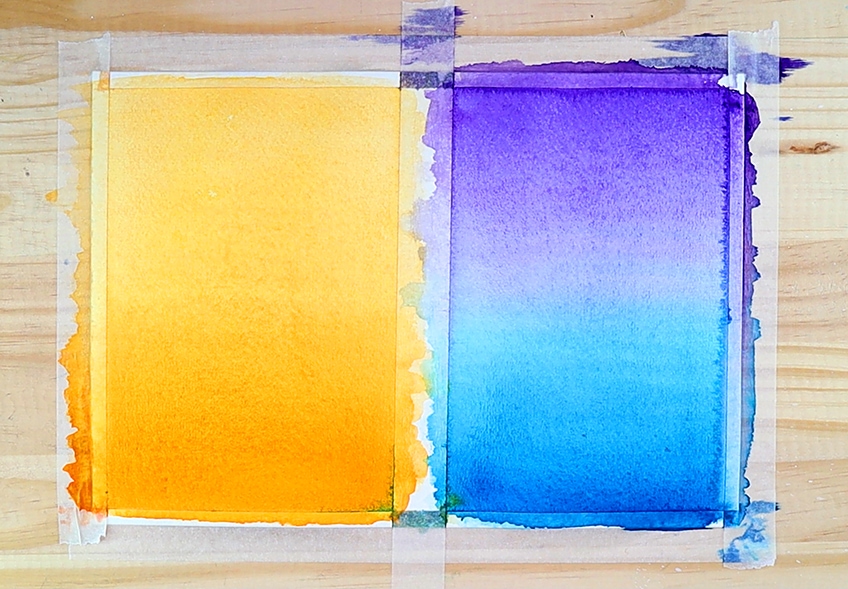
We can proceed to remove the tape from our page. Try to do this slowly, as you don’t want to tear your page. We should be left with beautiful white borders around our gradients. If there are some little bits of paint on the borders, don’t worry too much. You can also just make sure that you secure your tape on the page more firmly.
Painting Wet-on-Wet Watercolor Sky
Wet-on-wet is a great technique for making skies and clouds. The thing about skies is that all skies are different. This means that we can be really playful with color combinations and various paint stroke shapes that we use. We will now proceed to paint a sky using the wet-on-wet technique allowing for the colors to integrate in a seamless way that can be used as a way of creating clouds.
Creating The Sky
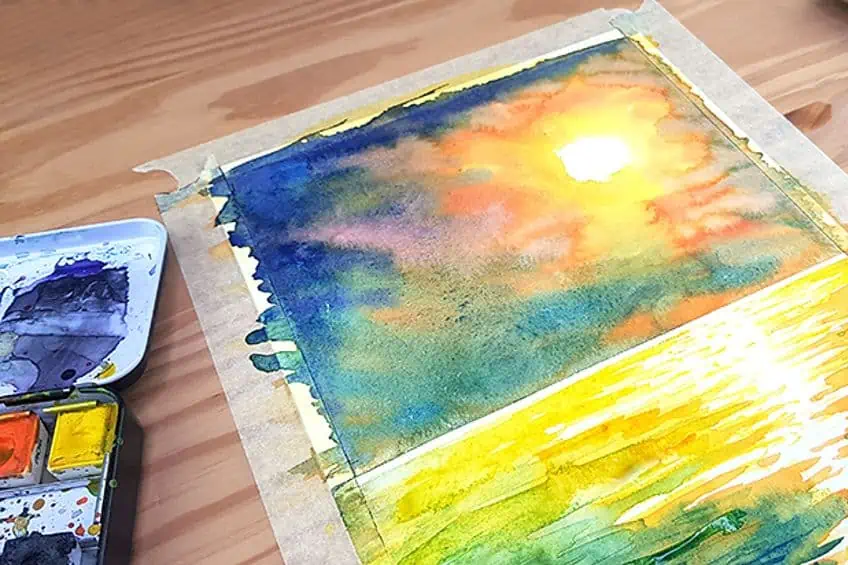
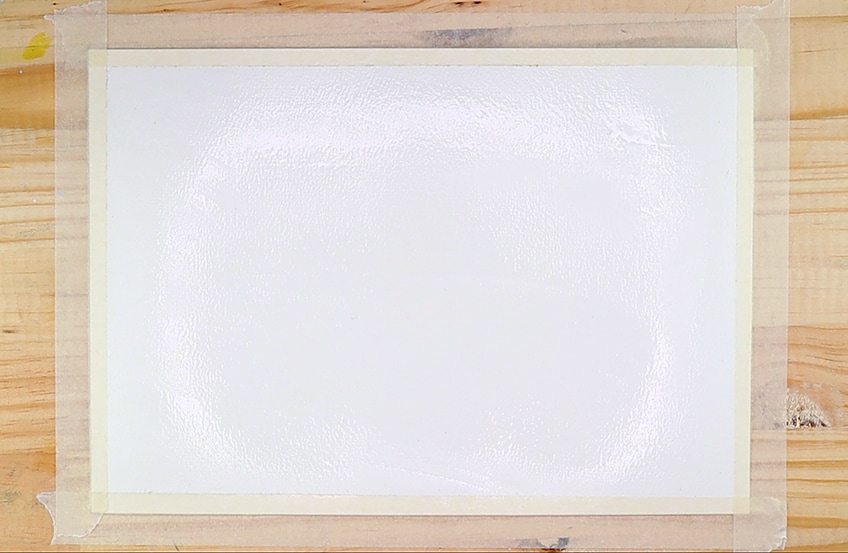
We will now carry on this tutorial by using the wet-on-wet technique in a landscape by creating clouds. Clouds are a great subject matter for painting with wet-on-wet watercolor. This is because all clouds are different and come in various shapes and colors. We begin by taping down a new piece of paper to our surface. We will then proceed to coat our whole page with a thin layer of water. We want to make sure that we apply an even coat of water, covering the whole surface area of the page. We want all areas of the page to be covered by water, allowing for color to integrate into the whole page.
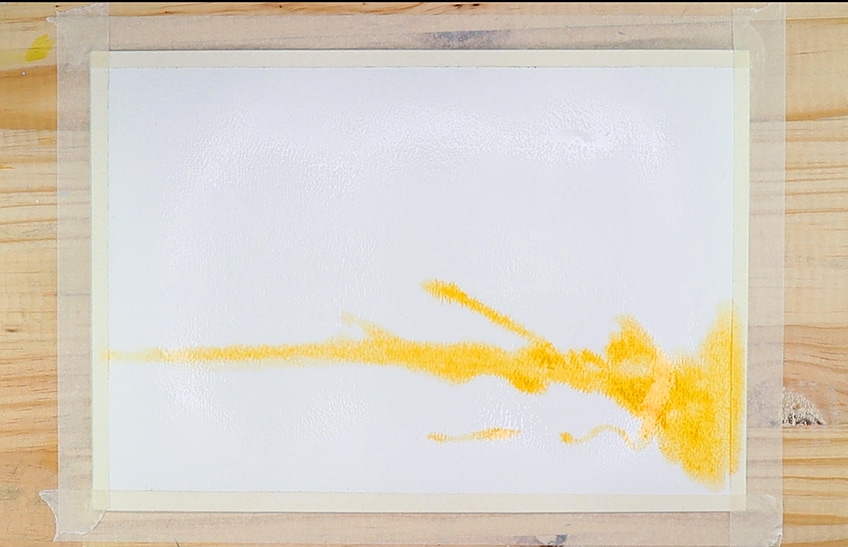
Whilst the page is still wet we want to start adding strokes of color onto the page. Skies and clouds can be different in a variety of ways, this includes a variety of colors. However, a good color combination often is blue, yellow, red, and purple. Begin to add strokes of different colors in various directions on the page.
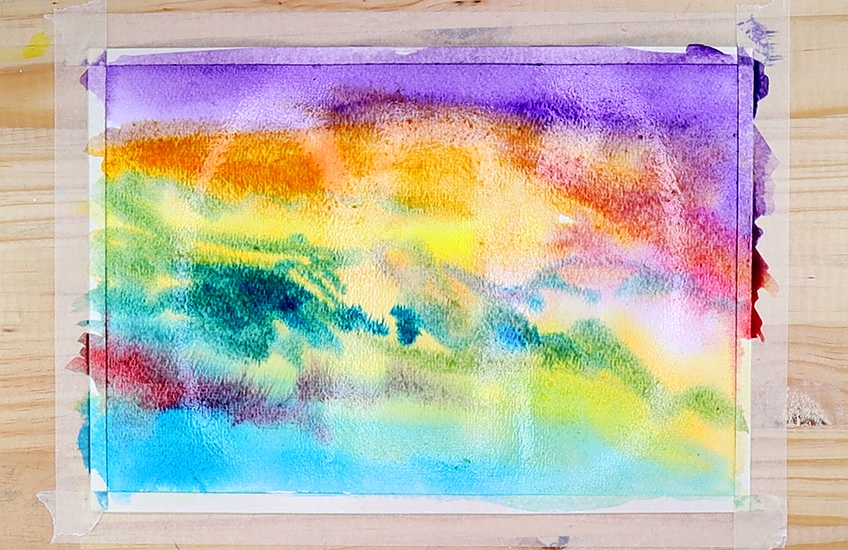
We want to simultaneously paint other colors moving in various directions. Applying these different colors onto the wet page will allow for the colors to seamlessly merge into one another. The wet surface will allow for the colors to flow and spread along with the page, creating interesting organic shapes.

As you proceed with this process, think of the shape and form of different clouds. As you paint these marks on the surface of your page, allow yourself to leave moments in the painting that are light. This will create lighter and darker moments in the sky that will reflect the quality of clouds in the sky.
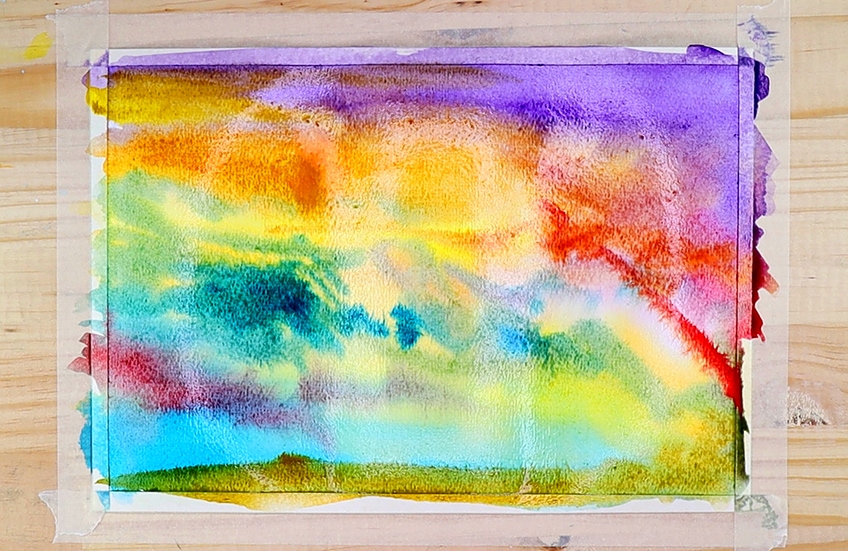
You can be very playful at this point as all clouds and skies differ in many ways. The only thing that contextualizes the sky as a sky is by creating a horizon line. You can do this by painting a stroke along the bottom of your page. You just want to fill it in with a single color to give the quality of the ground.
Painting the Scenery
We should at this point allow our sky to completely dry. Wet-on-dry is a great technique to use in combination with wet-on-wet watercolor. Without any subject matter painted onto the background, we will see that we are left with an image of various integrated colors.

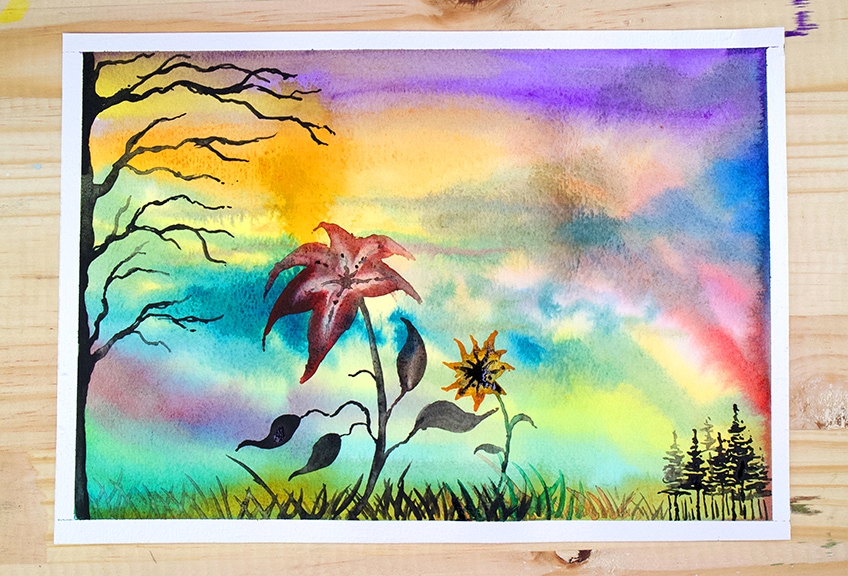
Once your sky has completely dried you will be left with a colorful background where all the various colors seem to seamlessly flow into one another. This can be a background for various features that might stand in the foreground and contextualize it like a sky. For instance, you could paint flowers.
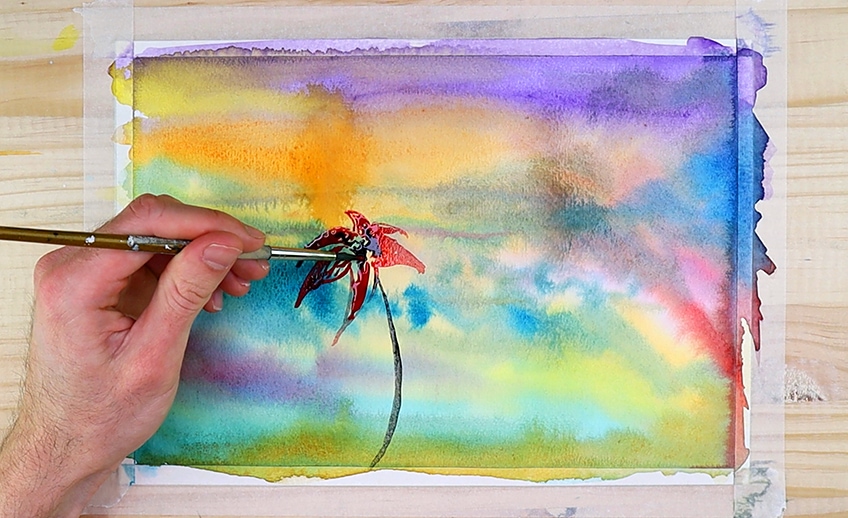
If you paint flowers you can also play around with the scale of objects to define the depth of field that your landscape is set in. For instance, painting flowers depicted largely in the foreground can be contextualized as close up by painting trees smaller in the background.
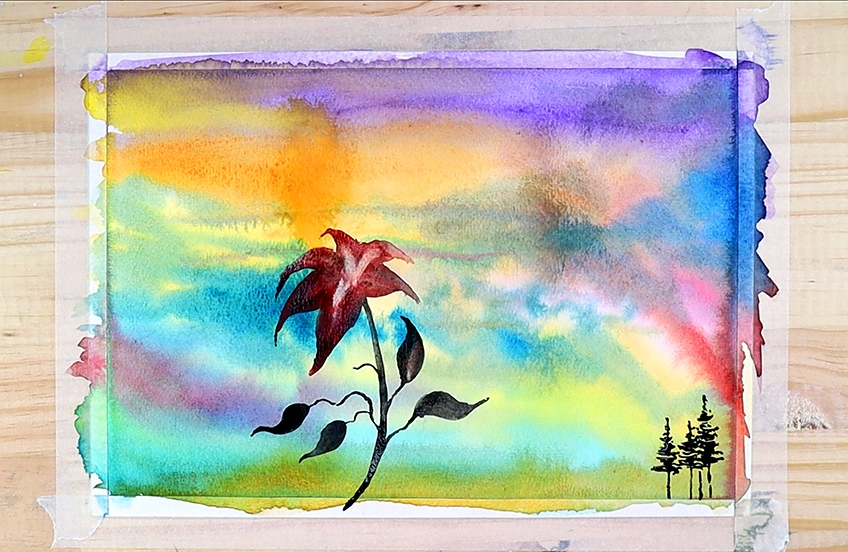
At this point it is really up to you and how you want to contextualize the colorful sky. You can do that by painting a field, trees or flowers. This section of the tutorial aims to allow you to explore how you can utilize the background for a painting.

That is how you make a sky with the wet-on-wet watercolor technique. Wet-on-wet watercolor can be used in various ways, in this tutorial we just went through a few simple ways of utilizing the technique. Wet-on-dry watercolor is also a great technique to use in tandem with wet-on-wet watercolor.
You have learned a few watercolor tips and tricks which you can apply to your watercolor paintings.
Tips to Remember
The wet-on-wet watercolor painting technique is at the same time one of the most forgiving and most tricky techniques to master. It is important to let your creativity run loose, but if you run into any trouble, here is our list of our top watercolor paintings tips.
- Try to set aside time when doing this tutorial. It will take some time and focus.
- When you wet your page, try to keep the layer of water on the page thin and evened out.
- The wet-on-wet technique does require working whilst the page is still wet. So try to keep the page wet as you paint.
- Make sure you always have two jars of water when painting.
- When you make seamless gradients that cover a full space, you want to paint the color to the end of the page.
- Always use larger brushes to coat your paper with water.
- Always make sure you coat areas with the water you want to be painted on your page. It’s easy to forget corners of the page, so keep an eye out for that.
In this wet-on-wet watercolor tutorial, you will have found that the color flows into areas of the page where the water has been applied. The water allows for colors to merge seamlessly without any significant lines. This can be a great quality to add into paintings that can be used for various reasons, such as clouds, in this tutorial for instance. When working with wet-on-wet watercolor technique, you want to work swiftly
Frequently Asked Questions
What Happens When You Paint Wet-on-Wet With Watercolor?
Wet-on-wet watercolor is a term that defines a technique of using watercolor paints, whereby the paper is often coated with some water before paint is applied to it. This allows the paint to move along the page more seamlessly as it spreads the paint through the medium of water. This technique can create seamless and beautiful drying effects on the paper that can often be used as backgrounds to more distinct and fine lines. Some good watercolor painting tips for wet-on-wet watercolor is to utilize the wet-on-dry technique. Once you have created a beautiful background using the wet-on-wet technique, applying new paint on top of the dried background, known as wet-on-dry, can be a great way to enhance the wet-on-wet qualities of a painting. This is generally how one would use wet-on-wet in tandem with other watercolor mediums.
What Is the Difference Between Wet-on-Wet and Wet-on-Dry Technique?
Wet-on-wet watercolor is when we apply wet paint onto a wet surface. This application method can create seamless gradients and allows for paint to merge into each other without any distinct lines. Wet-on-dry, however, is a more classical way of painting whereby the application of wet paint is usually applied to dry surfaces, resulting in more distinct features in a painting. Wet-on-wet watercolor is good for creating blurred-out backgrounds, gradients, clouds, or anything that has subtle line compositions. Wet-on-dry is good stark features, like trees, animals, and other subject matter that you would like to stand in the foreground.
What Can You Paint With Wet-on-Wet Watercolor?
The most common and classical method of painting with watercolor is often to start with coating a page with water and then proceeding to apply paint onto that wet surface. This is called wet-on-wet watercolor and there are many things one might be able to paint using this method. A really fun way to make backgrounds in paintings is with wet-on-wet watercolor. This is because the water in wet-on-wet painting allows for the paint to seamlessly integrate into the page. This can create a blurring effect once you paint new marks over that dry surface, resulting in a quality of depth in the page. Another fun subject to paint in with wet-on-wet watercolor clouds. The wet-on-wet technique works well with painting clouds, this is because clouds are always unique and different and come in various forms and colors. Wet-on-wet watercolor is a fun little hack to make clouds by making scribbles onto a wet surface with your paint, resulting in various forms and colors. Once that has dried, painting landscape scenery like mountains or trees can easily contextualize the wet-on-wet watercolor as clouds. You can paint many things, it’s just about experimenting.

Matthew Matthysen is a multidisciplinary artist. He completed his fine art degree, majoring in History of Art and Contemporary Drawing Practice at the University of Witwatersrand, South Africa. Before joining acrylgiessen In 2020, Matthew worked part-time as an art teacher at Reddford Blue Hills High school. Matthew creates drawing and painting tutorials for acrylgiessen and captures them not only photographically and in written form. He also records the creation of his works in his own creative studio as in video format, from which later with a voiceover and a video editor also drawing tutorials for the Youtube channel of acrylgiessen are created.
Learn more about Matthew Matthysen and about acrylgiessen.