How to Use Watercolor Pencils – An Easy Watercolor Pencils Tutorial
This post may contain affiliate links. We may earn a small commission from purchases made through them, at no additional cost to you.
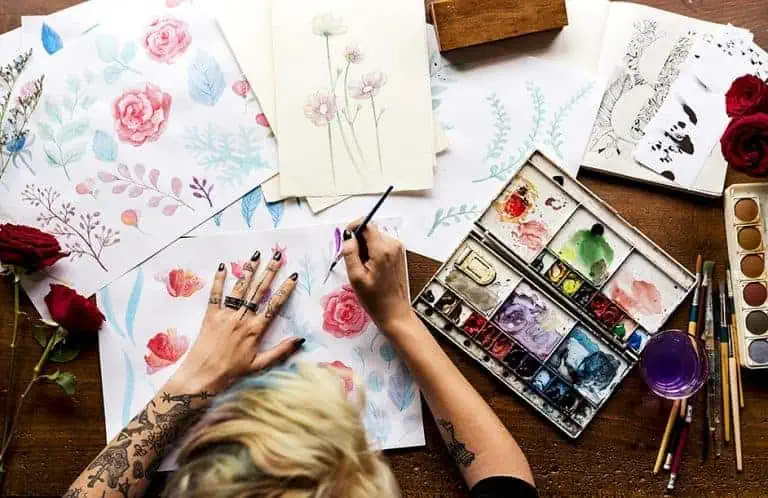
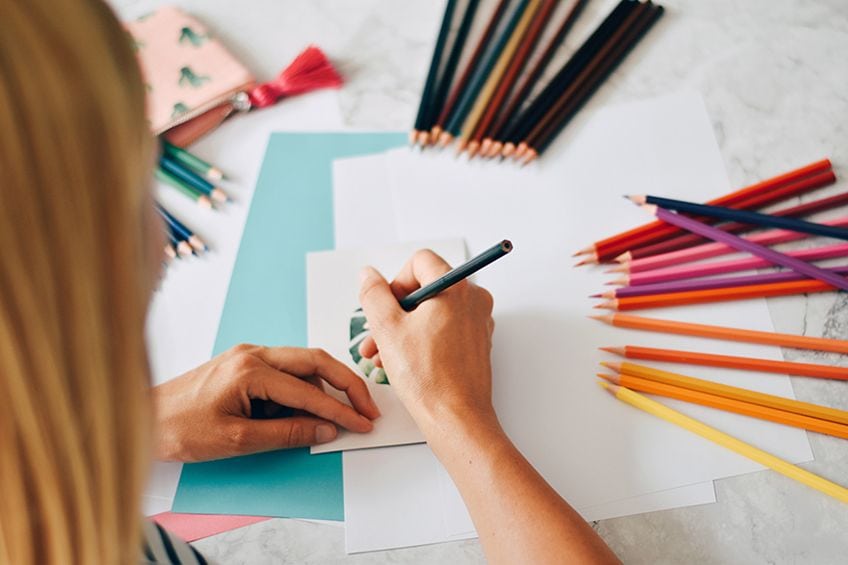
Firstly, what are watercolor pencils? It is a pencil that is water-soluble which means the pigment responds to water and can be activated by water. Using a watercolor pencil is a very unique medium that sits in between both watercolor painting and drawing. Most watercolor pencil art that you may have come across was achieved through a variety of techniques. A watercolor pencils drawing has quite a range of possible mark-making processes. In this tutorial, you will learn how to paint with watercolor pencils. We will go through a variety of techniques.
Before We Start
So, what are watercolor pencils again? They are colored pencils that are water-soluble. It helps to know this because the water response to the pencil can be unpredictable in some cases. However, what is nice about learning how to paint with watercolor pencils is that a little bit of water can often reactivate your marks if you feel that they might need a slight change. Using watercolor pencils requires a more relaxed approach so make sure you have time and a comfortable environment when doing this tutorial.
The Necessary Materials
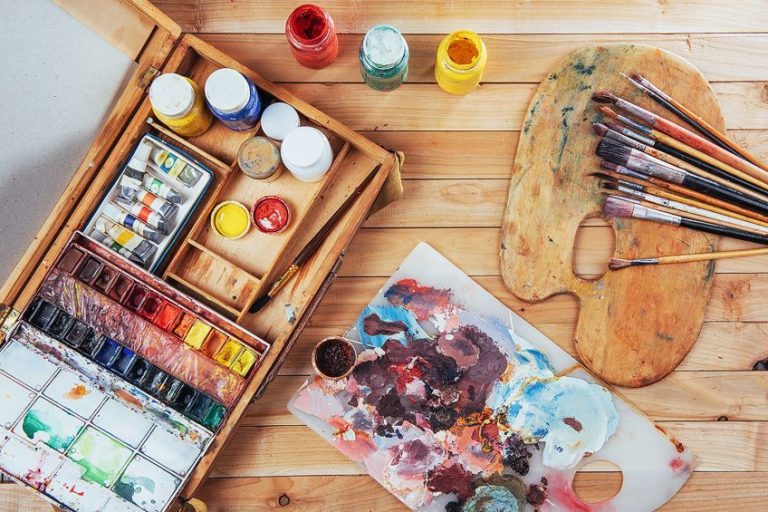
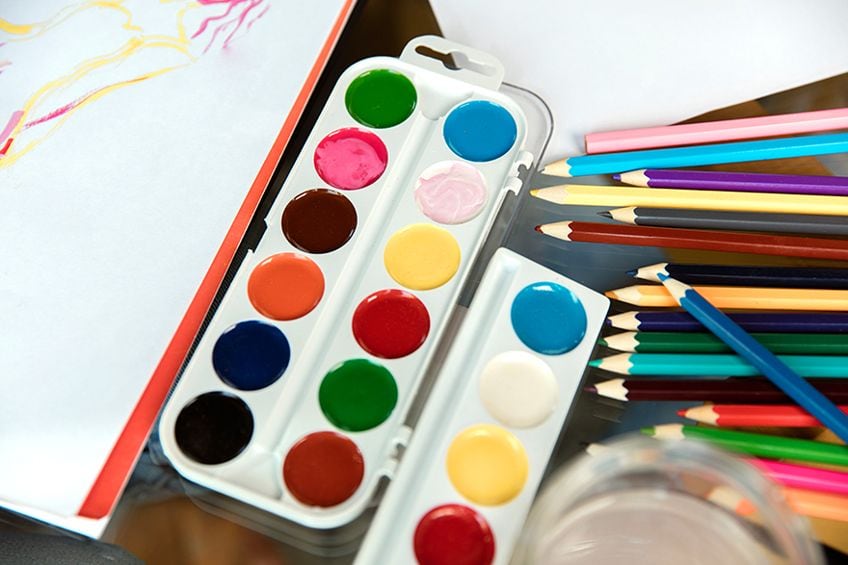
Firstly we want good paper, any A3 watercolor paper is good and can be bought in your local art shop, however, make sure the grammage of the paper is above 300 GSM. We want to use watercolor paper because the medium uses water which will warp the paper if we do not use good paper. Secondly, we will want to have a good set of watercolor pencils. Depending on where you are situated in the world will affect what you have available to you in your local store but below is a list of good suggested supplies. Thirdly, we want some good watercolor brushes. We can also use just normal acrylic brushes as well as they work just as well for a beginner stage.
Lastly, we will be doing some cutting, however, there is no need to put a link for scissors as you can use any scissors available to you or at your local stationery shop.
- Paintbrushes
- 300GSM paper
- Arteza Watercolor pencils
- Ruler
- Scotch/Masking tape
- HB pencil
- Sharpener
Preparation
When learning how to paint with watercolor pencils we want to first break down the watercolor pencil drawing techniques. What we are going to do is first cut out little 5cm x 10cm little watercolor paper cards. What we will do is create little watercolor pencil drawings that help us navigate various techniques that will help us to better know how to paint with watercolor pencils. In this watercolor pencil tutorial we will learn seven different techniques, so cut out seven little cards from your watercolor paper.
Techniques for Creating Watercolor Pencil Art
There are various watercolor pencil tutorials that describe various techniques within a singular drawing. However much that may be useful, in this tutorial we will be breaking down each technique in a more simple format. By focusing on the various techniques individually we can define them in a variety of ways to be applied to watercolor pencil art. Watercolor pencil drawing is one way to use them but learning how to paint with watercolor pencils is another way. That being said, let us go through the various methods.
Method 1: Water on Pencil Technique
This is the most common watercolor pencil drawing/painting technique and is quite essential for the watercolor pencil repertoire. Essentially this technique is about applying a watercolor pencil park to the paper and then applying a stroke of a watered paintbrush onto the pencil mark.

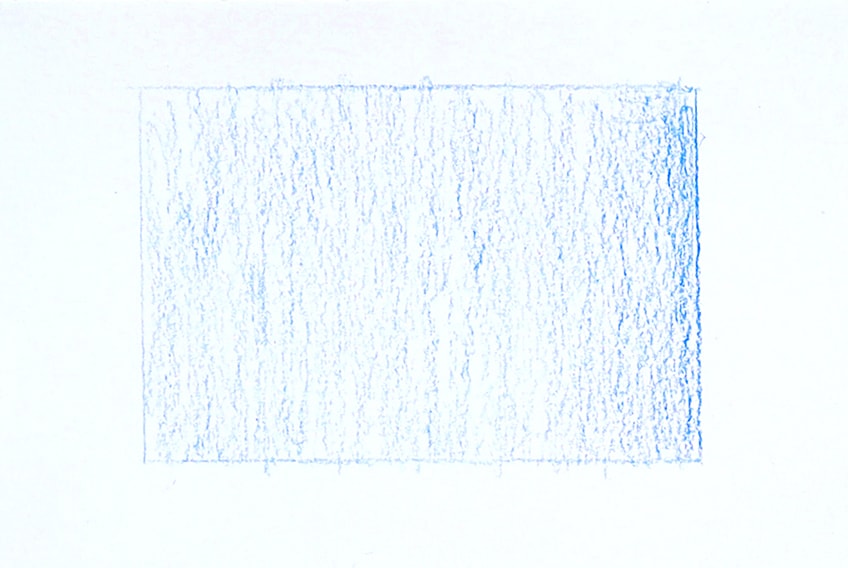
Let’s start by taking our HB pencil and making a little square to draw/paint in. Giving ourselves a demarcated area to work within also helps us to refine our precision when applying the watercolor pencil to the paper. Now what we are going to do is color the right side of the square and slightly lighten the color as we move along the little demarcated square towards the left. This is because the pencil is water-soluble which means when applying water, we will be able to move the color quite easily.
Now we can dip our brush, perhaps a medium-sized brush, into the water and starting from the darkest colored area begin to paint strokes. We want to have a steady motion trying to fill the square with the blue pigment moving the color from one side to another. Our little blue square should be filled and have a similar tonal variety throughout the whole square. We should see a slight variation in the tone but the aim is to move the paint consistently throughout the whole square from one side to another.
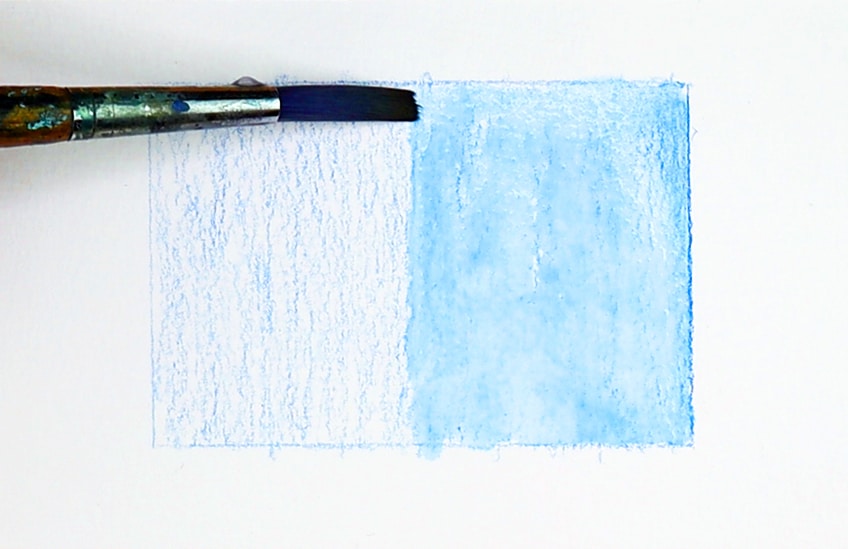
What we should be left with is a blue square that is somewhat light due to the water’s effect on the amount of pigment. The more pigment applied or pencil marks made the more vivid the color will be. However, you always want to work slowly and cautiously by layering light marks slowly and steadily.
Method 2: Fading Colors Technique
This technique is great for a variety of reasons. It often can create beautiful color combinations that often work well in watercolor pencil drawings of nature and various surface textures. When doing a watercolor pencil drawing, it is helpful to have this technique in the pocket as it can create an interesting range in the overall quality of your image
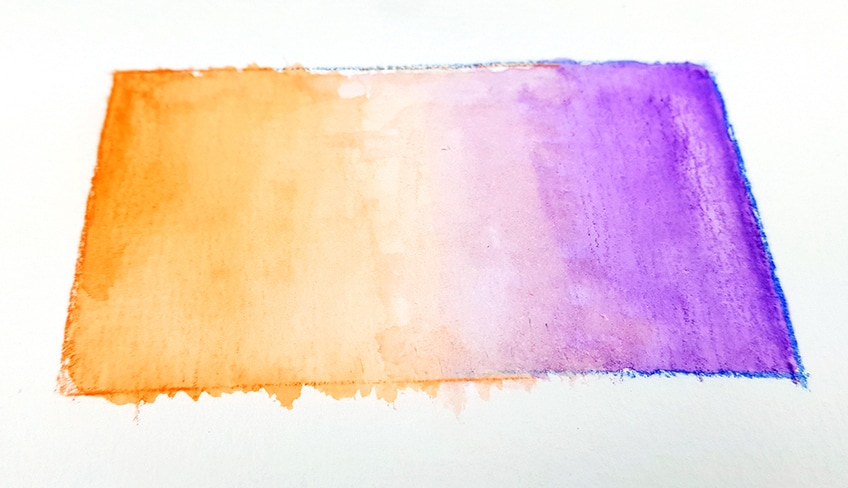
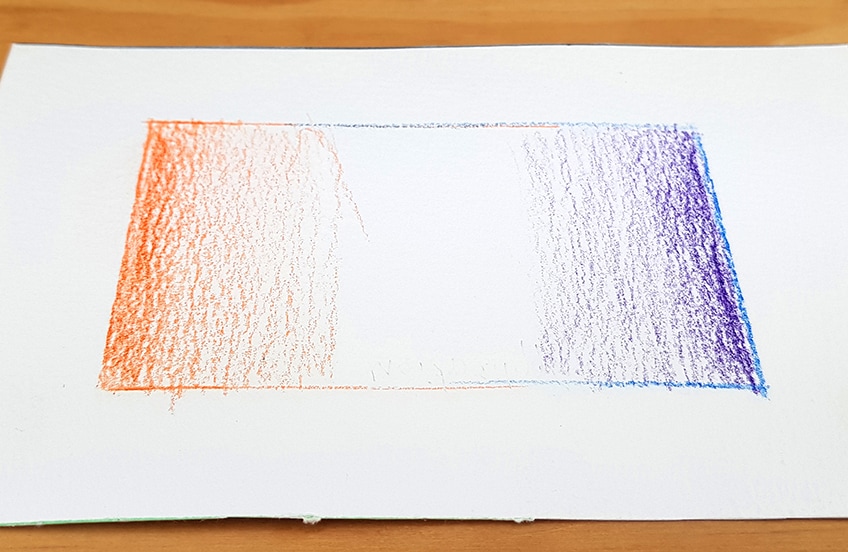
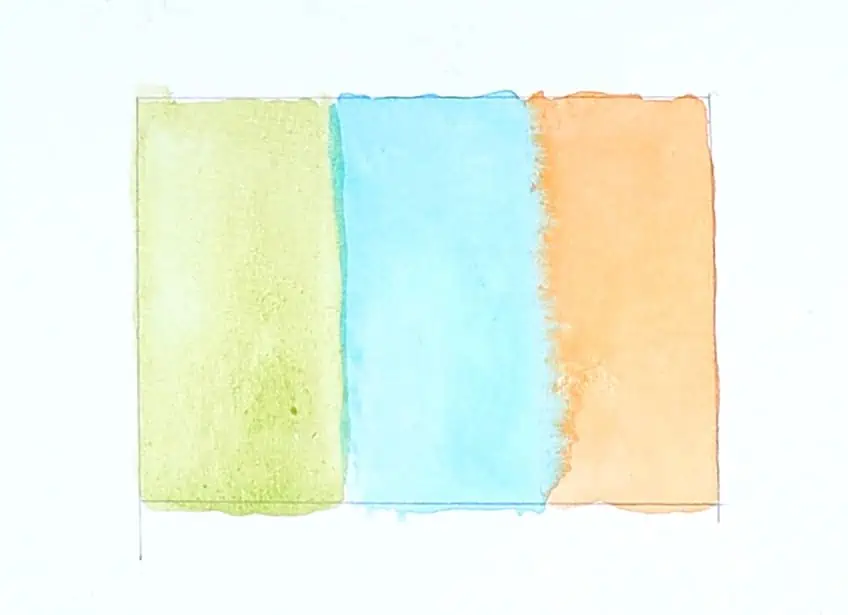
Let us begin by making another little square to draw/paint in. However, this time let us use orange and purple. What we are going to do is color each side of the square, lightly fading our colors inward toward the center of the square as well as each other.
We can then take our brush and give it a dip in some water and begin to make strokes on one side first starting with the purple. You want to make steady swift up-down strokes moving the purple color inward toward the center of the square.
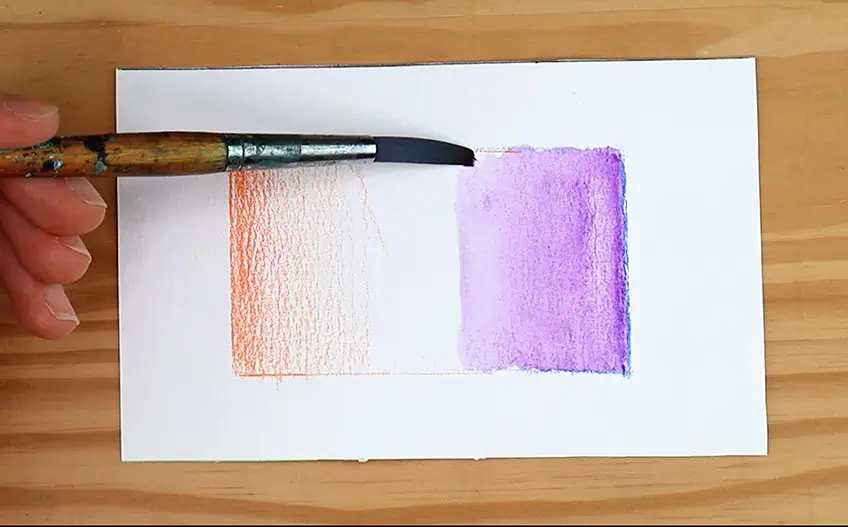
Whilst the purple is still wet, give your brush another little dip in the water and begin to do the same action on the side with the orange pigment. Again we want to make swift up-down strokes moving the color into the center of the square. This time move the color into the purple pigment.

As you move your colors into the center, allow the touch of your brush on the paper to slightly lighten as you slowly try to merge the colors by making light strokes. You can also make your strokes side-to-side as well as circular merging the colors until the colors seamlessly merge.
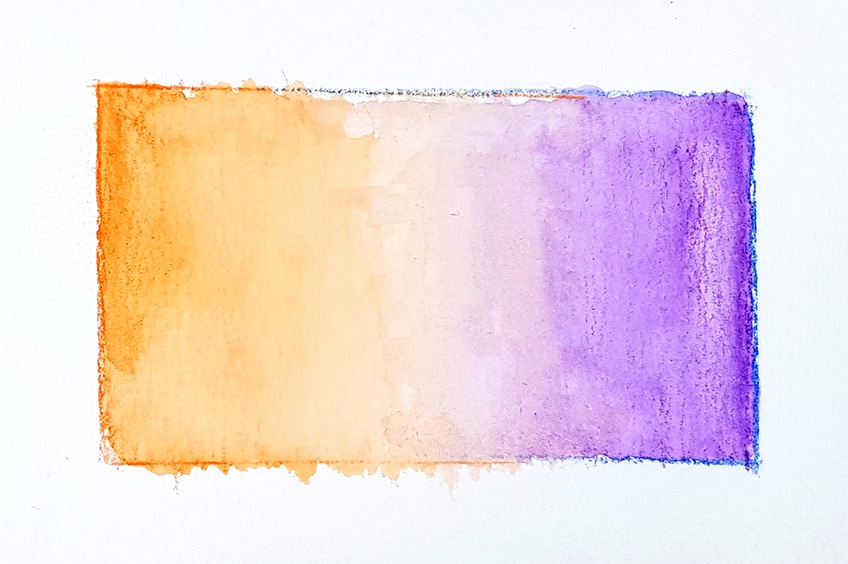
Once you have merged the colors allow it to completely dry. As it dries, it should dry with a seamless fade from one color to the next. If there are some significant lines, don’t worry too much as it is a unique quality of the medium and often gives an interesting quality to an image.
Method 3: Mixing Colors Technique
This next technique is another great way to create a seamless fade of colors that can also result in a new color that becomes present by the mixing of the colors available to you. This is a great watercolor pencil technique that can be used for various reasons and broaden the color variation in your drawing/painting.
Let us begin with another little square drawing on a new piece of cut-out paper to demarcate the area that we will draw in. This time color each side of the square with a different color, perhaps blue, red, pink, and green. We can allow the colors to overlap in the corners.
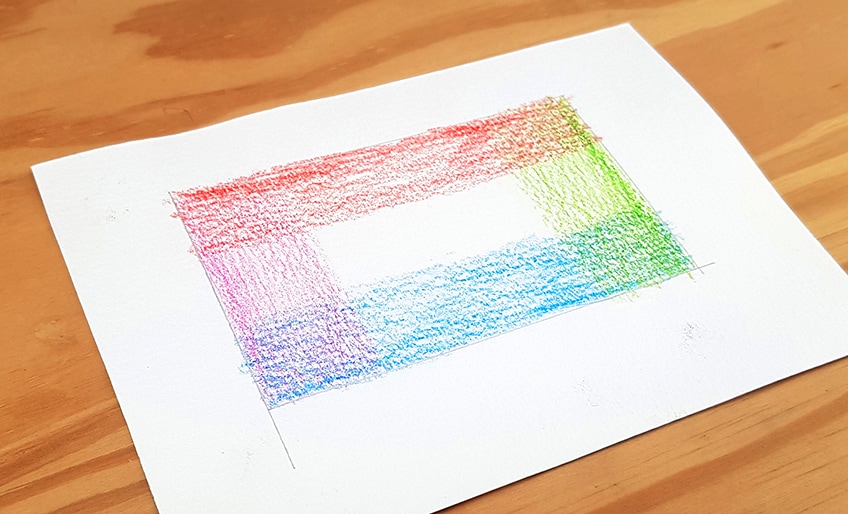
We can then take our brushes, give them a little dip in some water and begin to slowly paint over the colors. Start from one side and work your way around the square. In Between colors allow yourself to reload your brush with water if necessary.
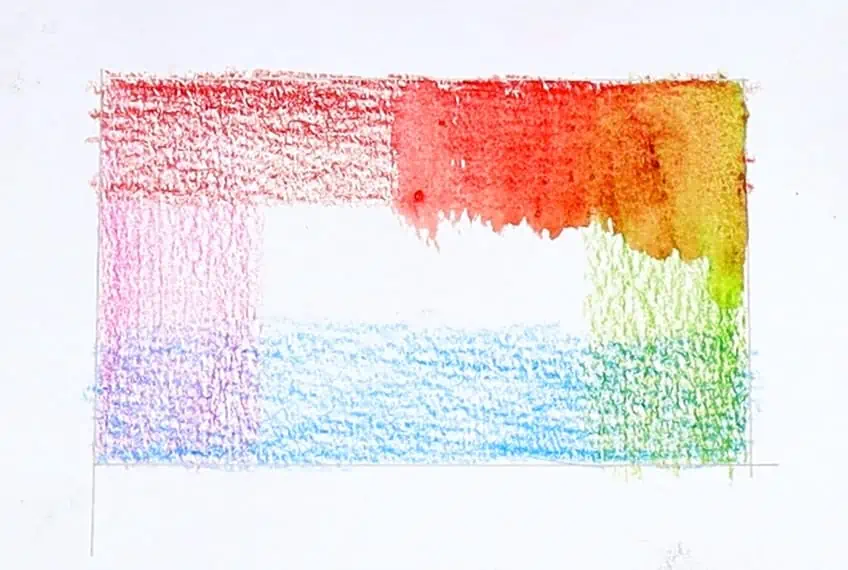
We want to work around the square with our watered brushes, allowing ourselves to make wet strokes on the individual colors but then also in the corners where the colors overlap. The aim here is to be free and allow the colors to mix and merge.
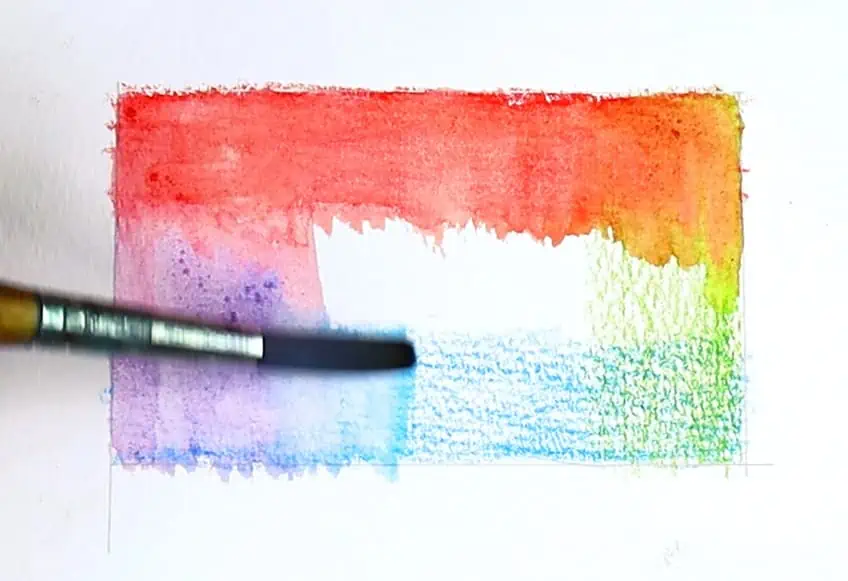
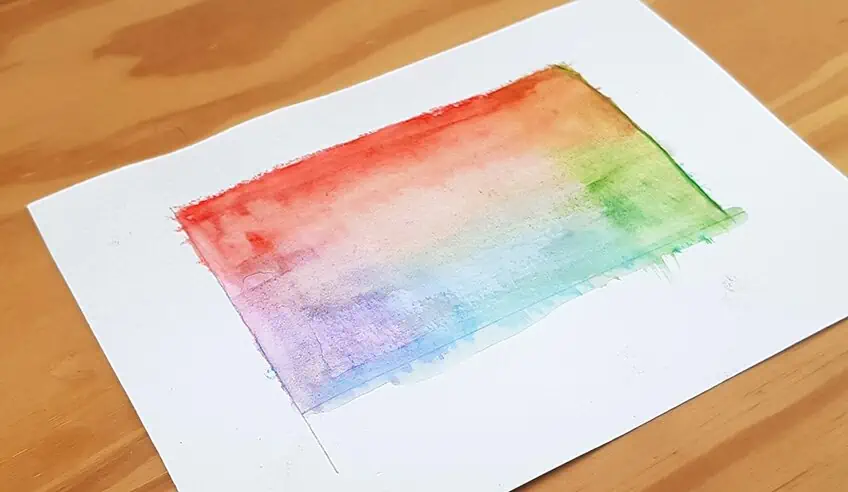
Once we have gone through all the colors around the square we can begin to make various movements where we aim to merge the various colors. It’s nice to use a variety of colors when trying out this technique because we want to see a broad spectrum of colors.
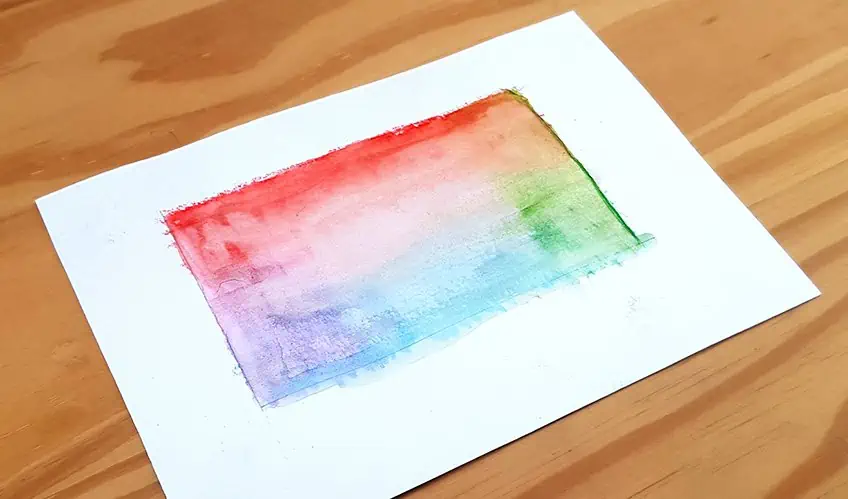
After you have mixed the colors, allow the image to completely dry to see the final result of the technique. We should aim for moments of individual color but then new colors form the mixing of the ones that we have available to us. This is a technique that can make beautiful color variations
Method 4: Palette Painting Technique
This technique is more of a painterly technique than drawing. This is where we take a spare piece of paper and create a palette of various colors and activate them with our wet brush. The paint then is loaded onto the brush which we then proceed to use as paint on a brush. This is a very beautiful way of creating a watercolor painting effect.
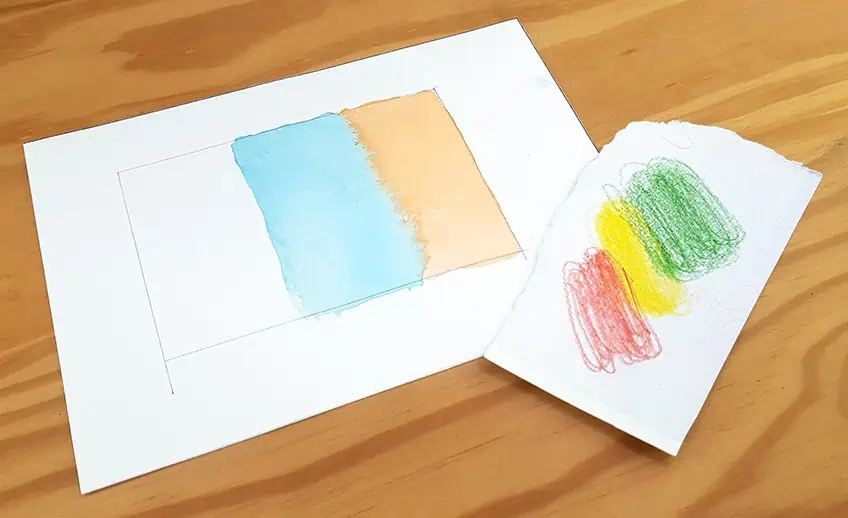
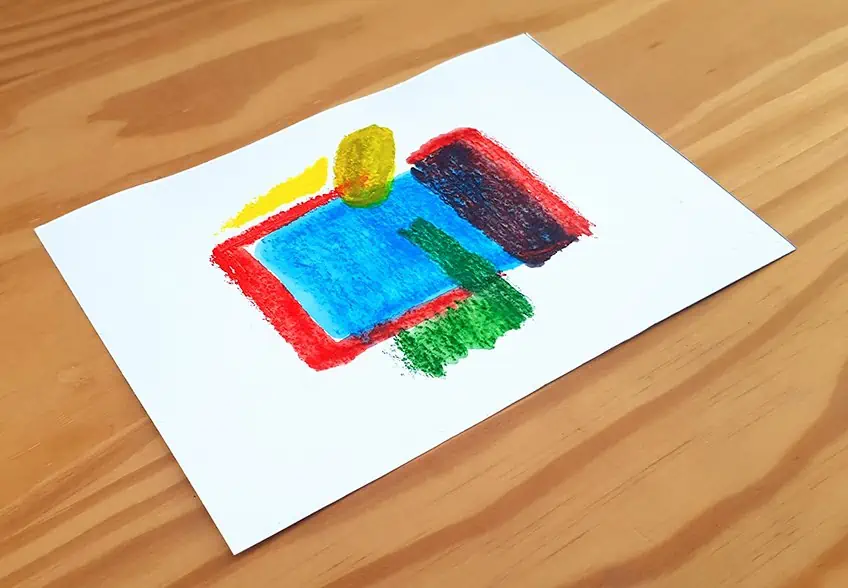
Let’s begin by making another little demarcated square to draw/paint within. We then want to take an off-cut piece of paper and begin to give it a little scribble with one or two of our colors. We can use orange and blue and create a little scribble palette on our paper.
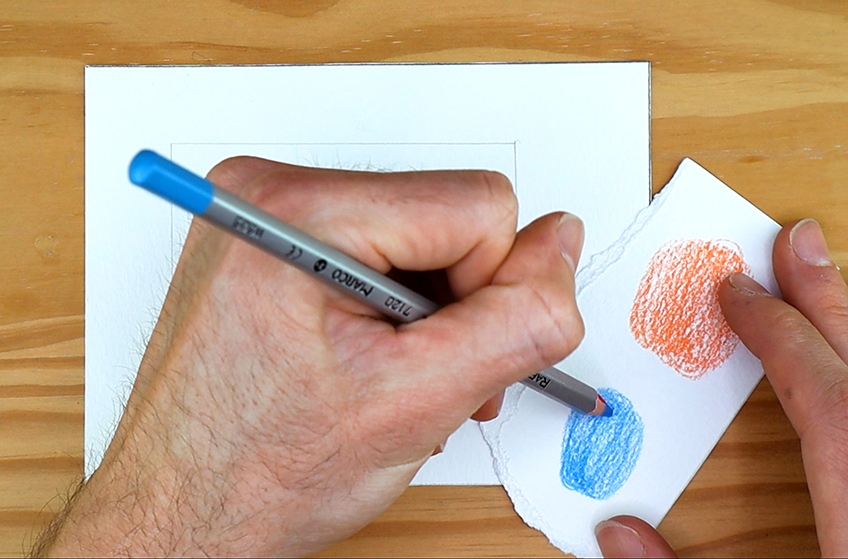
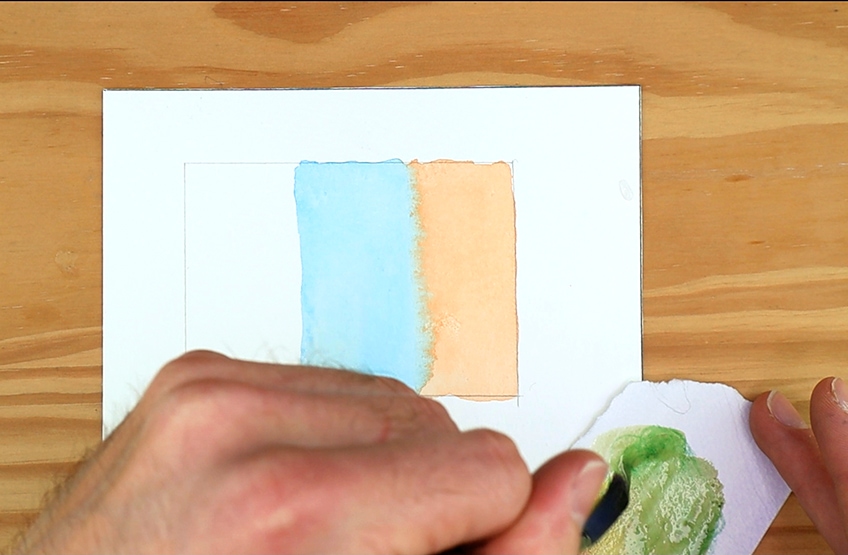
We can then proceed to load our brushes with some water as we will then activate the colors on our paper palette with the water. We then will proceed to make three little sections of color within our square in a painterly fashion.

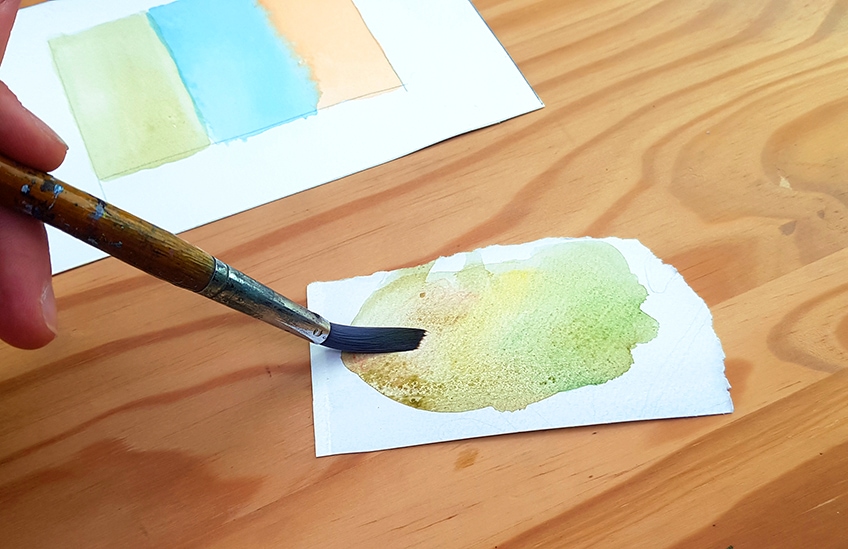
Now what we can do is take another off-cut piece of paper and make a color mix. Let’s do a mix of yellow, red, and green. This way of using the pencil pigment as the paint is also a great way to mix and make new colors
As we mix the colors with water loaded brush we should see a new color forming. It is a great way to also broaden the variety of colors in your painting if you only have a few pencils available.
We can then proceed to apply this color next to our other two colors inside the demarcated square. This way of applying watercolor pencil pigment is a great way to diversify your mark-making style, giving your image a unique composition with a variety of marks.
Method 5: Drawing on Wet Technique
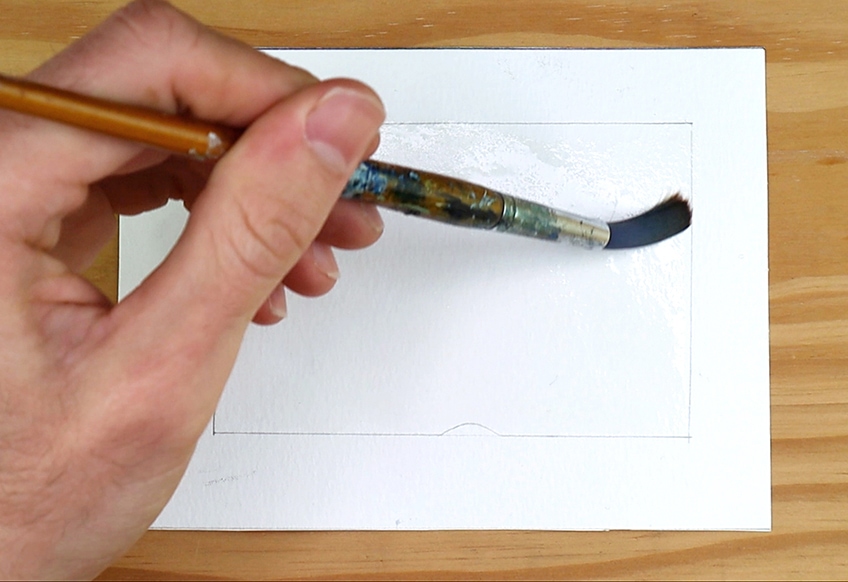
This technique is an interesting method that is a great way to make some highly contrasted and saturated marks in an image. This application method is about drawing directly onto a wet surface. The outcome is very beautiful and creates vivid and interesting marks. We want to begin by making another little demarcated square with our HB pencil and then apply a clean coat of water on the surface of the paper within the square. We want to make sure we apply an even amount of water as well as not too much.
Whilst the page is still wet we can apply a variety of colors and allow yourself to be playful in the way you make marks. We want to make some scribbles, zig-zags, and whatever else you feel like doing.
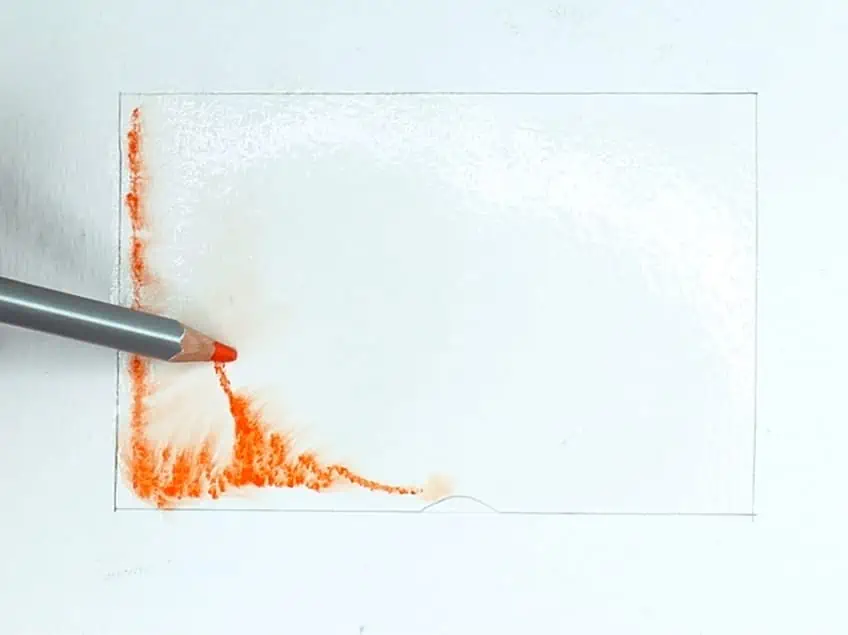
Use a variety of colors within your little square. What we should see is how the water-soluble pigment slowly moves into the wet areas, which can allow for dispersion of the colors. This can be a great technique for abstract works or simply creating interesting shapes in an image.
As we apply a few colors within our square we can see how the scratchiness of the pencil marks is slightly preserved. This is a very beautiful mark-making style that can accompany the more seamless look of watercolor marks.
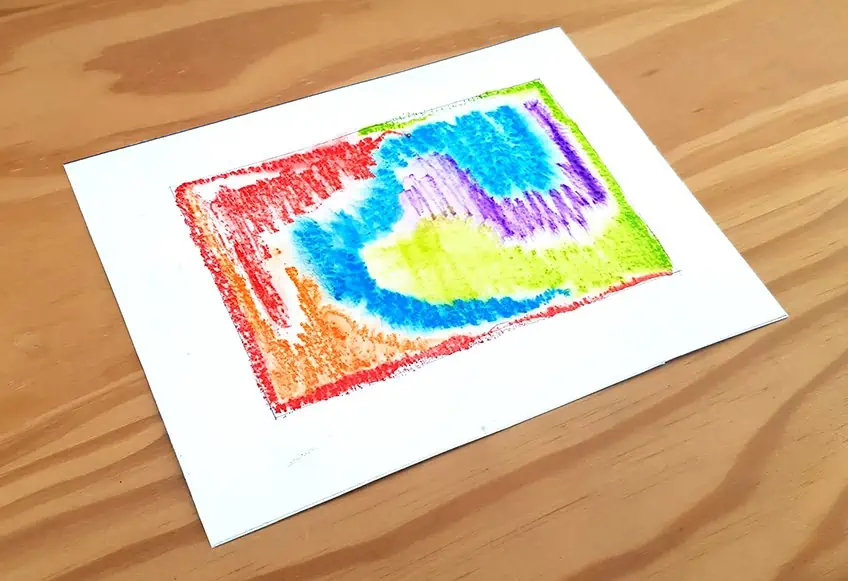
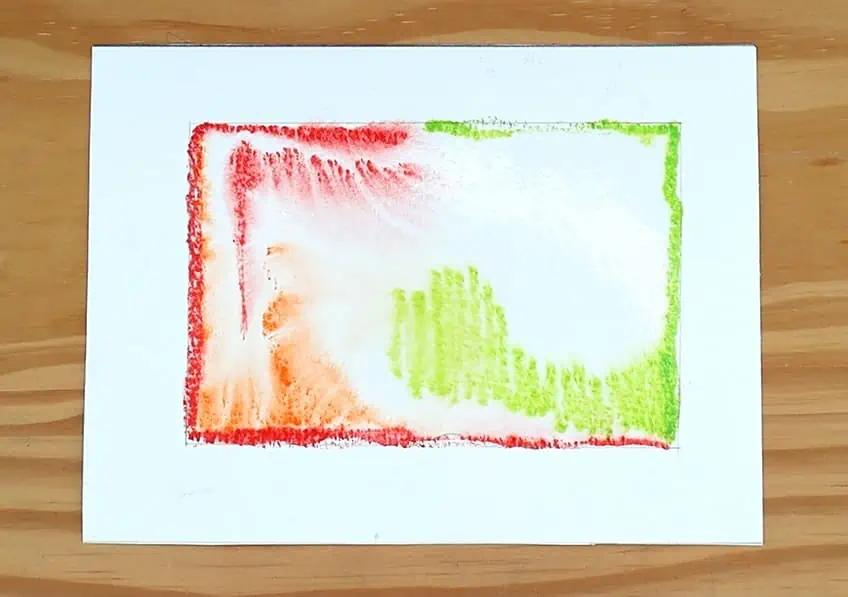
Allow your image to dry completely and you should be left with a beautiful combination of tonal and textural variation. When learning how to use watercolor pencils, we want to be creative in our approach to mark-making.
Method 6: Pencil as Paintbrush
This technique is very similar to the previous one where we use a more direct water pencil application. However, this time instead of drawing onto a wet surface we will dip the pencil in water and then proceed to make marks on paper. This is another great way to create vivid colors, mixes, and various textures within an image.
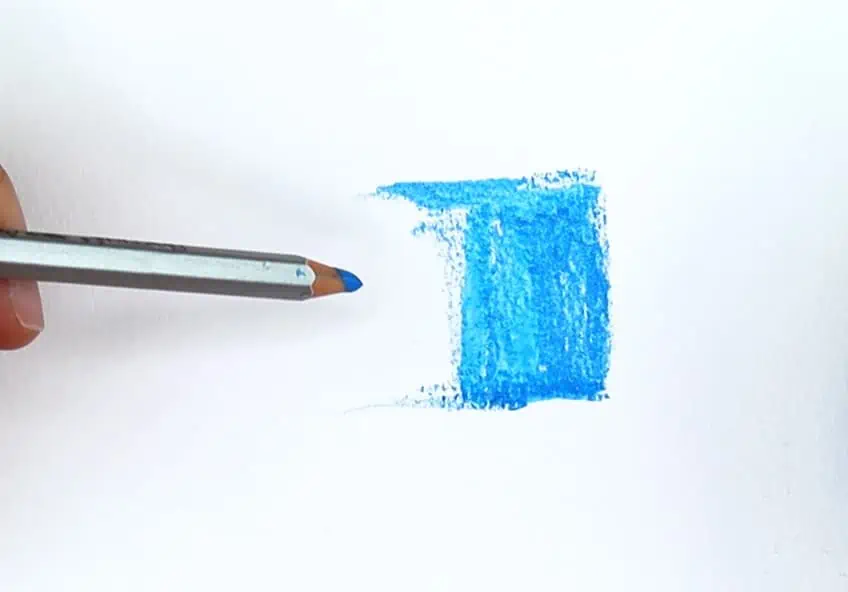
This time doesn’t worry about making a little demarcated square with your HB pencil for painting. We can now proceed to dip our blue pencil in some water and begin to make some strokes. We are just trying to experiment with the marks and colors.
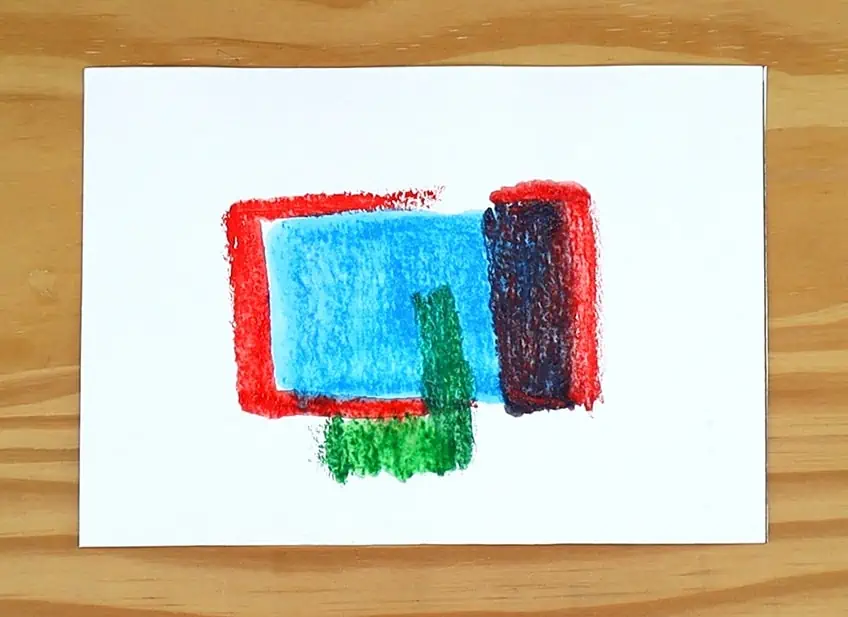
To experiment with this technique try mixing red into the blue to create a new effect or color combination. We can also draw with colors around our blue. Perhaps take some green and also color into the blue. Just make sure you dip your p[encils in some water before each mark you make.
We can also add some yellow to the mix to give ourselves a variety of colors within this experiment. It’s good to see various colors that are both light and dark to see the full effect. This is a more expressive way of applying marks. However, it is a great technique to pair with some of the previously mentioned techniques to create a nuanced image with various qualities.
Method 7: Drawing Over the Watercolor
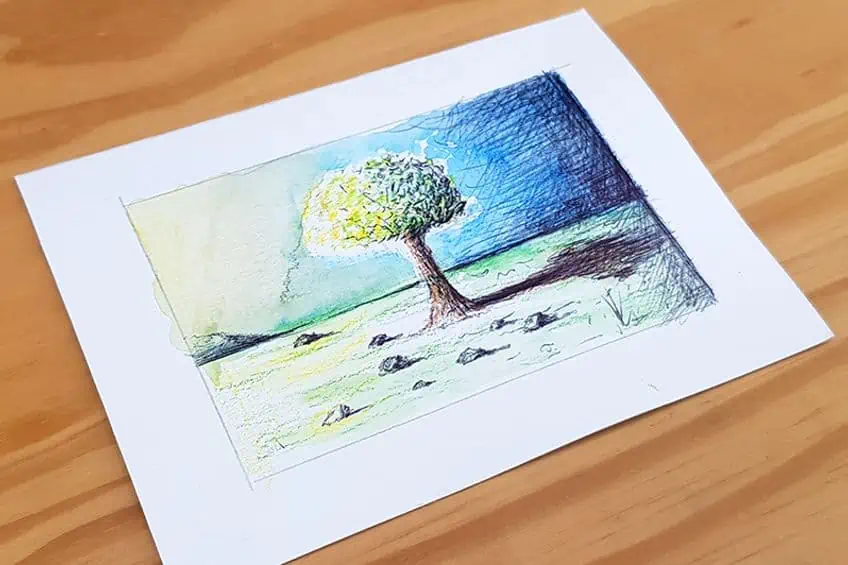
Some watercolor pencil techniques are not solely exclusive to the watercolor pencil medium. In this step, we will make a little landscape to demonstrate how we can enhance it with pen marks. This is essentially the process of drawing over your watercolor pencil painting and can come out beautiful if done with some care.
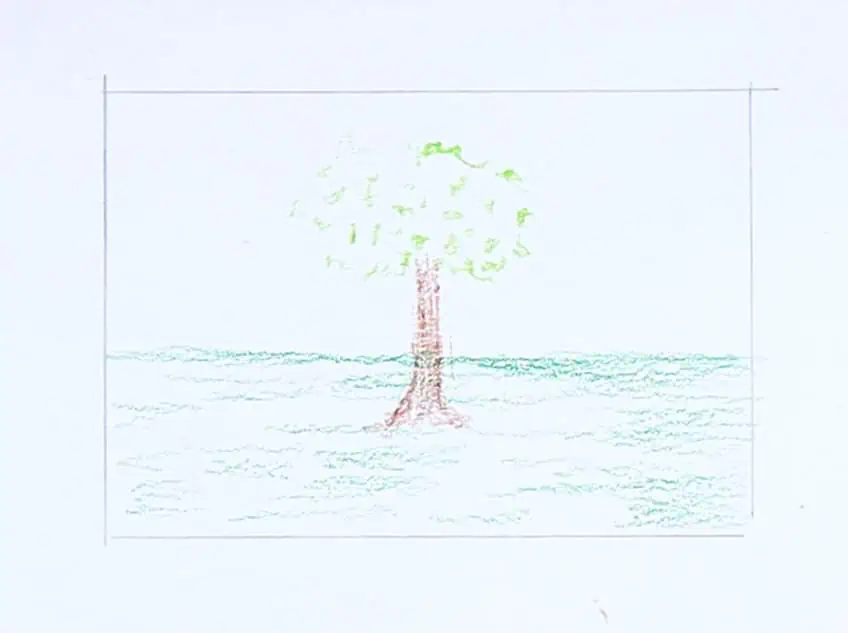
Begin by making a little demarcated area to draw within. Let’s use a variety of colors to create a little tree in a landscape. Start by making a horizon line by using green to create a grass-colored ground. Then proceed to draw a general tree shape in the middle of your page. Use a full range of colors that you have available.
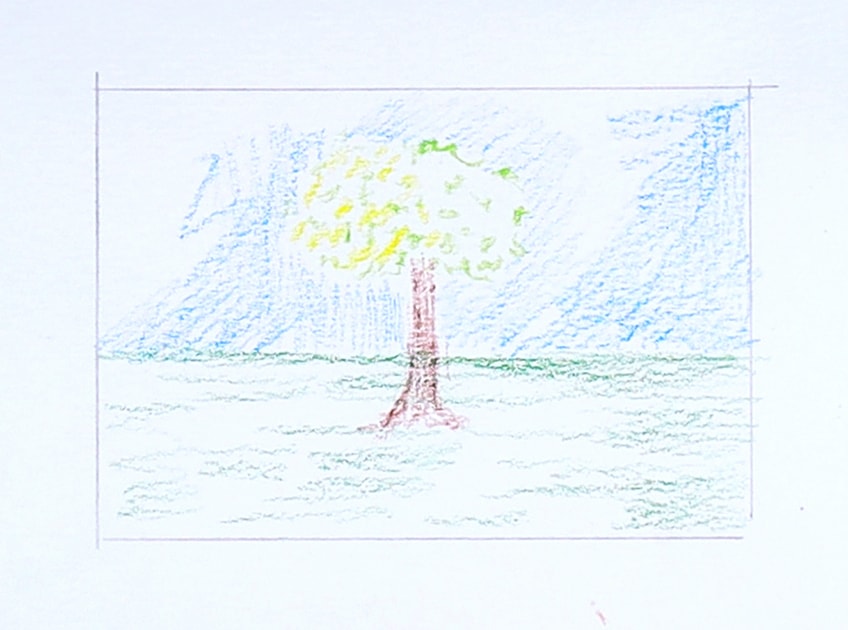
We can now add some blue for the sky that would sit behind the tree on top of the horizon. This is all a common way of adding colors by using the pencil first which will then be activated with water later. However, this technique is more to show how to add drawing detail to a painting.

We can add a little brown horizontal shadow on the right of our tree to indicate the light source’s direction. Perhaps darken the tree on its right side with dark green and lighten its left side with a little yellow.
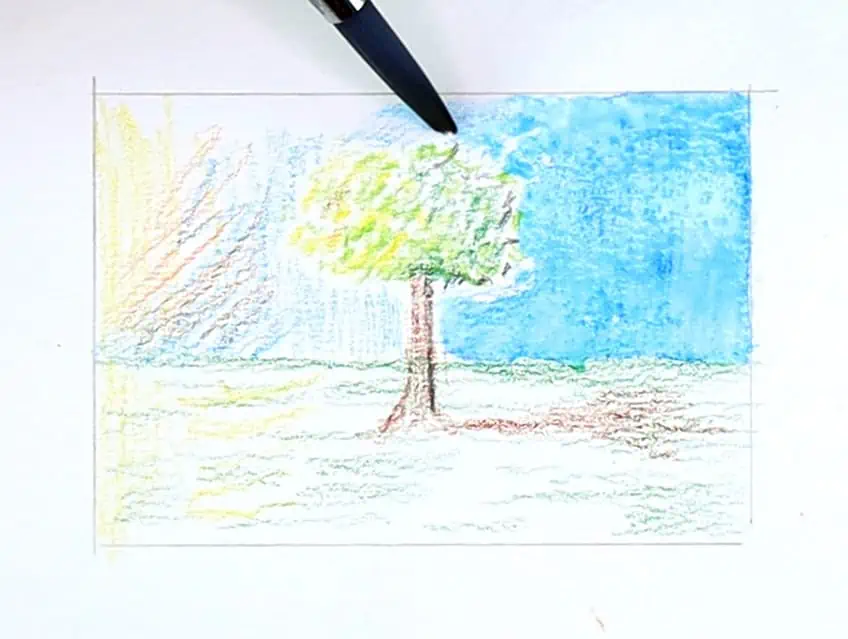
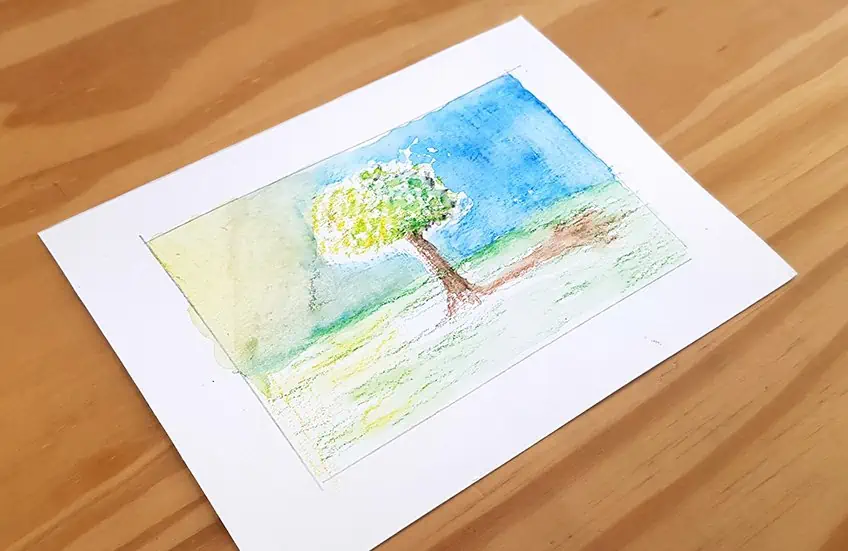
We can now begin to activate our watercolor pencil marks with our watered brushes. Dip your brush in some water and then continue with making soft and steady painterly strokes to the blue in the sky. We can also switch up the way we make strokes in our image. For instance, do a slight dabbing effect for the tree to create a bushy feel in the tree. We can always enhance our work by changing the ways we physically move our hands.
Carry on with a cautious approach, slowly activating the colors in the image with a wet brush. Once you are satisfied allow yourself to take a break whilst the image dries completely. It should come out looking like a little painted landscape.
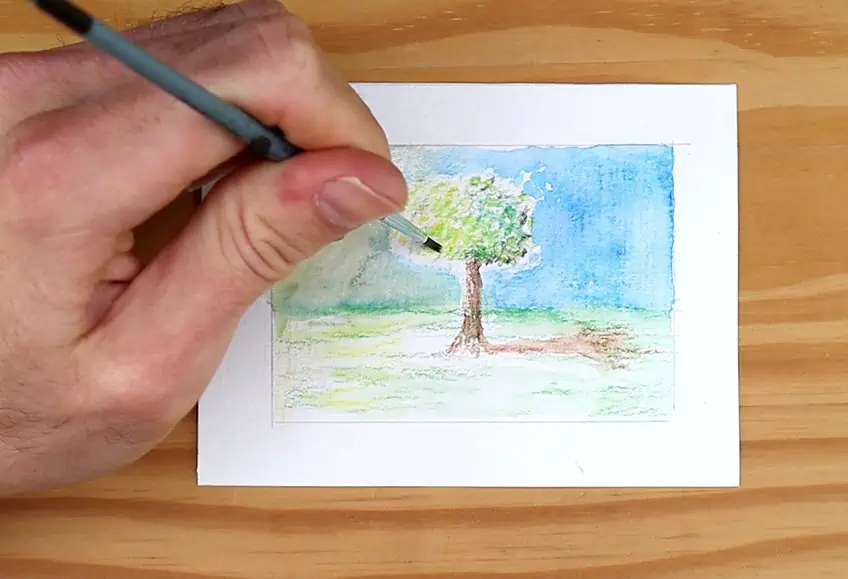
The next stage is to put some interesting marks on our watercolor pencil painting with a black pen. You can use any tool such as a pencil but for this tutorial, let us work with a pen. We can then proceed to sketch over our painting, perhaps starting with the branch.
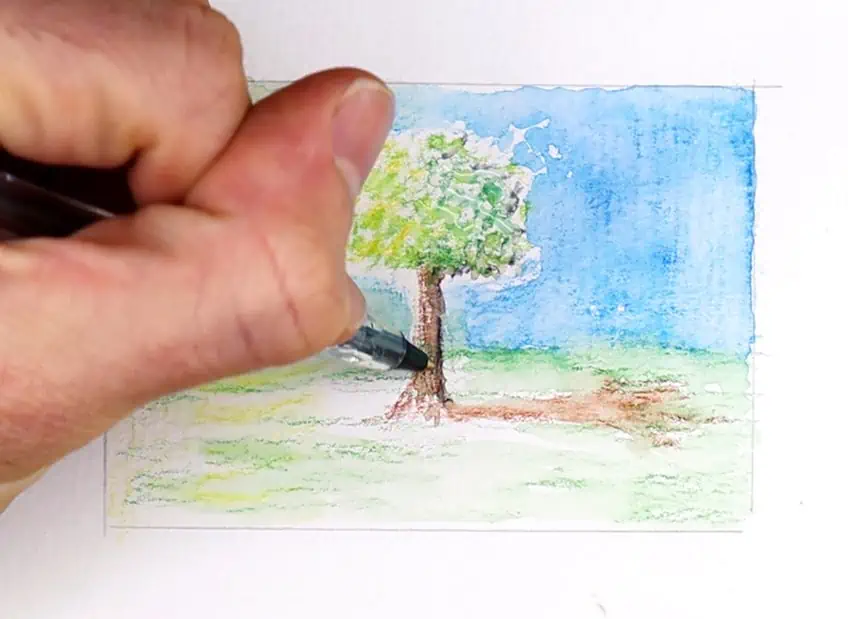
The aim is to create new marks over the painting to either enhance already existing features like the shadowy parts of the leaves or to create new features completely, like rocks for instance. Keep your mark loose and don’t worry about it being perfect. Keep your marks very sketch-like as it works well with the looseness of the medium of watercolor pencils. Allow it to be scratchy. You can add darker marks in the areas where there should be shadows. Have fun with it.
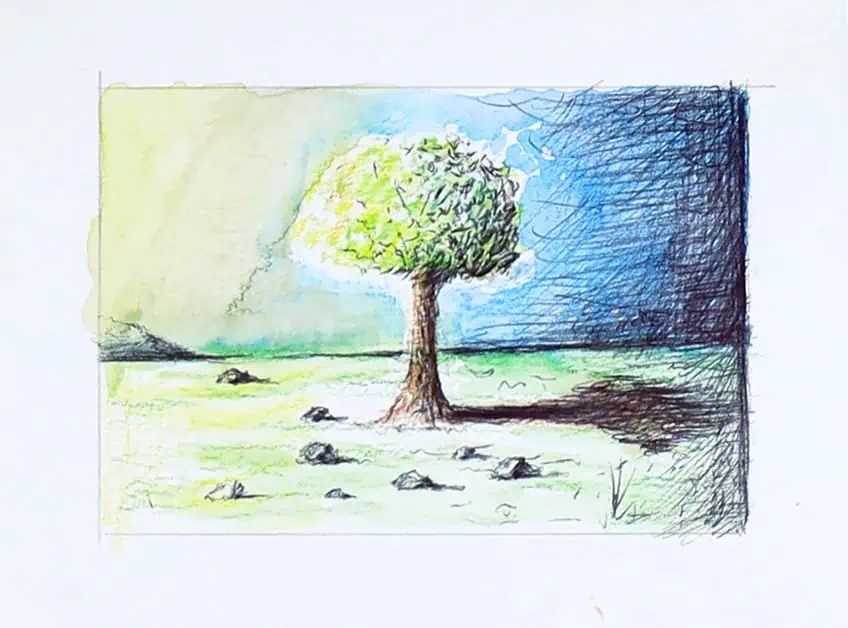
Ultimately you want to carry on until you feel satisfied with the marks you have made. There is no such thing as a perfect image so don’t get hung up on trying to make perfect marks. The freer you allow yourself to be, the better the result.
Tips to Remember
Watercolor pencils are an exciting way to broaden your watercolor painting techniques. As you have seen, there are many different ways that you can use watercolor pencils, and here are a few of our top tips and tricks to help you explore this exciting medium.
- In this watercolor pencils tutorial, the aim is to free you from a singular way of using the medium. So always try to use a medium in more than one way.
- Watercolor pencil art is not always just watercolor pencils. Drawing on top of our paintings can enhance the work sometimes.
- When using a watercolor pencil give your water a refill with clean water now and then.
- Watercolor pencil drawing can come with inevitable mistakes. So keep a paper towel on hand. If you want to redo a mark, wet the area and give it a dab with a paper towel.
There you have it! A tutorial on a few watercolor pencil tips and techniques to help you strengthen your watercolor pencil skills. Watercolor pencil art is a very interesting type of work that can often be misunderstood. Knowing how to paint with watercolor pencils is about learning the variety of approaches one can use with this medium. This watercolor pencil tutorial shows you various watercolor pencil drawing/painting techniques as well as an easy watercolor painting that you can use as a template for your own. Using watercolor pencil can be accompanied by various mediums that may help refine the artwork. Sometimes a way of doing an artwork should not be done exclusively with just a single medium. As you do your own watercolor art, always remember to have fun!
Frequently Asked Questions
How Do You Use Watercolor Pencils?
A good suggestion and a more common application are to draw directly onto the surface of a paper with your pencils and then activate the marks by painting over them with water. There is no one way to use watercolor pencils. In some instances, you can premix colors and make a paint out of them and then use a brush to make painterly marks. Watercolor pencil drawings can also be made into a more painterly style with water and then once dry can be drawn over with other mediums. There are a variety of ways to use watercolor pencils, it’s all about trying to be as creative with the medium as you possibly can be.
Can Watercolor Pencils Be Used Without Water?
Yes, watercolor pencils do not always need to be activated with water. What makes an interesting image, in general, is when there is a variety of marks that create a diverse range of qualities. So when you do a watercolor pencil drawing you can use water or not or do both. There is no one way on how to paint with watercolor pencils, the trick is to be as creative with the medium as best as possible. As you practice your own watercolor art you will see that, like any medium, there is always a variety of application methods.
What Is Special About Watercolor Pencils?
Watercolor pencils are the unique medium that sits in between painting and drawing. What is particularly special about watercolor pencils is that it is a medium that frees someone to combine both paintings and drawing in a single artwork. However, it goes further than that by the way one can use the pencil as a painting medium which can often make unique qualities that can only be found in watercolor pencil drawings.

Matthew Matthysen is a multidisciplinary artist. He completed his fine art degree, majoring in History of Art and Contemporary Drawing Practice at the University of Witwatersrand, South Africa. Before joining acrylgiessen In 2020, Matthew worked part-time as an art teacher at Reddford Blue Hills High school. Matthew creates drawing and painting tutorials for acrylgiessen and captures them not only photographically and in written form. He also records the creation of his works in his own creative studio as in video format, from which later with a voiceover and a video editor also drawing tutorials for the Youtube channel of acrylgiessen are created.
Learn more about Matthew Matthysen and about acrylgiessen.