What is Oil Paint – Full Guide with Tips and Tricks
This post may contain affiliate links. We may earn a small commission from purchases made through them, at no additional cost to you.
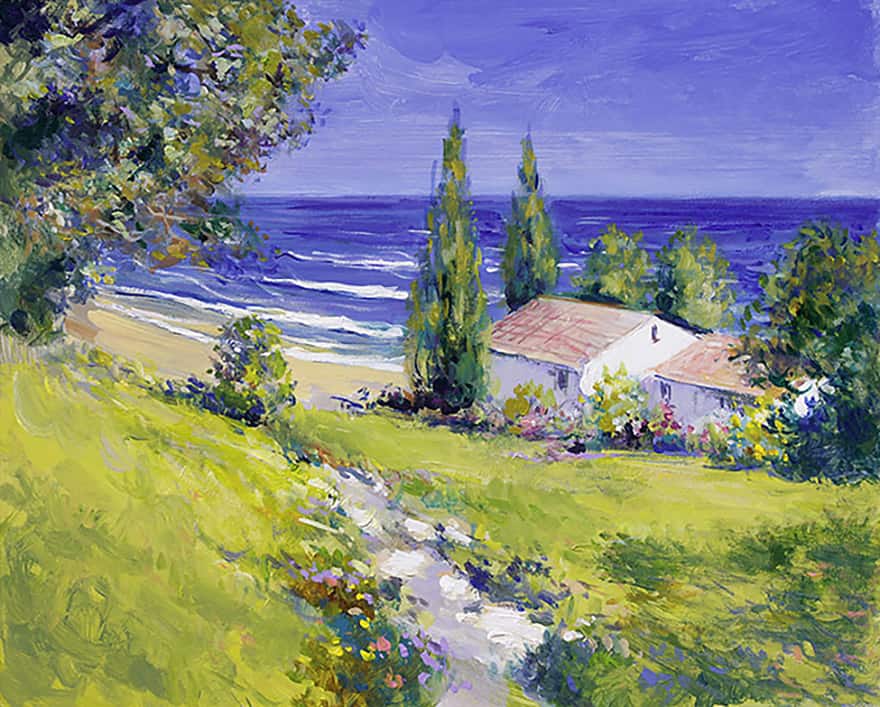
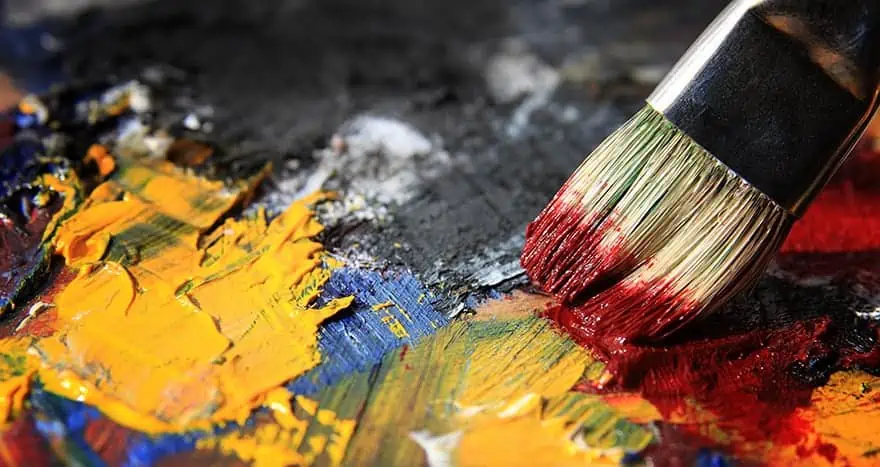
Oil painting of sorts has been commonplace in Europe since the 12th century, used mostly in decorative work. However, at the turn of the 15th century, oils became increasingly popular as an art-form and preferred medium, for its ability to apply more precise detail and shading. Think famous painters such as Da Vinci, Picasso, Michelangelo and Van Gogh, among others. Using oils is incredibly therapeutic and artistically rewarding with its rich, vibrant, saturated colors and interactive texture that can bring any subject matter to life. Learn all about the best oil paints to use, best oil paint brands, techniques and colors to start your exciting journey in beginning oil painting.
What is Oil Paint?
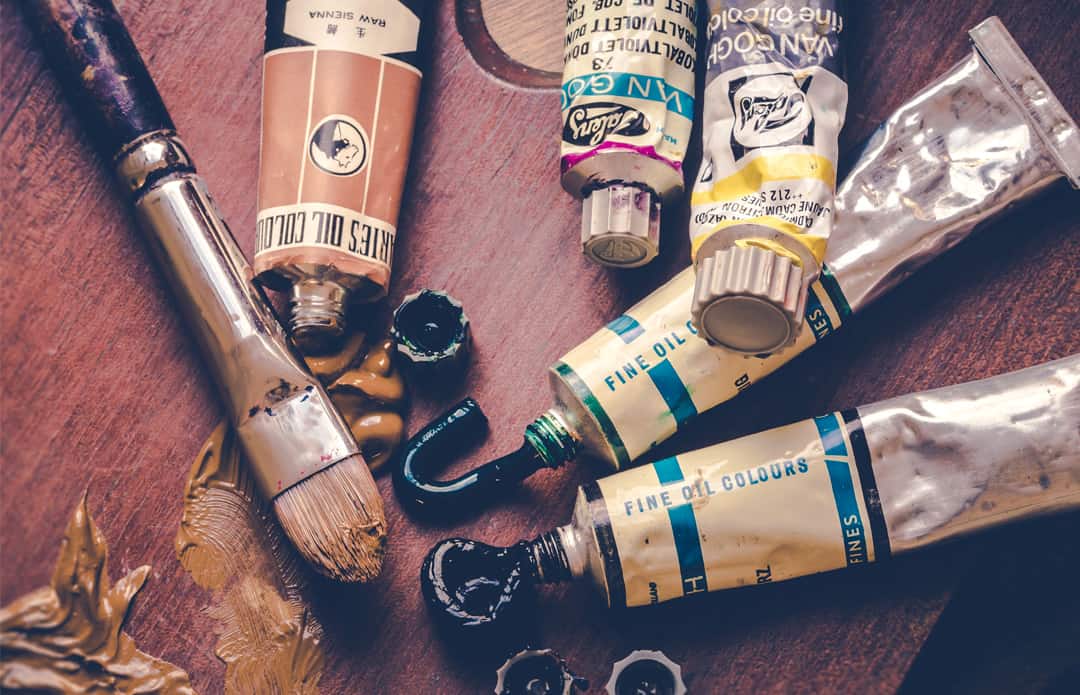
Oil paint, unlike its counterparts, namely watercolor and acrylic is viscose, very slow, the air-drying medium made up of a tint, binder and solvent. The powdered pigment, which during the Renaissance period was sold in markets by merchants known as ‘color-men’, was and is still today combined in tiny quantities with a carrier oil, or binder, this is usually linseed oil. Alternative oils can at times also be used, for example, sunflower, walnut and safflower oil for brighter white tints, although linseed is the most common. A solvent, such as turpentine, acetone, or mineral spirits is used to mix and thin the oil paint to your required consistency. The chemical make-up may also be modified with additional substances to produce properties such as resistance to sunlight, shine and a quicker drying period for your oil paint.
The Advantages and Disadvantages of Oil Paint
The pros and cons associated with the best oil paints will help you to decide whether this is going to be the most suitable medium for you to choose for your masterpiece. In making your decision, take into account your available space and how much time you will have to paint. Also check out our article about acrylic vs oil paint.
PROS
- Due to the slow-drying quality of oil paint colors, there is grace to gradually manipulate and change your artwork, correcting mistakes or adding to the painting.
- Oil-based paint can be thinned and diluted to create a multi-layer painting.
- Oil paint is durable, hardwearing and less susceptible to fading when using lightfast color.
- With oil paint, you can use various techniques and tools to apply paint.
- The colors are rich, deep and vibrant, and the paint lends itself to blending easily and effectively.
- You can use a wide variety of textures, effects and finishes on your work.
- The outcome of your painting is more predictable, in terms of how it appears wet to the dried, finished effect.
- Tubes of oil paint last well with the lids on.
CONS
- Oil Paint takes a considerably long time to dry, if you are impatient to finish works.
- More preparation time is required for your space, tools, chosen surface and so on.
- Due to the ease of color blending, you may be tempted to over-mix and ‘muddy’ colors, which is difficult to rectify.
- Tools and surfaces are more difficult to clean than water-based paints and may stain clothes.
- The smell and, or fumes may cause irritation.
- Cost of materials.
Surfaces Suitable for Oil Painting
There are a good variety of surfaces, or ‘supports’ readily available and commonly used for oil painting. Each support lends itself to slightly different painting qualities and styles, depending on the techniques you may wish to explore when beginning oil painting. One of the most important of these is the ability of the surface to’ hold’ the paint. Certain supports may require some preparation, whereas others are simply purchased and ready to go. The following list is a brief guide that will assist you in choosing a suitable surface for your painting.
- The most popular and commonly used surface is a canvas. This is produced from either cotton- being the more economical of the two- or linen and is stretched over a wooden frame. You can buy canvas from rolls and stretch your own, however for beginners it is best to start with a ready stretched and primed surface. You can also choose the texture of the weave on your canvas. For finer work, you should opt for a smoother weave, whereas a course weave is suited to bold, thick brush strokes.
- Canvas boards are an excellent option when beginning oil painting. Much like traditional canvas, they are available in a range of weaves and sizes, singular or in packs. They are cost-effective, lightweight and easier to store and transport.
- Pre-primed pads of thick acrylic and oil paper or cardboard. Priming creates a protective layer that prevents the oil in the paint from rotting the material.
- Primed chipboard or plywood.

Different Types of Oil Paints
It can be very intimidating shopping for oil paints for the first time. That is why we have broken this section down into two categories, giving options for varying levels of ability, quality and price range. This will help to compare different categories for your needs.
Premium or Artist Grade
These oil paints are manufactured using superior quality poppy or linseed oil and very pure pigments. They tend to be sold in smaller tubes as they go a long way in comparison to student grade paints. They are also usually more expensive and not recommended for beginners. Individual oil paint colors may even come at different costs due to the amount and saturation of the pigment used.
Mid to Student Range
Settling on the best oil paints for beginners will send you on an adventure filled with possibility. When compared to artist-grade oils, student grade paints will save you a fair amount cost-wise, to begin with. This is due to the fact that they include fillers, dryers and other bulking agents. This in turn will decrease the vibrancy of the color. Oil painting for beginners usually contains an artificial pigment that can alter the appearance of hues. It may be wise to start with an oil painting set that will provide you with the basic colors needed to explore and experiment.

What to Consider When Buying Oil Paint
When faced with buying oil paint, your choice does not only depend on brand name and price. There are a few other key factors worth mentioning. These may be important to your project, you personally and your environment.
Drying Time
The answer to how long oil paint takes to dry is a complex one. When choosing paint, take into consideration the surface on which you will be painting, as various surfaces react differently which will affect drying. Environmental factors also have an impact on drying time; this includes the size and ventilation of the area in which you are working, humidity and room temperature. Also, the oil painting medium will have an effect on the drying time.
Consider your specific goals and style. Should you wish to finish a painting quicker, opt for alkyd or fast-drying paint, which usually takes between 12 and 24 hours to touch dry. More pure oil pigments can take anywhere from months to years to completely cure, particularly in very thickly layered work, for example, Impasto.
Lightfastness or Permanence
Ask yourself where your final piece may end up and how important it may be to protect the painting from natural light and color fading. Should you intend on varnishing or glazing your fully cured piece you could get away with less lightfast oil paint for beginners.
Health, Safety and Environmental Friendliness
The modern world of art and oil painting has come a very long way since the 19th century. Oil paints of times gone by were highly toxic, with common ingredients such as lead, mercury, barium and sulfides. The pigments themselves were often poisonous as well, including the cadmium of reds, oranges and yellows, cobalt in blue hues and arsenic which produced derivatives of the color green. Many of these elements may have had a hand in mental illness and long-term health issues. Vincent Van Gogh is said to have spent much of his money on art materials and in poorer times even consumed paint, whether unknowingly or not.
Today each oil painting set is appropriately labeled and paint contains only trace elements of lead. That said avoid opening caps with your teeth and putting paintbrushes in your mouth. The case of the radium girls in the United States around the 1920’s was an interesting one. In order to create the finest tip on their paintbrushes for the extremely delicate work involved in painting watch faces, the factory girls would lick the ends of their brushes. Unbeknown to them, this luminating paint was highly toxic and over time resulted in severe radiation poisoning. Fortunately painting today is extremely safe. Ensure that you read labels regarding the appropriate disposal of paint and solvents and allow for plenty of ventilation.

Price
Price is obviously a large consideration when buying the best oil paint for beginners. When starting out it is an economical option to go for student grade paints so that you can experiment and find your individual style without worrying about wastage or breaking the bank. You might also look at buying an oil painting set for beginners unless you are confident with mixing your own colors, this kit will provide a set of ready to use hues so that you can jump right in. If you are buying individual tubes ensure that you get the primary colors and a larger tube of black or grey and titanium white for your tinting and shading. Also think about the size of your surface and measure cost versus economy.
Packaging
Bear in mind the storage of your paints and the space you might require. An oil painting set usually comes in a neat compact box and is easy to put away after use. This may be easier in the beginning than multiple individual tubes of paint. You may be using a robust technique whereby you find dipping a brush into a container easier than squeezing from a tube, whereas tube oils may be better for mixing on a palette. This is a matter of preference that you will discover for yourself.
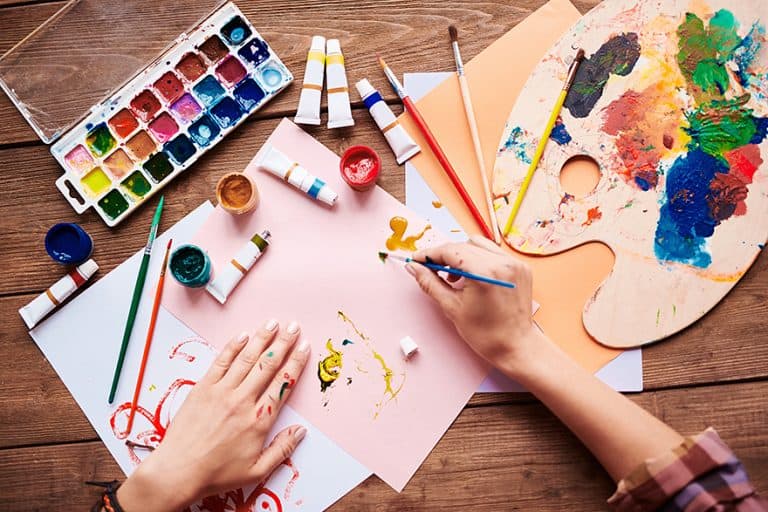
Other Art Materials You Will Need
When purchasing your selected oil paints and painting surface, you will also require a solvent for mixing, cleaning materials and various other items that may be useful and make your project easier, many of these can be substituted for household items.
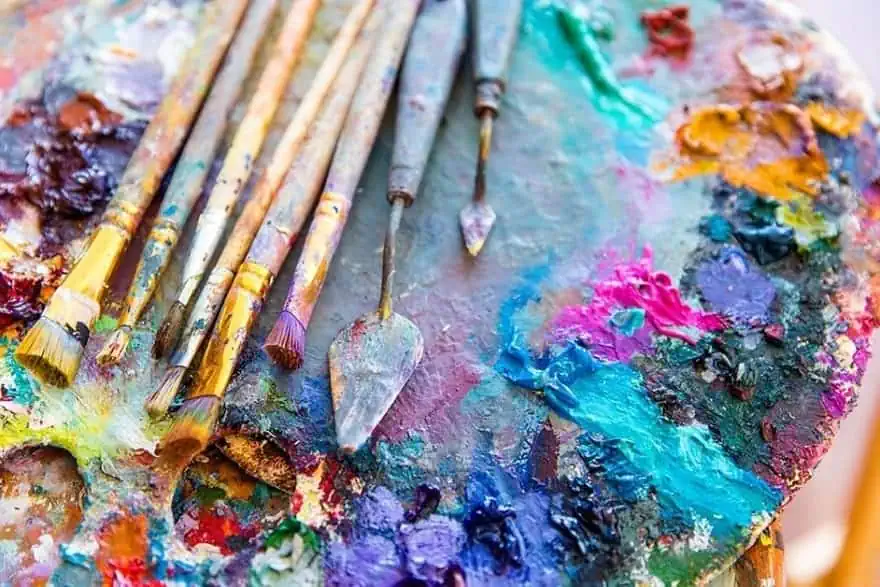
Brushes
Starting out, you can get by with just one or two fine, medium and large brushes and then slowly build up according to your particular style. You get synthetic brushes and classic, natural brushes, usually made from pig’s hair. You can also get long and short handles, long are better for oil painting as they allow for perspective and prevent you from being up close with any fumes. Later you may want a shorter brush for more control with intricate or fine work.
Brush types include:
- Filbert- these are oval in shape and suitable for any style.
- Round- useful for delicate, even work.
- Flat- effective for large surface areas, such as landscapes.
- Bright- short, flat bristles, suitable for large areas as the bristles bend less.
- Fan- useful in painting textures like grass, hair or fur.
- Angular- very versatile, good for unique angles and brush strokes.
- Inner and rigger- long thin bristles for thin lines and detail.
- Mop- soft bristles for blending and smoothing brush strokes, used lightly as a feather duster.
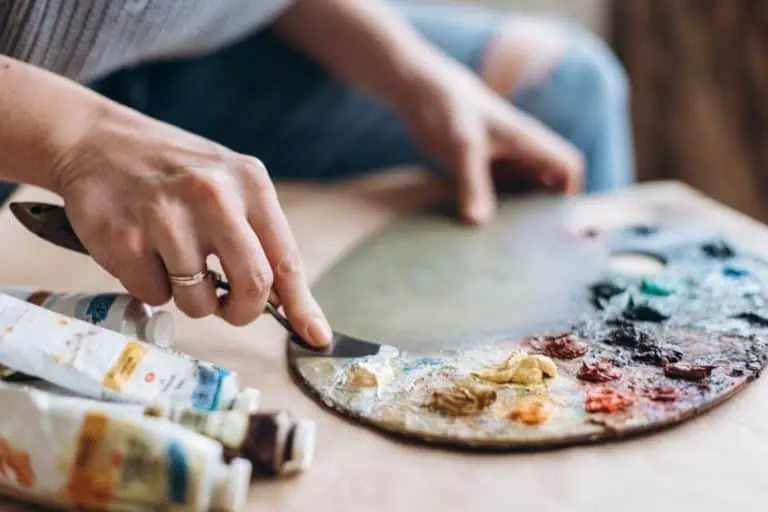
Cleaning and Mixing Materials
- Mineral spirits or turpentine for cleaning your brushes.
- Paint thinner or linseed oil for thinning and mixing your paint.
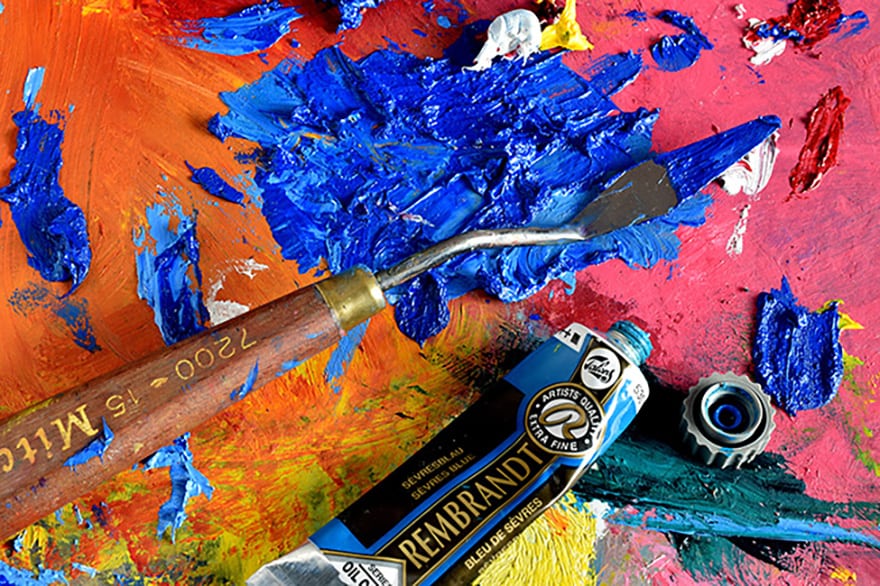
- Palette or a flat household item on which to mix colors. This could be an old tile, a tear-off paper palette book, an old plate or a Tupperware lid.
- Rags for wiping brushes, newspaper for surfaces and latex gloves for cleaning.
- A palette knife for mixing paint, you could use old skewers, chopsticks or ice-cream sticks instead.
Other Useful Items
- An easel assists with hunching and gives you perspective. A small tabletop easel is easy to store and less cumbersome, it is however, not necessary.
- Masking tape and a pencil to plan your composition.
- Apron or old clothes, you will almost certainly get paint on yourself.
- Jars are useful for standing brushes upright, cleaning brushes and storing turpentine.
Tutorial: How to Start Oil Painting for Beginners
Now that you have all your materials it is finally time to get started. There is no right way or absolute rule when it comes to painting; the following is just a guideline to help you along. The main thing is to experiment, practice and have fun!
Prepare your Workspace
Start off by finding a suitable, clean place where you will be comfortable to paint. You will need plenty of light and ventilation to avoid inhaling too many fumes. You should have space to spread out and move, this space should be semi-permanent as you will not be packing everything up each time you work on your painting. Lay newspaper on a flat surface to avoid too much mess. Have all your tools and materials ready and at hand with your jars and rags for cleaning all setup.
Prepare your Blank Surface
For the purpose of this tutorial, you should have already decided on your chosen surface and have it primed and ready before you begin. Set up your easel or lay your ‘canvas’ flat. Should you be using a lightweight surface like oil paper or board, you may like to secure it to your work surface with masking tape to prevent movement or slipping.
Make sure your still life is set up and you are positioned to see it from a few angles, if using a picture or photograph, have this visible, perhaps stuck to a wall or the top of your surface. This next part is said to be the toughest, the blank canvas staring back at you. Don’t feel overwhelmed, just go for it, you cannot make a mistake. Using a normal pencil lightly outline your composition on the canvas, you are going to paint over this so a lot of detail is not required. This can also be done using extremely light, thinned paint of any color.
Putting Paint to Paper
Choose your color range and have the colors you will be working with on your palette. Start by blocking out larger shapes in thinned paint in roughly the colors you want; this can be fairly rudimental at this point and is just to give you an idea of your full picture. From here, let your imagination run wild! Build upon your thin layers slowly adding more accuracy as you go.
This technique is known as ‘alla prima’, layering wet paint over wet paint. Each layer can become a little thicker and you may need to allow some drying time once this process gets underway. This principle is known as ‘fat over lean’ which translates to putting thicker layers over thinner ones. Another technique is known as ‘divide and conquers’ which is the idea that working on one small area may feel less overwhelming.
With this method, be aware that paint needs to dry, don’t risk perfecting a small section fully whilst the rest remains blank, you will struggle to blend and match the color. Should you enjoy thicker styles, impasto comes towards the end; these is very thick, textured layers of color.

Cleaning
Keep your space organized and clean as you go, be sure to replace all caps to prevent drying and keep lids on paint cleaner and thinner to avoid fumes and spillage. Clean your brushes often, you may need to do so every few strokes to prevent muddying of the paint, change your mineral spirits or turpentine as and when it becomes too dirty, also make sure to dry brushes carefully.
Finishing your Painting
When you get to a point where you are happy with your work, leave it and allow the magic to happen. Be patient as the drying process may take a while. You can then decide on finishing products like glaze or varnish.
Tips and Tricks
Every artist has a few secret tips, tricks and hacks that can be very useful when it comes to oil painting. Over time you will begin to develop your own personal tricks as well. Here are a few that you may find useful and interesting.
- Start off with a small canvas or project to become confident rather than overwhelmed.
- Staining your whole surface with a very watered down, light shade of brown eliminates a frighteningly glaring white canvas.
- Mineral spirits and turpentine can be used many times, simply allow the paint to settle in the bottom of your cleaning jar and then carefully pour off the clean top part.
- Prevent caps from sticking to the tube with dried paint by placing a piece of cling wrap between the paint and cap.
- Condition brushes with a little baby oil and then rinse in turpentine.
- Take photos of your work as you progress, this gives perspective when you step away.
- Cover your palette with cling wrap and place it in the freezer to prevent drying out.
We have created an in-depth article about the necessary oil painting supplies, that can help you start gathering the necessary materials.
Frequently asked Questions
Can I Mix Different Brands?
Yes, this is done by most artists as different brands have varied colors and textures. You can even mix faster and slower drying paints together.
Is Oil Painting Easier than Acrylic?
Acrylics are known to be the most user friendly, ideal for absolute beginners, they are inexpensive and require fewer tools than oils. That said acrylics dry quickly, whereas with oils you have time to mix and experiment. No one medium of painting is more difficult than any other.
Do Oil Paints Go Bad, How Long Can I Store Them?
When sealed properly, depending on the quality, oils can last for as long as 15 years. Most paints however start to deteriorate after about 2 years and should be replaced. Oil paint does not go bad; it merely dries and loses luster.
Is Oil Paint Toxic?
Most oil paint is non-toxic, therefore not harmful unless you breathe in excessive amounts. Be aware of reading labels as some toxins may be present in trace amounts, namely cabolt, cadmium and lead in lead white. Oils are not the best option when pregnant due to possible lead content and the solvents emit harsh fumes which may cause a negative effect.
Fun Facts
- The most expensive color paint is ultramarine. It is made from lapis lazuli and was at one stage more expensive than gold.
- The earliest oil paintings are believed to be Buddhist murals found in the Bamiyan caves in Afghanistan around the 7th century C.E.
- Tube paints revolutionized oil painting as paint became more portable. Renoir once said “Without tubes of paint there would have been no Impressionism.”

In 2005, Charlene completed her wellness degrees in therapeutic aromatherapy and reflexology at the International School of Reflexology and Meridian Therapy. She worked for a company offering corporate wellness programs for several years before opening her own therapy practice. In 2015, she was asked by a digital marketer friend to join her company as a content creator, and it was here that she discovered her enthusiasm for writing. Since entering the world of content creation, she has gained a lot of experience over the years writing about various topics such as beauty, health, wellness, travel, crafting, and much more. Due to various circumstances, she had to give up her therapy practice and now works as a freelance writer. Since she is a very creative person and as a balance to writing likes to be active in various areas of art and crafts, the activity at acrylgiessen.com is perfect for her to contribute their knowledge and experience in various creative topics.
Learn more about Charlene Lewis and about us.