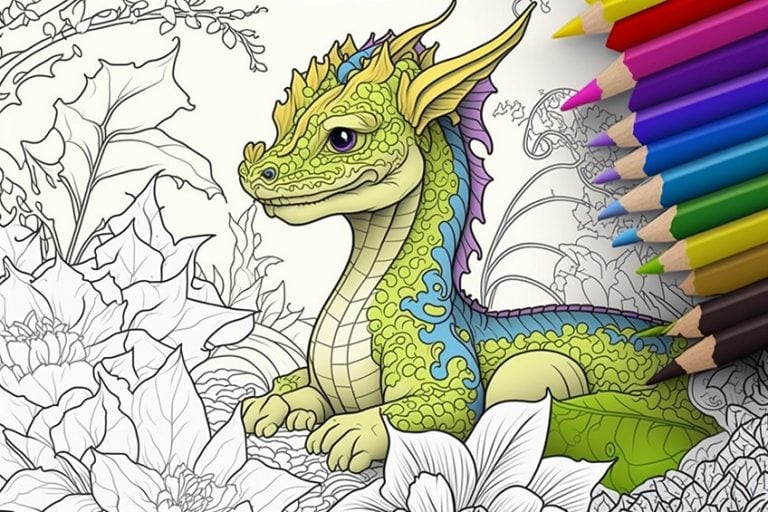
Dragon Drawing – Step-by-Step Dragon Illustration Tutorial
This post may contain affiliate links. We may earn a small commission from purchases made through them, at no additional cost to you.
Dragons are one of the most powerful creatures that have existed between ancient lore, folk tales, and modern media. There is no doubt that the appearance of dragons represents power, strength, and in many ways, wisdom. Various impactful meanings come from dragon imagery, as it has been used to symbolize different things within different cultures for centuries. Learning how to draw a dragon is a great asset to add to your drawing repertoire, as it can be a valuable addition to various artworks. Dragons are amazing and mystical creatures that make for beautiful artwork that can exist on their own. Whatever your reason for learning how to draw a dragon, this creature is versatile and there are many ways to use a dragon drawing.
Table of Contents
- 1 An Easy Guide for Drawing a Dragon
- 2 Step-by-Step Guide on How to Draw a Dragon
- 2.1 Step 1: Drawing the Skeletal Structure of the Dragon
- 2.2 Step 2: Erasing the Drawing of the Dragon
- 2.3 Step 3: Lightly Sketching the Features of the Dragon
- 2.4 Step 4: Refining the Head of the Dragon
- 2.5 Step 5: Refining the Body of the Dragon
- 2.6 Step 6: Refining the Legs of the Dragon
- 2.7 Step 7: Refining the Wings of the Dragon
- 2.8 Step 8: Refining the Tail of the Dragon
- 3 Tips and Tricks to Remember
- 4 Frequently Asked Questions
An Easy Guide for Drawing a Dragon
Learning how to draw a dragon can seem quite intimidating due to its strange and intricate aesthetic. Once we break down the process into a few digestible steps, we will find that the process of drawing a dragon is much more simple than we think. Since dragons are mythical creatures, we have a lot of creative freedom when exploring how we would like to add features. In this tutorial, we will learn how to work with a simple dragon outline, turn it into an interesting dragon sketch, and ultimately a beautiful and refined dragon drawing.
Necessary Materials
This tutorial on how to draw a dragon is done with a digital drawing device, however, all the drawing processes apply to traditional drawing mediums. If you do not have a digital device for this dragon illustration, we want to make sure we have a few simple tools. We will want to have a pencil, a ballpoint pen, an eraser, and a sharpener. We also want to make sure that we place ourselves within an environment where we can focus without distractions. All materials can be found through the links below:
- Ballpoint Pen
- Micron Pens
- Pencil
- Eraser
- Sharpener
- Paper
Step-by-Step Guide on How to Draw a Dragon
In this tutorial on how to draw a dragon, we will break up the drawing process into a few simple steps. We will start by establishing the dragon in its skeletal form, where we work out the placement of different features. From there we will work over the skeletal structure to give form and shape to various features. Lastly, we will go through a process of adding details to different areas within the dragon drawing, slowly developing the simple dragon sketch into a refined dragon drawing.
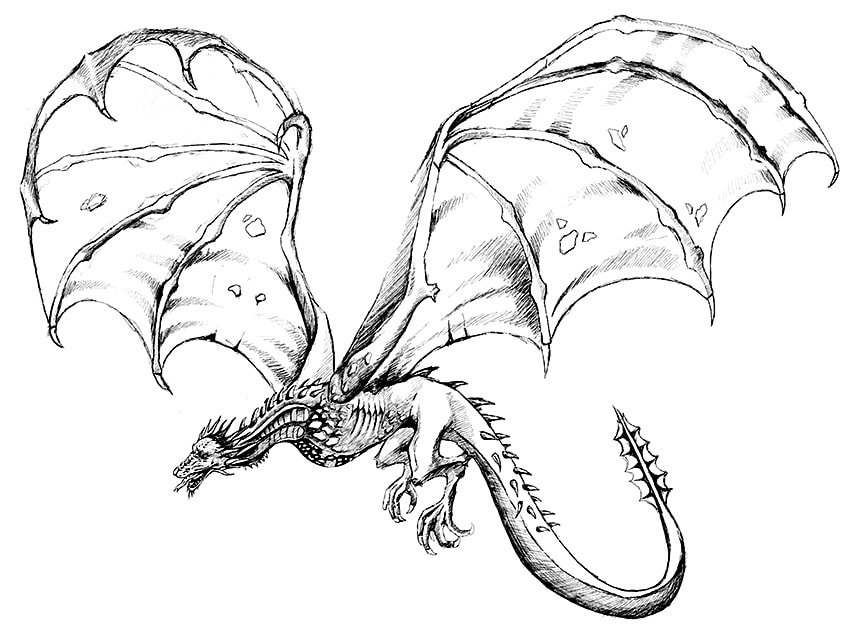
Step 1: Drawing the Skeletal Structure of the Dragon
We can start with a light sketch of the general shape of the dragon’s skeletal structure. We want to start with a simple head shape and a line that flows and curves, which will determine the length of the dragon from head to tail.
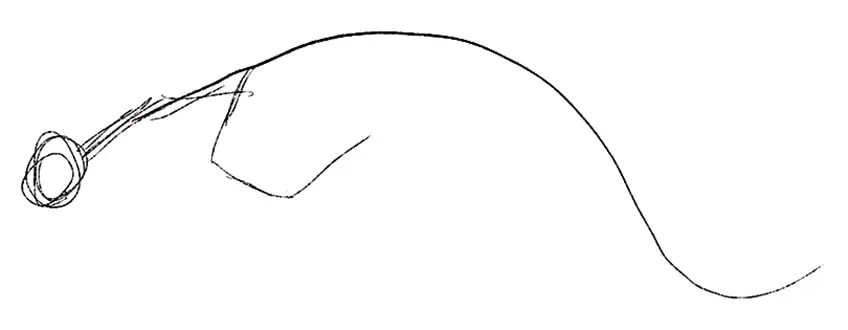
We then want to draw in the chest of the dragon, this is where we consider its rib bodily shape, often the upper chest area is slightly larger than the rest of the lower part of the body.
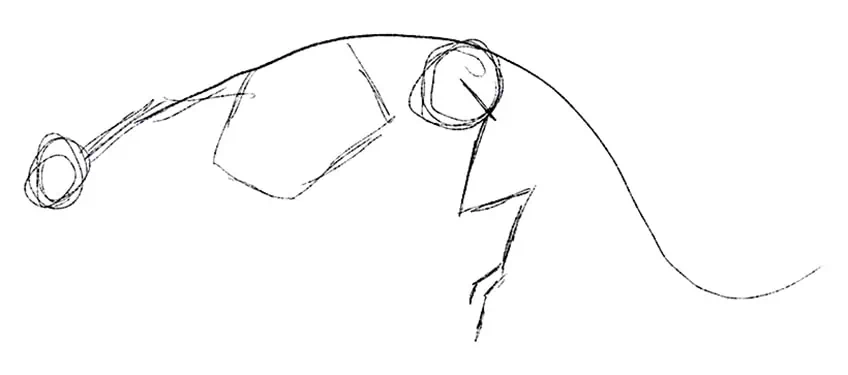
The legs of the dragon are quite similar to that of a dog, where the tibia and femur tend to be long and bend inward toward the talons or claws. The feet of the dragon will have more of a hand-like structure but more lizard-like.
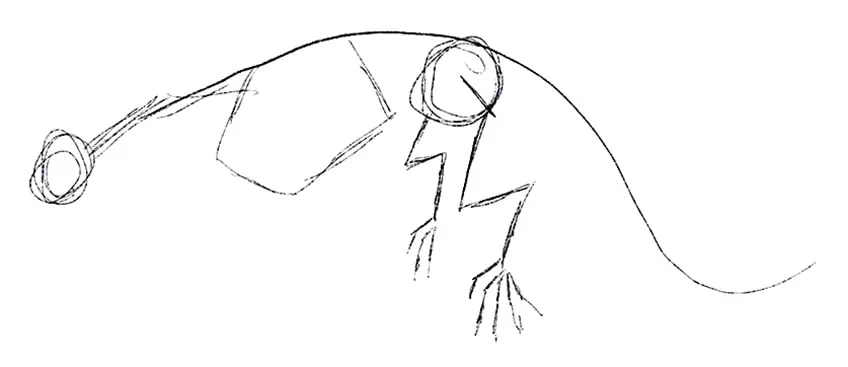
The legs also tend to connect to a hip structure which is slightly smaller than the chest of the dragon. We also want to make sure that both legs are visible, however, it’s important to make the legs in the background slightly smaller.
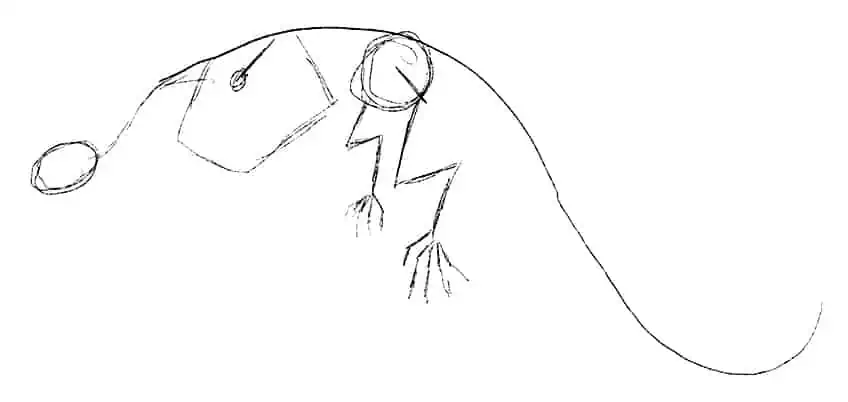
The wings of the dragon are generally quite large in comparison to the body, this is because they need to support the entire body when the dragon is in flight. The wings also have elongated digits that extend through to the edges of the wings.
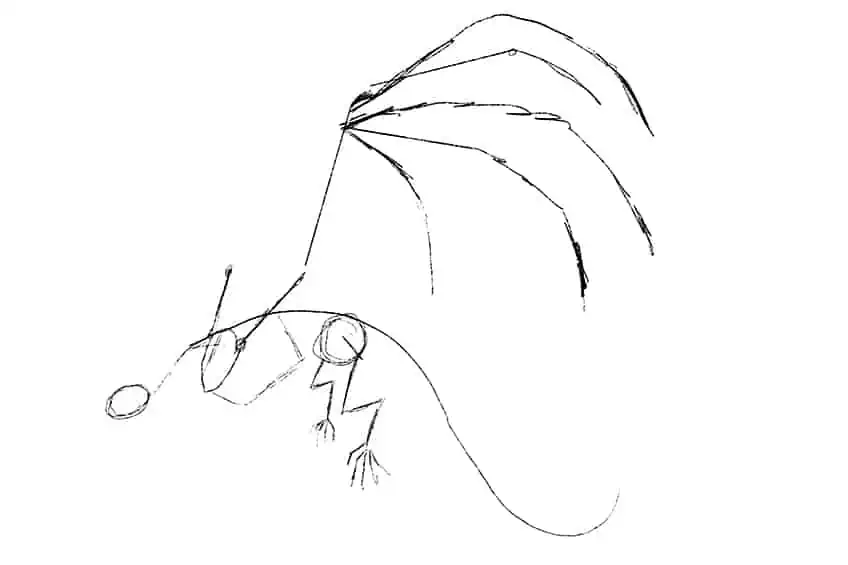
You can explore different positions of the wings and how they flow to determine different types of motions. In many instances, dragon wings can curve or form around the body weirdly to define a shift in motion.
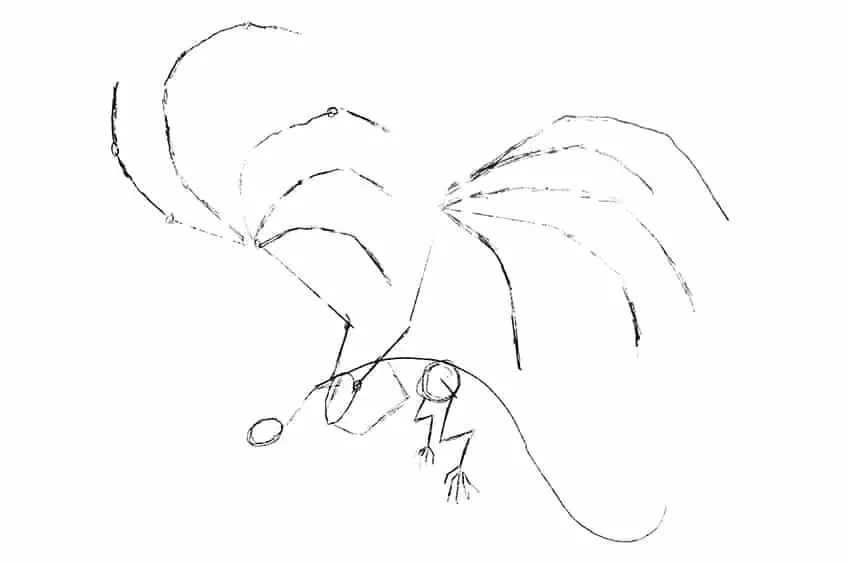
Step 2: Erasing the Drawing of the Dragon
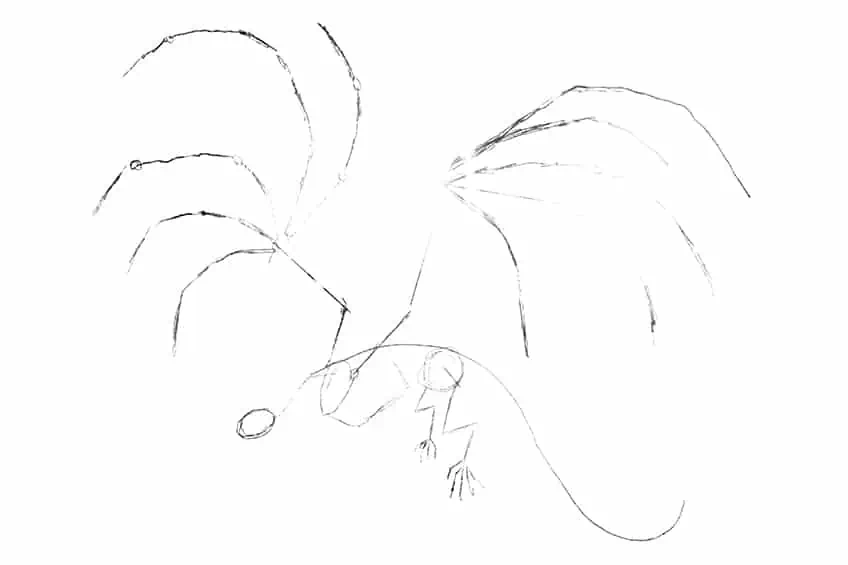
Once we have worked out the skeletal structure, we then can move on lightly erasing the drawing. This is so that we can use the ghost lines of the skeletal structure to form our dragon.
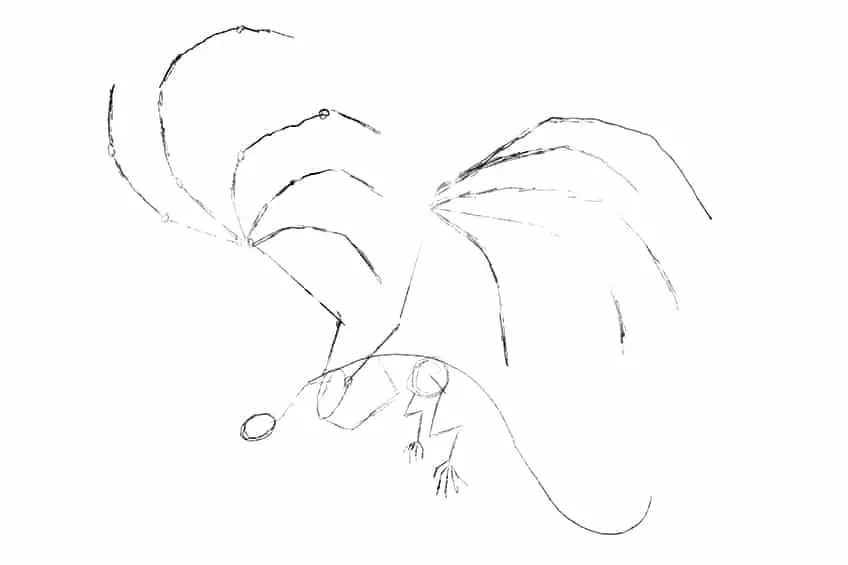
We want to make sure that we are happy with the scale and shape of the skeletal structure. We also want to make sure all general features have been drawn before lightly erasing, this way we have a good reference to work over.
Step 3: Lightly Sketching the Features of the Dragon
Starting with the head, we now want to form the dragon, slowly working on all the different features. Try starting with the head and working your way through the rest of the dragon.
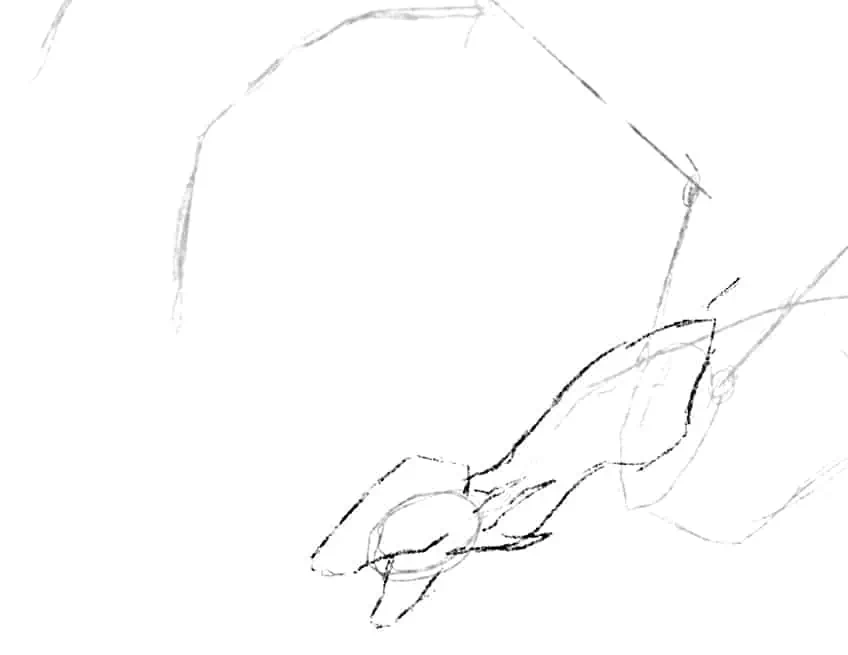
There are many art styles to draw inspiration from for your dragon drawing, try to play around with the features. With the face of the dragon, you could draw inspiration from a more dog-like face that comes from Japanese and Chinese-styled dragons.
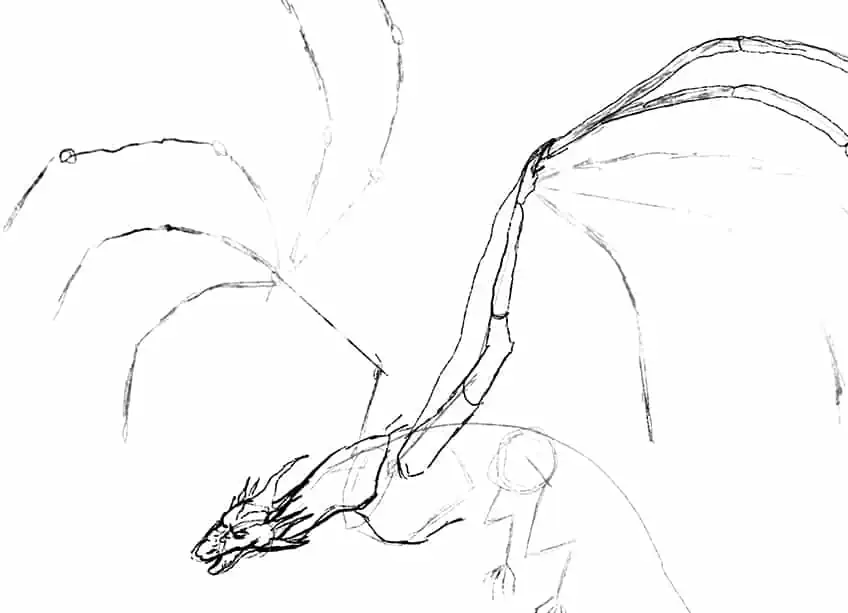
However, the intention is to build your dragon around the skeletal form and explore variations of characteristics. Dragons are fictional, which means you can try different things, there aren’t any rules.
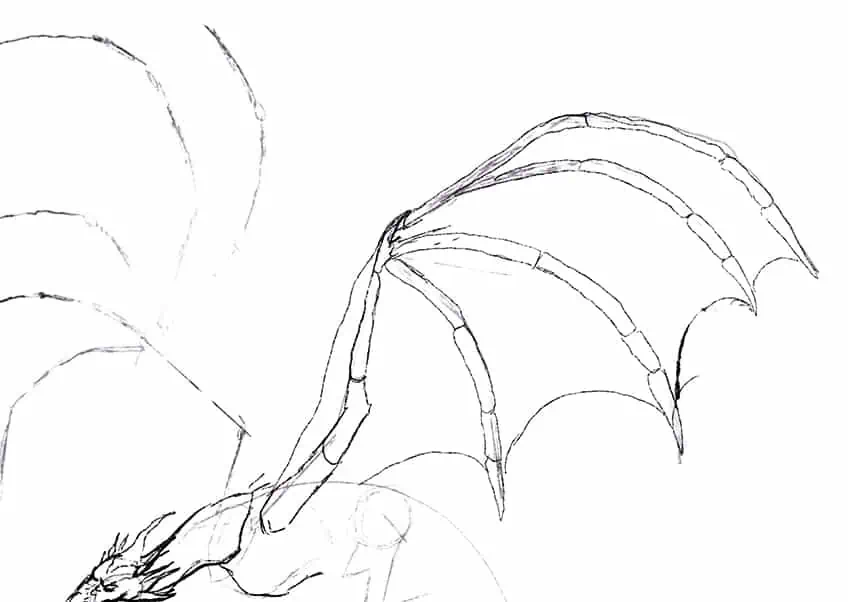
You could potentially make the wings quite bat-like which can work as a really good visual reference for anatomical winged structures. With the body and legs, you could explore a canine-shaped body and leg structure with lizard-like claws or feet.
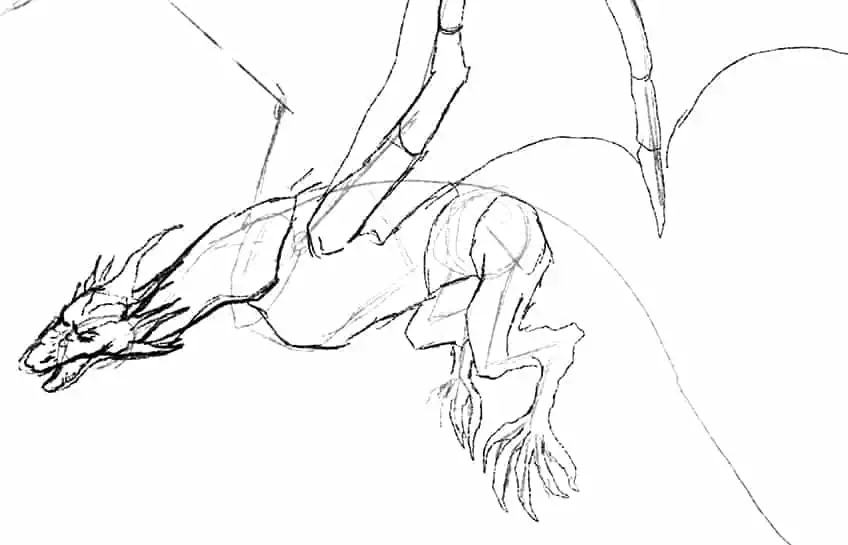
Dragons are a combination of various animal features contextualized in a single fictional creature. The result is a dragon, and there are many different types of dragons, which means you have a lot of creative freedom to experiment with the features.
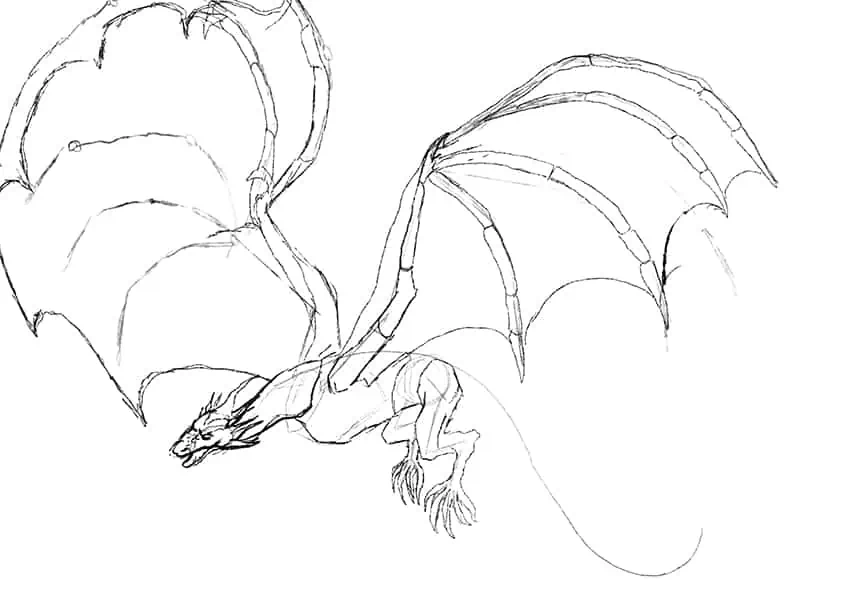
You can also add horns and spiked ridges along the spine and tail of the dragon. Allow yourself to use the skeletal form as a reference and then explore various ideas for the different features.
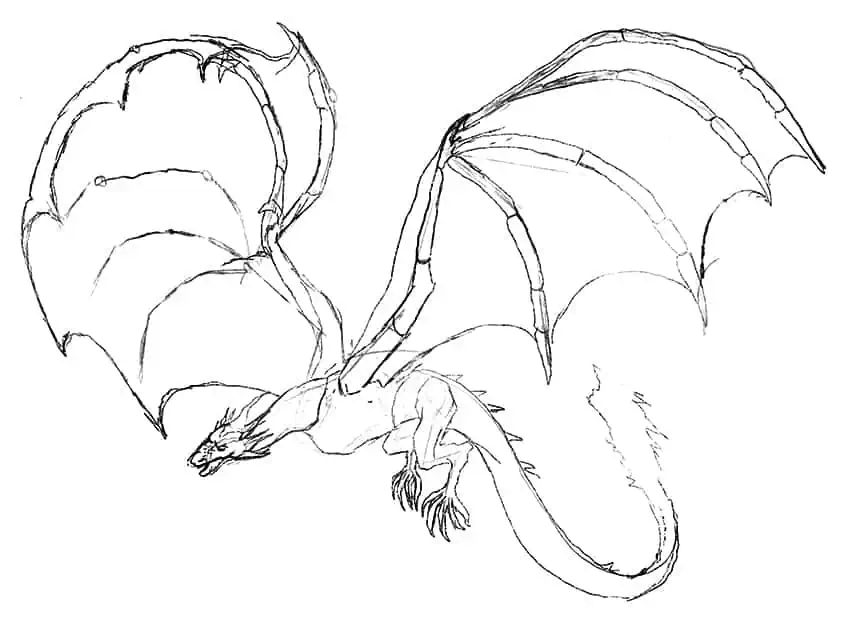
Step 4: Refining the Head of the Dragon
This is where we can start adding more refinement to each feature within the dragon drawing. With the head, we want to consider major aspects such as teeth, scales, eyes, and so on.
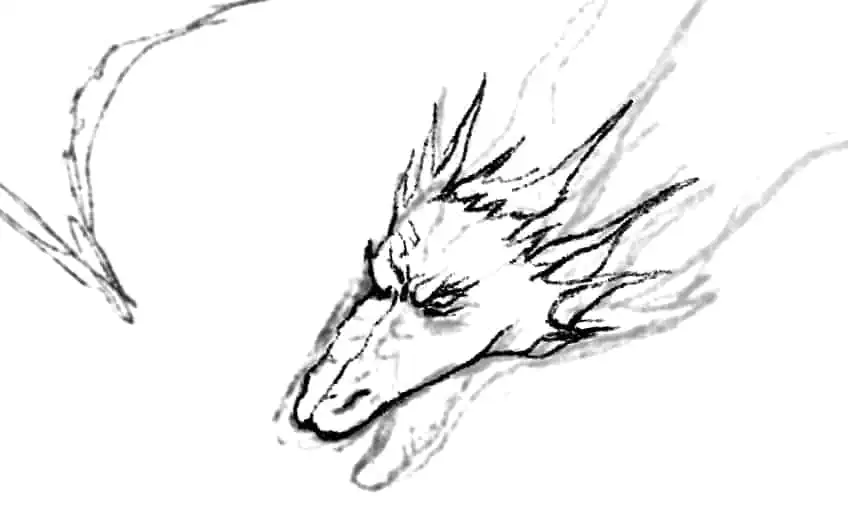
Again, there are various dragon styles to draw inspiration from when drawing different features in your dragon drawing. We want to make sure we consider all details of the face such as scales, eyes, teeth, tongues, and so on.
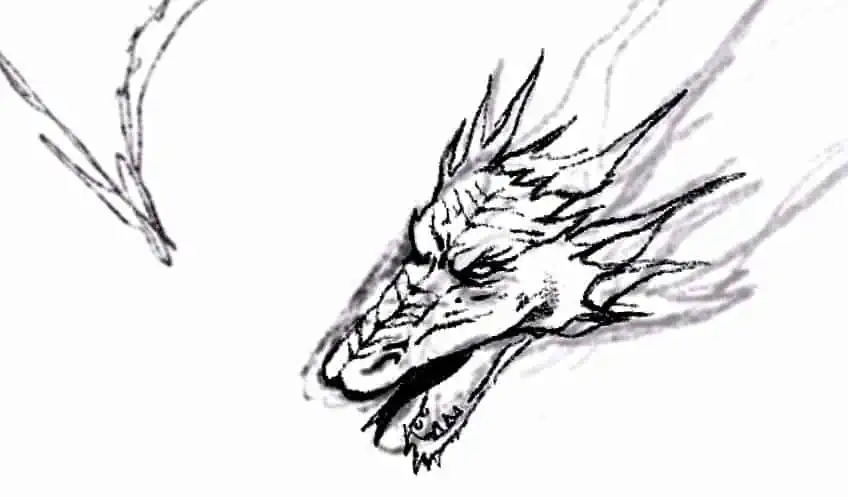
You can also consider giving your dragon features surrounding the head, such as horns or any other strange details. It’s a matter of experimenting with different ways of enhancing your dragon drawing by adding details.
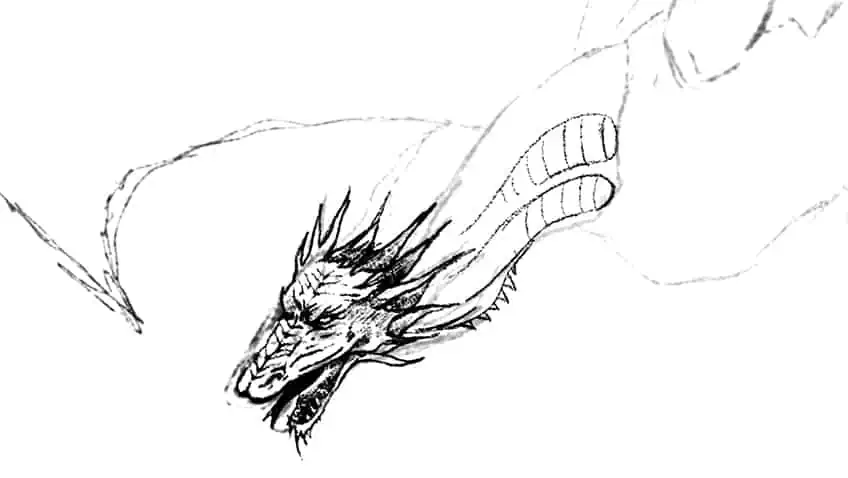
Step 5: Refining the Body of the Dragon
When we want to add scales to our dragon, we can also try out different shapes. With a dragon scale drawing, scales don’t have to have a snake-like pattern, they can be quite pebble-like or even irregular shapes.
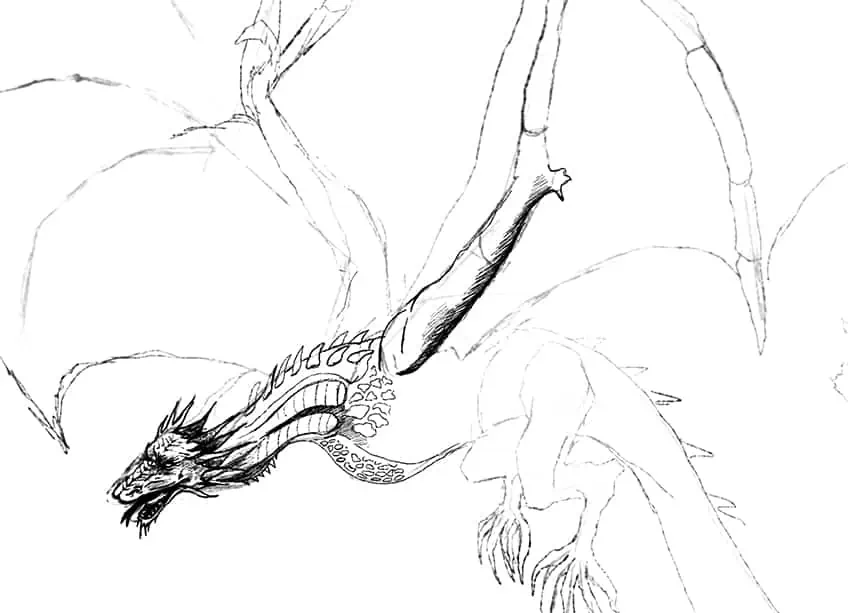
We can also work with different types of patterns, grooves, indentations, and other detailing that runs along the body. This is where we also want to. consider shading as a means of enhancing these details within the dragon drawing.
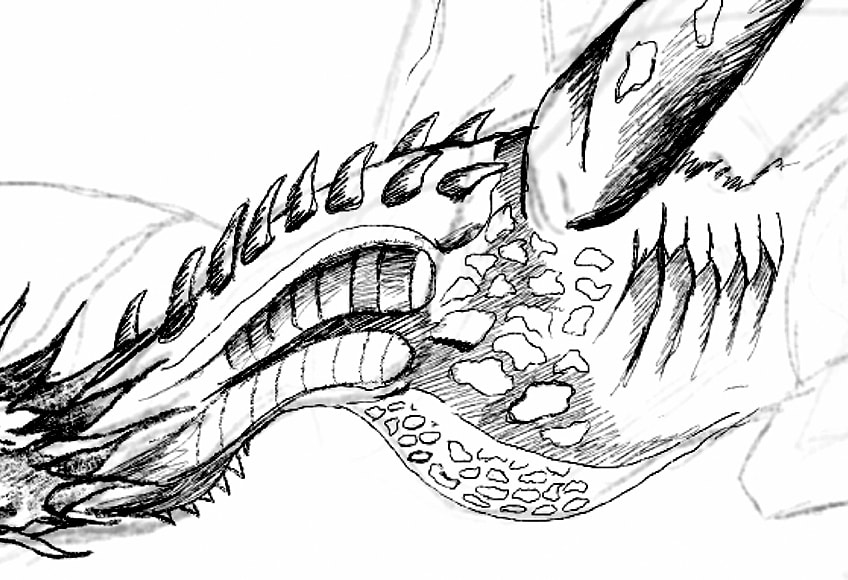
You can also explore creating different tonal values in different areas of the dragon. This is a great way to give variety to the color and overall textural qualities within the dragon.
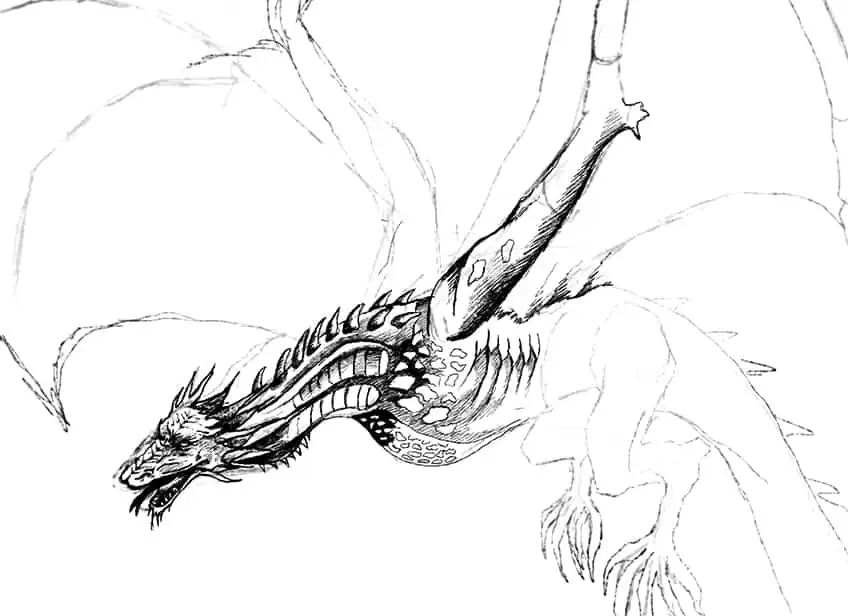
Using shading can also be an effective way to enhance different scale features within the dragon drawing. Try to experiment with how shading can be used to define different features within the dragon drawing.
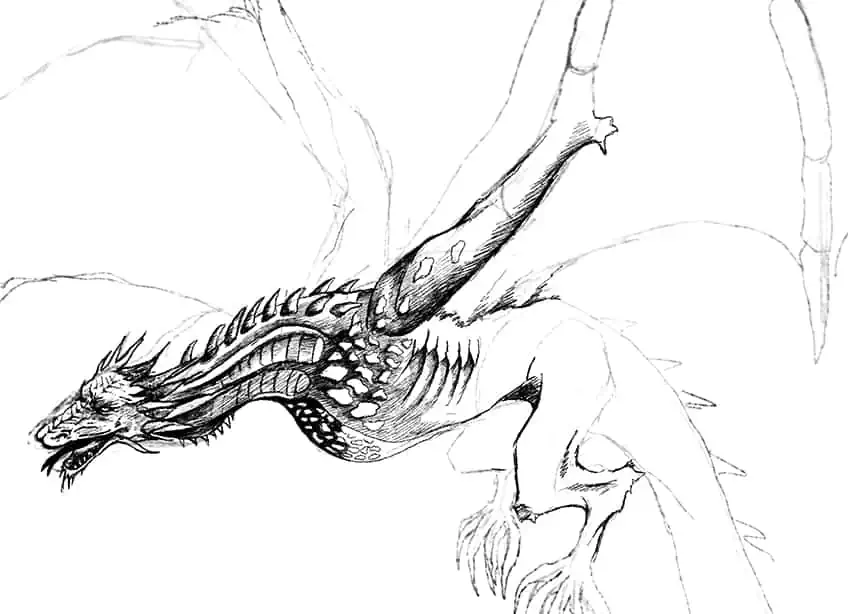
Step 6: Refining the Legs of the Dragon
It’s really important to think of the legs as a structure with bones, this way we can visualize how shading should be formed along indentations within the legs. Try to think about how the bones in the legs define the shape of the legs.
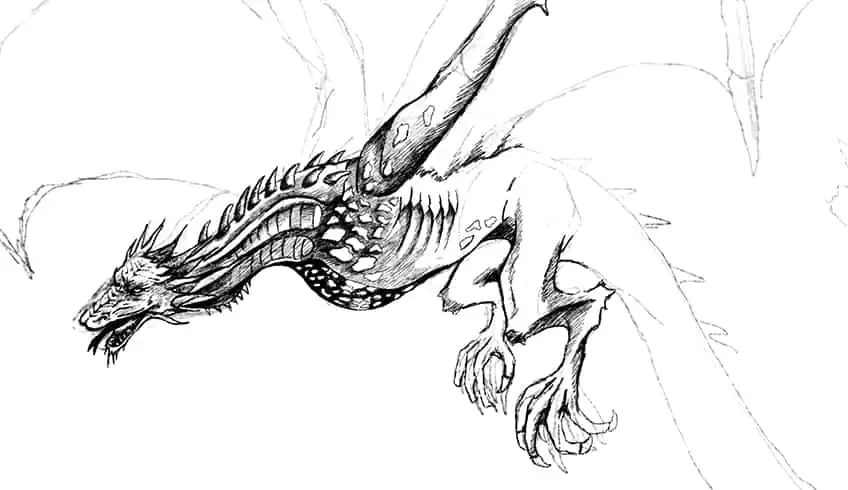
This is where we want to consider how the shading from the body flows from the upper body section into the legs area to define the bone structure in the dragon. Consider how shadows will also be darker near the underbelly area of the dragon.
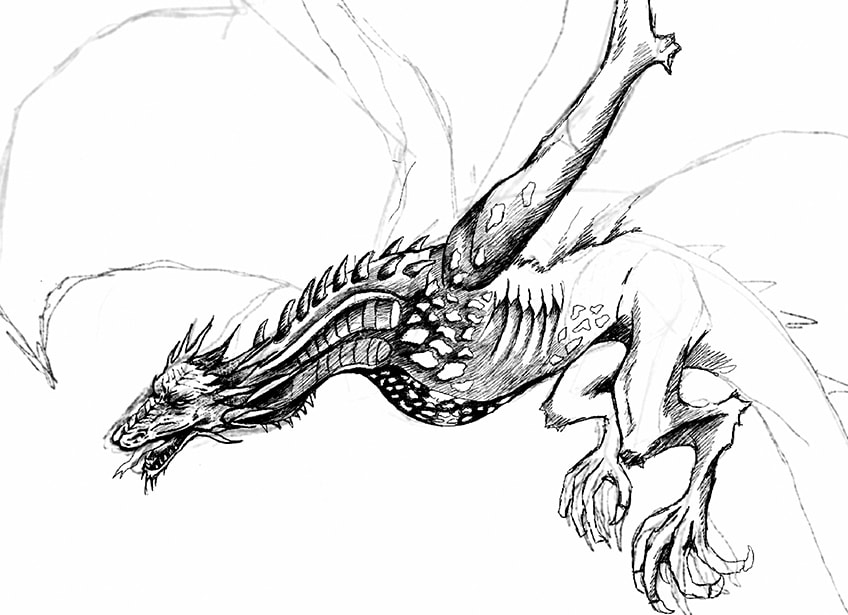
Take your time near the legs and the lower body of the dragon, making sure that you use shading to define the details within the dragon. We want to create smooth transitions in the shading as the shift from the body into the legs area of the dragon.
Step 7: Refining the Wings of the Dragon
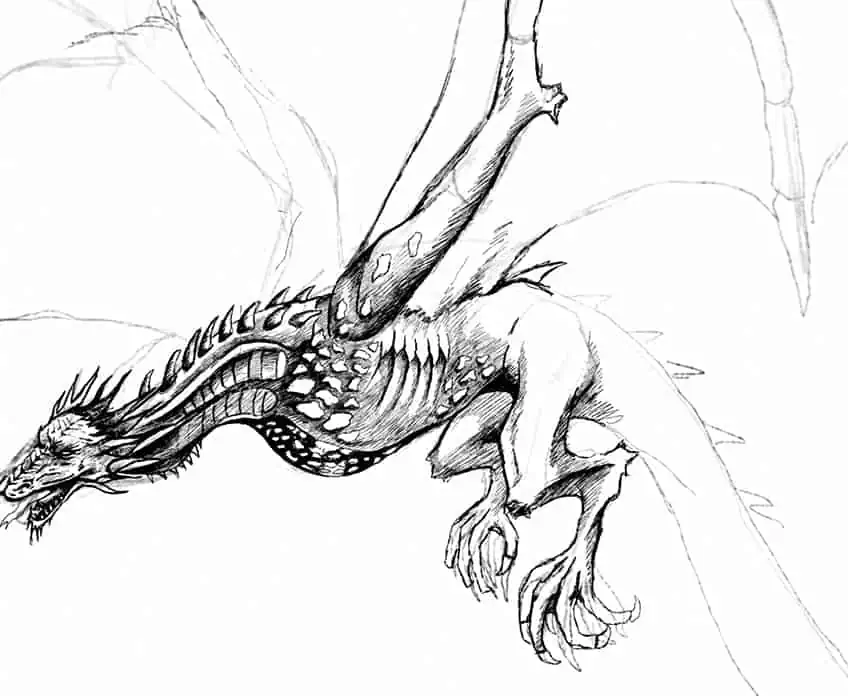
With the limbs within the wings, we want to make sure that we are drawing the joints to define a sense of mobility in the joints. This gives the limbs within the wings a more motion-visual quality.
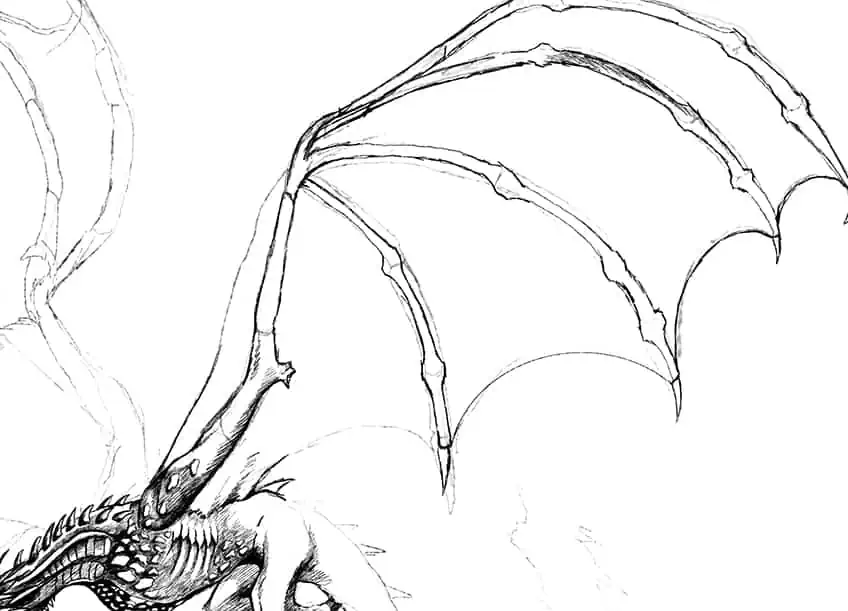
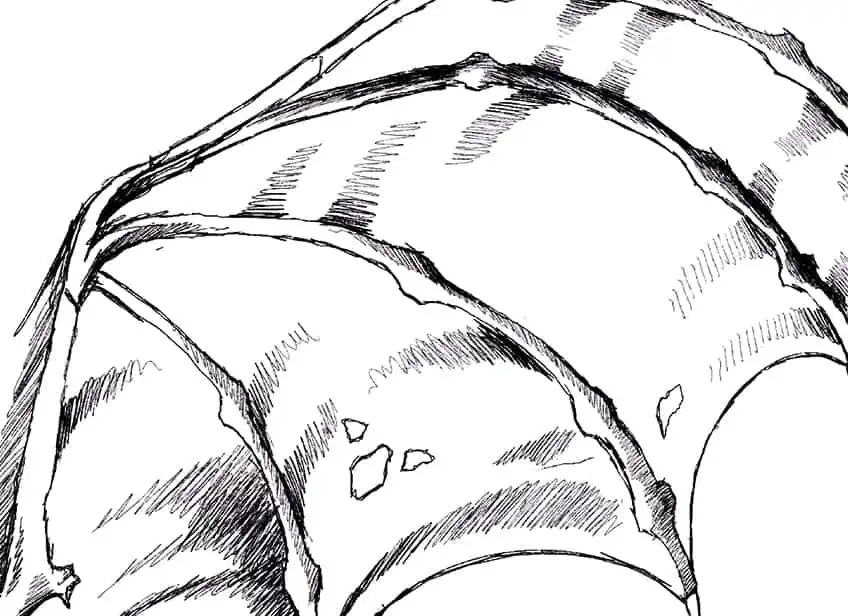
With the wings, a really good suggestion is to look at some images of bat wings and how they stretch in between each limb. As each limb extends to the edges of the wings it stretches the winged areas in between the limbs.
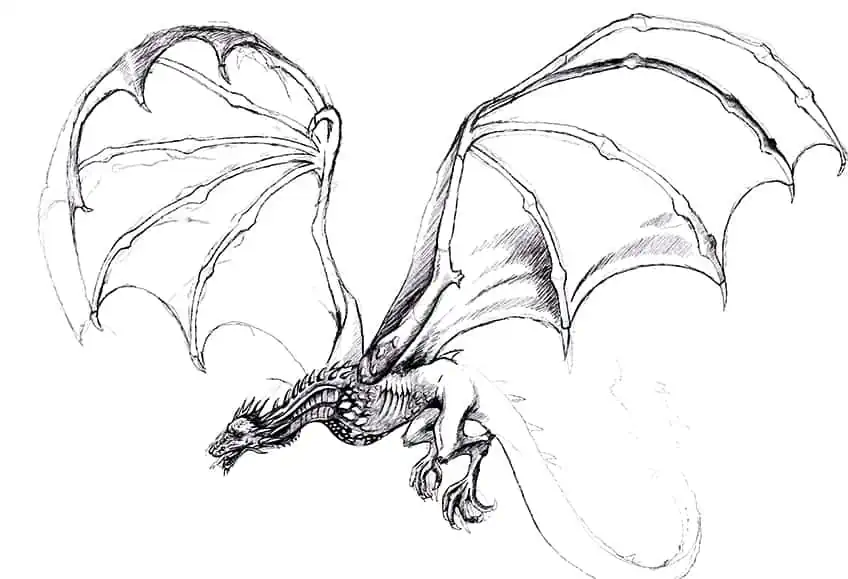
We can add some narrow shading marks that flow between the limbs to define this stretching quality in the winged texture.
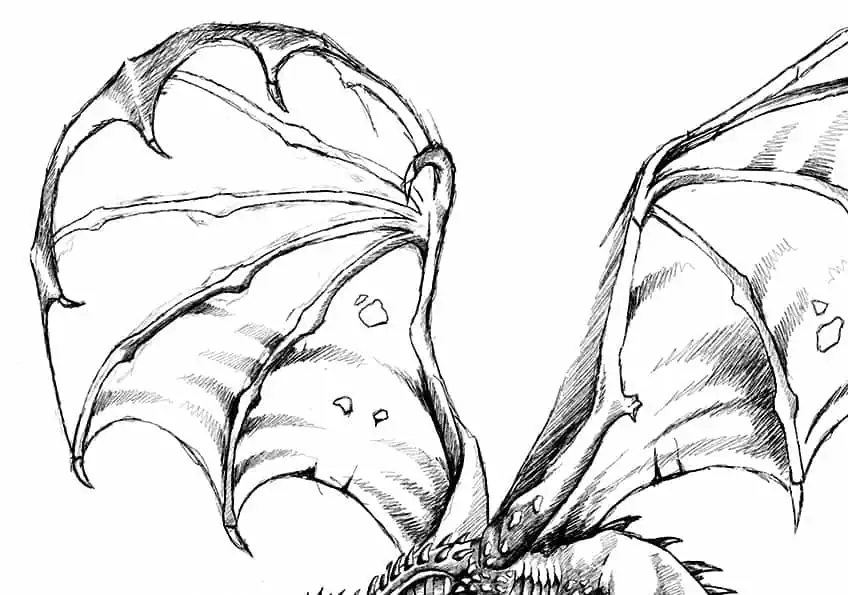
Again, we can also add some curvature to the wings to suggest motion and shifting in the wings of the dragon. This also gives the dragon a dynamic movement and how it is changing direction as it flies.
Step 8: Refining the Tail of the Dragon
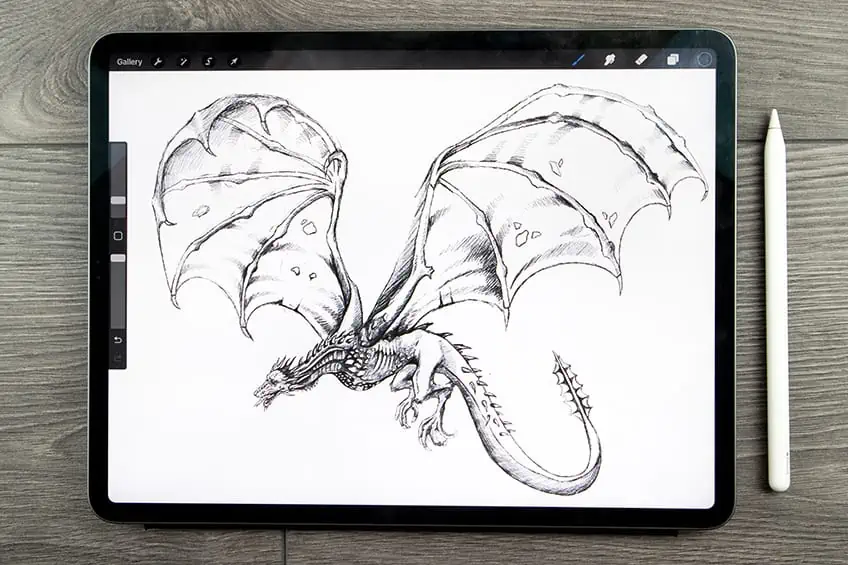
Lastly, we can work in some details into the tail of the dragon, the tail often is iconic of a dragon. This means we can give a unique feature to the tail, which can be horns or webbing, it can be thick or thin, and it is all a matter of trying different things.

Make sure you take your time working on some details for the tail of the dragon drawing. From there you can tweak and change any little details within the dragon drawing as you come to the completion of the dragon illustration.
Tips and Tricks to Remember
- Make sure you work out the skeletal structure first. Use the skeletal structure as a framework to help you form your dragon sketch.
- Use shading to enhance features. Use shading to define features and emphasize them within your dragon illustration.
- Draw inspiration from different dragon illustrations. When learning how to draw a dragon, a good idea is to explore different dragon drawings to find inspiration for features.
- Experiment with different features. Allow yourself to combine and add unique elements to your dragon drawing.
What makes dragons fun to draw is that they are fictional creatures, which means that there is a lot of creative freedom when it comes to adding features. This is a great exercise to work on drawing skills as well as also your creativity, as it requires you to think about the dragon outline, form, structure, and strange details. Learning how to draw a dragon is an opportunity to have fun and not worry about replicating something real, but rather how you can create a unique dragon drawing by using your imagination.
Frequently Asked Questions
How Do You Draw a Dragon’s Scales?
With dragon scale drawing, there are a lot of different styles of scales that you can draw on a dragon. Since they are fictional creatures, you can experiment with different scale types and draw inspiration from various animals. In one sense, you can be traditional and create a snake-like aesthetic with the scales, but you can also make your scales quite irregular and pebble-shaped. There are no rules when it comes to scales; the only thing to consider is the size of the scales and how they form around the body in a way that makes sense.
How Do You Draw a Dragon Flying?
When drawing dragon wings, there are various approaches you can take. For one, you can draw wings that extend out of the back, separate from the arms. However, the more popular and interesting version is when the arms are intertwined into the wings themselves like a bat. This texture of the wings is like a fabric that stretches as a parachute, which helps the dragon to fly. Bearing this in mind can help you to play around with dynamic movements, ripples, curvature, and various motions in the wings to define the dragon in flight. You don’t need to draw the wings in any particular way because dragons are often dynamic in the air. You could add twisting motions, simple straight motions, or whatever you would like and this can still work as a way to describe flight in the dragon’s movement.
Matthew Matthysen is a multidisciplinary artist. He completed his fine art degree, majoring in History of Art and Contemporary Drawing Practice at the University of Witwatersrand, South Africa. Before joining acrylgiessen In 2020, Matthew worked part-time as an art teacher at Reddford Blue Hills High school. Matthew creates drawing and painting tutorials for acrylgiessen and captures them not only photographically and in written form. He also records the creation of his works in his own creative studio as in video format, from which later with a voiceover and a video editor also drawing tutorials for the Youtube channel of acrylgiessen are created.
Learn more about Matthew Matthysen and about acrylgiessen.

