How to Draw With Charcoal – Your Guide to Charcoal Drawing Techniques
This post may contain affiliate links. We may earn a small commission from purchases made through them, at no additional cost to you.
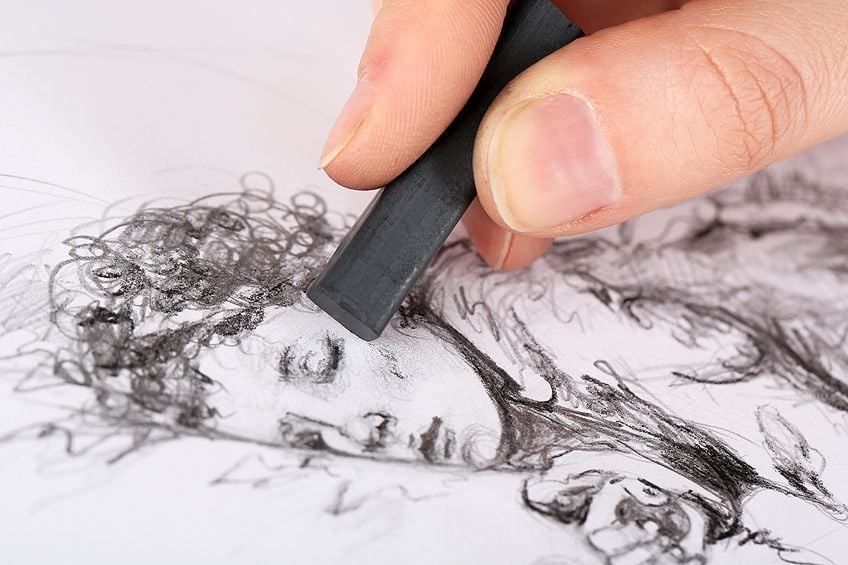
Hello and welcome to the fascinating universe of charcoal sketches! If you want to expand your creative thinking or enhance your technical artistic abilities, drawing with charcoal pencils is an excellent medium for learning and mastering the art of sketching. In this lesson, you will gain knowledge on how to draw with charcoal, explore new approaches to working with different media, and pick up some additional tips for imaginative charcoal drawing ideas and charcoal drawing techniques as we go.
Exactly What Is Charcoal Anyway?
Essentially, charcoal is scorched or charred organic material. The charcoal encountered in our drawing equipment is typically compacted wood. It’s a very chalky material that smudges easily. As a result, charcoal comes in a multitude of shapes and hardness grades. Hard charcoal, soft charcoal, and powdered charcoal are all examples of this.
Charcoal Sketches Can Be Very Versatile
Charcoal drawing is frequently compared to specific painting methods by artists who practice it. Charcoal sketches can be soft and gentle, or they can be very realistic. It is comparable to creating a painting in that it can be conveniently mixed, distributed, and wiped away. Although it takes time to perfect, it is a material that novices can use to create easy charcoal drawings. In actuality, understanding how to draw with charcoal is frequently the first-class pupils take in technical drawing lessons.
It is a beginner-friendly medium, so don’t be afraid to experiment with it – especially if you love doodling and working quickly.
Drawing With Charcoal Pencils on Various Materials
Charcoal can be a frustrating process, or it can be advantageous if you use the abundant supply of materials to your benefit. Drawing with charcoal pencils can be theoretically challenging if you don’t have the type of paper, erasers, bonding agent, and other instruments, and the chaos can be somewhat irritating. You’ll quickly realize that all of your materials are essential in the methodology of drawing with charcoal pencils. This is a type of media that has the potential to be wonderfully exploratory and exhilarating and offers many charcoal drawing ideas.
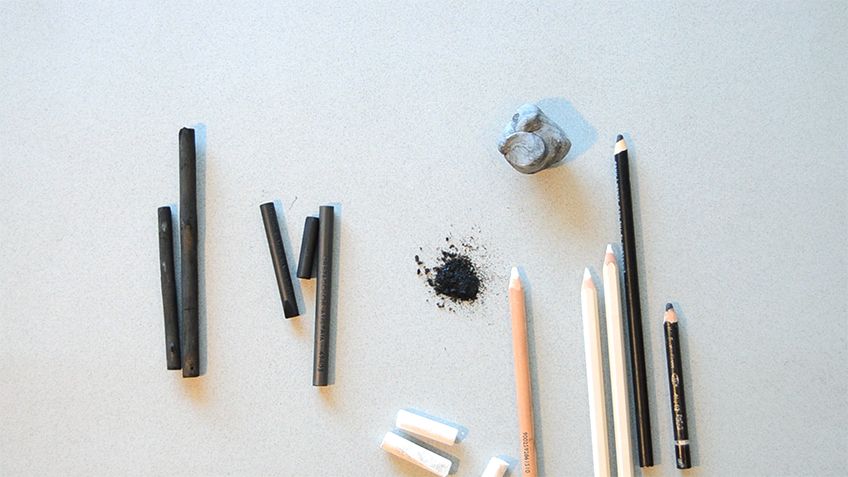
Tools and Materials Needed for Your Easy Charcoal Drawings
It is always a good idea to have a wide range of tools and materials on hand when doing charcoal sketches. The more room you have to try out various charcoal drawing techniques, the better. This means you can make a wide range of charcoal drawings with a wide range of lines and markings, textures, and tonal qualities using various media.
To start, you will require the following necessary materials to create your easy charcoal drawings.
The Various Kinds of Charcoal
You can use a variety of charcoal to understand how to manipulate your charcoal drawing techniques. Willow charcoal (soft), compressed charcoal (hard), and powdered charcoal are the three major kinds of charcoal used by creatives.
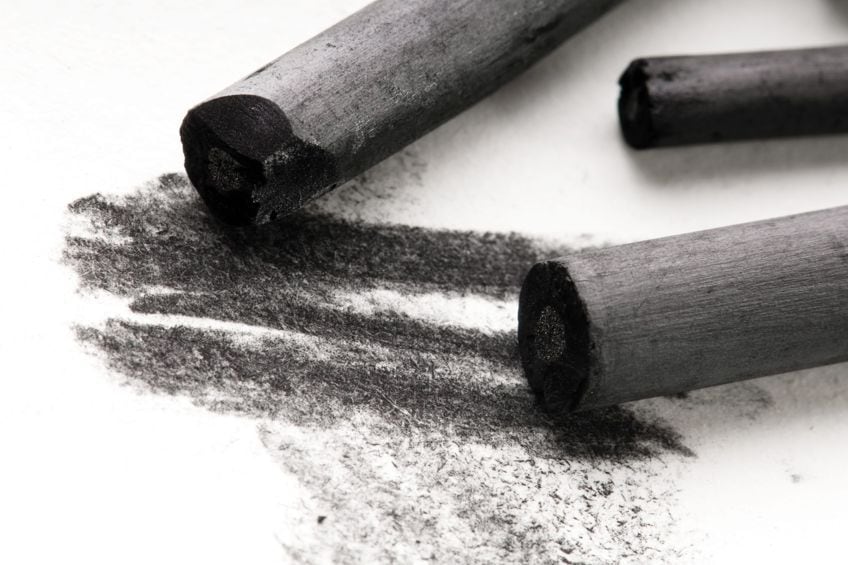
Willow Charcoal
The softest charcoal is called willow charcoal. This specific kind of charcoal is usually used in the early phases of adding another layer to our charcoal drawings. Willow charcoal is sold in the form of raw, uncoated sticks. This type of charcoal can be used to make compelling melding and smudging approaches, and it is conveniently wiped away and removed. You can use them in the early stages of implementing charcoal drawing techniques, and you can benefit hugely from the blending and smudging of the material.
Be ready to work in a potentially messy environment.
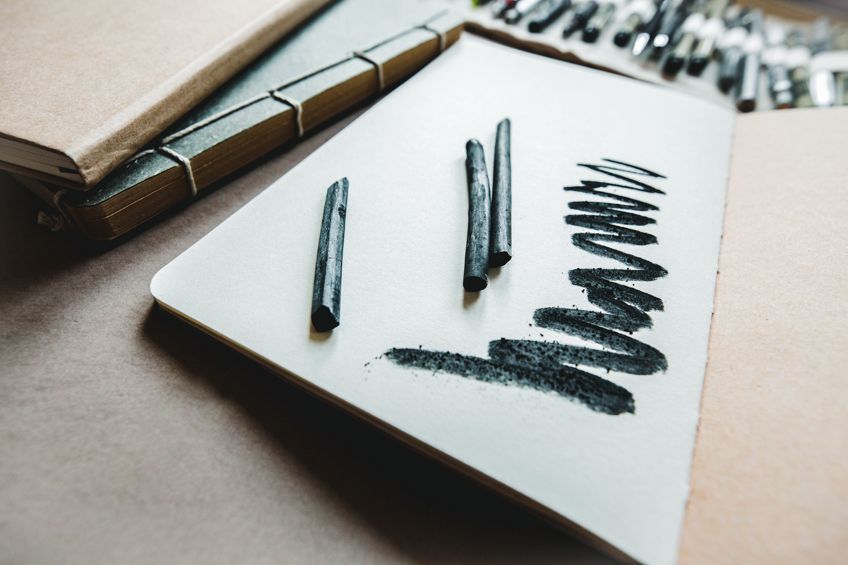
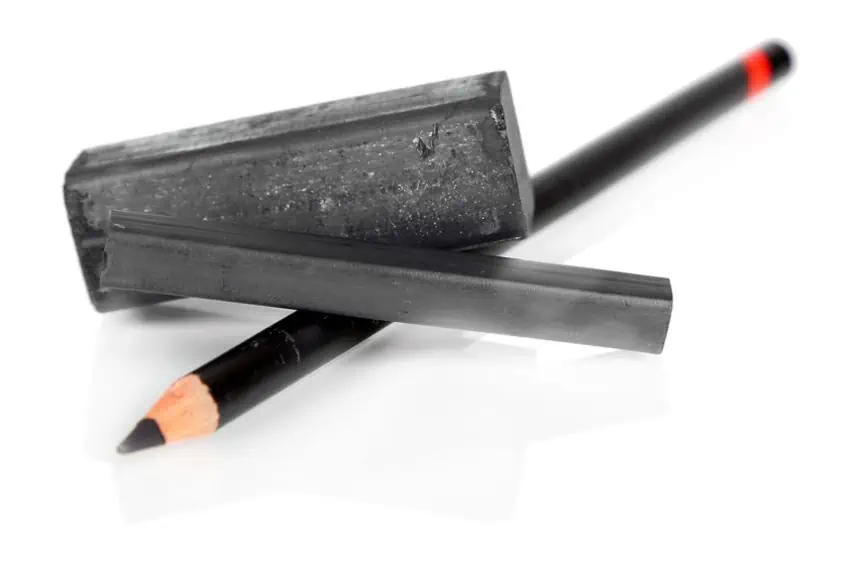
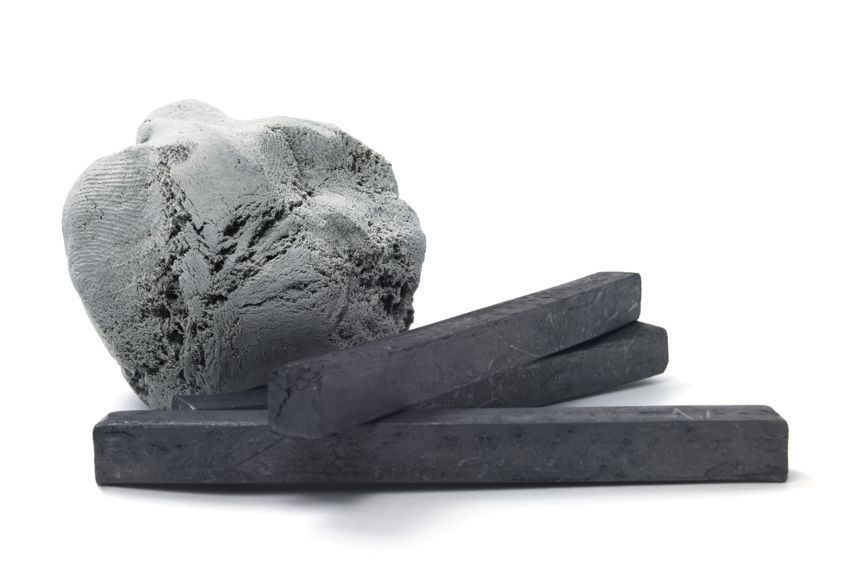
Compressed Charcoal
The toughest and deepest form of charcoal is compressed charcoal. It has a gum binder that holds it together and generates clean, dark lines, tones, and textures. Because of this, compressed charcoal is challenging to smudge or remove. This sort of charcoal is also available in white and is packaged as pencils or coated sticks. Compressed charcoal is often used to start defining lines, forms, and shapes after you’ve traced out the basic structure of your charcoal sketches.
Powdered Charcoal
The term “powdered charcoal” refers to exactly what it sounds like. It is a charcoal raw material that has been pulverized into pieces. Powdered charcoal is ideal for the nuanced layering of charcoal drawings if you want to create lighter or softer layers. It is frequently used to cover larger areas with the intention of defining highlights by removing, trying to lift, or erasing layers. Powdered charcoal is sold in tubs and can be quite expensive.
It is certainly possible to make your own material, but be aware of the great mess that may result!
The Kinds of Paper Materials
The wonderful thing about charcoal is that it can be used on almost any sort of paper. Even so, this does not mean you should produce a masterpiece on plain cartridge paper. Charcoal artists recommend charcoal paper, textured plain paper, or toned paper for their work.
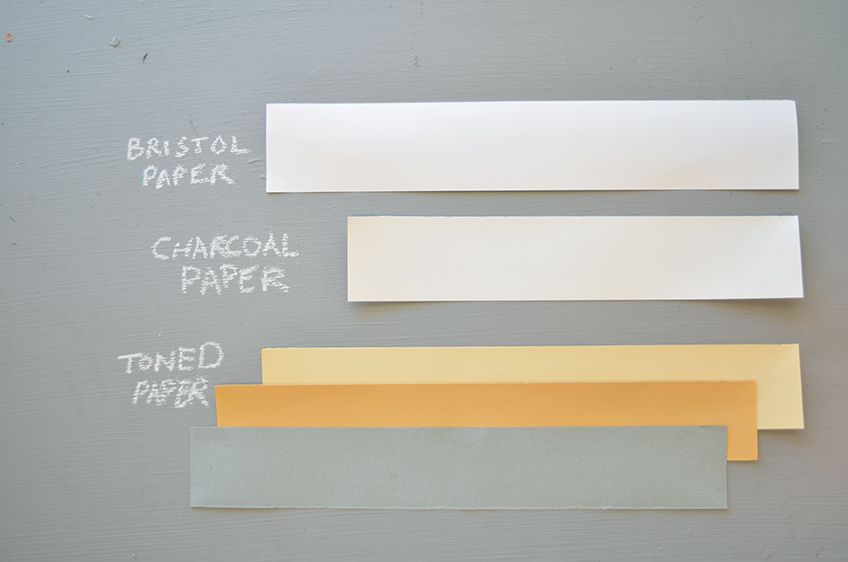
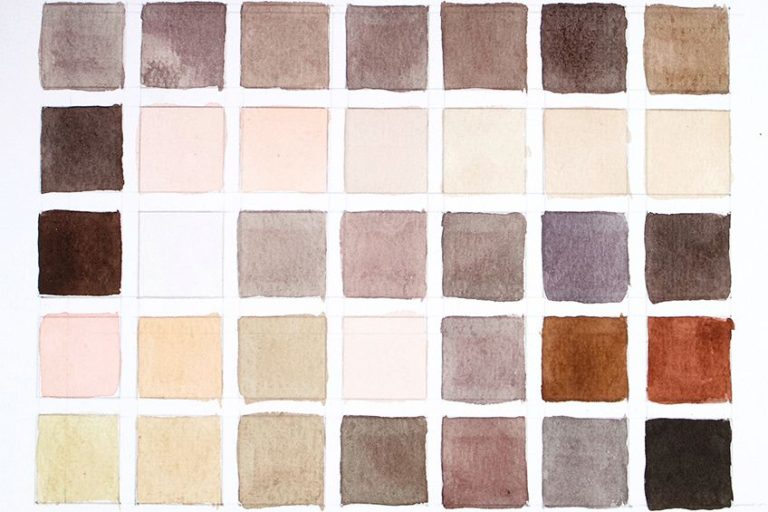
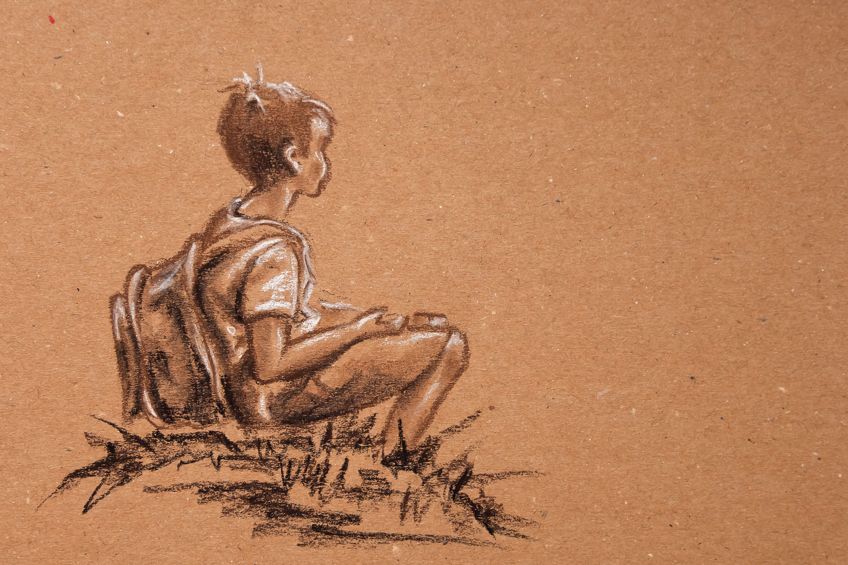
Toned Paper
Working with toned paper is a lot of fun. With toned paper, you could use nearly any color; even so, you must use black and white charcoal pencils to generate full value among both highlights and shadows. Working with skin-toned paper is an instance of a charcoal drawing idea you could make with this kind of paper. You can make a portrait by using the paper’s base color as the skin color.
Take a look at how to make a drawing with charcoal pencils while dealing with diverse types of paper.
White Plain Textured Paper
The differing tonalities of the black charcoal perform well with white paper. If you don’t have any of these, you can buy Bristol paper, newsprint, illustration board, or plain cartridge paper.
Charcoal Paper
The texture of the charcoal paper is fine-ribbed and thick. Comparable paper materials to charcoal paper can be found in the form of pastel and watercolor paper. The more weight the paper has, the nicer. It will be easier to shift the work of art with the bulkier weighted paper without the charcoal crumbling away from the paper material.
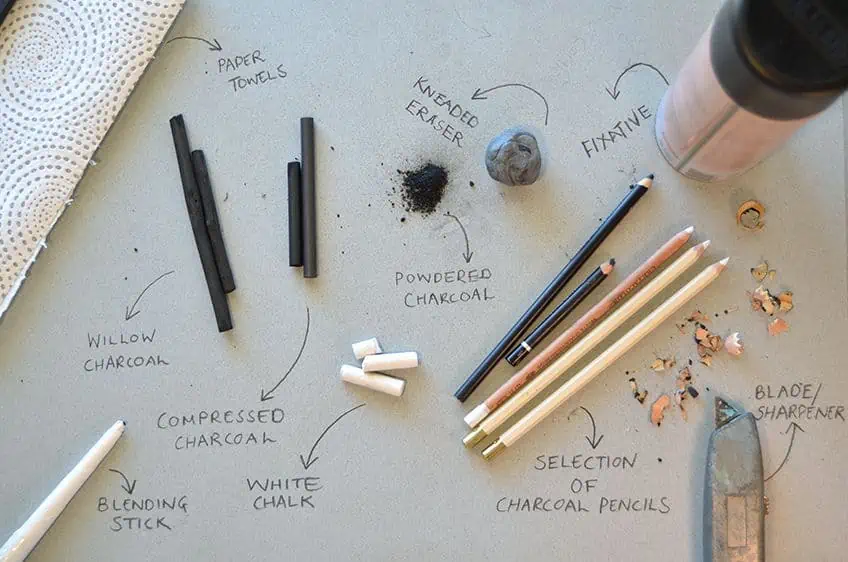
Equipment and Tools
As previously stated, variety is essential when starting to learn how to draw with charcoal. This is significant because it reveals how many various techniques you can employ and the kinds of marks you can create. You’ll need a kneaded eraser, a melding stump, white chalk, and toilet paper when drawing with charcoal pencils.
Blending Brushes and Stumps
Blending brushes and stumps are used to add subtle merging and smudging effects to our charcoal drawings. They have the capacity to cast and disperse gentle, expressive shadows. The fine point of the blending stump aids in the creation of detailed shadows and textures.
Brushes and powdered chalk work well together to gently mix charcoal into the paper material.
A Kneaded Eraser
To wipe away charcoal, a kneaded eraser is used. It can be molded like clay or putty to create various forms that produce interesting marks, lines, and forms when applied to paper. Warm water can also be used to clean kneaded erasers, but allow them to dry thoroughly before using them to avoid damaging your artwork.
Paper Towels
We find that paper towels are a must-have item. You might not be aware of this if you are a novice at understanding how to draw with charcoal, therefore this is a good recommendation for those who prefer to keep everything clean. We can use a paper towel to cover our hands from the surface we are working on.
This prevents the charcoal from smudging beneath your palm.
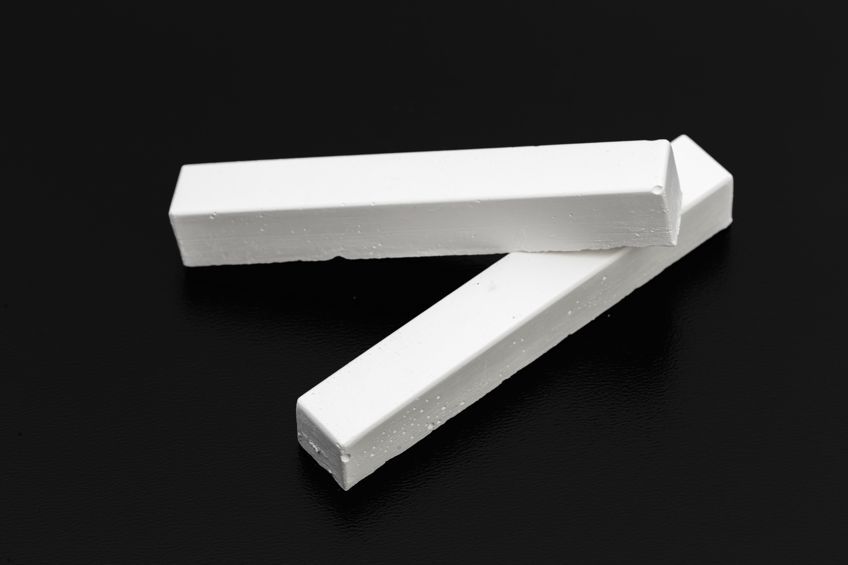
White Chalk
White chalk is frequently used at the end of a charcoal drawing to add the finishing touches to the highlights. To generate contrasting tonalities between highlights and shadows, utilize white chalk as well as a blending stump.
Fixative
The fixative keeps the charcoal in place. It acts almost like a sealant and keeps your charcoal drawings from smudging. There are two kinds of fixative: workable, which means you can keep on working on the charcoal sketches, and also another final one, which cannot be reworked.
If your work of art is tightly packed with charcoal, you can keep it in place with a few layers of fixative.
Drawing With Charcoal Pencils
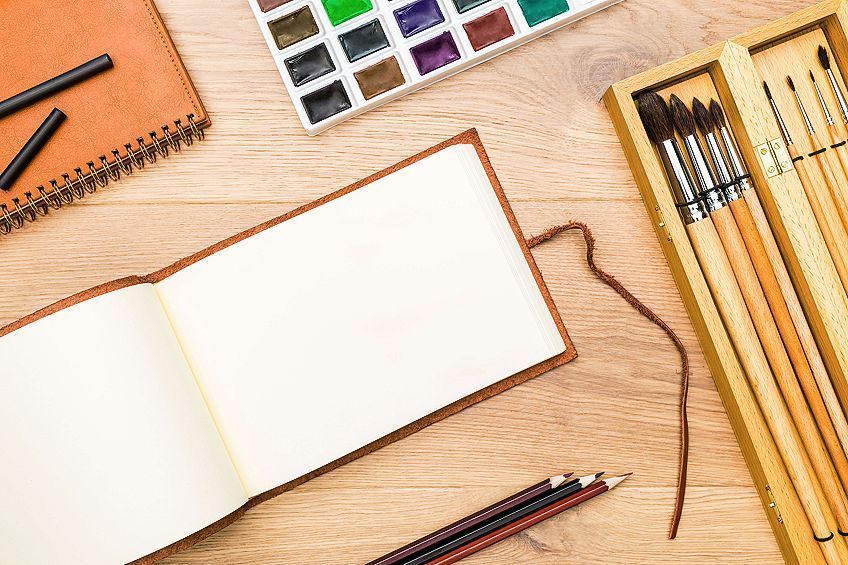
Now that you have a range of materials to operate with, you can try to practice a diverse range of charcoal drawing techniques right away. Set up your charcoals, papers, and tools in a well-lit room, such as an easel or a desk with a drawing board, with these materials.
Gather a variety of charcoal pencils, tools, and paper materials before you start so you can bring your charcoal ideas to life. After you’ve set up your workspace, begin collecting the following items:
- Charcoal willow sticks
- Blending stump or brush
- Powdered charcoal
- Variation of paper
- Fixative
- Compressed charcoal sticks
- Kneaded eraser
- White charcoal
- Blade or sharpener
Holding Charcoal Pencils
You can start by holding your charcoal pencils like you would a pen or pencil or pen, but there are many other possible manners in which to hold charcoal to establish exciting textures and marks across the surface of the canvas. Possibly the best way to learn how to create these various marks is to start practicing them.
Go ahead and gather your supplies, settle into your space, and start experimenting.
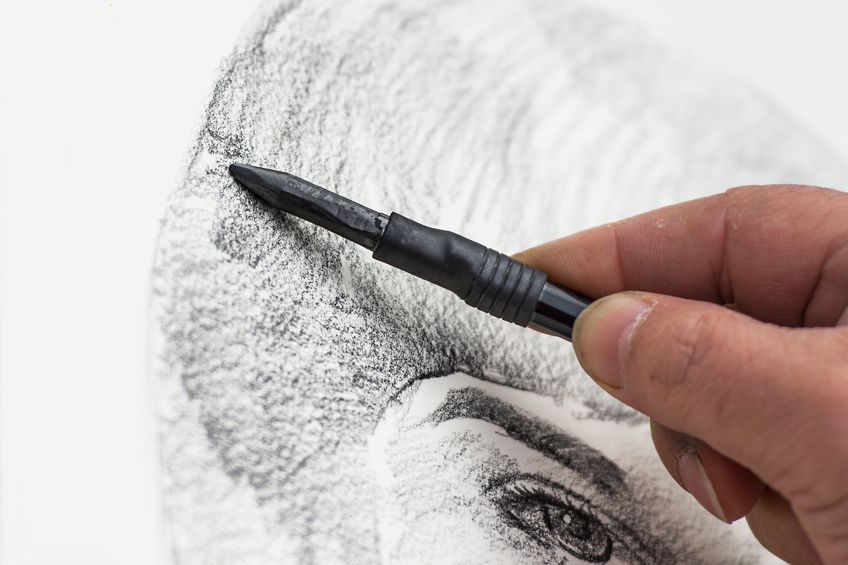
Step 1: Holding the Charcoal Similar to a Pencil
Grasp your charcoal like a pencil and start outlining your composition with only lines. Keeping it in this position will aid in the creation of precise, well-defined lines. Apply more and less pressure as you go to recognize how you can start constructing the first layers of your composition.
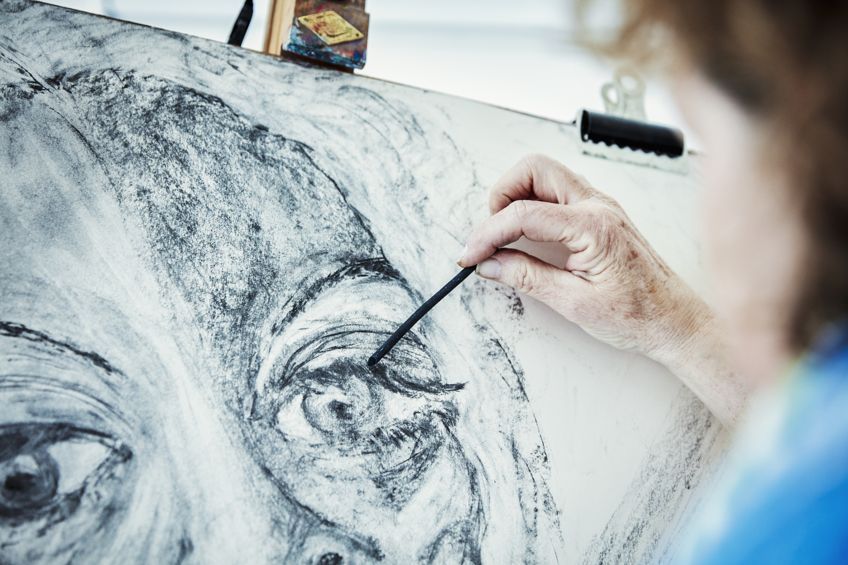
Step 2: Holding the Charcoal at an Angle
If you change the angle of the pencil with the point at its side – attempting to meet the outer layer of the paper – your hand will instinctively re-adjust. With your forefinger on top of the nib and your thumb further back and below, grasp the pencil tip. The rest of your fingers should be used to reaffirm the pencil’s end.
Start by using broad sweeping movements and motions across the surface of your canvas to create textured and loose strokes.
Step 3: Using Your Shoulders and Elbows to Lead your Movements
Maintain a constant or fixed position for your wrist and start leading exploratory strokes, trying to follow the motion of your shoulder and elbow. Once you’ve found a pleasant rhythm, you’ll discover that working in this manner is a great way to avoid smudging and create beautiful textures and marks on the page’s surface.
Creating Charcoal Drawings
You can begin observing your composition more closely now that you’ve started experimenting with your materials and tools and have a basic comprehension of how to hold your charcoal pencils. There are numerous charcoal drawing techniques that you can try. These will almost certainly lead you to explore new ways to play around with the material.
Step 1: Observation
Examine your object or subject through the use of simplified geometric shapes. Try using a viewfinder to direct your attention to the content in front of you and choose what you want to include within the field of view of your charcoal drawing.
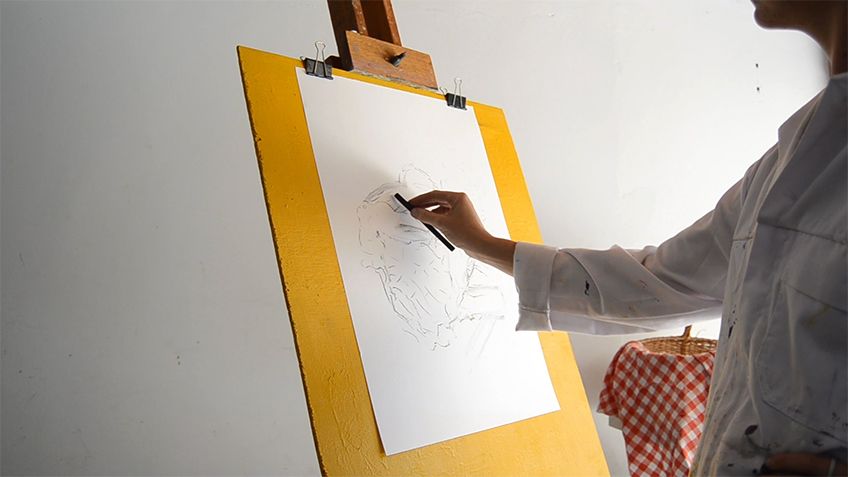
Step 2: Mapping Out the Composition
With a soft charcoal pencil, start loosely contouring and outlining your composition. You can draw a line where there is a lot of contrast or dark shadows. Willow charcoal can be lightly smudged in the mid-tones. Highlights should be avoided.
This will serve as the basic layout for your charcoal sketches, revealing the form and shape within the composition.
Step 3: Defining Edges With a Harder Charcoal
Using compressed charcoals, continue adding layers and information to our charcoal drawings. Sharpen contrasted regions and make shadows darker. To remove existing highlights, utilize a kneaded eraser.
Step 4: Outlining Our Highlights
Define the highlights in your charcoal sketches with a white charcoal pencil. As white meets black, you can start grading the grey tonal values.
Step 5: Blending Out Shadows
To blend out harsh lines and dark tones, smudge specific portions with a blending brush or stump. Blending and softening areas that are too strongly contrasted is particularly important because they may throw off the harmony of your composition. To mix these regions, you can also use toilet tissue or a paper towel.
Step 6: Returning to Our Soft Charcoals
Revert back to your soft charcoals to add even more linework, texture, contour shading, cross-hatching, and other techniques to work in the final details.
This will give your charcoal sketches a more realistic appearance.
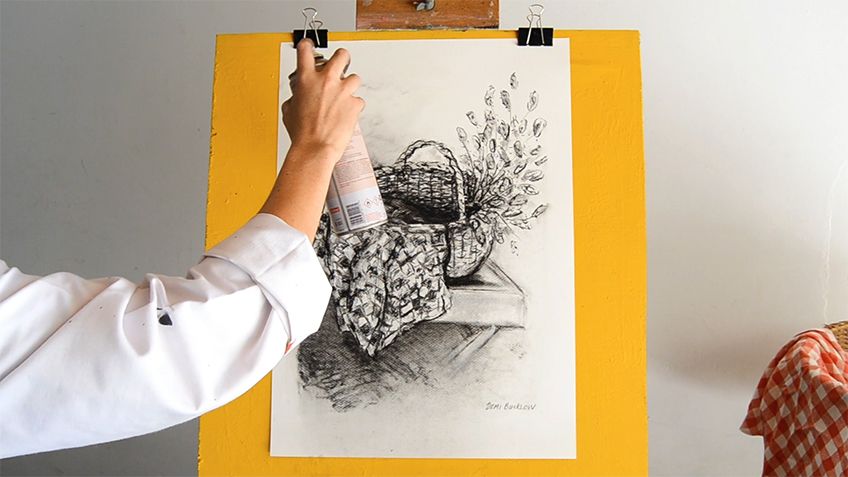
Step 7: Adding Fixative to Our Easy Charcoal Drawings
When using a fixative, make sure you’re in a well-ventilated area and that you’re no more than a foot away from your works of art. Spray evenly over the entire page and leave to dry between those layers of fixative.
Creative Charcoal Drawing Ideas
With charcoal, you can draw a wide range of subjects, objects, and scenery. Compositions with a vast selection and tonal values are some of the simpler charcoal drawing ideas you can try. Some of these charcoal ideas might begin with the following topics:
- Portraits
- Still lifes
- Landscapes
- Interior spaces
- Animal studies
- Architecture
When viewing an artwork, viewers seek a fine balance, as they do with all art. This rebalancing can be discovered in the darkest darks, the lightest lights, and then almost all the greys in between when drawing with charcoal. This remains in well-balanced compositions where highlights radiate outward and shadows recede.
Learning to draw with charcoal can be a useful skill for broadening your artistic discipline and ramping up your creativeness. Drawing with charcoal pencils and a diverse array of various materials, as well as attempting to follow the procedure outlined above, will aid in your comprehension of integrating texture, lines, and tonal values into simple compositions. With practice, you will uncover a variety of charcoal drawing techniques that will lead you to a relaxed hand, a precise and reliable eye, and a sincere stream of the creative blaze.
Take a look at our charcoal drawing webstory here!
Frequently Asked Questions
How Do I Clean a Charcoal Drawing?
We’ve all heard that charcoal is a very messy substance. You can keep things clean by washing charcoal-covered hands, easels, tabletops, and other grimy remnants. You could use paper towels to protect your easel and working area, soapy water to wash your hands, and paper towels between your arm and the sketch to keep it from smudging. Make sure you have a vacuum cleaner on hand!
What Can I Use for My Charcoal Sketches?
For charcoal drawing, any paper with visible texture is ideal. To create charcoal sketches, you will also require charcoal pencils, as well as a large selection of materials and tools. When learning how to draw with charcoal, it is recommended that you begin with charcoal paper or watercolor paper and progress to toned paper materials.

In 2005, Charlene completed her wellness degrees in therapeutic aromatherapy and reflexology at the International School of Reflexology and Meridian Therapy. She worked for a company offering corporate wellness programs for several years before opening her own therapy practice. In 2015, she was asked by a digital marketer friend to join her company as a content creator, and it was here that she discovered her enthusiasm for writing. Since entering the world of content creation, she has gained a lot of experience over the years writing about various topics such as beauty, health, wellness, travel, crafting, and much more. Due to various circumstances, she had to give up her therapy practice and now works as a freelance writer. Since she is a very creative person and as a balance to writing likes to be active in various areas of art and crafts, the activity at acrylgiessen.com is perfect for her to contribute their knowledge and experience in various creative topics.
Learn more about Charlene Lewis and about us.