How to Paint Wine Glasses – Guide to Create Stunning Glass Paintings
This post may contain affiliate links. We may earn a small commission from purchases made through them, at no additional cost to you.
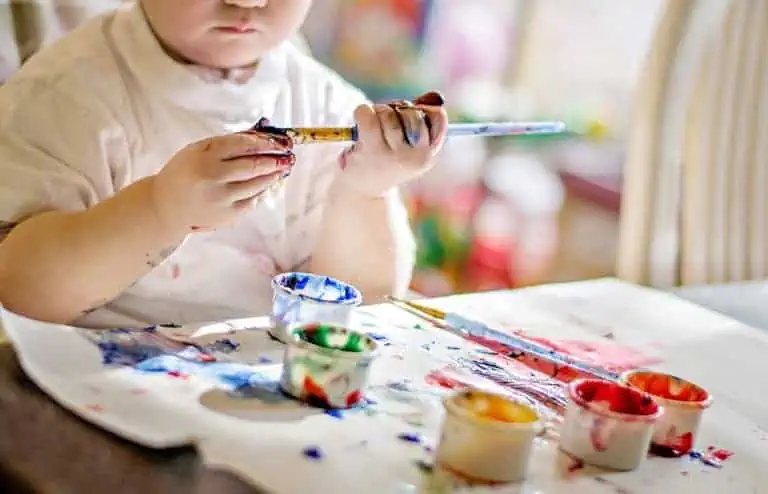
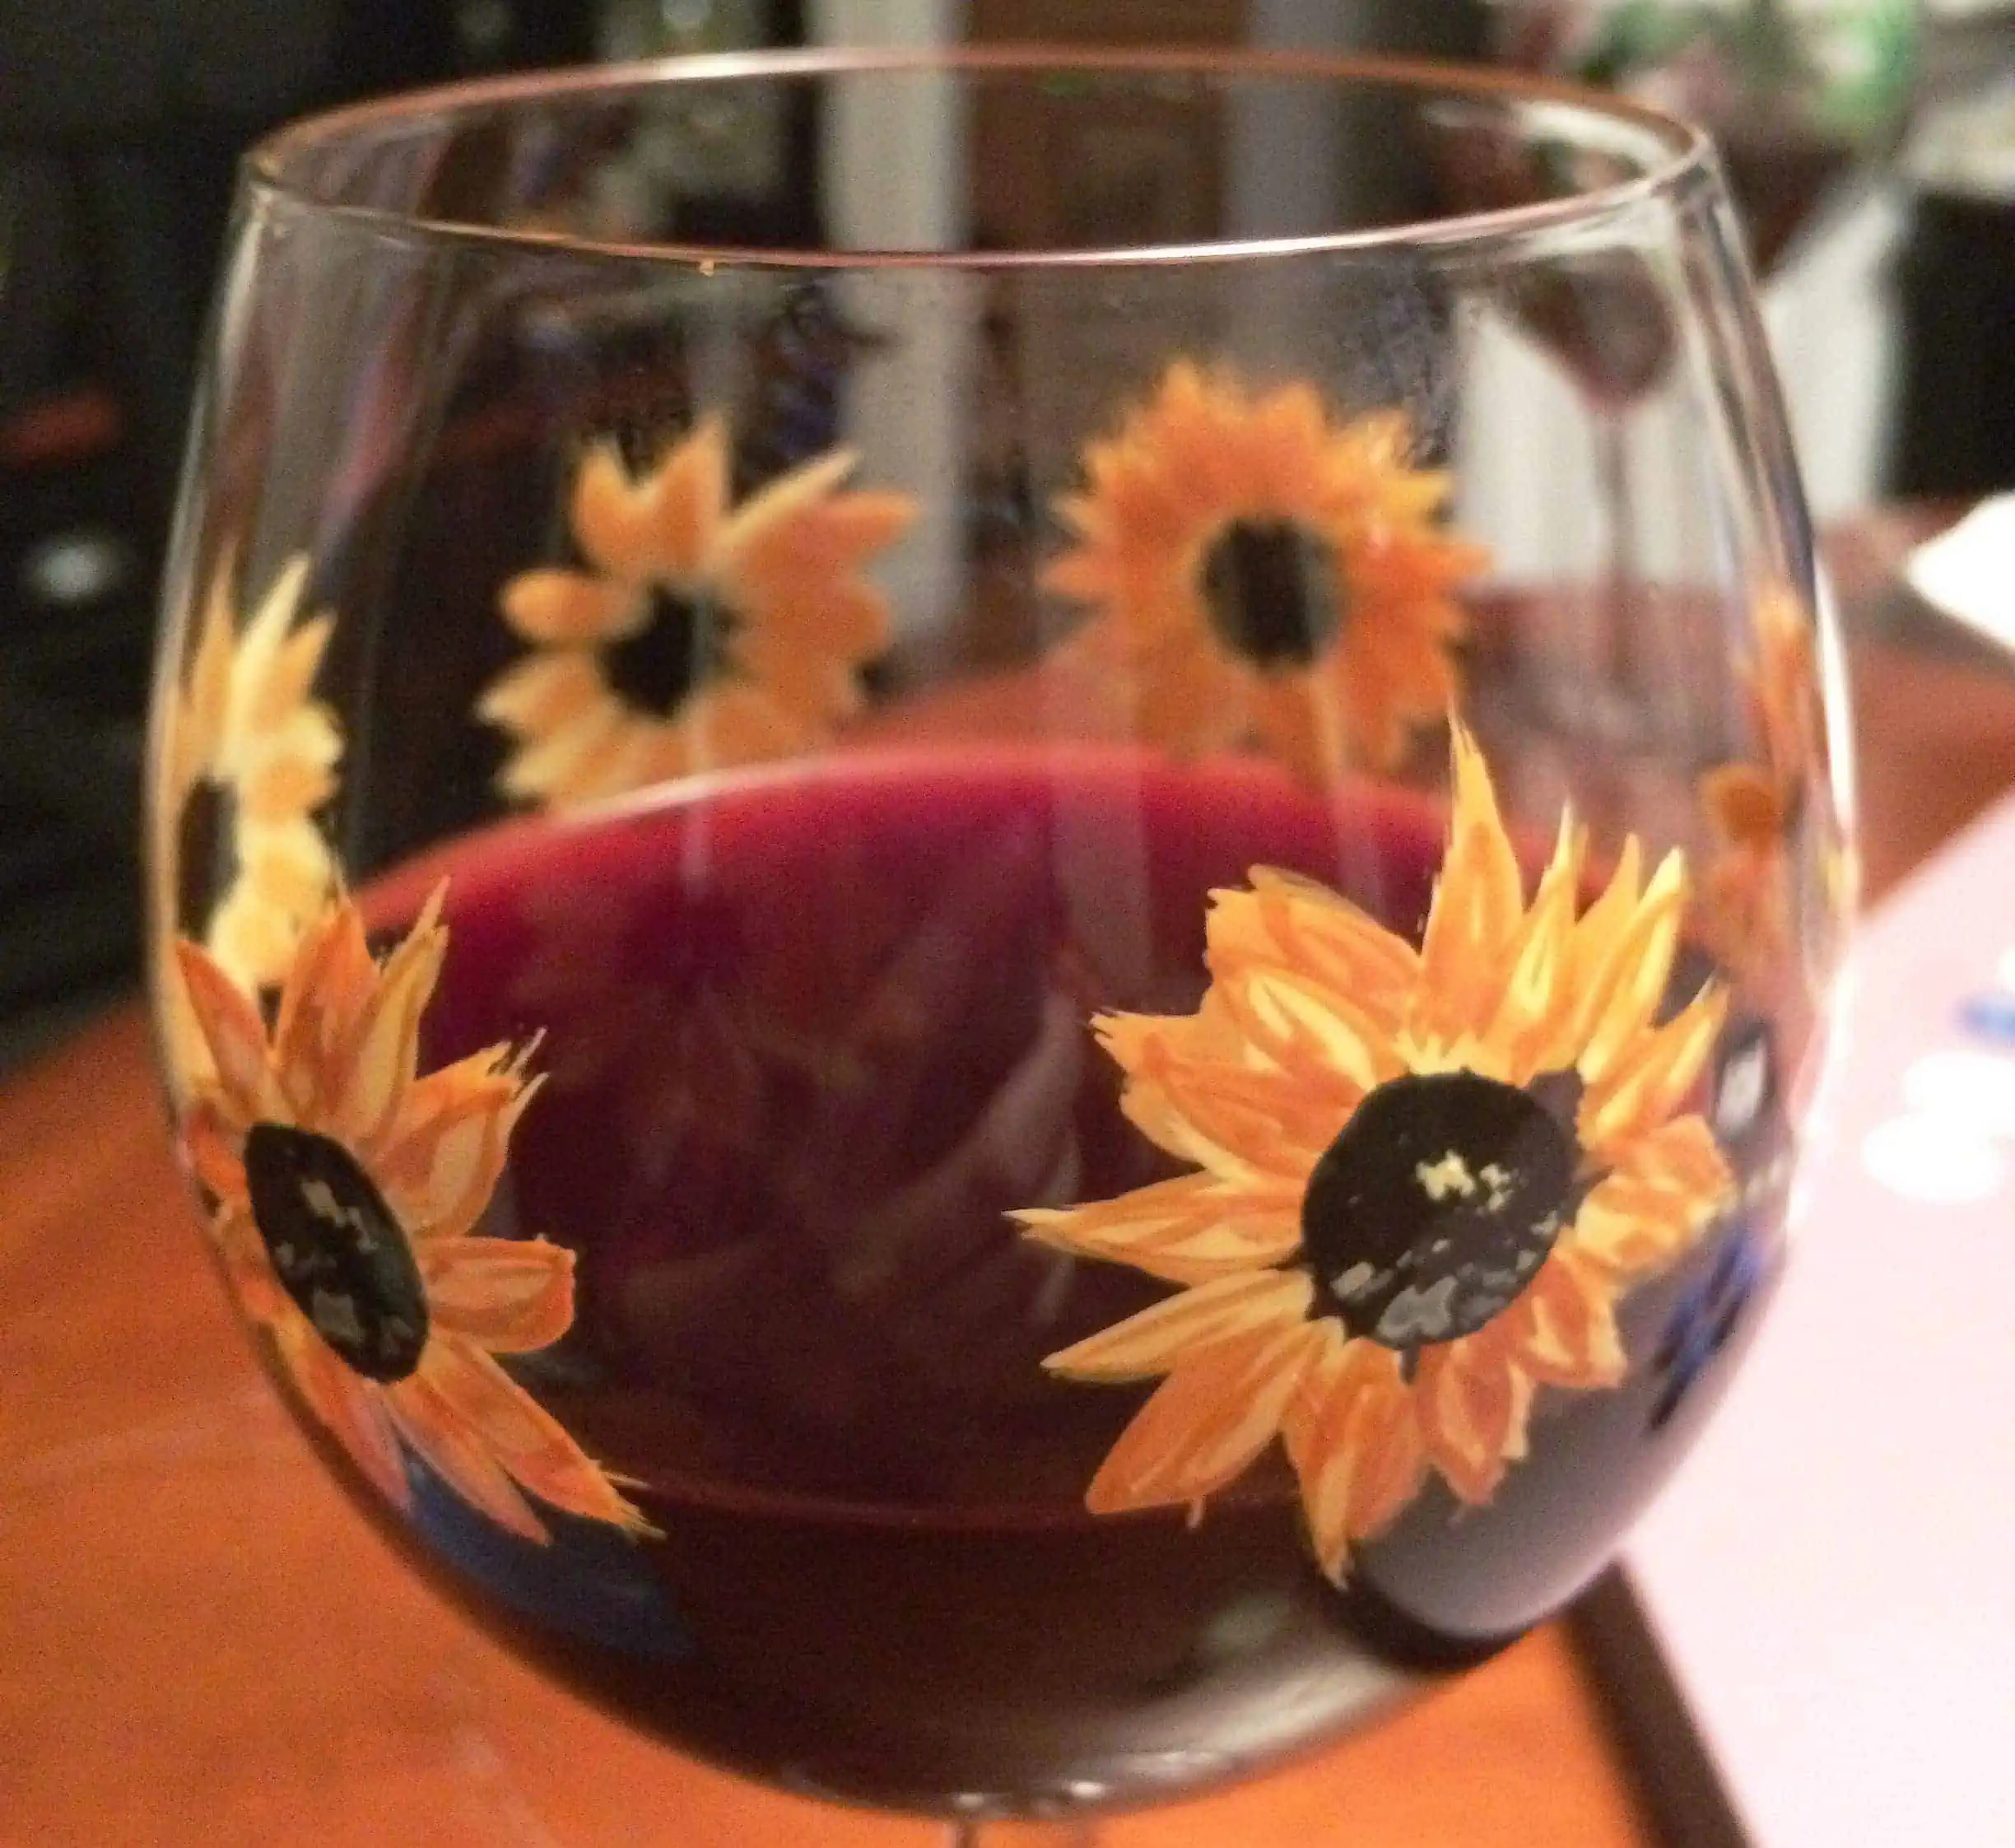
Paint wine glasses is a wonderful activity to try in terms of a DIY glass project. You can create stunning and unique pieces while not having to spend a fortune. You can amaze your guests at your next party by offering them gorgeous and unique, decorated wine glasses. Glass painting is a simple, creative and fun activity that is even safe for kids to do. What follows is the insight to further assist you with the process.
Which Paint Should I Use for Wine Glasses?
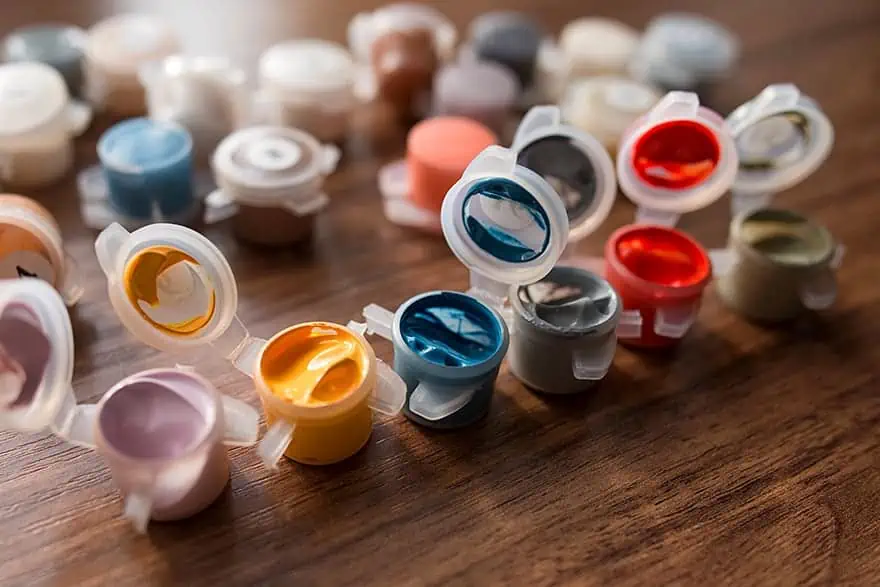
Before you can begin painting your wine glasses you will need to select the correct paint for the job. As glass is a non-porous material, we recommend using acrylic enamel paint to paint your wine glasses. These paints are formulated specifically for use on glass surfaces and are water-based. When the paints have cured completely you will be able to wash the glass however it is not safe to place the glass in the microwave. As long as you place the glass on the top shelf of the dishwasher, they will not be damaged.
You can paint glass using craft acrylic paint which a lot of people already own at home. You will have to apply a sealant or use an enamel medium to ensure the paint adheres sufficiently to the surface of the glass.
You will get the best results if you utilize acrylic paint that has been specifically designed for use on glass.
The majority of glass paints are in two forms: paints that require heat to cure or paints that air dry. The paints which require heat and baking to cure normally last longer. There is an assortment of types of paint which you can make your selection from, which include:
- Transparent Paint: these are ideal if you are trying to create a stained-glass look
- Opaque Paint: you can use this either free-hand or with a stencil and it will offer you a more solid color
- Frosted Paint: a paint that provides a frosted or glitter finish and is great if you are looking to achieve a more unique look
These days you can purchase markers or paint pens, these can assist you in creating a more detailed effect and can also be heated and baked onto the surface of the glass. Another option is painting using thicker paint and fine tips or stimulated glass liquid leading, which provides a three-dimensional raised finish. As you can see there are a large variety of products available that can assist you in creating stunning glass-painted pieces.
While there are water-based acrylics you can also purchase solvent-based paints to use for painting on glass. The problem with solvent-based paints is that they contain VOCs (volatile organic compounds), and are toxic, while also being hard to clean up. The solvent-based paints offer a top-quality stained-glass look. Solvent-based paints are not a popular option particularly as they can be difficult to locate. These paints are more for professionals who have a better understanding of how to work with these forms of paint.
In terms of oil paint, sadly they should not be used on glass. Oil paints are better suited for use on porous surfaces (i.e. wood and canvas). that being said it is still possible to use oil paints on glass but you will have to prepare the surface before you begin. You should also avoid using watercolor paints when painting glass as the paint will wipe off with ease, the best paint to use when working on glass is transparent acrylic paint.
A Summary of Paints for Wine Glasses
We have put together a simple table for you to consult that advises which paints work on glass and which do not.
| Type of Paint | Will Work on Glass | Will Not Work on Glass |
| Acrylic Paint | ✔ | |
| Acrylic Enamel Paint | ✔ | |
| Watercolor Paints | ✘ | |
| Oil Paints | ✘ | |
| Solvent-Based Paints/Enamel Paints | ✘ |
Best Paint Types for Wine Glasses
Now that we have defined which paints can be used on glass, and that acrylic enamel paint is your best option for decorating wine glasses. There are several different brands available, a few of which have been formulated specifically for use on glass and other options which can be utilized on an assortment of surfaces which include glass. We have put together details of a few products we suggest you try out.
Best Option for Acrylic Enamel Paint Set: FOLKART Gloss Finish Acrylic Enamel Craft Set
This paint set has 16 stunning colors which are rich in pigment, safe to use, and are water-based. The bright and bold colors provide a gorgeous opaque coverage when applied in several layers. Once oven-baked you will be able to wash the painted piece in a dishwasher without any concerns. The paint offers a glossy finish that is long-lasting and is also scratch-resistant.
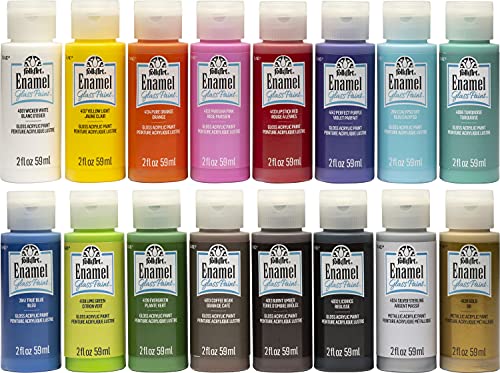
- This paint set includes 16 bottles of enamel craft paint
- Brilliant colors, durable, and scratch-resistant gloss finish
- Can be baked after drying to make it dishwasher safe
PROS
- Once baked is very durable
- Bright and rich colors
- Fast drying
- Simple to use
CONS
- To ensure durability you need to bake it first
- To achieve an opaquer finish, you will have to apply several layers
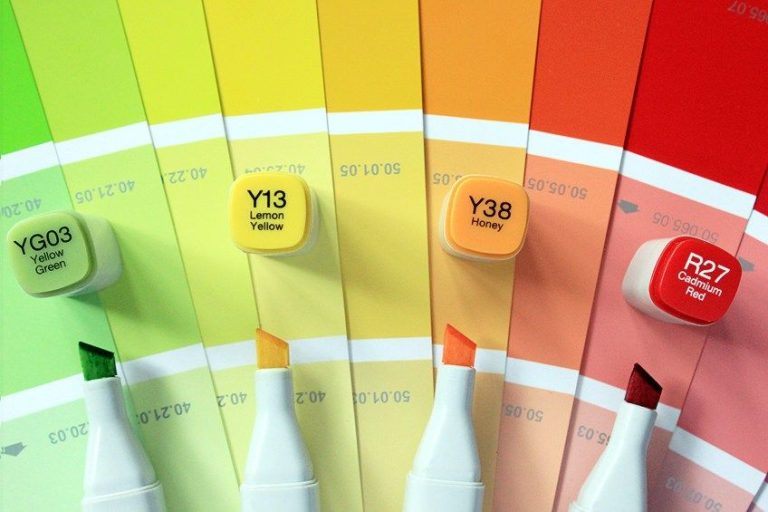
Top-Quality Product for Pens for Use on Glass: ARTISTRO Acrylic Paint Pens
These paint markers will provide you with an opaque finish that is a high gloss that can be used on an assortment of surfaces, including glass. The markers do not have any odor and are non-toxic. You get 12 bright colors in the set. The barrel of the marker is transparent, so you can see how much paint is available at any time. You will need to back the paint for it to become permanent. The tips of the pens are medium in size which is ideal for applying finer details while they can also be used for filling in larger spaces.

- Highly pigmented acrylic ink dries quickly and is very durable
- Medium tips are perfect for fine details and filling large areas
- The set of pens includes 12 bright and vibrant colors
PROS
- Can be applied to an assortment of surfaces
- Well priced
- Once baked it becomes permanent
- Vibrant colors
- Simple to use
CONS
- Markers will stain
Best Option Liquid Leading for Use on Glass: PLAID Gallery Glass Simulated Liquid Leading
This product can be used to create a stunning stained-glass effect. The applicator and squeeze bottle will form thick lines of black paint that give the impact of the colors being separated. This product can be used to form stunning, intricate, outlined designs. You will have to allow roughly eight hours for the paint to dry sufficiently, meaning you will need to be patient. It can be purchased in a variety of finishes which include pearl, shimmer, metallic, and frosted.

- Use Gallery Glass Liquid Leading to create the look of real leading lines in your faux stained glass design
- Easy-to-use applicator tip allowing for clean, easy lines.
- Let your leading lines dry 8 hours before filling in
PROS
- Well priced
- Paint will not run thanks to being thick in consistency
- Can be used to form a faux stained-glass effect
- Available in many finishes
CONS
- Only for use on decorative pieces
- Requires a long time to dry
- Can be hard to squeeze the paint out
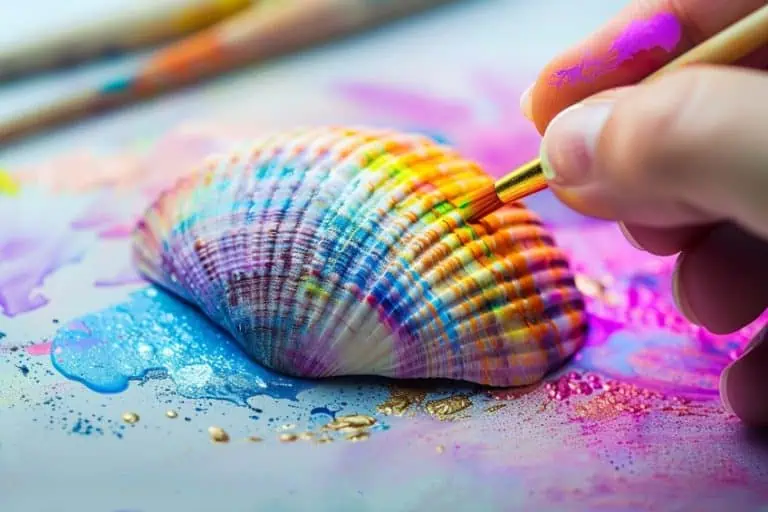
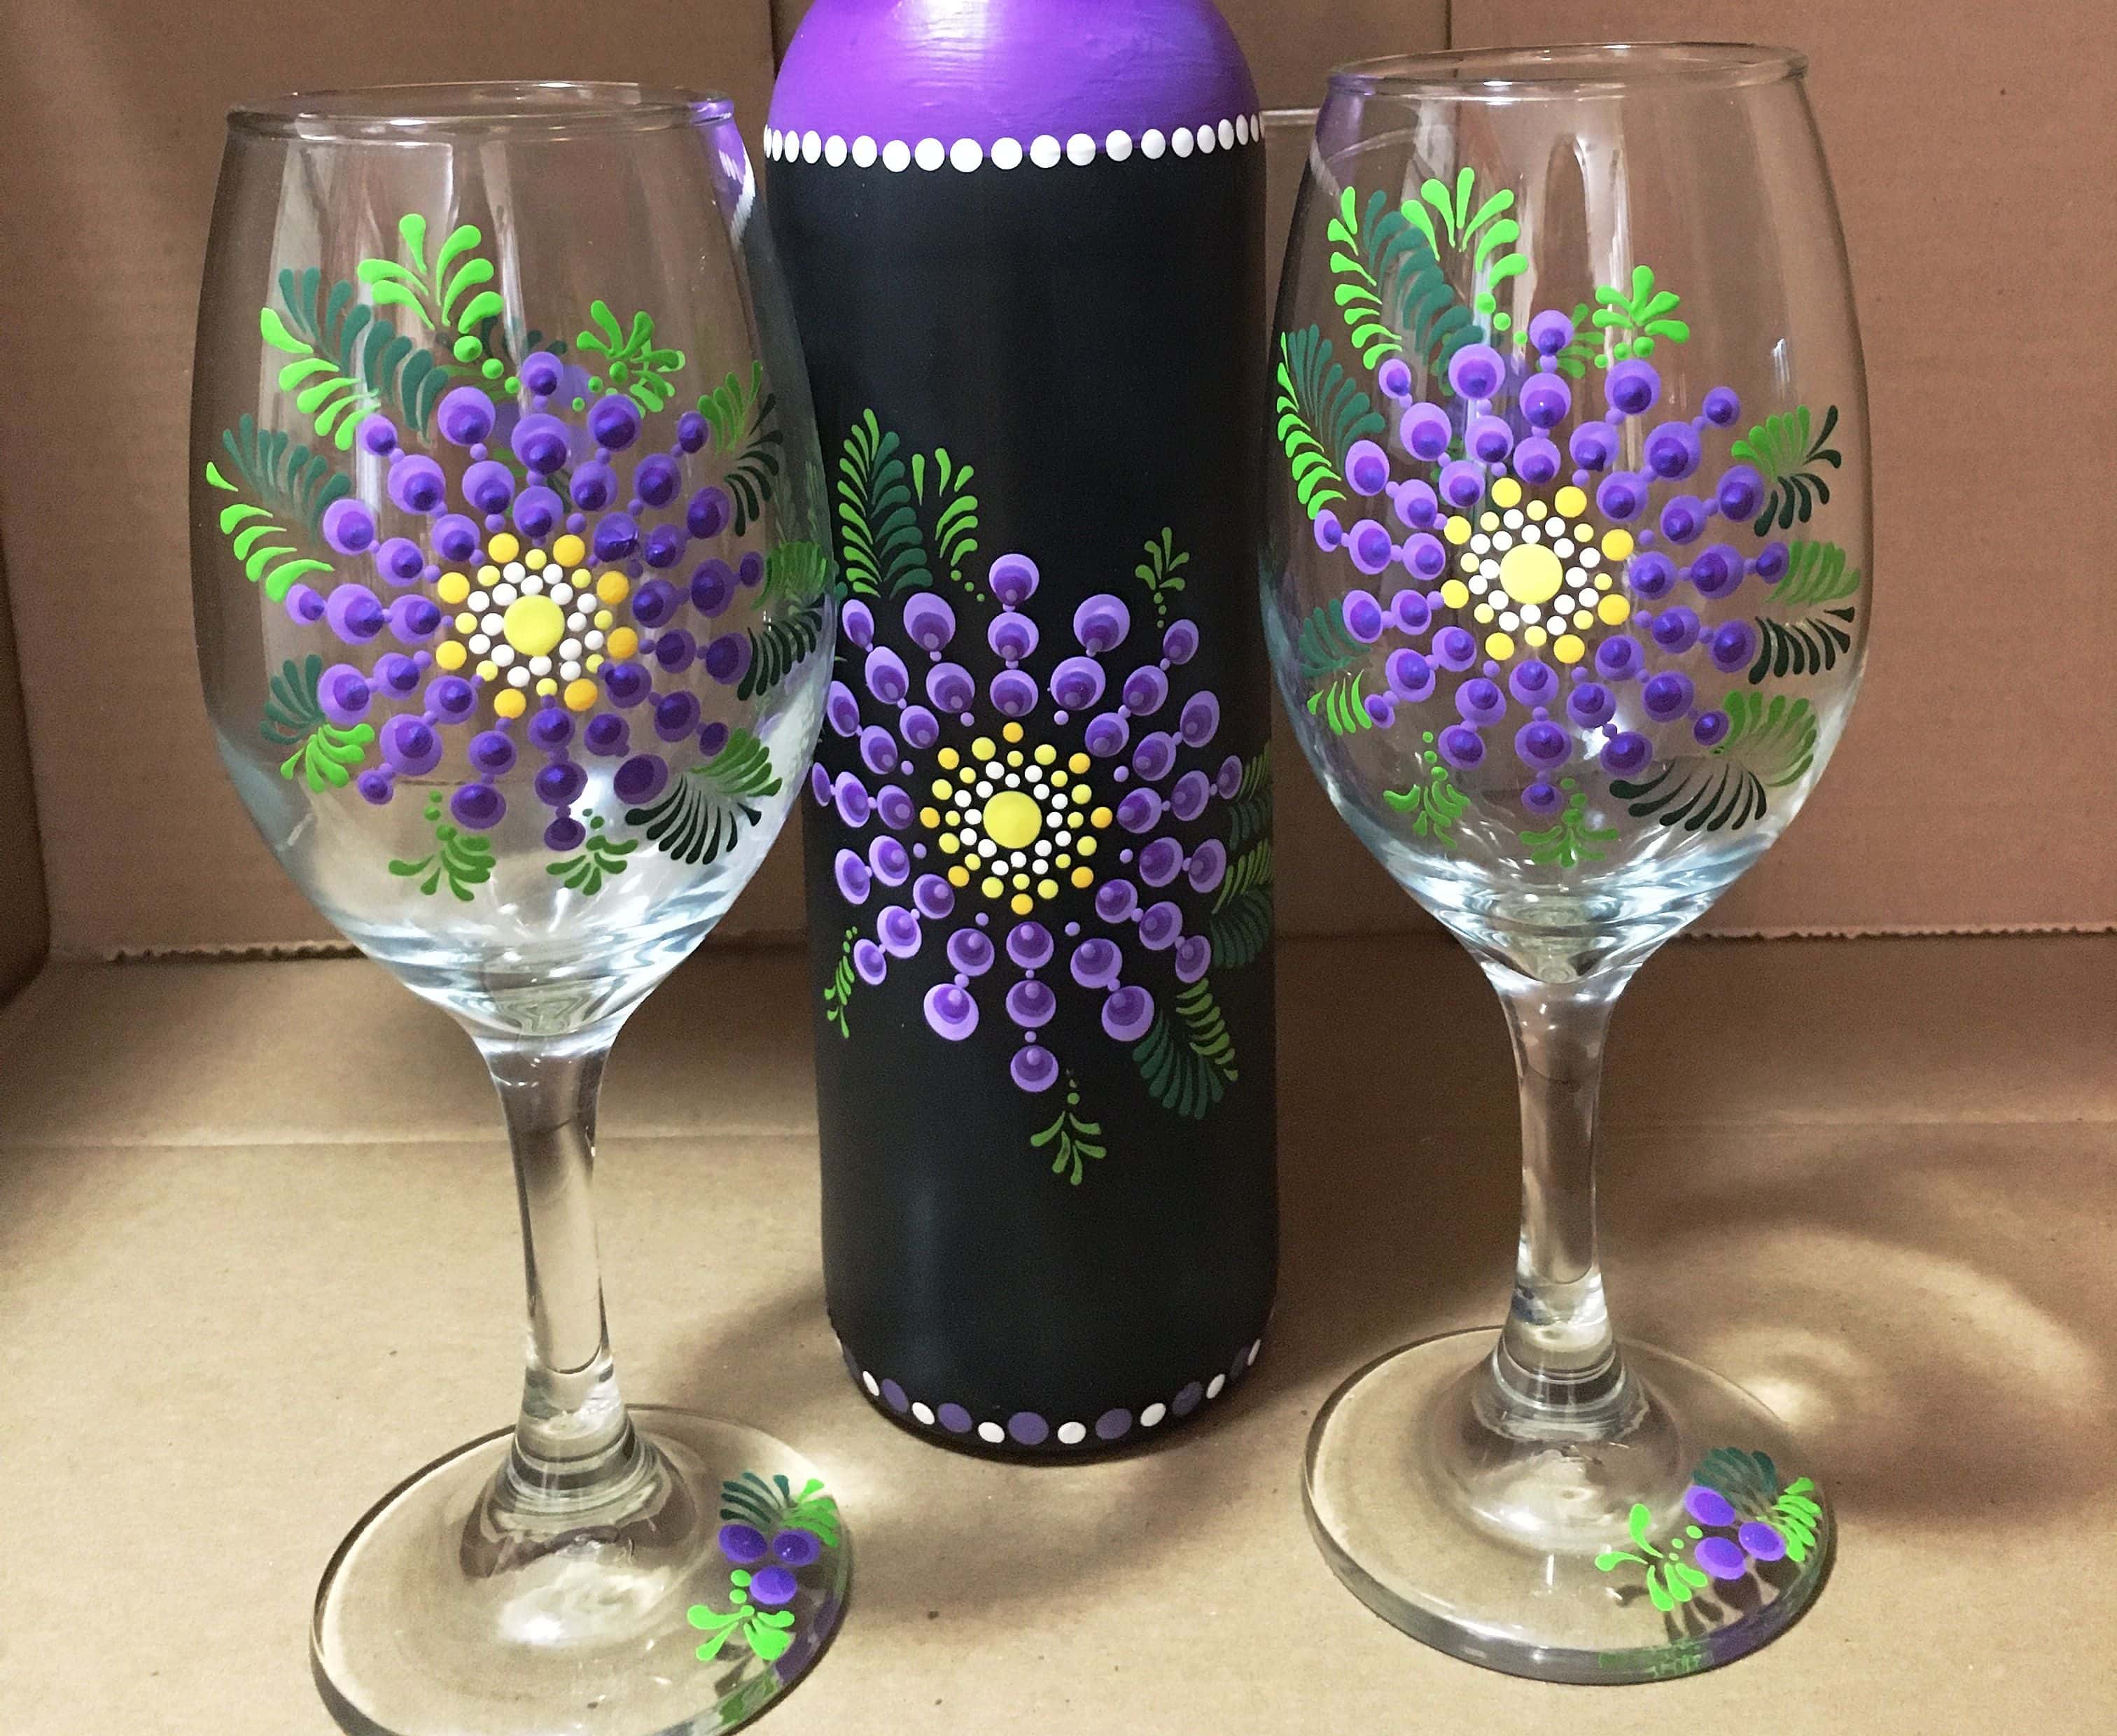
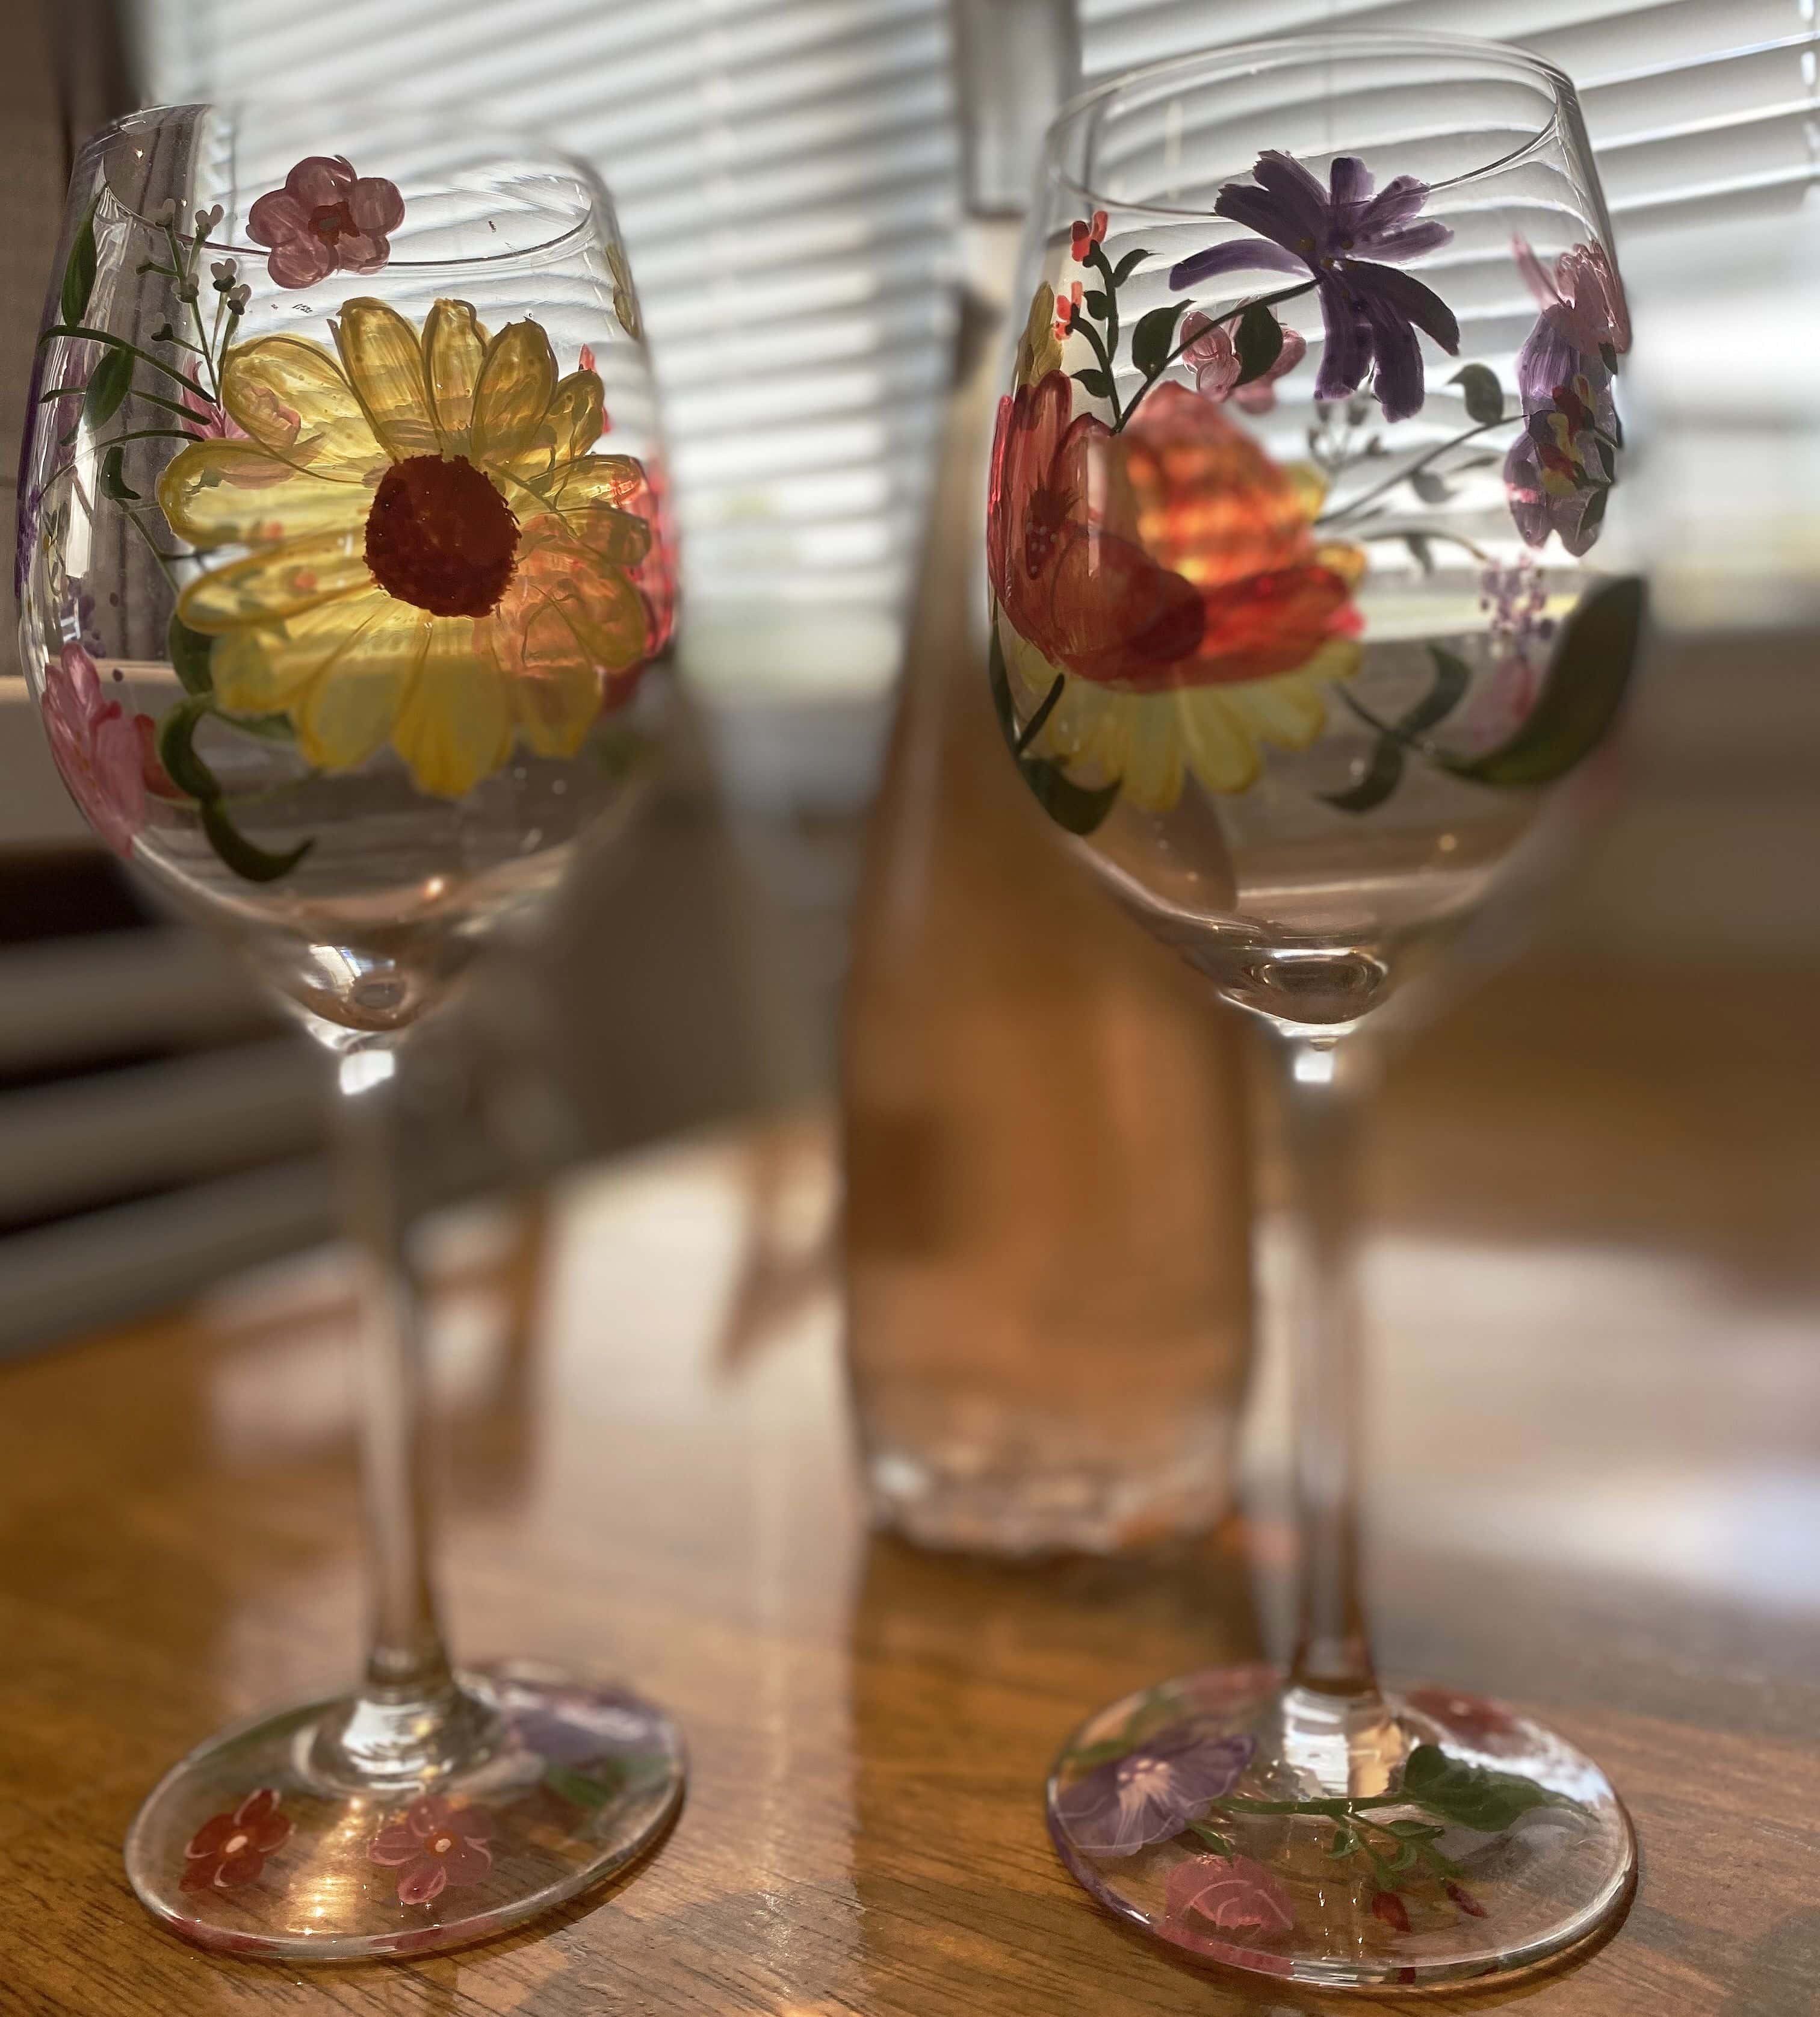
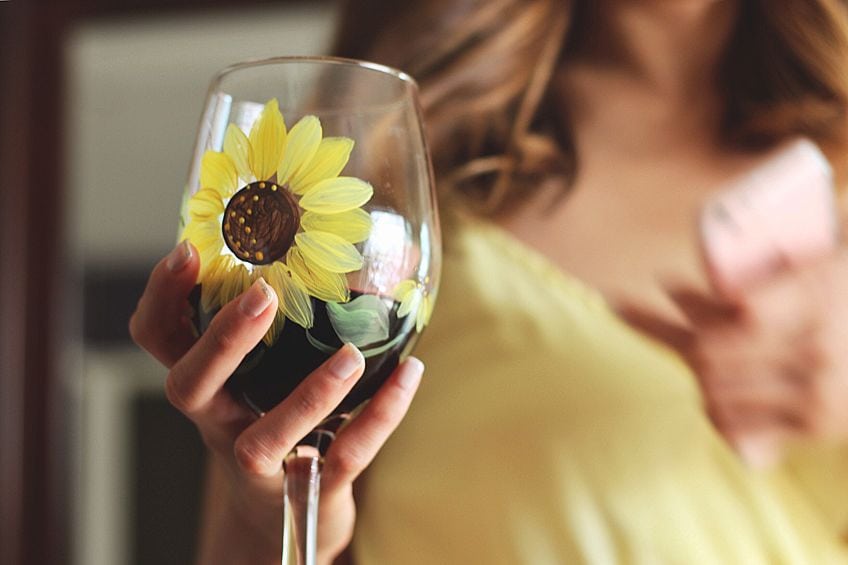
Painting Wine Glass Ideas
A great way to flex your creative muscles is through painting wine glasses. It is a simple process and loads of fun to do and thanks to the majority of glass paints being non-toxic, it is safe to allow kids to paint with them. There is an assortment of ways and designs you can decorate your wine glasses, meaning it is a process that allows your creativity to flow. What follows are a few ideas to assist you in painting your wine glasses:

- Create a design around a theme such as Halloween, Christmas, Easter, etc.
- Apply swirls, dots, and lines using a freehand approach
- Add your name to the wine glass to personalize it
- Make use of templates to apply designs onto the glass
- Decorate the glass with a marble effect
- Paint freehand
- Create a stunning glitter or frosted look
How to Paint Wine Glasses
Painting wine glasses is a simple project to tackle, that being said there are elements you need to take into consideration. Preparation is key when painting any form of surface. You will also require the appropriate tools at the ready-to-use.
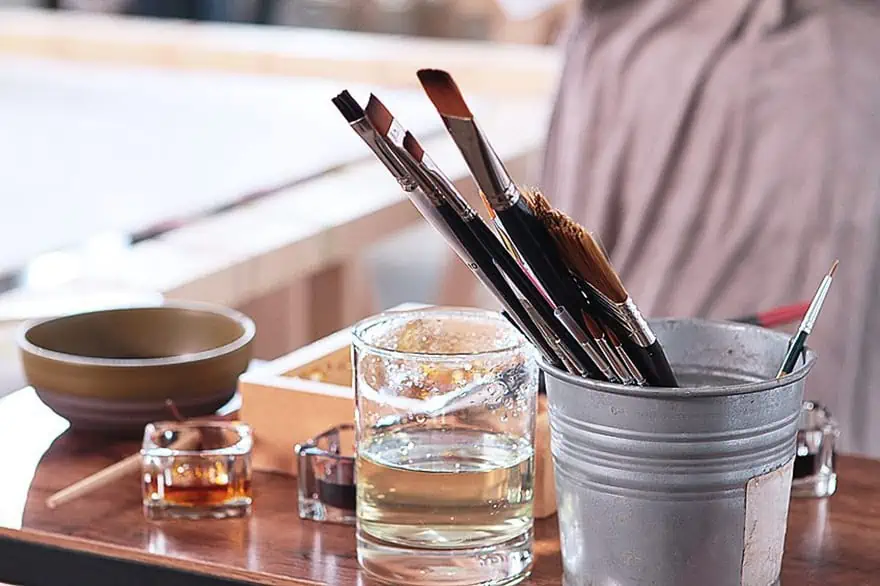
Wine Glass Painting Tools
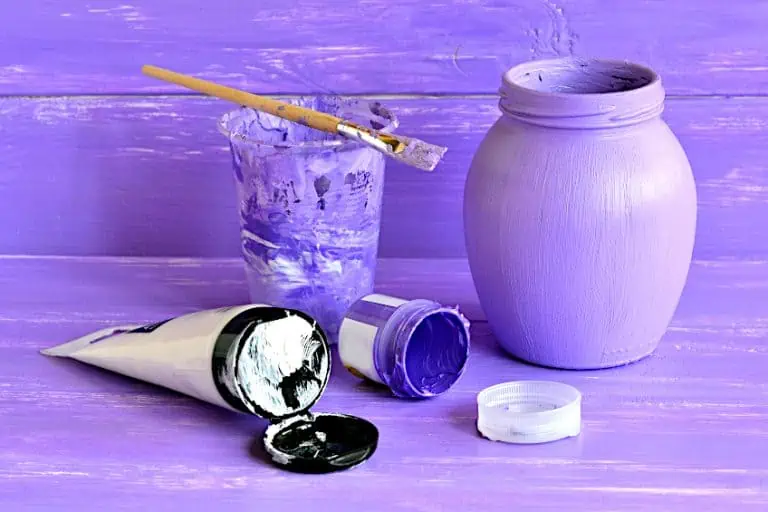
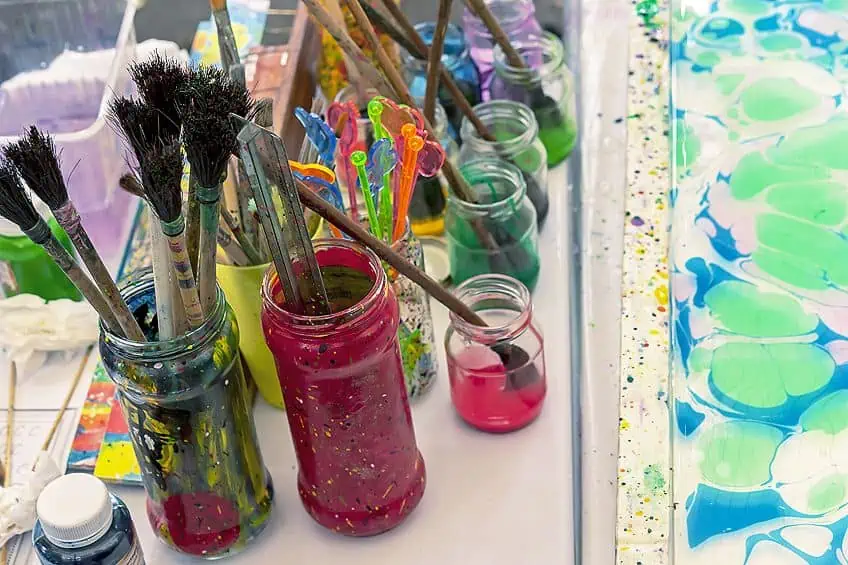
To ensure stunning results when painting glass, without any hassle, you will require a few tools at the ready before beginning to paint. You will need the following items:
- Small plastic shot glasses that can each be used for different paints or a paint palette
- Some rags, paper towels, and newspaper for any messes
- Stencils (you can
- Painter’s tape
- Sponges and brushes, all depends on which you choose to use
- Toothpicks and cotton buds which you can use to remove any wet or dry paint if you have made a mistake, or to simply add effects
- Rubbing alcohol
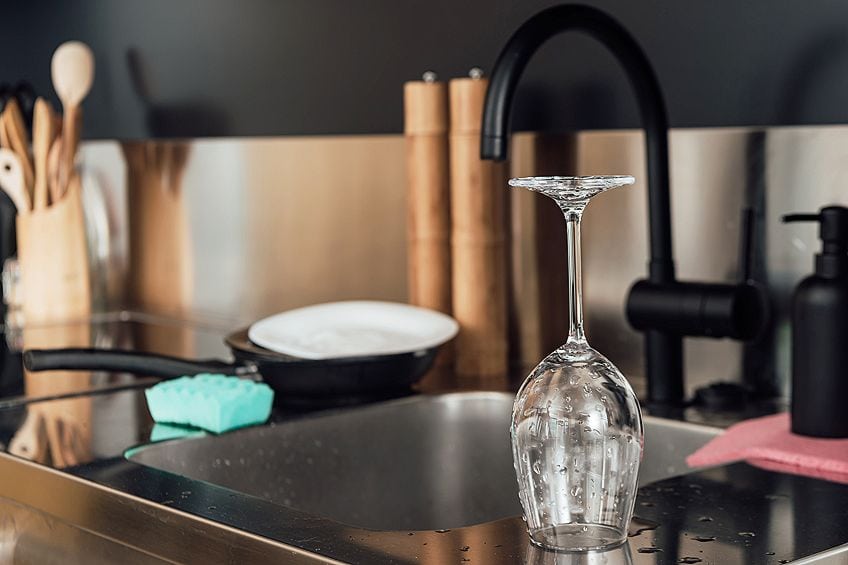
Getting the Glass Surface Ready
You will need to prepare the wine glass surface so that the paint will go on evenly when applied. This is an easy process you can begin by using warm and soapy water to clean the glass. You can then rinse the glass and allow it to dry.
When the glass has dried you can moisten a piece of paper towel with some rubbing alcohol. Remove any soap and grease marks by wiping off the glasses’ surface with this. If you do not have to rub alcohol you can always use white vinegar to wipe the surface of the glass.
Before you can begin painting the glass will need to be completely dry. If you plan to paint the lower portion of your wine glass you may need to tape the upper lip to stop any fingerprints or paint from getting onto the glass.
Painting the Wine Glass
There are a variety of ways to decorate your wine glasses. The easiest approach includes using a sponge or paintbrush for painting. Try creating swirls, lines, or stripes. Using a sponge will add its form of effects when the paint is applied to the glass. We suggest if you are going to use a stencil that is flexible and can mold around the shape of the glass.
You can also create your original design on paper or simply use a template. To utilize the template or design just place it inside the glass and then you will be able to see the design from the outside. Then you simply follow the visible design using your paints. You can also use a cotton bud to apply paint by dipping the cotton bud into the paint and then applying dots to the surface of the glass. You can even tie several cotton buds together to create a different and broader effect.
Creating a Marble Effect
A marble effect is a unique design option that is simple to do and requires very little painting experience. When done, the wine glasses will make for a gorgeous gift for someone or a stunning addition to your collection. You will require the following items to achieve this effect:
- A foil pan (that you can dispose of when you are done)
- Acrylic enamel paint (we recommend you use black or white as your base colors and then using several other colors which complement each other)
- Rubbing alcohol
- Marbling medium (this product thins down the paint making it easier to achieve a marbling effect)
- Plastic cups
- Stemless wine glasses
- Roughly three thumbtacks per glass
- Cardboard to be used to dry the glasses on
Step 1:
When painting any form of the glass surface, you will have to clean it before you can begin painting. Wash the glasses using some warm and soapy water, then rinse them off and allow them to dry. When the glass has dried you can use some rubbing alcohol to wipe down the glass and then once again allow it time to dry.
Step 2:
Get your drying board ready by taking the cardboard and the thumbtacks and pushing the thumbtacks in so that the point of each one shows through to the other side of the cardboard. Arrange groups of three by positioning them close together and then allow space between each grouping of three.
Step 3:
Decant some of your paint, putting a decent portion of each color into separate cups. In each cup add a little marbling medium. The ratio of marbling medium to paint should be 2:1 (twice as much marbling medium to paint). Use a stick to blend the two substances. You want the consistency to resemble melted ice cream. If you do not use the marbling medium the paint will, unfortunately, be too thick and will result in an uneven application that will not dry properly.
Step 4:
Drizzle each color of paint, using a spoon per color, all over the bottom of the pan or tray, layering each color in this way. If you have decided to use black try to use it sparingly as if you use too much it can take over and the other colors will be lost. When you are happy that there is a sufficient quantity of paint at the bottom of the pan or tray, take your mixing stick and create a swirl in the paint and run it through the paint.
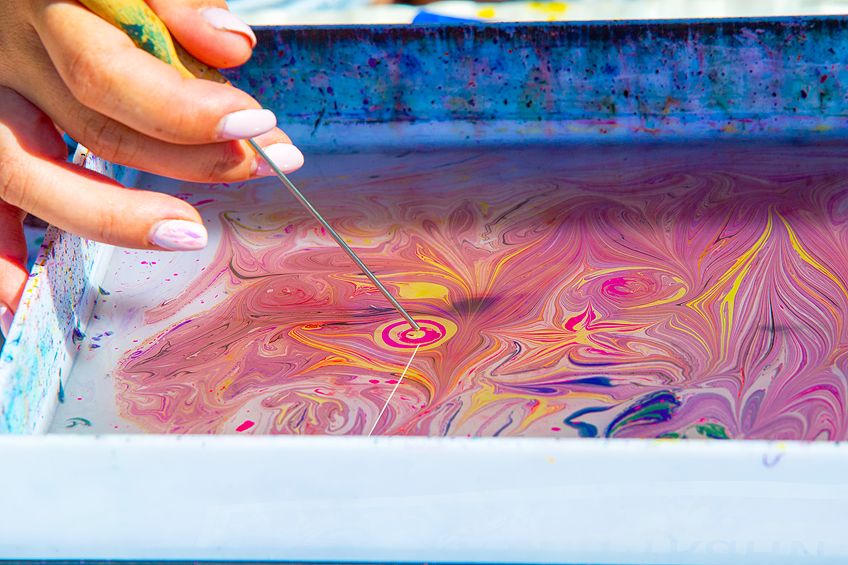
Step 5:
Dip the bottom of the glass into the paint, you want to cover as much of the glass as possible to move the glass around. To ensure you do not touch the mouth of the glass with your fingers you can tape the mouth of the glass. Another option is to wear gloves so that you do not risk getting fingerprints on the glass.
Step 6:
When you have finished dipping the glass, allow any excess paint to drip off by holding the glass over the pan. Next, carefully place the glass upright onto the three thumbtacks pin side up. Allow 30 minutes for the glass to dry.
Step 7:
Once the glass has dried take it and tap the bottom onto the cardboard. If there has been any paint that has pooled underneath doing this will remove the excess. Wipe any paint from the point of the thumbtack and then you can replace the glass and allow it to dry overnight. Look at all sides of the glass and if needed do any touchups. Finally allow between 48 to 72 additional hours for it to dry completely.
Step 8:
In terms of times required for baking and curing consult the paint product’s instructions. Most paints should be allowed to air dry for three weeks before you begin using them, though baking the glass significantly increase the durability. Curing the glass in the oven you will need to place the glass in a cool oven to ensure that it does not crack. You can then set the oven to 350 degrees Fahrenheit (176.67 degrees Celsius) and wait 30 minutes.
Once done switch the oven off and allow the glass to cool inside the oven. The glasses must be allowed to heat up and cool down in time with the oven. When completely cooled, allow the glass to sit for an additional 72 hours before then washing it. Do not try to cut corners and rush this time, as leaving the glasses to dry sufficiently ensures longer-lasting and better results.
NOTE: if you have chosen to use metallic paint or glitter paint you will need to allow these to air dry. In addition, whether the glass has been oven-baked or allowed to air-dried, we suggest hand washing the glass to prolong the use of the painted wine glasses. Though certain painted glass items can be washed in the dishwasher as long as they are placed on the top shelf.
Wine Glass Painting Tips and Tricks
When tackling DIY painted wine glass projects there are so many options when it comes to design ideas. Some are very easy to do and you can invite kids to join in the process. Other methods need more artistic experience and your result can be considered a piece of art. Regardless of your skill level, painting glass items and in particular painting wine glasses is an amazing way to enjoy yourself and relieve stress. Here are a few tips and tricks to assist you with the process of painting wine glasses:
- If there is any dried paint that you wish to remove you can use a blade.
- Any glass items will work, you do not have to spend money on fancy, pricey pieces. You can find well-priced glass items at your local thrift store, craft store, etc.
- You can use painter’s tape on the surface of the glass to form straight lines. The tape needs to be removed while the paint is still damp. If the paint has dried you run the risk of peeling paint off with the tape.
- Ensure that the surface of the glass is cleaned sufficiently to ensure the paint sticks to the glass.
- To paint dots, you can use earbuds. When applying the paint with an earbud go in straight, then carefully twist, and then lift to remove.
- If you have chosen to use a design on the inside of the glass you can use a crumpled piece of fabric or a sock to hold the design in place. Alternatively, you can tape the design down.
- Never microwave or soak any painted glass item.
- You want to avoid painting near the rim of the glass as that is where your mouth will touch.
- You can only wash cured items in the dishwasher as long as they are only placed on the top shelf of the dishwasher.
- It is imperative to consult the product’s instructions and ensure you pick the correct paint. In terms of curing and drying time, you will also need to consult the instructions.
- Before baking, you will need to wait 24 hours which will allow time for the glass to completely cure the paint.
- Unfortunately, one layer of paint will not be sufficient to achieve beautiful, even results.
Take a look at our painting wine glasses webstory here!
Frequently Asked Questions
Is Mod Podge a Good Sealant to Use on Glass?
Mod Podge is a versatile product that is used for many aspects of crafting such as glue, finish, and a sealer. Therefore, Mod Podge can be used as a sealant over acrylic paint and will offer you a protective coat over the glass which is clear.
Which Paint Is Ideal for Glass?
The best option when it comes to painting for wine glasses (and other such smooth surfaces) is acrylic enamel paint. This type of paint adheres well to the glass surface and is normally safe to work with, non-toxic, and water-based.
Is It Possible to Make DIY Painted Glass Permanent?
There are two processes you can use to make the paint permanent. The first being allowing the paint to dry for 21 years and the second is to bake the glass item after it has been painted. To ensure that the paint lasts you will need to bake the glass. Place the glass in a cool oven and allow it to heat up with the oven so it does not crack.
You can then set the oven to 350 degrees Fahrenheit (176.67 degrees Celsius) and wait 30 minutes. Turn the oven off and allow time for the glass to cool inside, do not open the oven door until you are certain the glass item has completely cured. The glass must be allowed to heat up and cool down in time with the oven. Allow 24 to 72 hours for the glass to cure before you attempt to wash the glass.
Can Acrylic Paint be Used to Paint Glass?
Of course! You can use acrylic paint on glass but it is necessary to apply a sealant over the paint or use an enamel medium or the paint will simply wash off or wipe off.
Painted wine glasses are a stunning addition to your collection and tackling the process of painting them is a fun and creative DIY process. We hope the above article assists you in creating a gorgeous finished item that is durable and long-lasting.

In 2005, Charlene completed her wellness degrees in therapeutic aromatherapy and reflexology at the International School of Reflexology and Meridian Therapy. She worked for a company offering corporate wellness programs for several years before opening her own therapy practice. In 2015, she was asked by a digital marketer friend to join her company as a content creator, and it was here that she discovered her enthusiasm for writing. Since entering the world of content creation, she has gained a lot of experience over the years writing about various topics such as beauty, health, wellness, travel, crafting, and much more. Due to various circumstances, she had to give up her therapy practice and now works as a freelance writer. Since she is a very creative person and as a balance to writing likes to be active in various areas of art and crafts, the activity at acrylgiessen.com is perfect for her to contribute their knowledge and experience in various creative topics.
Learn more about Charlene Lewis and about us.